
As summer fades and the leaves begin to turn, pool owners face the inevitable task of closing up shop for the winter. It’s a bittersweet ritual, marking the end of pool parties and the beginning of the long wait for spring.

Among the tangle of winter covers, cables, and winches lies a humble but critical component of your winterizing kit: the pool pillow. While it looks like nothing more than an oversized float toy, this vinyl cushion is the first line of defense for your above-ground pool against the harsh forces of winter.
However, simply tossing it in the water isn’t enough. Many pool owners unknowingly set themselves up for failure by inflating it incorrectly.
A pillow that is too full can burst under pressure, while one that is too soft won’t do its job. Understanding how to inflate pool air pillow devices correctly is the key to protecting your pool walls from ice damage and ensuring your cover stays secure through snowstorms and freezing temperatures. This guide will walk you through the process, ensuring your pool wakes up next spring in perfect condition.
Understanding the Purpose of a Pool Air Pillow
To understand why the inflation technique matters, you first need to understand the physics of what this pillow is actually doing under that dark winter cover. It is not just there to hold the cover up; it is there to save your pool’s structure.
Protecting Pool Walls from Ice Expansion
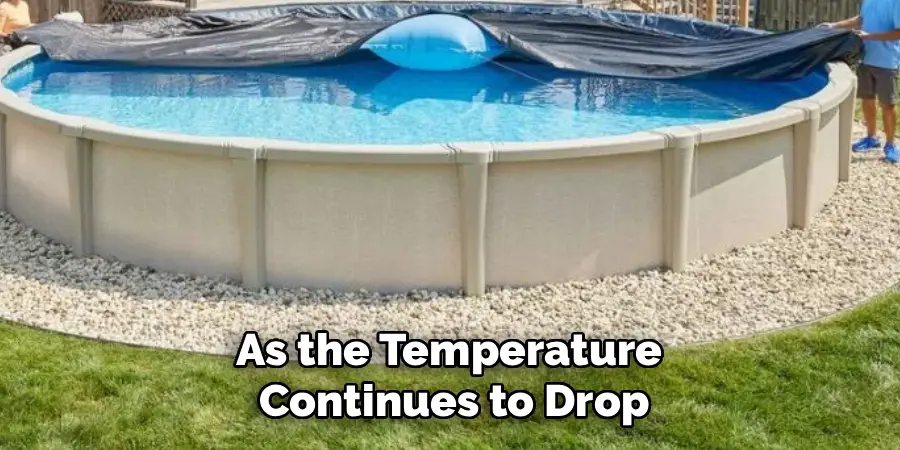
Water is a powerful force of nature. When water freezes, it expands by approximately 9%. In an above-ground pool, the surface freezes first, creating a massive sheet of ice. As the temperature continues to drop and that ice sheet grows thicker and expands outward, it exerts immense pressure on the pool walls.
Without an intervention, this outward force can buckle the metal walls or damage the liner.
The air pillow acts as an “ice compensator.” By placing a large, air-filled void in the center of the water, you interrupt the solid sheet of ice. As the ice expands inward toward the center of the pool, it squeezes the pillow rather than pushing against the rigid outer walls.
The pillow collapses under the pressure, absorbing the force that would otherwise be directed at your pool’s frame. If the pillow is inflated correctly, it sacrifices its volume to save your pool.
Lifting the Cover to Prevent Debris Buildup
Beyond structural protection, the pillow serves a vital maintenance function. Creating a dome shape in the center of the pool covers it, encourages rain, melting snow, and debris to slide off toward the edges rather than collecting in a heavy, stagnant puddle in the middle.
Without a pillow, the cover sinks into the water, creating a “swamp” in the center of your pool. This depression collects hundreds of pounds of water and rotting leaves, which can stress the cover to the breaking point and make opening the pool in the spring a nightmare.
A properly inflated pillow keeps the center high and dry, making spring cleanup significantly easier.

Choosing the Right Inflation Method
You have the pillow out of the box, and now you need to get air into it. While the concept is simple, the method you choose can determine how much effort the job requires.
Manual Inflation (By Mouth or Hand Pump)
The most basic method is lung power. Most air pillows feature a standard pinch valve or a wider Boston valve similar to those found on camping mattresses. Technically, you can blow it up by mouth. However, pool pillows are deceptively large.
A standard 4×4-foot pillow holds a significant volume of air. Attempting to inflate this manually is dizzying and time-consuming. Even using a manual bicycle hand pump can be a tedious workout. Unless you have no other options, it is best to look for a powered solution.
Using a Small Electric Air Pump
The ideal tool for the job is a low-pressure, high-volume electric air pump—the kind used for inflating guest air mattresses or pool floats. These pumps are inexpensive, lightweight, and plug into a standard outlet or a car’s 12V adapter.
They move a large amount of air quickly, but typically don’t generate enough pressure to damage the vinyl seams of the pillow. This balance of speed and safety makes them the preferred choice for most pool owners.

Using a Shop Vac or Leaf Blower
If you don’t own an electric air pump, look in your garage. A wet/dry shop vacuum is an incredibly effective inflator. Most shop vacs have a “blow” port on the back of the motor housing where the exhaust air exits.
By switching the hose from the suction port to the blow port, you create a powerful inflator. Similarly, a leaf blower can work if you can rig a way to funnel the air into the valve, though it can be cumbersome to manage. These tools fill the pillow in seconds, so you must be attentive to avoid over-filling.
Common Mistakes to Avoid
Before you start pumping air, there are critical pitfalls to avoid. The most common instinct is to make the pillow look like a fully inflated balloon, but this is exactly what you should not do.
The Danger of Over-Inflation
When we inflate tires or balls, we aim for firmness. For a pool pillow, firmness is the enemy. If you inflate the pillow until it is rock-hard and the seams are tight, you have removed its ability to do its job. Remember, the pillow needs to compress when the ice squeezes it.
If it is already fully expanded, the pressure of the ice will have nowhere to go, and it will simply pop the pillow. Once popped, the pillow sinks, and your pool loses its protection for the rest of the winter. An over-inflated pillow is also more likely to burst if you accidentally drop it or press on it while positioning it under the cover.
Using a High-Pressure Air Compressor
Avoid using a standard air compressor designed for tires and power tools. These compressors deliver air at high pressure (PSI). The vinyl material of a pool pillow is relatively thin and sealed with heat welds.
A blast of high-pressure air can rupture these seams instantly, ruining the pillow before it ever touches the water. If you must use a compressor, set the regulator to the lowest possible setting and use extreme caution.
A Step-by-Step Guide on How to Inflate Pool Air Pillow
Now that you have the right tool and the right mindset, let’s get the job done. Follow these steps to ensure your pillow is prepped perfectly for the freeze.
Step 1: Unfold and Inspect the Pillow
Take the pillow out of its packaging and unfold it completely on a flat, clean surface. Avoid driveways with sharp stones or decks with splinters that could puncture the vinyl.
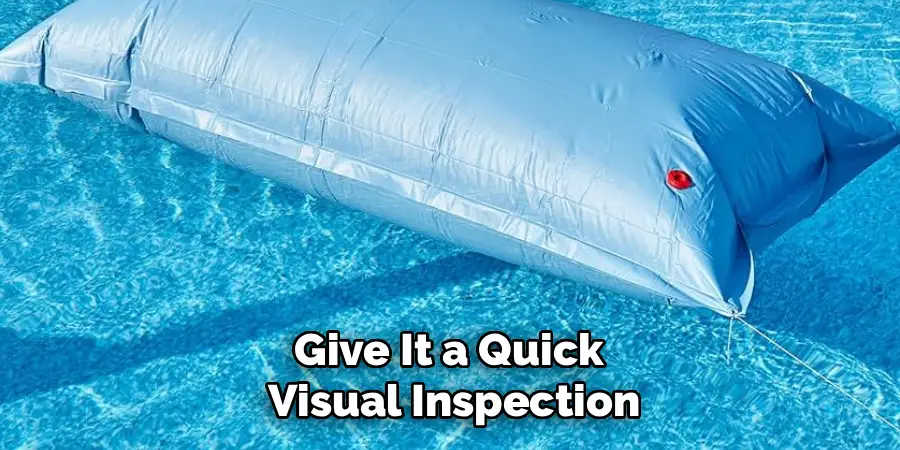
Before you start inflating, give it a quick visual inspection. Look for any manufacturing defects, such as unsealed seams or pinholes. It is far better to find a defect now than to discover your pillow has sunk to the bottom of the pool in January.
Step 2: Prepare Your Inflation Tool
Set up your air pump, shop vac, or other inflation device. Select the correct nozzle attachment that fits snugly into the pillow’s valve. Most electric pumps come with a tree of various nozzle sizes; test them to find the one that creates the best seal without stretching the valve opening.
Step 3: Insert the Nozzle and Inflate
Insert the nozzle into the valve. If your pillow uses a smaller pinch valve (common on smaller pillows), you may need to pinch the base of the valve stem with your fingers while inflating.
This action opens the internal safety flap that prevents air from escaping, allowing the new air to flow in freely. If using a shop vac, hold the hose firmly against the valve, as the high airflow can push the nozzle out.
Step 4: Inflate to the Correct Firmness
This is the most critical step. Begin filling the pillow with air. Watch the wrinkles in the vinyl. Stop inflating when the pillow takes its general shape but is still soft and wrinkly.
You are aiming for 60% to 70% capacity. When you press your hand into the center of the pillow, it should sink in easily. It should feel squishy, like a soft bean bag, not a drum.
The remaining 30-40% of empty space is vital. It allows the air inside to expand if the sun warms the black cover, and more importantly, it gives the pillow room to be crushed by the ice without bursting.
Step 5: Secure the Valve Cap
Once you reach that 60-70% level, remove the nozzle quickly. If the valve has a cap or plug, press it in firmly to seal it. Listen closely for any hissing sounds that might indicate a leak.

Once sealed, push the valve stem down into the body of the pillow so it sits flush. This prevents the hard plastic valve from poking into your pool cover, which could wear a hole in the cover material over a long winter of shifting and wind.
Placing the Pillow in the Pool
Inflation is only half the battle. Positioning the pillow correctly is what ensures it actually protects your pool.
Finding the Center of the Pool
The pillow needs to be floating dead center in the pool. If it drifts to one side wall, it leaves the other side vulnerable to ice expansion and creates an uneven slope for the cover, leading to water pooling on the opposite side. This uneven weight distribution can pull the cover into the water or damage the top rails.
Using Rope to Secure It
You cannot simply toss the pillow in and hope it stays put. As soon as you start pulling the heavy winter cover over the pool, the pillow will move. Most air pillows have grommets or reinforced holes on two or four corners.
Using strong, thin nylon rope or twine, tie a line to each grommet. You need two long pieces of rope. Ideally, you want to span the width of the pool. Toss the pillow into the water, and loosely tie the ends of the ropes to the top rails or uprights on opposite sides of the pool.
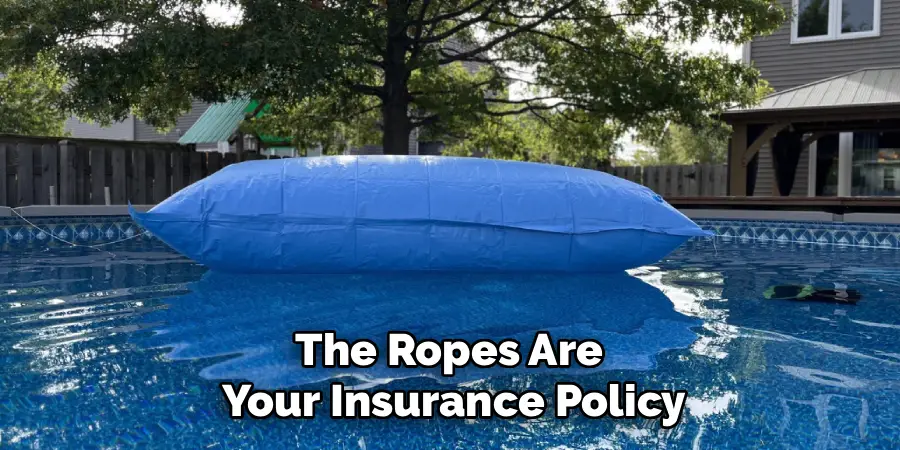
Adjust the tension until the pillow is suspended in the exact center. The ropes should be snug enough to hold it in place but not so tight that they pull on the pool structure. Once the cover is on and locked down with the winch and cable, the pressure of the cover will help hold the pillow in place, but the ropes are your insurance policy against drifting.
What to Do If Your Pillow Deflates
Despite your best efforts, sometimes pillows fail mid-winter. A deflated pillow is useless against ice.
Finding and Patching Leaks
If you notice the “hump” in the center of your pool cover has disappeared, your pillow has likely lost air. If the pool isn’t frozen over yet, you can try to rescue it. Carefully undo the cover cable and peel back the cover to retrieve the pillow.
To find the leak, mix dish soap and water in a spray bottle and spray the pillow. Bubbles will form at the source of the leak.
Since the pillow doesn’t hold high pressure, a standard vinyl patch kit (or even strong duct tape in a pinch) can often seal a small puncture or tear effectively enough to get you through the rest of the season.
Topping Up Air Mid-Winter
Sometimes a pillow simply loses air due to temperature fluctuation, causing the vinyl to contract. If you can access the valve without removing the entire cover, you can top it up. However, be extremely careful not to overfill it, as cold vinyl is brittle and more prone to cracking. If the pool is already frozen solid, do not attempt to retrieve or re-inflate the pillow. Disturbing the ice sheet can cause sharp shards to damage the liner. At that point, it is best to leave it alone and hope for the best until spring.
Sizing and Quantity of Air Pillows
Does size matter? Absolutely. You need a pillow large enough to create a significant void in the ice.
One Pillow for Most Pools
For the vast majority of round above-ground pools (up to 24 feet in diameter) and smaller oval pools, a single 4×4-foot or 4×8-foot pillow is sufficient. The 4×4 size is standard and works well for most setups.
When You Might Need Two
If you have a very large oval pool (e.g., 15×30 or 18×33), a single pillow might not be enough to prevent water from pooling on the elongated ends of the cover. In this case, it is often better to use two pillows tied together or spaced out along the centerline of the pool. This creates a longer “spine” under the cover, ensuring better drainage and more comprehensive ice protection across the entire length of the pool.
Conclusion
Winterizing a pool is a chore that no one enjoys, but getting the details right pays dividends when the sun returns. The air pillow is a small investment that protects the much larger investment of your pool structure and liner. By learning how to inflate pool air pillow devices to the correct “squishy” firmness and securing them properly in the center of the water, you effectively neutralize the threat of freezing expansion.
Resist the urge to fill it to the brim. Remember that a soft pillow is a strong pillow when it comes to fighting ice. Take the extra five minutes to tether it correctly, and you can spend your winter worrying about snow shoveling rather than wondering if your pool walls are buckling under the ice.
About
Outdoor Fixes is a distinguished figure in the world of Diy design, with a decade of expertise creating innovative and sustainable Diy solutions.
His professional focus lies in merging traditional craftsmanship with modern manufacturing techniques,
fostering designs that are both practical and environmentally conscious. As the author of diy,
outdoorfixes delves into the art and science of outdoorfixes-making, inspiring artisans and industry professionals alike.
Education RMIT University
(Melbourne, Australia) Associate Degree in Design (Outdoor Fixes) Focus on sustainable design, industry-driven projects,
and practical craftsmanship. Gained hands-on experience with traditional and digital manufacturing tools, such as CAD and CNC software.
Nottingham Trent University
(United Kingdom) Bachelor’s in outdoorfixes.com and Product Design (Honors) Specialized in product design with a focus on blending creativity with production
techniques. Participated in industry projects, working with companies like John Lewis and Vitsoe to gain real-world insights.
Publications and Impact
In diy, Outdoor Fixes his insights on indoor design processes, materials, and strategies for efficient production.
His writing bridges the gap between artisan knowledge and modern industry needs, making it a must-read for both budding designers and seasoned professionals.