
Are you looking for an easy step-by-step guide on how to inflate pool toys? Inflating pool toys is a quick and simple process, so you can have your favorite inflatables ready to use in no time.
You can create amazing inflatable decorations quickly and easily with just a few items you probably already have in your house or garage.
In this post, we’ll show you how to blow up those inflatables with nothing but an air compressor – no hand pumps required!
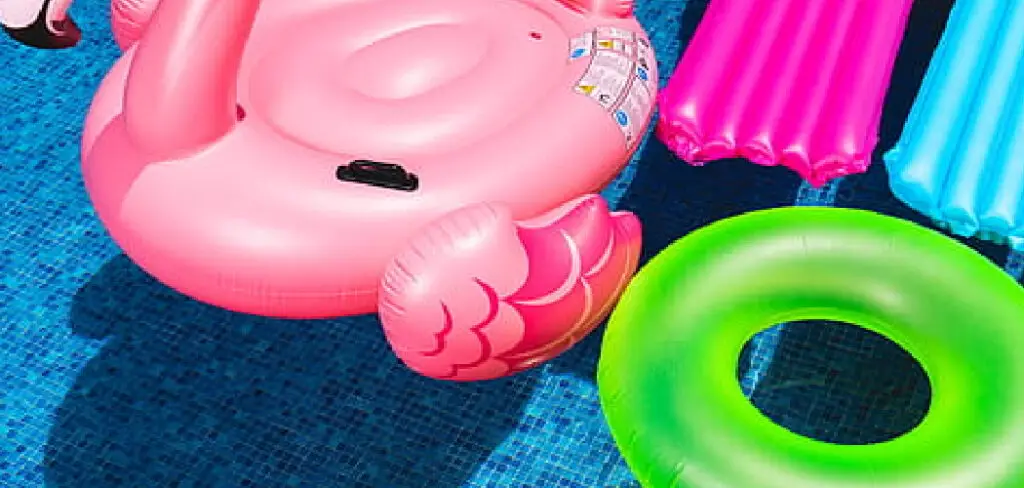
So whether it’s colorful pool rings, floaties for the little ones, or even something more unique like an inflatable volleyball set – get ready for a fast-paced DIY project that will have your friends talking about it long after the party is over. Let’s start by learning how to inflate pool your toys!
What Will You Need?
To inflate pool toys, you’ll need the following:
- An air compressor
- An adapter for your desired inflatable toy.
- A needle or pin to puncture the plug
- Some extra caution and patience, especially when using a needle!
Once you have all these materials, it’s time to get started.
10 Easy Steps on How to Inflate Pool Toys
Step 1. Find the Right Adapter:
Start by finding the right adapter for your toy. If the inflatable is a generic type, you’ll likely be able to find an adapter that fits it. If your inflatable is a more specific brand, you may need to purchase an adapter that fits its exact size and shape.
Step 2. Attach the Adapter:
Next, attach the adapter to the end of the air compressor’s hose and ensure it’s tightly secured with no air leaks. Be careful not to over tighten the adapter, or it could damage your toy. It’s also important to make sure the adapter is firmly attached. If it comes off during the inflation process, air could be released too quickly, potentially damaging your toy.
Step 3. Select Your Pressure:
Now that you’re all set up, it’s time to select the pressure setting on your compressor. Different inflatables require different pressure levels, so check the manufacturer’s instructions for specific details. Generally speaking, most items should be inflated to a medium-low (3-5 PSI) pressure level.
Step 4: Locate the Plug Opening:
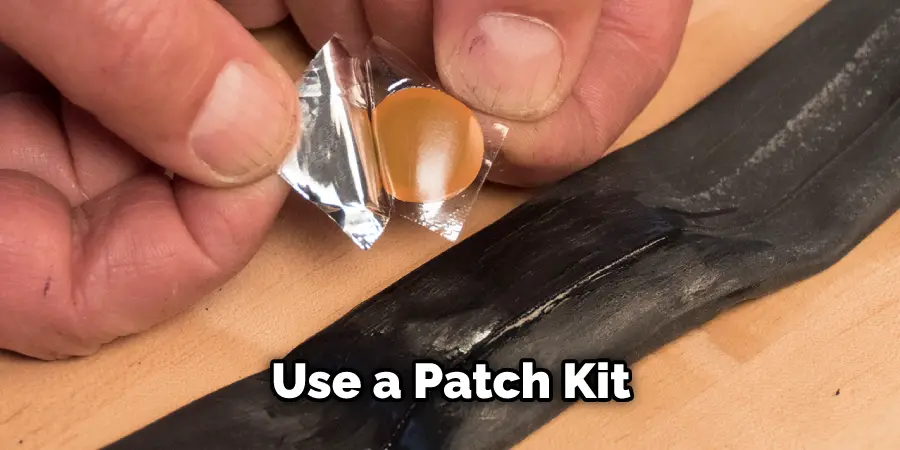
Once your desired pressure has been selected, locate the plug opening on your toy and ensure there are no rips or tears in the material that could cause air to escape when inflating. If you spot any, use a patch kit or a piece of duct tape to cover it up before continuing.
Step 5: Puncture the Plug Opening:
Once everything is secure, puncture the plug opening with either a needle or pin. Be very careful and take your time with this step, as you do not want to pierce through the backside of your toy! Try to puncture the plug opening in a circular motion, as this will help create a cleaner hole for air to pass through.
Step 6: Insert and Secure the Plug:
After you’ve created your puncture, insert the plug into the opening and secure it tightly. It’s important that it’s firmly inserted so there are no air leaks when you start inflating. Ensure that the plug isn’t pushed too far in, as this could also lead to air escaping.
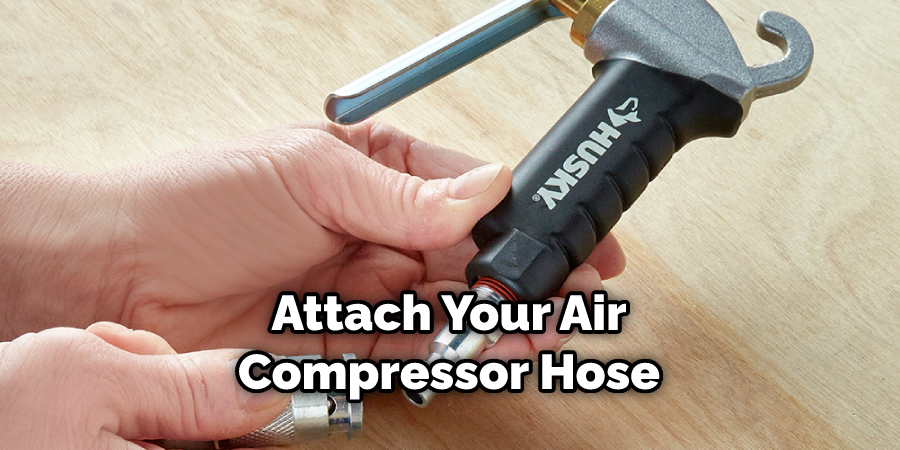
Step 7: Attach Your Air Compressor Hose:
Once securely fastened your plug, attach your air compressor hose to the adapter and turn on the machine. You can now start to inflate your toy! This may take some time because your compressor needs to build enough pressure to fill the toy.
Step 8: Monitor The Inflation Process:
Next, carefully monitor the inflation process and make sure that your toy is not becoming over-inflated. If you notice any bulging, slow down the air compressor or turn it off altogether. Some inflatables may also have a pressure gauge to help you monitor the inflation levels.
Step 9: Remove The Plug & Securely Store Your Toy:
Once your toy has reached the desired level of inflation, remove the plug and securely store it away for future use. Be sure to keep an eye on the inflation process and be ready to stop if necessary! Otherwise, the toy may become over-inflated and potentially burst.
Step 10: Enjoy Your Inflated Toy!
Finally, enjoy your newly inflated toy! Now you can start splashing around in the pool, knowing that you are safe and secure. Inflation is a quick and easy process – just remember to take caution and practice patience when using needles or pins to puncture plugs. Happy inflating!
By following these ten simple steps, you can easily learn how to inflate pool toys. Whether you have a specific brand or a generic type of inflatable, you can be sure to inflate it safely and securely. So don’t wait any longer and get your inflatables ready for the pool season – happy inflating!
6 Additional Tips and Tricks
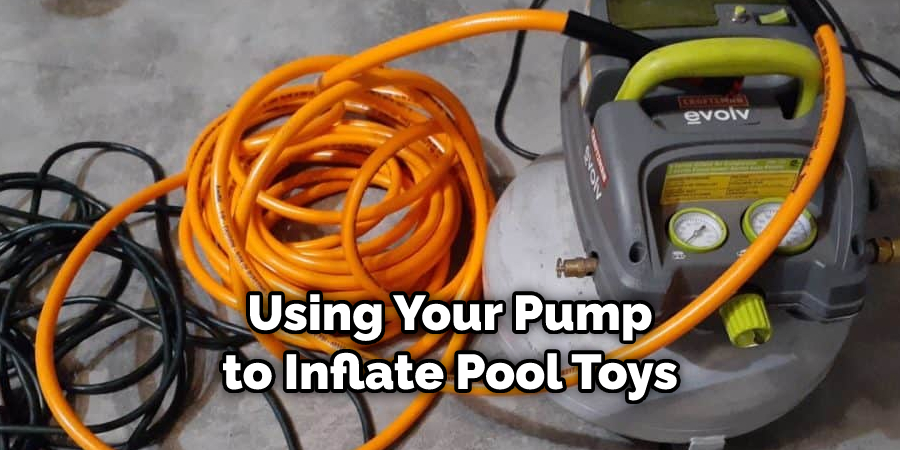
- When inflating pool toys, make sure that your pump is suitable for the job. Certain pumps may not have enough power to inflate large or thicker pool toys, and you may end up having to switch out for a more powerful pump.
- Always check the manufacturer’s instructions before using your pump to inflate pool toys, as some pumps require special settings or care.
- To avoid over-inflating the pool toy, make sure to monitor the inflation progress closely. Keep in mind that an over-inflated toy can burst or cause other problems.
- If your pump has a pressure gauge, use it to accurately measure the air pressure of the pool toy and adjust it as necessary.
- Have a designated area for inflating and deflating pool toys so you don’t have to move around too much during the process. This will help keep your workspace clean and organized while also making inflation/deflation easier on yourself.
- When deflating pool toys, always wait until after the air has been released before removing the plug. This will ensure that you don’t accidentally puncture the other side of the pool toy.
With these simple tips and tricks, you can easily inflate any pool toy with your pump! Enjoy an action-packed summer in the pool!
5 Things You Should Avoid
- Never use a pump with a damaged or malfunctioning nozzle, as this could cause an air leak and result in an under-inflated pool toy.
- Don’t move your pump around too much while inflating pool toys, as this can cause instability and lead to inaccurate pressure readings.
- Avoid using any pumps that are not specifically designed for inflatable pool toys, as these can cause damage to the toy.
- Don’t try to inflate a pool toy without the necessary attachments or accessories, as this can affect the quality of inflation results and potentially damage the toy itself.
- Do not leave your pump unattended when inflating pool toys to avoid potential accidents or mishaps during inflation/deflation. Safety comes first!
By following these simple tips and tricks, you can ensure that you inflate your pool toys successfully and safely every time. Have a wonderful summer in the pool!
Can You Inflate a Pool With a Hairdryer?
No, you cannot inflate a pool with a hairdryer. Hairdryers are not powerful enough to inflate large or thick pools and could potentially cause damage to the pool walls. We recommend using an air pump specifically designed for the inflation/deflation of pool toys and accessories in order to ensure successful inflation/deflation every time.
Additionally, never leave your air pump unattended when inflating or deflating pool toys, as this can lead to dangerous situations. Always check the manufacturer’s instructions before use, and ensure you have all necessary attachments and accessories before beginning inflation/deflation.
Safety always comes first when inflating pool toys, so be sure to follow all manufacturer instructions and monitor the process closely! Have fun in the sun this summer!
Happy Inflating!
What is the Best Heat for a Pool?
The best temperature for a pool depends on many factors, including the size of the pool, how often it is used, and who will be using it. Generally speaking, most pools should be kept between 78-82°F (26-28°C). Young children and elderly individuals may prefer warmer temperatures (up to 84°F or 29°C), while athletes may find cooler temperatures more comfortable. Ultimately, the ideal temperature for any pool should be determined by its users.
Additionally, when adjusting the temperature of your pool, it’s important to monitor the process closely to ensure that your heater isn’t overworking and that there isn’t an imbalance in water circulation. We also recommend that you check with your local health department for any regulations or requirements regarding pool temperature.
Remember these tips when setting the perfect heat for your pool, and you’ll be set to enjoy a wonderful summer! Have fun in the sun this season!
Conclusion
Inflating pool toys is an art! It can be time consuming and require focus and patience to create the perfect floatable. But once you’ve mastered the technique, inflating pool toys will become a breeze. Now that you have the tools and know-how, it’s time to relish your new skill set.
Whether you want to make this a summer pastime or just an occasional activity, having a plethora of inflatable pool toys on hand is sure to bring joy to all ages. Don’t forget about safety; take precautions when using electric pumps, and always supervise younger children when around water.
Hopefully, the article on how to inflate pool toys has given you a better understanding of the process, and you’re now ready to take on your next challenge. When it comes to inflating pool toys, go on and get out there and have a safe and fun summertime in the sun!
About
Outdoor Fixes is a distinguished figure in the world of Diy design, with a decade of expertise creating innovative and sustainable Diy solutions.
His professional focus lies in merging traditional craftsmanship with modern manufacturing techniques,
fostering designs that are both practical and environmentally conscious. As the author of diy,
outdoorfixes delves into the art and science of outdoorfixes-making, inspiring artisans and industry professionals alike.
Education RMIT University
(Melbourne, Australia) Associate Degree in Design (Outdoor Fixes) Focus on sustainable design, industry-driven projects,
and practical craftsmanship. Gained hands-on experience with traditional and digital manufacturing tools, such as CAD and CNC software.
Nottingham Trent University
(United Kingdom) Bachelor’s in outdoorfixes.com and Product Design (Honors) Specialized in product design with a focus on blending creativity with production
techniques. Participated in industry projects, working with companies like John Lewis and Vitsoe to gain real-world insights.
Publications and Impact
In diy, Outdoor Fixes his insights on indoor design processes, materials, and strategies for efficient production.
His writing bridges the gap between artisan knowledge and modern industry needs, making it a must-read for both budding designers and seasoned professionals.