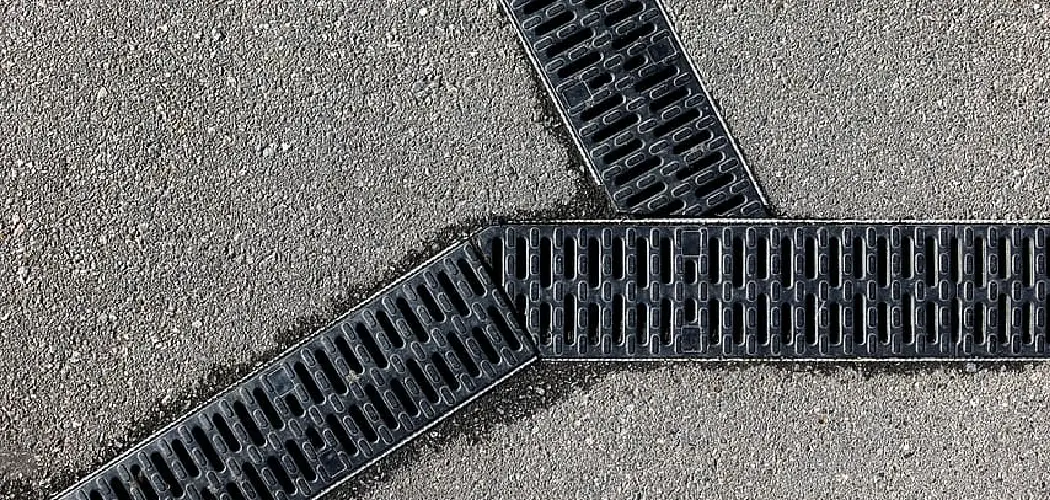
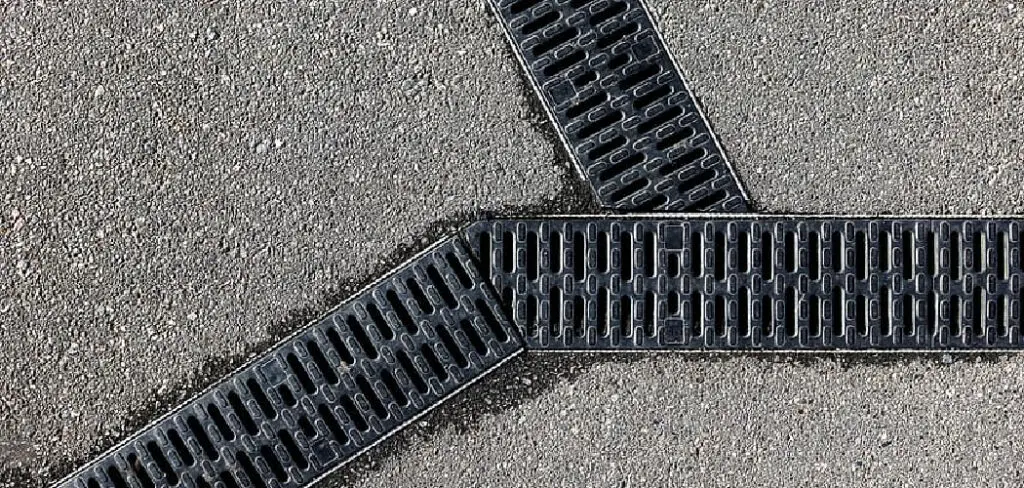
Are you having drainage issues due to water pooling around your home or business? A channel drain, also known as a trench drain, could be just the solution you’re looking for. Not only does it effectively move water away from your property and into an area that can absorb it more efficiently, but installing a channel drain in concrete isn’t nearly as overwhelming of a task as many believe.
In this blog post, we’ll explain how to install a channel drain in concrete by sharing easy-to-follow steps along with helpful tips so that even beginner DIYers can tackle this project like pros!
Tools and Materials You Will Need to Install a Channel Drain in Concrete
1. Safety Glasses
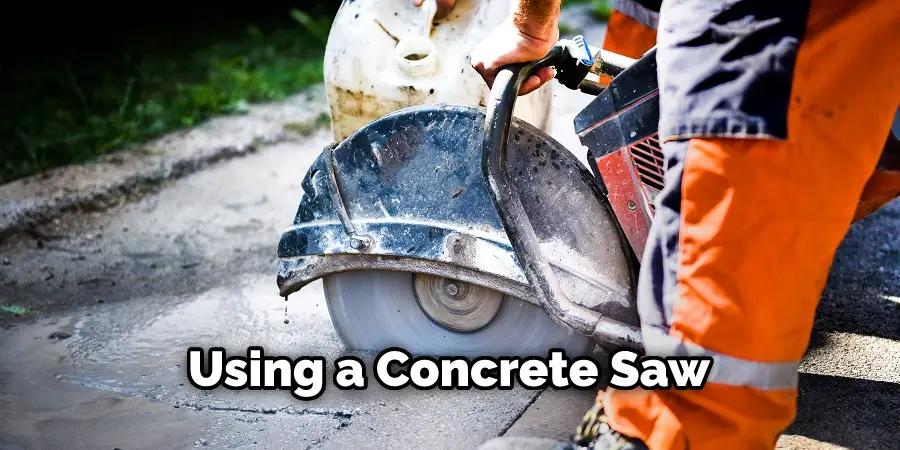
2. Concrete Saw or Hammer Drill with a concrete bit
3. Circular Saw with a masonry blade
4. Channel Drain Kit (includes the drain body, end caps, and T-connectors if needed)
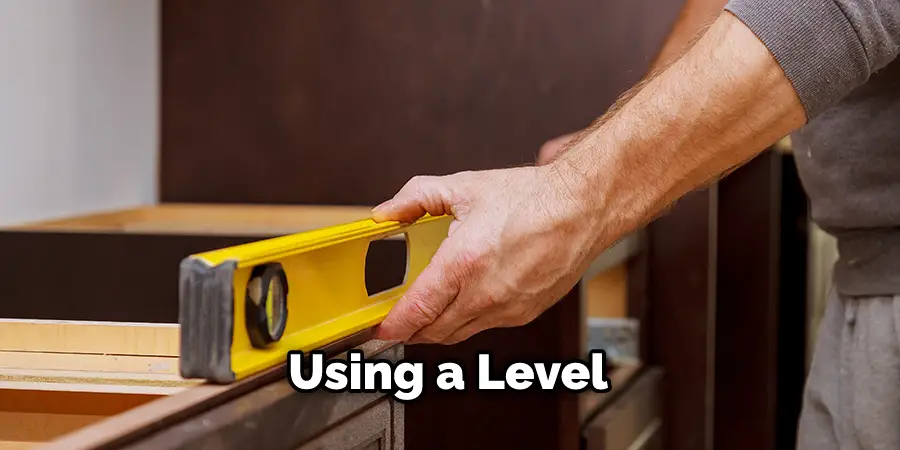
5. Level
6. Caulk Gun
7. Mortar Mix and Polyurethane Grout
8. Shovel
9. Wheelbarrow
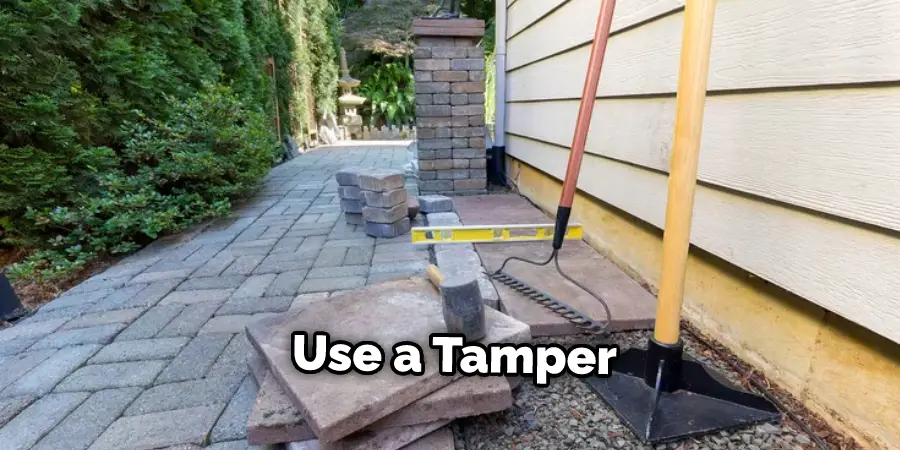
10. Tamper or Compactor
11. Tape Measure
Step-by-Step Guidelines on How to Install a Channel Drain in Concrete
Step 1: Choose the Location for Channel Drain
Choose the best location to install the channel drain. This should be in a spot where water tends to pool, such as near downspouts or along the edge of your driveway. Take measurements and mark off this area with spray paint. Use a level to ensure the area is even.
Step 2: Cut a Trench for the Channel Drain:
With your concrete saw or hammer drill with a concrete bit, cut a trench in the marked-off area to make room for the channel drain. The depth and width of this trench will depend on the type of channel drain you are using. While cutting, wear safety glasses for protection.
Step 3: Cut Openings for the End Caps and T-Connectors:
If you are using a channel drain with end caps or T-connectors, use your circular saw with a masonry blade to cut openings into the sides of the trench. The width of these openings should match that of the end caps and T-connectors you are using.
Step 4: Insert Channel Drain Pieces into Trench:
Gently insert the channel drain pieces into the trench. Start with the drain body and work your way up to the end caps, making sure that everything is fitted tightly together. Use a level to ensure each piece is even with the ground.
Step 5: Fill the Trench with Mortar Mix and Polyurethane Grout:
Mix mortar mix and polyurethane grout in a wheelbarrow according to the instructions on the packaging. Pour this mixture into the trench, filling it up until all of the channel drain pieces are covered. Use a tamper or compactor to tamp down the mixture for better balance and stability.
Step 6: Caulk Around the Perimeter of the Channel Drain:
Use a caulk gun to apply caulking around the perimeter of your channel drain. This will help ensure that water is properly sealed once it enters the channel drain system and prevents any water from seeping through the joins between pieces.
Step 7: Test Channel Drain System:
Once you have completed all of the steps, it’s time to test your channel drain system. Turn on a hose and run water into it for several minutes. If the water is draining away properly, then your installation was successful!
And there you have it! You’ve just completed your successful installation of a channel drain in concrete. With regular maintenance and care, this system should last you many years and keep your property waterlogging-free. Good luck with the project – we hope our instructions were helpful!
Additional Tips and Tricks on How to Install a Channel Drain in Concrete
- Consider using a concrete saw to make the cut in the surface that you’ll use for your channel drain. This will help ensure an evenly cut line and a more precise fit for the drain.
- Make sure to follow all safety guidelines when working with power tools or other such equipment during the installation of your channel drain. Wear protective gear and take the necessary precautions to ensure an accident-free experience.
- Use a spirit level to make sure that your channel is level before pouring concrete around it. This will help prevent water from pooling or backing up in the drain after installation.
- If you’re using a flexible channel, use clamps to hold the drain in place while you pour concrete around it. This will ensure a secure fit that won’t move during the pouring process.
- Once you’ve poured the concrete, make sure to trowel it smooth and level so that it fits flush with your surrounding surface.
- Give yourself plenty of time when installing the drain, as this job requires precision and patience to ensure a watertight fit.
- Once the concrete has been set, test the drain for any potential leaks or blockages by pouring some water into it and checking for any signs of overflow or drainage problems. If needed, adjust your channel accordingly so that it functions properly.
- Finally, make sure to give the concrete around your channel a good sealant after installation to protect it from water damage and corrosion. This will help ensure that your drain stays in working order for many years to come.
Overall, installing a channel drain in concrete is not an overly difficult task and can be done by a novice DIYer with some guidance and care. Following these tips and tricks, you can install your drain properly in no time! Good luck!
Things You Should Consider While Installing a Channel Drain in Concrete
- Consider the size of your channel drain. Your channel drain should be large enough to accommodate the water flow rate needed for your project. The size of the channel and grating should match the water flow rate you need, so it’s important to measure before you purchase any materials correctly.
- Select a type of material for your channel drain. The most common material is concrete, but you can also find plastic or metal channel drains. Concrete is the most durable and long-lasting option, but plastics and metals are less expensive and easier to install.
- Position your channel drain correctly for your application. You want to ensure it is level with the ground and the water can flow correctly through. Consider the slope of the ground and any other obstructions in your path that may affect the flow of water.
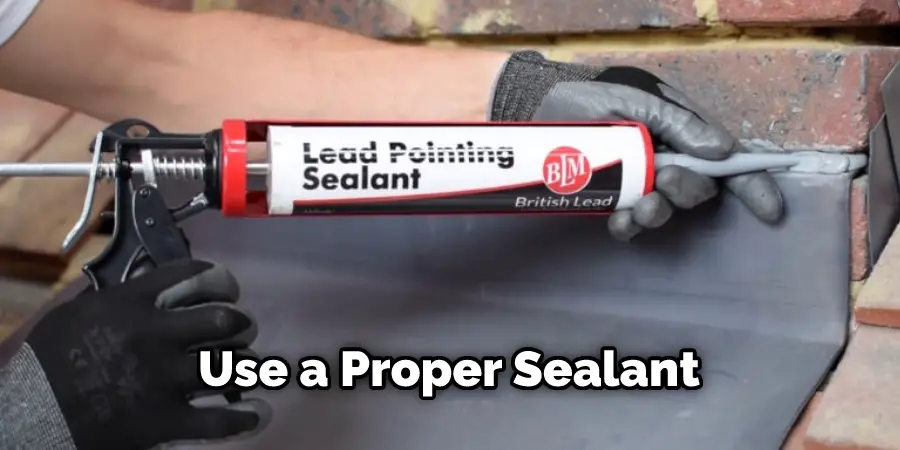
- Use a proper sealant when connecting your channel drain with concrete. Make sure that you get a good waterproof seal for all of your connections so that no water leaks out.
- Test the flow of your channel drain after installation. Ensure that it is working properly and that no debris or other objects obstruct the flow of water. If you find any problems, take steps to correct them before you use the drain for its intended purpose.
By following these tips when installing a channel drain in concrete, you can ensure that the job is done correctly and your drainage system will be working properly for years to come. With a little bit of preparation and research beforehand, installing a channel drain in concrete should be a relatively easy task. Good luck!
Frequently Asked Questions
What Size Drain Should I Install?
The size of the drain depends on the amount of water that needs to be drained away. Generally, a 2-inch channel drain is suitable for driveways and other areas with light water flow. Larger drains, such as 4- or 6-inch channel drains, are used in areas where there is a large amount of water flowing through the drain.
How Deep Should I Install the Channel Drain?
The channel drain should be installed at least 1½ inches below the surface of the concrete. This will help ensure that it will not be clogged by debris and dirt buildup and that it can efficiently drain away any water that may enter.
Can I Install a Channel Drain Myself?
Yes, installing a channel drain in concrete yourself is possible with the right tools and supplies. However, if you’re not confident enough in your DIY skills to undertake this project, it’s best to call in a professional with experience with this type of installation.
How Long Will My Channel Drain Last?
A properly installed and maintained channel drain can last for many years. Regular cleaning and maintenance should provide effective drainage protection for your home or commercial property.
Conclusion
Installing a channel drain in concrete may seem intimidating and labor-intensive, but it doesn’t have to be as long as you have the right materials and follow the instructions above. This project is cost-effective and can help extend the lifespan of your driveway or walkway by properly draining water away from these surfaces.
From their durability to their installation convenience, channel drains provide a stellar solution for draining water. Hopefully, this post has demonstrated that although installing a channel drain is not a difficult process, knowing how to install a channel drain in concrete is key to preventing any issues later down the road. Here’s to hoping your installation goes as smoothly as possible!
About
Outdoor Fixes is a distinguished figure in the world of Diy design, with a decade of expertise creating innovative and sustainable Diy solutions.
His professional focus lies in merging traditional craftsmanship with modern manufacturing techniques,
fostering designs that are both practical and environmentally conscious. As the author of diy,
outdoorfixes delves into the art and science of outdoorfixes-making, inspiring artisans and industry professionals alike.
Education RMIT University
(Melbourne, Australia) Associate Degree in Design (Outdoor Fixes) Focus on sustainable design, industry-driven projects,
and practical craftsmanship. Gained hands-on experience with traditional and digital manufacturing tools, such as CAD and CNC software.
Nottingham Trent University
(United Kingdom) Bachelor’s in outdoorfixes.com and Product Design (Honors) Specialized in product design with a focus on blending creativity with production
techniques. Participated in industry projects, working with companies like John Lewis and Vitsoe to gain real-world insights.
Publications and Impact
In diy, Outdoor Fixes his insights on indoor design processes, materials, and strategies for efficient production.
His writing bridges the gap between artisan knowledge and modern industry needs, making it a must-read for both budding designers and seasoned professionals.