A pool handrail is more than just a piece of metal; it is a critical safety feature that provides stability for everyone entering and exiting the water. For older adults, young children, or anyone with mobility challenges, a sturdy handrail can be the difference between a confident dip and a dangerous slip.

Beyond its practical function, a sleek stainless steel handrail also adds a polished, finished look to your pool area. While the thought of drilling into your concrete pool deck might seem daunting, it is a project that a confident DIYer can tackle with the right tools and guidance.
This guide will provide a comprehensive, step-by-step look at how to install a pool handrail in concrete, ensuring a secure, professional-grade result that enhances both the safety and beauty of your backyard oasis.
Installing a pool handrail is not only a safety upgrade but also a valuable aesthetic enhancement for your pool area.
Whether you’re aiming to support swimmers of all ages or simply want to boost the overall accessibility of your pool, this project is a worthwhile investment. With a few tools and careful preparation, you can achieve a sturdy and reliable installation that ensures peace of mind for years to come.
Why Install a Pool Handrail?
The primary reason to install a pool handrail is safety. Pools can be slippery, and a sturdy handrail provides essential support for individuals, especially children, the elderly, or anyone with mobility challenges. It reduces the risk of slips and falls while entering or exiting the pool, creating a secure environment for all swimmers.
Additionally, a well-designed handrail enhances the pool area’s functionality and accessibility without compromising its aesthetic appeal. By investing in this feature, you’re prioritizing safety, elevating convenience, and adding a polished touch to your poolside space.
Tools and Materials
To install a pool handrail effectively, you will need the following tools and materials:
- Drill and drill bits – For creating precise holes in the pool deck.
- Measuring tape – To ensure accurate placement and alignment.
- Wrench set – For securing bolts and fittings.
- Pool handrail anchors – To provide a stable and durable base for the handrail.
- Epoxy or anchoring adhesive – To secure the anchors firmly into the deck surface.
- Marker or chalk – For marking the installation points.
- Level – To ensure proper positioning and alignment of the handrail.
Having the right tools and high-quality materials is essential for a safe and professional handrail installation that stands the test of time.
Step-by-Step Guide on How to Install Pool Handrail in Concrete
Step 1: Position and Mark the Handrail Placement
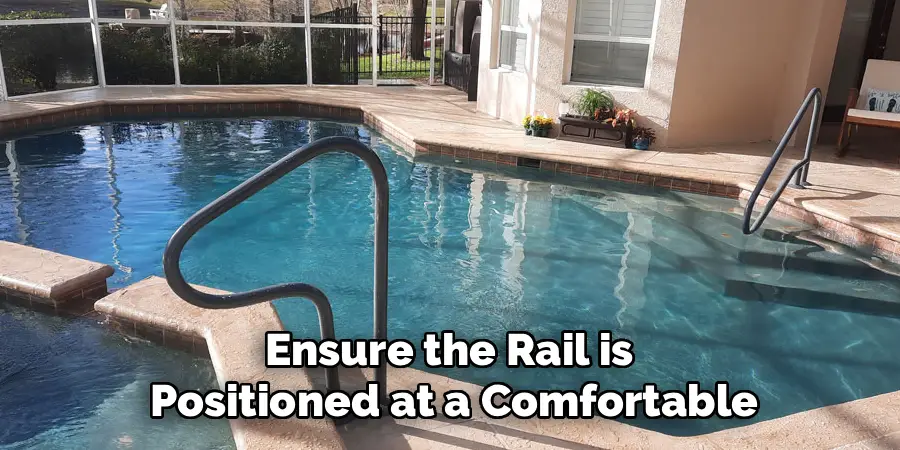
The first task is to determine the exact location for your new handrail. Assemble the handrail and place it on the concrete deck where you intend to install it. Standard placement for entry rails is at the top step, where it is most useful for getting in and out.
Ensure the rail is positioned at a comfortable angle and distance from the pool’s edge, typically with the anchor points about 8 to 12 inches back from the coping.
Once you are satisfied with the placement, use a pencil or a permanent marker to carefully trace the outline of the handrail’s legs onto the concrete. This gives you a precise guide for where the anchor sockets will be installed.
Step 2: Core Drilling the Holes
This is the most critical part of the installation. You will need to rent a heavy-duty core drill with a 4-inch diamond-tipped bit. This specialized tool is designed to cut clean, perfectly round holes in concrete without cracking it. Position the core drill bit directly over one of the circles you marked in the previous step.
It is helpful to start the drill at a slight angle to create a groove, then slowly bring it to a 90-degree vertical position. Use a steady, firm pressure, allowing the drill to do the work. A continuous flow of water on the bit is essential to keep it cool and flush out debris. Drill down to a depth of at least 4 inches for a secure anchor.
Step 3: Clean Out the Drilled Holes
After you have successfully drilled both holes to the required depth, you need to thoroughly clean them out. The holes will be filled with a concrete slurry and a solid core of concrete that you just drilled out. Use a hammer and a chisel or a long screwdriver to carefully break up the core and remove it in pieces.

Once the large pieces are out, use a shop vacuum to suck out all the remaining dust, debris, and water. A clean and dry hole is absolutely essential for the anchoring cement to create a strong, permanent bond with the surrounding concrete deck. Any leftover dust or moisture can compromise the integrity of the entire installation.
Step 4: Prepare for Electrical Bonding
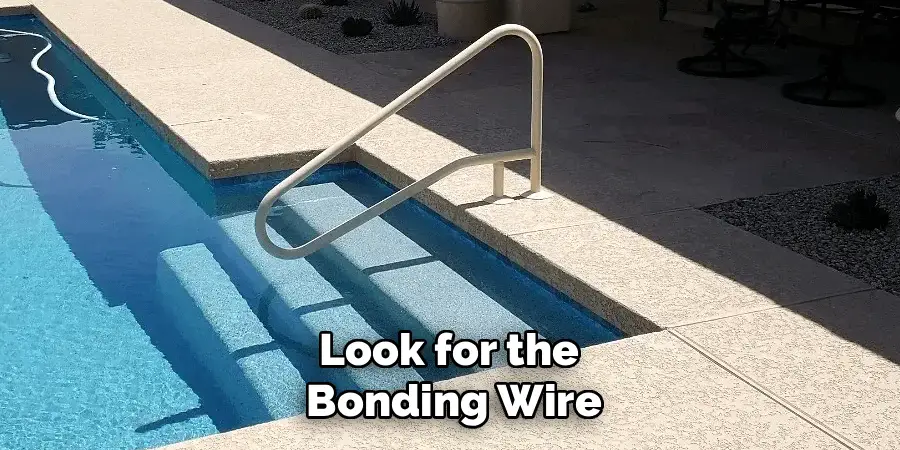
If you are installing a metal handrail, it must be electrically bonded to your pool’s existing bonding grid to prevent electrical shock. This is a critical safety step mandated by the National Electrical Code. The bonding wire is typically a solid #8 bare copper wire that runs around the perimeter of your pool, connecting all metal components.
Look for the bonding wire near one of the drilled holes. If it is not visible, you may need to carefully chip away a small channel in the concrete between the hole and the pool’s edge to find it. You will be embedding one end of a bonding lug into the cement with the handrail.
Step 5: Mix the Anchoring Cement
You must use a specialized anchoring cement, not standard concrete mix. Anchoring cement is a fast-setting, high-strength, non-shrinking grout designed specifically for this purpose.
Following the manufacturer’s instructions, mix the cement powder with water in a small bucket until you achieve a thick, pourable consistency similar to pancake batter or a thick milkshake.
Do not mix more than you can use in about 10-15 minutes, as the cement begins to set very quickly. Only mix enough for one hole at a time to avoid wasting material or rushing the installation process. Proper consistency is key to ensuring the cement flows into all the voids and creates a solid anchor.
Step 6: Set the Anchor Sockets and Bonding Lug
Now it is time to set the hardware into the holes. If your handrail kit uses anchor sockets, these are placed into the holes first. Fill the first hole about halfway with the mixed anchoring cement. If you are bonding the rail, embed the bonding lug into the wet cement in this hole, ensuring the connector end is accessible.
Then, slowly insert the anchor socket, wiggling it to release any trapped air bubbles. Fill the rest of the hole with cement until it is flush with the deck surface. Use a trowel to smooth the top. Repeat the process for the second hole, minus the bonding lug.
Step 7: Insert the Handrail into the Sockets
With the anchor sockets set in wet cement, you can now install the handrail itself. It is important to do this while the cement is still wet to ensure a perfect alignment. Carefully slide the legs of the handrail into the anchor sockets. The handrail should slide down smoothly. If it feels tight, do not force it.
Instead, gently wiggle it back and forth as you apply downward pressure. The goal is to have the handrail legs fully seated in the anchors while the cement cures around them, locking everything into a single, solid unit. Ensure the handrail is perfectly plumb and level before the cement sets.
Step 8: Clean Up Excess Cement
As you inserted the handrail, some anchoring cement likely squeezed out and onto the deck. You must clean this up immediately before it has a chance to harden.
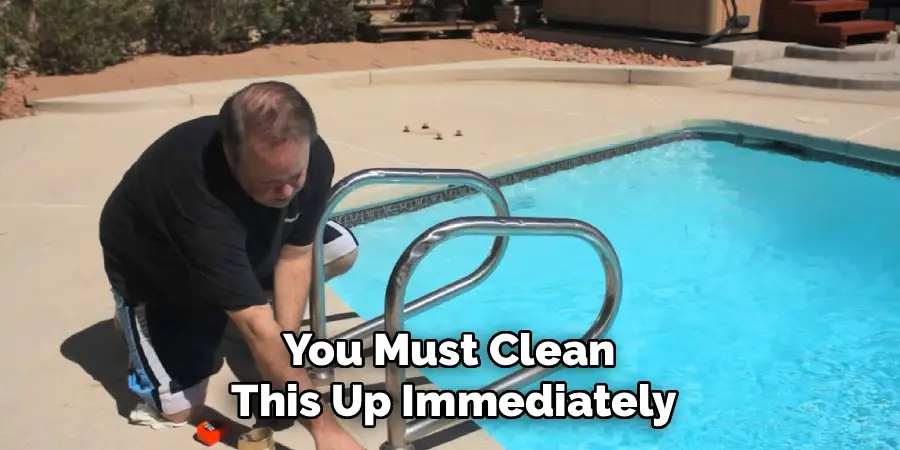
Use a wet sponge or cloth to carefully wipe away all the excess cement from the pool deck and the base of the handrail. Be careful not to disturb the handrail’s position.
Once clean, use a level to double-check that the handrail is perfectly vertical. If it is leaning, make minor adjustments now. This is your last chance to get the alignment perfect before the cement becomes immovable.
Step 9: Install the Escutcheon Plates
The escutcheon plates are the decorative metal rings that cover the anchor points, providing a clean, finished look. Before the cement fully cures, slide these plates down the legs of the handrail so they sit flush against the concrete deck.
They should be slightly embedded in the very top layer of the wet cement. Once the cement is dry, you will connect the bonding wire from the pool grid to the bonding lug you installed earlier. Use a proper split-bolt connector to ensure a secure electrical connection, and wrap it with electrical tape. This completes the essential safety bonding.
Step 10: Allow for Curing Time and Final Testing
The anchoring cement needs time to cure and reach its full strength. Most anchoring cements set quickly but require at least 24 to 72 hours to fully cure, depending on the product and weather conditions. Do not use or put any pressure on the handrail during this time.
Refer to the cement manufacturer’s instructions for specific curing times. After the recommended time has passed, give the handrail a firm shake. It should feel completely solid and immovable. If there is any wobble, the installation was not successful, and you may need to redo the process.
Common Installation Mistakes
When installing a handrail, there are several common mistakes that can compromise its stability and safety. One frequent error is failing to properly clean the mounting surface before applying the anchoring cement. Dirt, dust, or debris can weaken the bond between the cement and the surface, causing the handrail to become loose over time.
Another mistake involves not drilling the correct depth or diameter of holes for the anchor bolts. Holes that are too shallow or narrow may prevent the bolts from being securely fixed. Additionally, skipping the step of checking that the handrail is level before securing it can lead to an uneven installation, affecting both functionality and aesthetic appeal. Finally, not allowing the cement to fully cure before testing or using the handrail is a critical error, as this can weaken the bond and result in failure under pressure. Avoiding these mistakes is crucial to ensuring a durable and safe installation.
Frequently Asked Questions
What Is the Best Cement to Use for a Pool Handrail?
You should always use a specialized, fast-setting, non-shrinking anchoring cement. Products like “Rockite” or “Sakrete Anchor Cement” are specifically designed for this purpose. They expand slightly as they cure, which locks the anchor socket tightly into the concrete hole. Do not use standard concrete or mortar mix, as it can shrink, crack, and will not provide the necessary strength to secure the rail safely.
What Is Electrical Bonding and Why Is It Important?
Bonding is the practice of connecting all metal components of a pool (ladders, lights, pumps, handrails) together with a solid copper wire. This creates an equal electrical potential across all items, preventing dangerous voltage gradients in the water that could cause electric shock. It is a critical safety requirement mandated by the National Electrical Code (NEC) for all swimming pools and is not optional.
How Deep Do I Need to Drill the Holes?
For a standard residential pool handrail, you should drill the holes to a depth of at least 4 inches. This provides enough depth for the anchor socket to be securely embedded in the anchoring cement, creating a strong foundation that can withstand the pulling and pushing forces exerted on the handrail during use. Always check the handrail manufacturer’s instructions for any specific depth requirements.
Can I Install a Handrail Without a Core Drill?
While it is technically possible to use a hammer drill with a large masonry bit to drill multiple small holes and then chisel out the main hole, it is strongly discouraged. This method is imprecise, messy, and significantly increases the risk of cracking your concrete deck. Renting a core drill for a few hours is the proper way to do the job, as it creates a perfect, clean hole with straight sides, ensuring the strongest possible installation.
How Do I Remove an Old, Broken Handrail?
Removing an old handrail is often more difficult than installing a new one. If the rail is wobbly, you may be able to work it back and forth until it comes loose. If it is solidly set, you will likely need to use a cut-off wheel on an angle grinder to cut the rail legs flush with the deck. Then, you can use a core drill to drill around the old metal stubs and remove them completely before installing the new rail.
Conclusion
Installing a new handrail is an excellent way to improve the safety and functionality of your pool deck. While the process of core drilling into concrete can seem intimidating, it is a manageable project when broken down into clear, methodical steps. The keys to success are using the right tools, especially a core drill, ensuring a clean installation, and correctly mixing and applying the anchoring cement. By taking your time and prioritizing safety—particularly the critical step of electrical bonding—you can achieve a rock-solid, professional-quality installation. Now that you have this comprehensive guide on how to install pool handrail in concrete, you are ready to take on the project and add a lasting, valuable feature to your pool.
About
Outdoor Fixes is a distinguished figure in the world of Diy design, with a decade of expertise creating innovative and sustainable Diy solutions.
His professional focus lies in merging traditional craftsmanship with modern manufacturing techniques,
fostering designs that are both practical and environmentally conscious. As the author of diy,
outdoorfixes delves into the art and science of outdoorfixes-making, inspiring artisans and industry professionals alike.
Education RMIT University
(Melbourne, Australia) Associate Degree in Design (Outdoor Fixes) Focus on sustainable design, industry-driven projects,
and practical craftsmanship. Gained hands-on experience with traditional and digital manufacturing tools, such as CAD and CNC software.
Nottingham Trent University
(United Kingdom) Bachelor’s in outdoorfixes.com and Product Design (Honors) Specialized in product design with a focus on blending creativity with production
techniques. Participated in industry projects, working with companies like John Lewis and Vitsoe to gain real-world insights.
Publications and Impact
In diy, Outdoor Fixes his insights on indoor design processes, materials, and strategies for efficient production.
His writing bridges the gap between artisan knowledge and modern industry needs, making it a must-read for both budding designers and seasoned professionals.