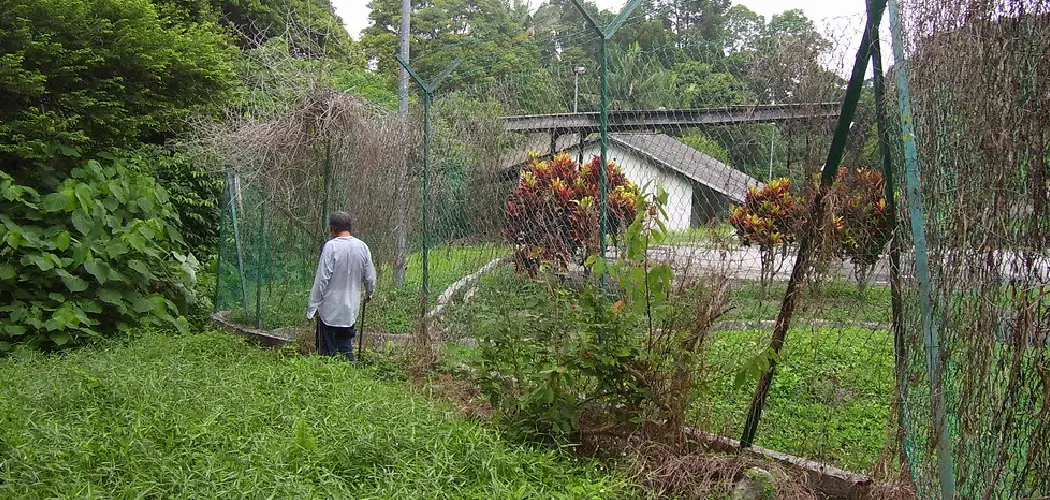
Are you looking for a way to protect your arborvitae from deer? Deer netting is the perfect solution. Installing deer netting on your arborvitae will keep them safe and healthy year-round! Here are the steps of how to install deer netting on arborvitae.

Protecting your arborvitae from deer can be difficult, especially during the winter months when they’re looking for food. Installing deer netting is an effective way to keep browsing deer away without interrupting your landscape design or intruding on their habitat.
In this blog post, we’ll provide step-by-step instructions on installing deer netting properly and safely around arborvitae plants so that both the plant and animal are protected. We’ll also discuss other ways of preventing damage caused by wandering wildlife, such as using covers or decorating items around the area in order to detract any animals from approaching it.
What Will You Need?
Before installing your deer netting, it’s important to ensure you have the right materials and tools. You’ll need the following items:
- Deer netting (1-inch mesh size)
- Garden shears or scissors
- Heavy duty gloves
- Stakes or posts for support (optional)
Once you have all the necessary materials, you can move on to the next step.
10 Easy Steps on How to Install Deer Netting on Arborvitae
Step 1. Measure the Height:
Before you start installing the deer netting, take measurements of how high your arborvitae is. This will help you determine how much netting you’ll need to cover the plant. If you need more than one roll of netting, make sure to overlap the pieces.
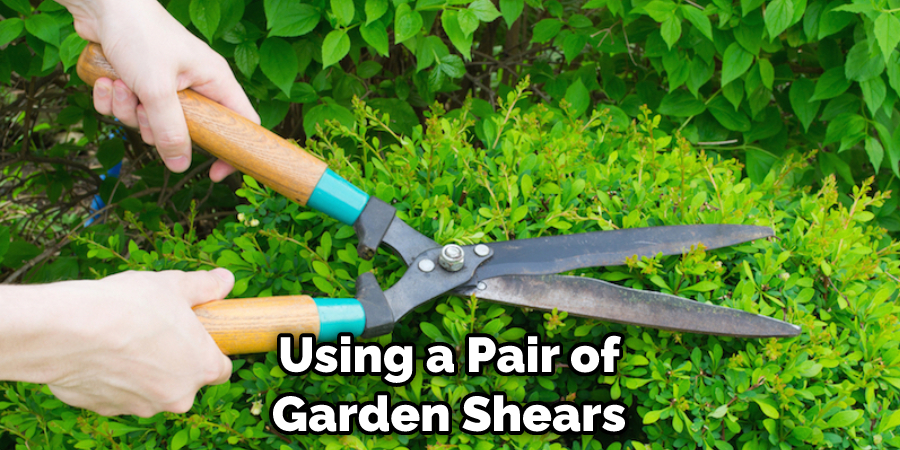
Step 2. Cut the Netting:
Using a pair of garden shears or scissors, carefully cut the deer netting to the desired size. If necessary, you can use a marker to make sure all your cuts are even. Additionally, you may want to cut the netting into two pieces for easier installation.
Step 3. Put on Heavy Duty Gloves:
To protect yourself from sharp edges or scratches, be sure to put on a pair of heavy-duty gloves before handling the deer netting. It will also help you better grip the netting and smooth the installation process. Moreover, safety glasses are a good idea too.
Step 4. Secure the Netting in Place:
Now that you have your netting cut and ready to go, it’s time to start securing it around the arborvitae plant. Start at the bottom and work your way up in a circular motion toward the top of the tree. Make sure that each loop of netting is snug but not too tight.
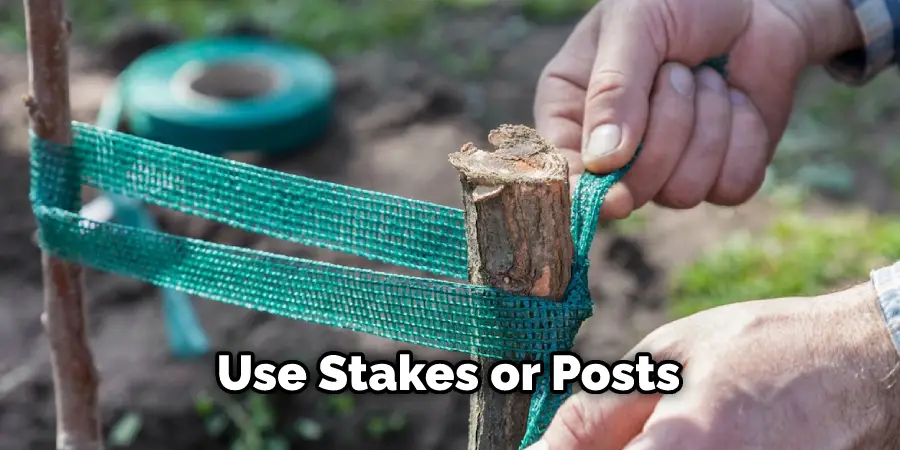
Step 5. Stake or Post for Support:
If you need extra support, you can use stakes or posts to secure the deer netting in place. Place them around the perimeter of your arborvitae at least every two feet, and make sure they are firmly set in the ground. Ensure that the stakes are far enough away from the tree so that they won’t cause any damage.
Step 6. Trim Away Any Excess Netting:
Once the deer netting is installed, inspect it to ensure there aren’t any loose pieces sticking out from underneath. If necessary, trim away any excess material with a pair of scissors or garden shears so that it is neat and tidy. Leave some slack in the netting so your arborvitae can still breathe.
Step 7. Check for Proper Installation:
Check to ensure the deer netting has been properly installed around your arborvitae. Make sure that it is tightly secured so that deer cannot get through any gaps or spaces in the netting. Don’t forget to check the bottom of the plant as well.
Step 8. Add Other Deterrents:
In addition to installing deer netting, you can also add other deterrents such as bright lights, noises, and smells, or decorate the area with items that will attract animals away from the arborvitae. There are also sprays and granules that can be used as a deterrent. Use whatever works best for your needs.
Step 9. Monitor for Damage:
Monitoring your arborvitae for signs of damage caused by wildlife throughout the year is important. If you notice any breaks in the deer netting or browse damage on the plant, take action immediately. It is also important to check your deer netting periodically for any tears or holes.
Step 10. Enjoy Your Arborvitae:
After completing all of the steps above, you can sit back and enjoy your arborvitae, knowing it is safe from deer and other wildlife. You should check on it periodically throughout the year to ensure the netting is still secure and intact. Remember to stay safe and have fun!
Following these simple steps will ensure that your arborvitae is well protected from any wandering wildlife while also providing a beautiful addition to your landscape. With a little bit of effort and proper installation, you can enjoy your arborvitae with peace of mind!
5 Additional Tips and Tricks
- Make sure you measure the dimensions of your arborvitae accurately before purchasing deer netting or other protective products. This will ensure that you get the right size for your plants.
- Cut the deer netting to size if necessary, and fasten it securely around the arborvitae. Make sure that the netting is pulled taught and the edges are secure so deer won’t be able to get through.
- Don’t forget to install a ground barrier around your arborvitae if you suspect deer may try to dig their way underneath the netting. This might include rocks, gravel or even a fence line.
- If aesthetic considerations are important, consider using plastic or metal posts to support the deer netting rather than wooden ones, which can quickly rot in moist conditions.
- Finally, inspect your installation regularly for any signs of wear and tear – and replace it if necessary! Doing this will help keep your plants safe from hungry deer all year round.
By following these simple steps, you’ll be able to successfully install deer netting on arborvitae and protect your plants from hungry critters!
5 Things You Should Avoid
- Not Properly Measuring the Deer Netting: Make sure to get accurate measurements of the area where you are installing deer netting. Measure how wide and how tall it is so that you can purchase enough material for your project.
- Skipping the Staking Step: Once you have unfolded the deer netting, make sure to stake it down securely to ensure it stays in place. If not, wind or other weather conditions may cause your fence to move around, leading to damage or gaps developing between posts where animals can easily pass through.
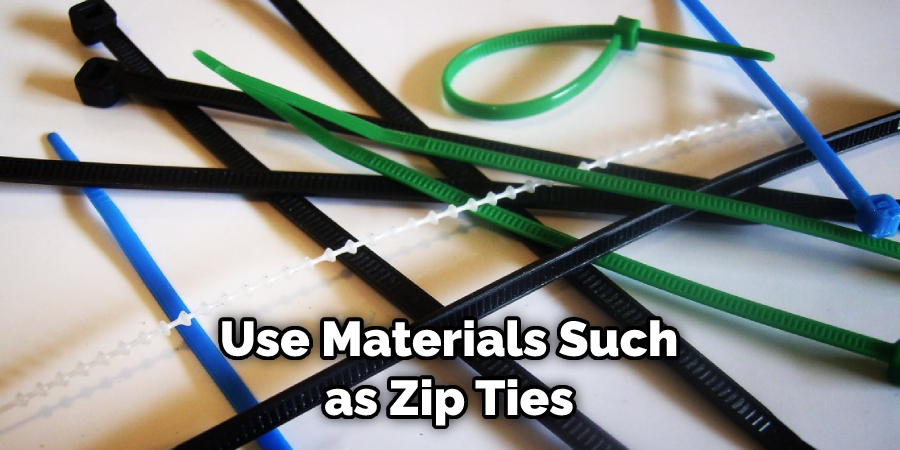
- Improperly Attaching Netting to Arborvitae: You should always use materials such as zip ties or wire when attaching deer fencing to an arborvitae tree or any other type of fence. This will ensure that the netting stays securely attached and won’t become loose over time or in bad weather conditions.
- Not Using Enough Fencing: Make sure to buy more than you think you’ll need, as it is better to have too much material rather than not enough when installing deer netting on arborvitae. That way, you can ensure your fence is secure with no gaps where animals can enter.
- Failing to Inspect Your Work: After the installation is complete, make sure to check the fence thoroughly for any possible holes or weak spots where deer may be able to gain access to your garden or yard. Regularly inspecting and maintaining your fence is essential if you want to ensure that it remains effective in keeping deer out.
By following the above steps and avoiding these five common mistakes, you can easily ensure that your fence is properly installed and that it will effectively keep deer away from your landscape.
What is the Best Deer Repellent for Arborvitae?
The best deer repellent for arborvitae is a combination of physical fencing and chemical deterrents. Physical fencings, such as netting or chicken wire, should create a barrier preventing deer from accessing the tree.
However, this alone may not be enough to deter them completely. Chemical deterrents, such as commercial sprays or homemade solutions made of garlic, chili pepper flakes or vinegar, can also be applied around the base of the tree to help keep deer away.

Additionally, motion-activated sprinklers can be used in areas where deer are frequent visitors to scare them away with sudden bursts of water.
Finally, if all else fails, noise makers and bright lights can also help to repel deer from your arborvitae. With a combination of these tactics, your arborvitae should be safe from hungry deer!
Conclusion
Installing deer netting on arborvitae can seem like a daunting task. Whether it is a large, full-size arborvitae hedge or a single arborvitae tree in your yard, the steps to install deer netting remain the same.
By following these simple steps on how to install deer netting on arborvitae, you’re taking one more step towards protecting your arborvitae trees and hedges from deer damage. You should also remember to check the deer netting periodically and re-secure stakes after heavy weather events while also removing any debris or waste that may have become trapped in the netting.
Many homeowners find creative ways to camouflage their deer netting with other plants, but whichever method you choose, it’s essential to know how and when to install it correctly for optimal protection of your trees. Thanks for reading!
About
Outdoor Fixes is a distinguished figure in the world of Diy design, with a decade of expertise creating innovative and sustainable Diy solutions.
His professional focus lies in merging traditional craftsmanship with modern manufacturing techniques,
fostering designs that are both practical and environmentally conscious. As the author of diy,
outdoorfixes delves into the art and science of outdoorfixes-making, inspiring artisans and industry professionals alike.
Education RMIT University
(Melbourne, Australia) Associate Degree in Design (Outdoor Fixes) Focus on sustainable design, industry-driven projects,
and practical craftsmanship. Gained hands-on experience with traditional and digital manufacturing tools, such as CAD and CNC software.
Nottingham Trent University
(United Kingdom) Bachelor’s in outdoorfixes.com and Product Design (Honors) Specialized in product design with a focus on blending creativity with production
techniques. Participated in industry projects, working with companies like John Lewis and Vitsoe to gain real-world insights.
Publications and Impact
In diy, Outdoor Fixes his insights on indoor design processes, materials, and strategies for efficient production.
His writing bridges the gap between artisan knowledge and modern industry needs, making it a must-read for both budding designers and seasoned professionals.