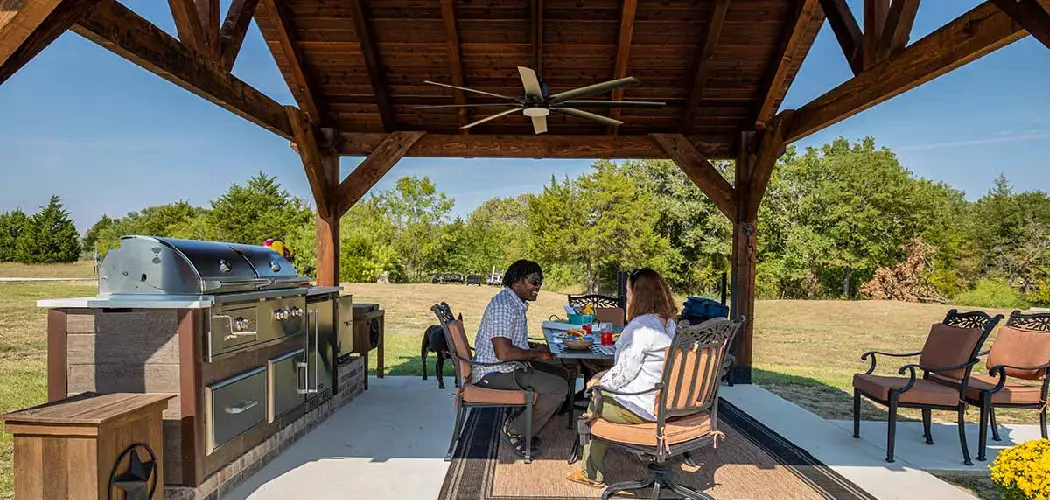
Installing a gazebo on concrete can transform an ordinary patio or outdoor area into a delightful retreat where you can relax, entertain, or simply enjoy the beauty of your surroundings.
Whether you’re envisioning a cozy backyard escape or a functional space for gatherings, getting the installation right is crucial for stability, safety, and aesthetics. Concrete surfaces provide a sturdy foundation for your gazebo, but the process can be quite different from setting it up on soft ground.

From selecting the ideal location and anchoring methods to ensuring level placement, there are several key considerations to keep in mind. In this comprehensive guide, we will take you through the step-by-step process of how to install gazebo on concrete, helping you achieve a secure, attractive, and long-lasting addition to your outdoor living space. So, let’s dive into the details and create a solid foundation for your gazebo dreams to come true.
The Benefits of Installing a Gazebo on Concrete
Installing a gazebo on concrete can provide many benefits for homeowners. One of the most obvious benefits is that it allows you to enjoy your outdoor space without worrying about the condition of the ground or wet weather. Installing a gazebo over concrete also helps protect the structure from being damaged by wind and rain, saving you money in repairs and maintenance.
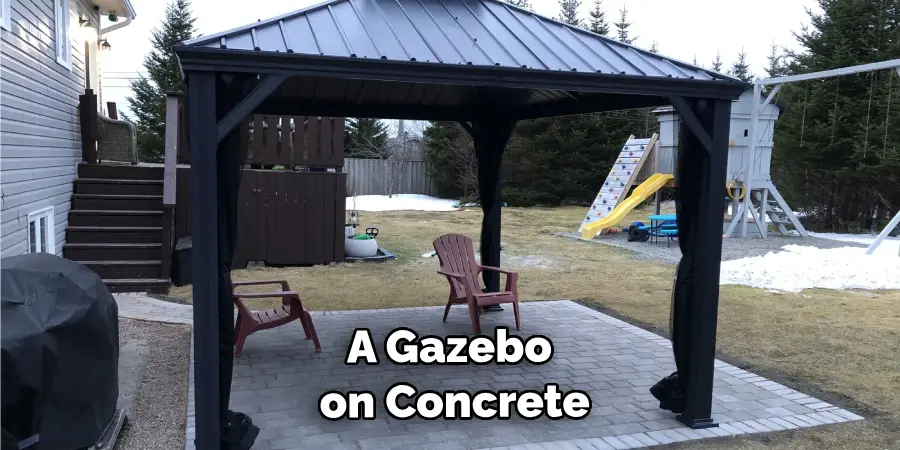
Installing a gazebo on concrete can also make your outdoor space look more attractive. By placing the gazebo on an existing surface, you don’t have to worry about leveling and preparing the ground before installation. This makes it easier to install furniture or other items in your outdoor area without worrying about them sinking into mud or dirt.
In areas with lots of wind or rain, installing a gazebo over concrete can also provide protection from the elements. It helps to keep your outdoor area protected from stormy weather and strong winds. This is especially important if you have furniture or other items that could be damaged by heavy rains or strong gusts of winds.
Choosing the Location for the Gazebo
The location of the gazebo is important since it will affect how long the gazebo lasts and also its ability to provide ample shade. Consider sunlight exposure, wind direction, access to power sources, and other factors such as nearby trees or bushes that may block sun or provide too much shade.
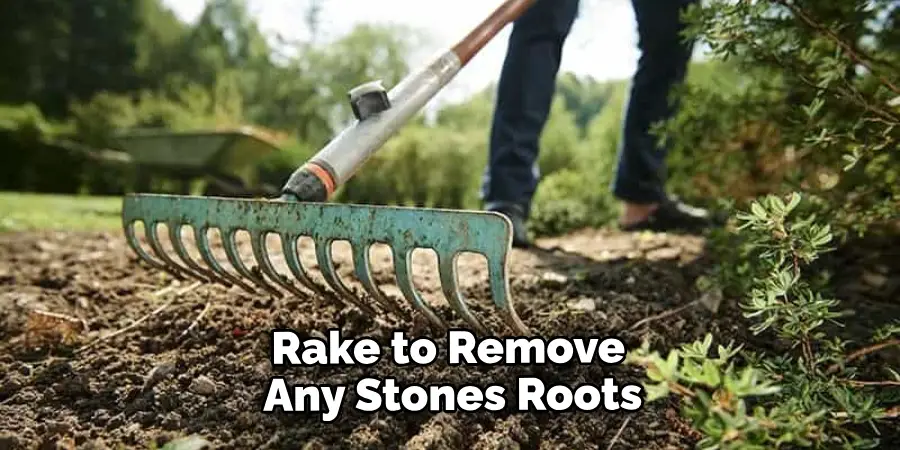
It’s best to place the gazebo in a spot with plenty of daylight and avoid areas that are prone to strong winds. Additionally, make sure that the area is free from tree roots or other obstructions that may hinder installation. If access to a power source is necessary, check for availability and potential wiring requirements.
Once you have chosen an appropriate location for your gazebo, it’s time to prepare the ground for installation. Begin by clearing the area of any debris and brush. It’s best to use a shovel or rake to remove any stones, roots, and other potential hazards that may interfere with the installation process.
Once the area is cleared, level the ground by filling in low spots with soil or sand. If necessary, you can also use concrete pavers or bricks to further even out the surface.
10 Methods How to Install Gazebo on Concrete
1. Pre-drill the concrete
Before you begin installing your gazebo, it is important to pre-drill the concrete in order to ensure a secure attachment. To do this, use a masonry drill bit and drill holes into the concrete where the gazebo will be attached. Make sure to drill deep enough so that the anchor bolts will fit securely into the holes. After pre-drilling, insert the anchor bolts.
Next, it is important to level the gazebo before attaching it to the concrete. Check that all four corners are on a flat surface and that there is no warping in any of them. If you find any unevenness, use shims or wedges under the feet to create a more level foundation. Once the gazebo is level, you are ready to attach it to the concrete.
2. Use Expansion Anchors
Once you have pre-drilled the holes in the concrete, you can then insert expansion anchors into each of them. Expansion anchors are designed to expand when they are inserted into a hole and create a strong bond between the anchor and the material it is attached to.
Expansion anchors come in different sizes to fit the type and size of the hole that you have drilled. When inserting the expansion anchors, make sure they are firmly inserted into the hole and fill any remaining space with an appropriate sealant or expanding foam to ensure a strong bond.
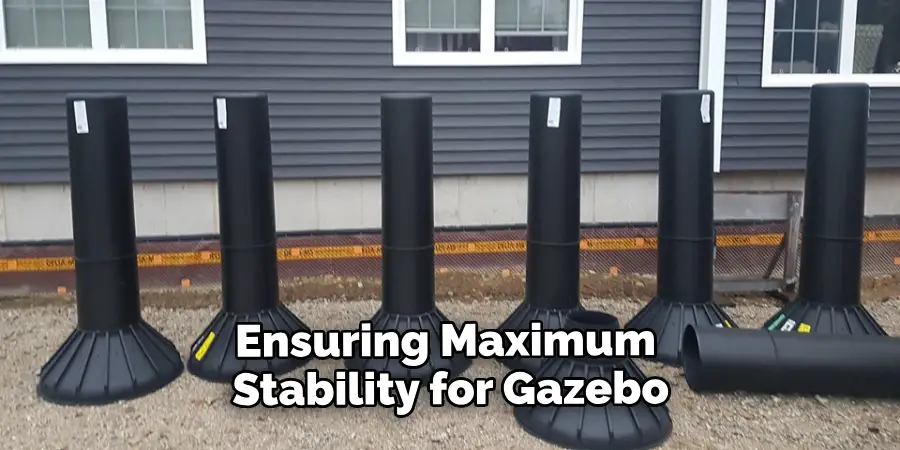
3. Attach Base Plates
Once you have inserted all of your expansion anchors, you can then attach base plates to each one using nuts and bolts. The base plates should be large enough so that they cover most of the area around each anchor bolt, ensuring maximum stability for your gazebo once it is installed.
Once the base plates are securely in place, you can begin to attach the frame of the gazebo to them. Make sure that each piece is tightly secured and that all screws line up correctly for a sturdy installation.
4. Place Gazebo on Base Plates
Once all of your base plates are secured in place, you can then place your gazebo onto them. Make sure that it is centered on top of all of them before moving on to the next step. Then, use nuts and bolts to attach the gazebo firmly onto the plates. If you have a hex key, use it to tighten all of the hardware together tightly. This will prevent any movement and make sure that your gazebo is secure.
5. Secure with Bolts
Now that your gazebo is in position, it’s time to secure it with bolts. Use lag screws or carriage bolts for this step as they will provide additional stability when attaching your gazebo to the concrete below it. Lag screws or carriage bolts should be at least 3/8 of an inch in diameter and a minimum of 2 to 3 inches in length.
Once you have the right type and size of bolt, use a masonry bit to drill into the concrete. Follow up by inserting anchors for added security and finally insert your lag screws or carriage bolts. Tighten them properly and check to ensure they are secure.
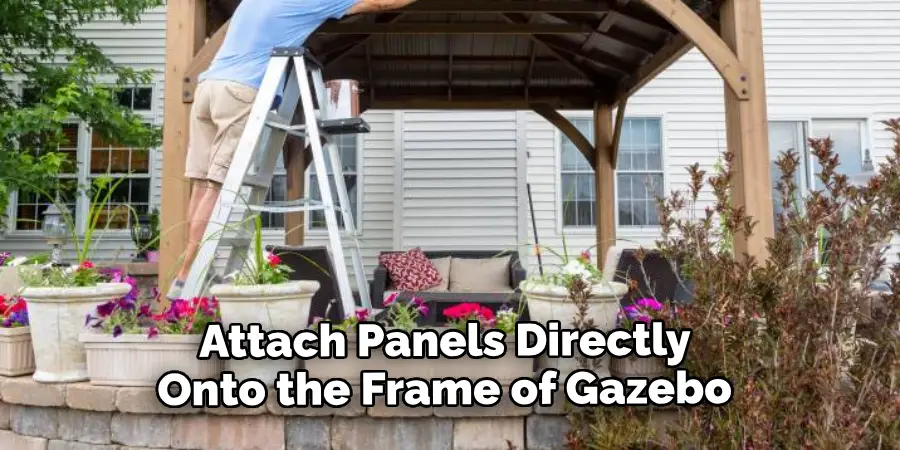
6. Install Lattice Panels
If your gazebo has lattice panels around its sides or roof, now is the time to install them onto your structure as well. You can either attach these panels directly onto the frame of your gazebo or use additional hardware such as screws and nails if needed for extra support and stability. Make sure you use treated wood or galvanized steel to ensure that your panels remain rot-free and durable for years to come.
You will need additional supplies if you decide to go with a thatched roof for your gazebo, as the lattice panels won’t be able to support the weight of the roof materials. For this, you will need heavy-duty wooden joists, roof boards, and felt or tar paper for the thatch material.
7. Add Finishing Touches
Now that all of your structural components are in place, you can add finishing touches such as trim pieces or weatherproofing materials like caulk or sealant around any exposed edges or seams in order to protect against water damage over time due to rain or snowfall exposure.
You can also add outdoor furniture, such as benches or patio chairs, to provide your family and friends with a comfortable place to relax when enjoying the Gazebo. Additionally, you may want to invest in decorative elements like string lights or hanging plants to complete the look of your newly built Gazebo.
8. Install Lighting Fixtures
If desired, you can also install lighting fixtures onto your gazebo at this stage for added ambiance and safety at nighttime hours when using it outdoors after dark hours have set in. Be sure that any electrical wiring used for these fixtures is properly grounded according to local building codes before turning on any power sources connected to these lights.
When installing the light fixtures, make sure to attach them securely to the poles of the gazebo. You should also consider using rust-proof screws or bolts, as well as waterproof sealant to ensure that they do not become loose over time and are protected from water damage in inclement weather conditions.
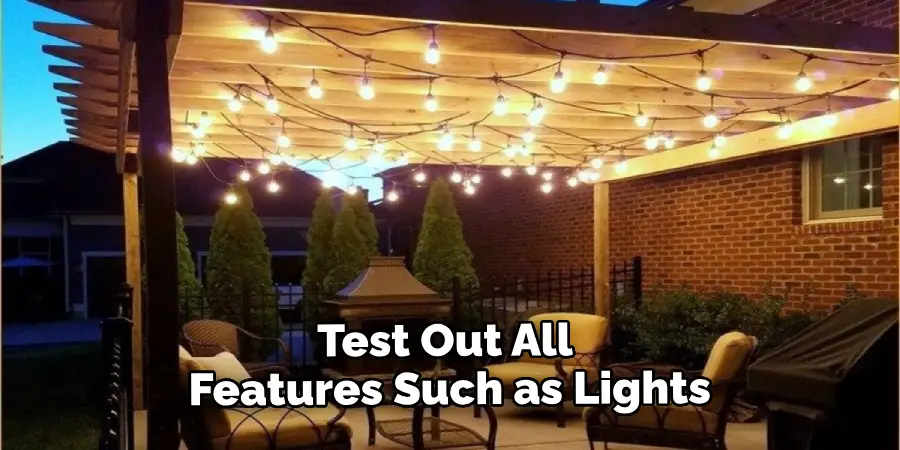
9. Inspect & Test Your Gazebo
After completing all installation steps, be sure to inspect every component thoroughly for any potential issues such as loose screws, warped wood, gaps between boards, etc. Once everything looks good, test out all features such as lights, doors, windows, etc. to make sure everything works correctly before enjoying your newly installed outdoor living space!
10. Enjoy Your New Gazebo!
Now that everything has been checked off from our list above, you can enjoy spending time outdoors under (or inside )your new outdoor living space! Whether entertaining guests or just relaxing by yourself after a long day’s work, make sure to take full advantage of this addition by getting outside and appreciating nature’s beauty!
Things to Consider When Installing Gazebo on Concrete
When installing a gazebo on concrete, there are a few things to consider in order to ensure the installation is successful.
Firstly, it’s important to make sure that the ground is level where you will be installing the gazebo. If the ground isn’t level, this could cause instability when you attempt to install your gazebo. Additionally, the ground should be clear of any debris or items that could potentially interfere with the gazebo’s stability or construction.
Secondly, you will need to determine whether you want a concrete slab installation or an anchor bolt installation for your gazebo. Both types of installations have their advantages and disadvantages, so it’s important to do your research before deciding which type of installation is best for you.
Common Mistakes to Avoid
When installing Gazebo on concrete, it is important to remember a few key points. The following are some of the most common mistakes made when installing a Gazebo on concrete:
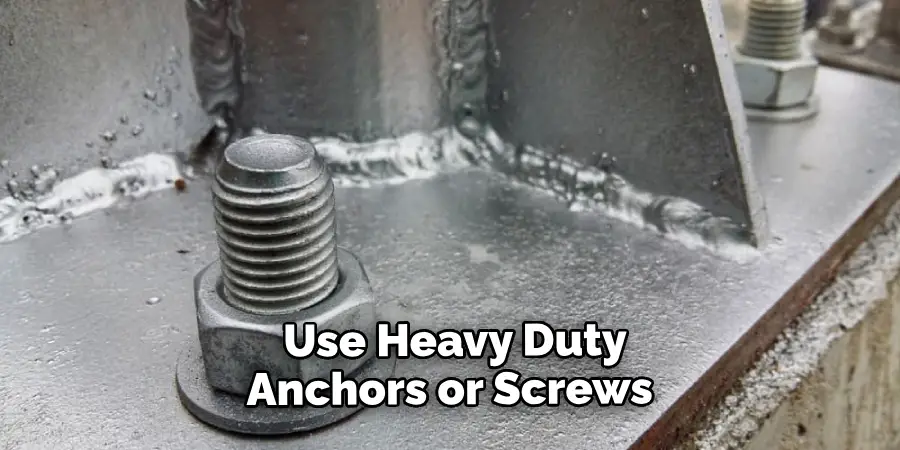
- Not anchoring the structure correctly. It is important to use heavy duty anchors or screws and not rely on gravity alone for stability.
- Failing to use a level to ensure that the Gazebo is placed correctly. A level can help you ensure that the Gazebo is plumb and square.
- Not checking local zoning codes or building regulations for restrictions on installation of permanent structures. Some cities have guidelines regarding how large a structure can be and where it should be located in relation to property lines.
- Not sealing the concrete. Sealing the concrete around the anchor bolts will help protect them from corrosion and help ensure that they are securely in place.
- Not using galvanized hardware and fasteners for permanent installations. Galvanized materials offer better protection against the elements than standard steel or other non-galvanized metals.
Conclusion
Installing a gazebo on concrete is an easy and cost-effective way to add beauty and enjoyment to your outdoor space. By following the steps outlined in this blog post, you should be able to easily complete the task of installing your gazebo on concrete without any problems. Remember to use galvanized or stainless steel screws as well as a sealant when screwing the anchors in.
Additionally, taking the time to level your area and properly spacing out your posts will help ensure that your end result will look great and last for years. Before purchasing materials for installation, always double check measurements so that your gazebo looks just how you envision it when finished. With a few simple steps you can install your gazebo on concrete in no time.
Now that you’re informed on how to install gazebo on concrete, what are you waiting for? Get started today and enjoy the delightful addition of a beautiful outdoor living space in your home!
About
Outdoor Fixes is a distinguished figure in the world of Diy design, with a decade of expertise creating innovative and sustainable Diy solutions.
His professional focus lies in merging traditional craftsmanship with modern manufacturing techniques,
fostering designs that are both practical and environmentally conscious. As the author of diy,
outdoorfixes delves into the art and science of outdoorfixes-making, inspiring artisans and industry professionals alike.
Education RMIT University
(Melbourne, Australia) Associate Degree in Design (Outdoor Fixes) Focus on sustainable design, industry-driven projects,
and practical craftsmanship. Gained hands-on experience with traditional and digital manufacturing tools, such as CAD and CNC software.
Nottingham Trent University
(United Kingdom) Bachelor’s in outdoorfixes.com and Product Design (Honors) Specialized in product design with a focus on blending creativity with production
techniques. Participated in industry projects, working with companies like John Lewis and Vitsoe to gain real-world insights.
Publications and Impact
In diy, Outdoor Fixes his insights on indoor design processes, materials, and strategies for efficient production.
His writing bridges the gap between artisan knowledge and modern industry needs, making it a must-read for both budding designers and seasoned professionals.