
Have you ever noticed your outdoor light fixture stopped working and found glass shards around the base? Installing an outdoor light fixture is an easy way to brighten up your home’s exterior. However, you may find yourself needing to remove the glass that covers the bulb of a newly installed or existing outdoor light fixture. You might be facing a more severe problem than a simple dead bulb. It’s possible that broken glass from within the fixture is causing the issue, in which case it will need to be removed before any new bulb can be added.
Whether you’re replacing a broken piece of glass or simply want to give your outdoor lighting a facelift, it’s important to know how and when to properly remove and replace glass from an outdoor light fixture. In this blog post, we’ll outline the steps necessary for how to remove glass from outdoor light fixture so you can breathe new life into your home’s yard. So if you’ve been wondering how to get rid of pesky pieces of glass, read on!
The Reason for Removing Glass From Outdoor Light Fixture
Before attempting to remove glass from an outdoor light fixture, it is important to determine why you are doing so. Are you replacing a broken piece of glass? Or maybe you’re looking to give your exterior lighting system a more modern look. Regardless, there are certain steps and precautions that should be taken before removing any glass from an outdoor light fixture.
Things to Consider Before Removing Glass From Outdoor Light Fixture
Before you begin removing glass from an outdoor light fixture, make sure to take a few precautions.
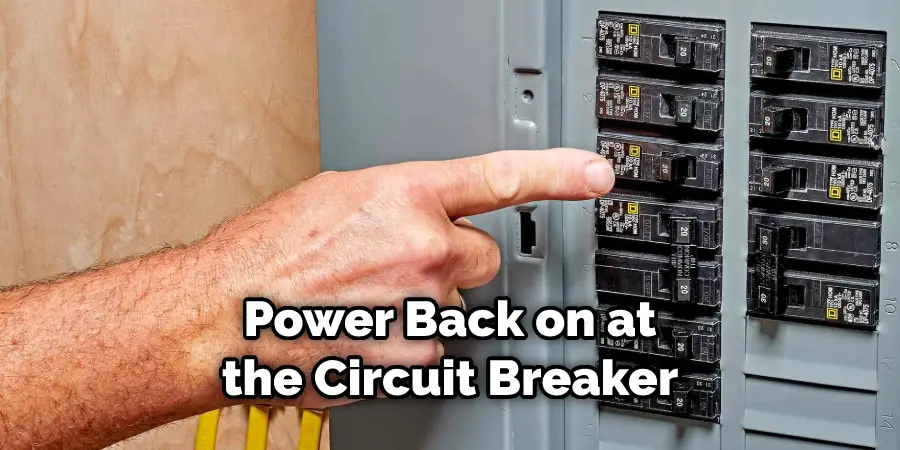
- First, turn off the power to the light fixture at your fuse box or circuit breaker. This is to ensure your safety and avoid electric shock or injury when working with electricity-based items.
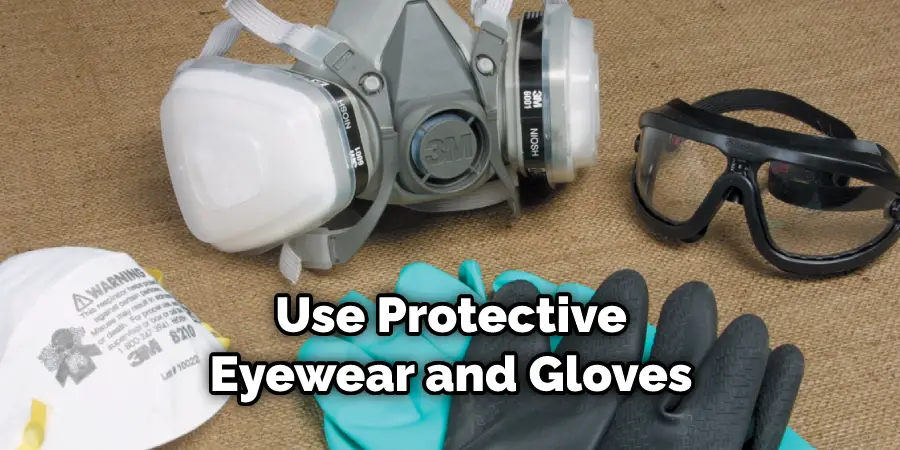
- Second, use protective eyewear and gloves when handling any glass pieces. Protective eyewear and gloves will reduce the risk of cuts, bruises, and potential infections when handling glass.
- Finally, it is important to note that some outdoor light fixtures may require special tools to properly remove the glass. If you are unsure which tools are necessary for your particular light fixture, consult a professional electrician or hardware store associate before attempting
Required Items
- Ladder or step stool
- Safety glasses
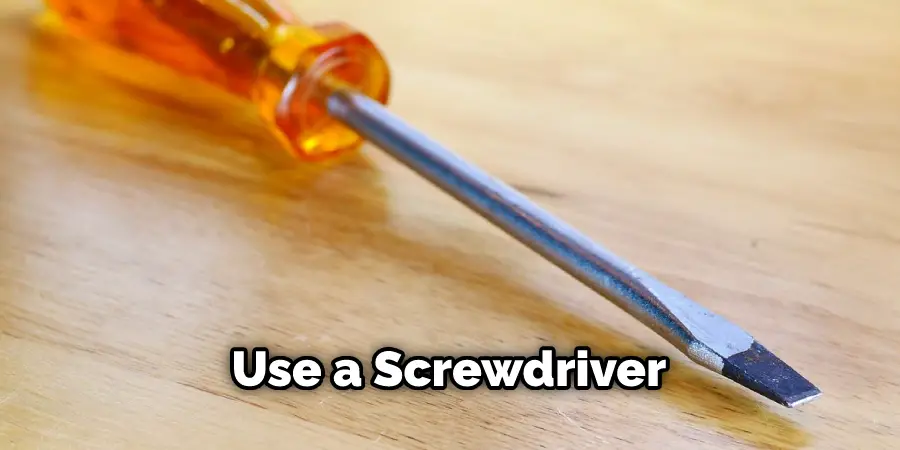
- Screwdriver
- Protective gloves
10 Ways How to Remove Glass From Outdoor Light Fixture
1. Cut Power
Start by turning off the power to your outdoor light fixture at the circuit breaker. This will help ensure that you don’t get shocked or injured while attempting to remove the glass from the light fixture.
2. Put on Safety Gear
If you’re working with a live circuit, it’s important to put on some safety gear before attempting to remove the glass from your outdoor light fixture. Wear safety glasses and protective gloves before beginning the removal process.
3. Remove Installed Pieces
In order to access the glass from an outdoor light fixture, you must first remove any surrounding pieces or fixtures that are covering it. If the glass is surrounded by a metal frame or plastic housing, carefully unscrew those parts and set them aside.
4. Unscrew Fixture
Next, use a screwdriver to remove the screws holding the light fixture in place (if any). Once the screws are removed, carefully lift up the fixture to access the glass. Unscrewing the fixture may be easier with a partner to help you.
5. Lift-Out Glass
Gently grab the glass and lift it out from the outdoor light fixture. If the glass is difficult to remove, use a pair of pliers or another tool to help you get a better grip on the edges.
6. Clean Glass
Once the glass has been removed, clean it off using soap and water or a mild cleaning solution to remove any dirt and grime that may have collected on it. Make sure to dry the glass completely before attempting to put it back into the fixture.
7. Install Replacement
If you are replacing the glass with a new one, measure the width and length of the original piece of glass before purchasing a replacement. When installing the new glass, make sure it fits snugly into the light fixture without any gaps.
8. Reassemble the Fixture
Once you have installed the new glass into your outdoor light fixture, begin to reassemble the other components. Make sure to check that each piece is secure and nothing is loose or missing before turning the power back on.
9. Turn the Power On
When everything is in place, turn the power back on at the circuit breaker and test out your new light fixture. If it works properly, you can now enjoy the added light from your outdoor fixture!
10. Repeat as Necessary
Over time, you may need to remove and replace the glass from your outdoor light fixture. By following these steps, you can easily and safely do so without any problems. Just remember to be careful when removing and replacing the glass, as it can break if handled roughly.
By following these steps, you can easily remove and replace the glass from your outdoor light fixture without any problems. Just remember to be careful when handling the glass, as it is delicate and can break if handled too roughly.
8 Safety Measures to Take
- Make sure the power is shut off. Before starting any project with your outdoor light fixture, make sure that you locate the breaker that controls the circuit and switch it off to avoid any electrical shocks or hazards.
- Wear gloves and safety glasses for protection. When working with glass, you should always protect yourself by wearing heavy-duty gloves and safety eyewear.
- Place a rag or cloth over the glass to protect your hands and reduce the risk of cutting yourself if it breaks while you’re handling it. The cloth will also help to protect the glass from shattering.
- Make sure you have a firm grip before removing the glass. Before attempting to remove the glass, ensure that you have a good grip on it and proceed with caution.
- Place something soft under the light fixture while taking out the glass in order to avoid scratching or damaging any surfaces below.
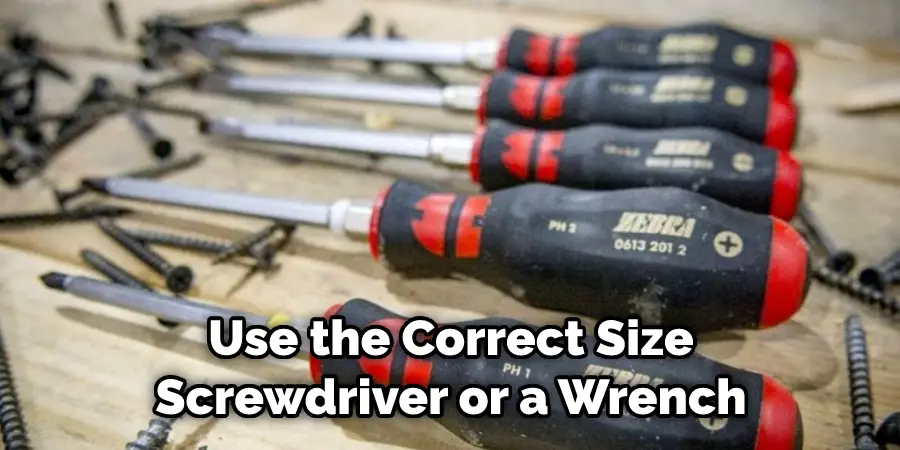
- If you have to work with screws, be sure to use the correct size screwdriver or a wrench if necessary. Ensure that the tool fits snuggly in your hand and will not slip out when being used.
- Dispose of broken glass carefully. When disposing of any broken glass, it’s important to wrap it up in a heavy-duty cloth or bag and discard it in a designated trash bin.
- Properly dispose of all hazardous materials. If you come across any wiring that needs to be removed, double-check that all wires are disconnected before disposing of them properly according to local safety regulations.
By following these steps, you can successfully remove the glass from your outdoor light fixture while ensuring your safety and avoiding any damage to your home or property.
Frequently Asked Questions
How Long Will It Take to Finish the Project?
Removing the glass from an outdoor light fixture can take anywhere from a few minutes to an hour, depending on the complexity of the fixture and how securely it is attached.
Make sure you have all your tools ready before starting so you don’t waste time hunting for them in-between steps. Also, consider wearing gloves to protect your hands from any sharp edges on the glass.
How Should I Dispose of the Glass?
Once you have removed all the glass, you should wrap it in a cloth or newspaper and dispose of it in your regular trash. Do not attempt to recycle it, as glass from outdoor fixtures can contain hazardous chemicals that could contaminate the recycling process.
How Much Will It Cost?
Removing the glass from an outdoor light fixture is generally a very inexpensive project, as you will only need to purchase some basic tools. Depending on the type and size of your light fixture, you may need to buy additional items, such as special screws or replacement parts. The cost of these materials should be minimal.
Conclusion
Ultimately, removing glass from an outdoor light fixture is a fairly simple process. You may need to purchase some necessary tools, but it will be worth the investment if you want to complete the project yourself. Before you replace the glass, make sure that all of the electrical components are secure and that there are no exposed wires or potential hazards anywhere in the surrounding area.
Don’t forget to turn off your power source before starting any work on your outdoor light fixture. Afterward, measure twice and cut once when replacing any parts so that they fit securely into place.
Finally, cleaning and testing your new parts before installing them is key — this way you know they are ready for use before going up outdoors. With some patience, care, and basic DIY knowledge on how to remove glass from outdoor light fixture, you’ll have that light fixture back on in no time!
About
Outdoor Fixes is a distinguished figure in the world of Diy design, with a decade of expertise creating innovative and sustainable Diy solutions.
His professional focus lies in merging traditional craftsmanship with modern manufacturing techniques,
fostering designs that are both practical and environmentally conscious. As the author of diy,
outdoorfixes delves into the art and science of outdoorfixes-making, inspiring artisans and industry professionals alike.
Education RMIT University
(Melbourne, Australia) Associate Degree in Design (Outdoor Fixes) Focus on sustainable design, industry-driven projects,
and practical craftsmanship. Gained hands-on experience with traditional and digital manufacturing tools, such as CAD and CNC software.
Nottingham Trent University
(United Kingdom) Bachelor’s in outdoorfixes.com and Product Design (Honors) Specialized in product design with a focus on blending creativity with production
techniques. Participated in industry projects, working with companies like John Lewis and Vitsoe to gain real-world insights.
Publications and Impact
In diy, Outdoor Fixes his insights on indoor design processes, materials, and strategies for efficient production.
His writing bridges the gap between artisan knowledge and modern industry needs, making it a must-read for both budding designers and seasoned professionals.