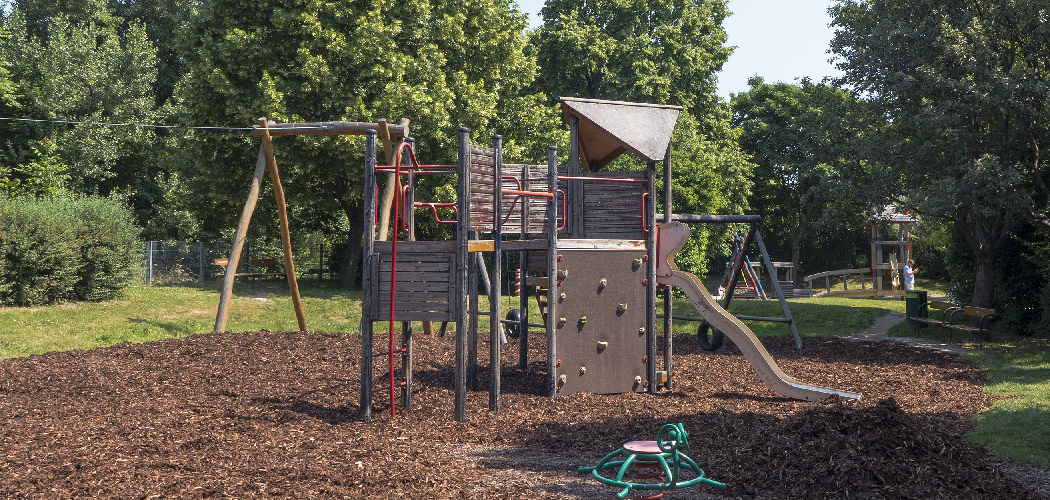
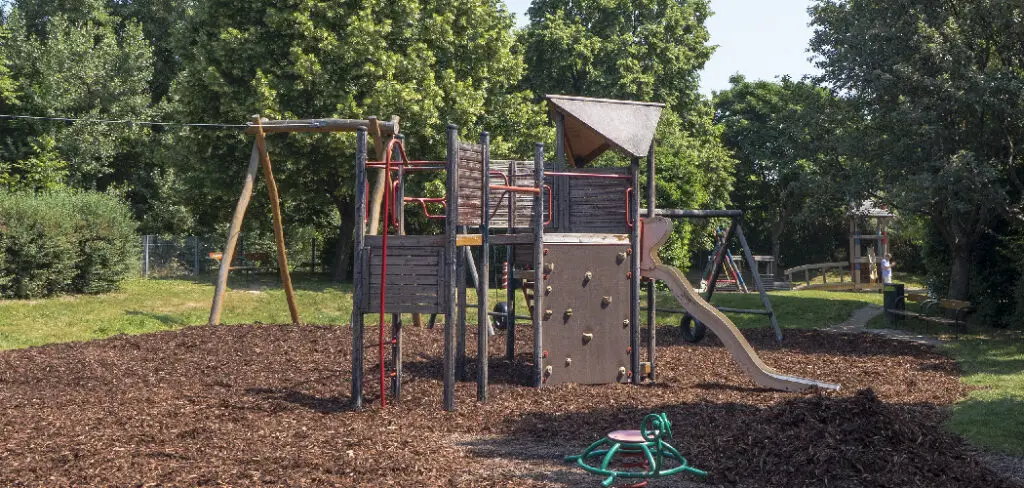
Installing playground mulch is a great way to create a safe and fun play area for kids. Not only does it provide cushioning to reduce the impact of falls, but it also helps keep the surface of the playground clean and free of debris.
But how do you go about installing playground mulch? In this blog post, we’ll walk you through the entire process, step by step. So keep reading to learn more about how to install playground mulch.
Can You Install Playground Mulch?
Installing playground mulch is a great way to provide a safe and fun playing environment for children outdoors. It adds cushioning and absorbs shock, allowing kids to play safely without worrying about injury.
Furthermore, it makes for a vibrant atmosphere that looks great with its many colors and textures. Installing playground mulch might seem daunting, but with some research and the right tools, even novice DIYers can do the job in a few easy steps.
With the proper materials and installation techniques, you can create an inviting backyard playground that your children will enjoy playing in for years to come.
Why Should You Install Playground Mulch?
Installing playground mulch is a great way to enhance the safety and functionality of any play environment. It serves as a safe cushion for kids who may fall off playground equipment, and the mulches also help prevent the spread of disease-causing bacteria, insects, and other pests.
In addition, it can retain moisture and provide insulation during cold winter months. It also helps control weeds from growing in the play areas and makes clean-up easier with its ability to absorb liquid spills.
Overall, having playground mulch installed offers many important advantages for children’s safety and keeping the playground neat and clean.
7 Steps to Follow on How to Install Playground Mulch
Step 1: Choose Your Mulch Type
The first step in installing playground mulch is choosing your type. The two most popular types are rubber mulch and wood chips. Rubber mulch is made from recycled tires and can last up to 10 years with minimal maintenance.
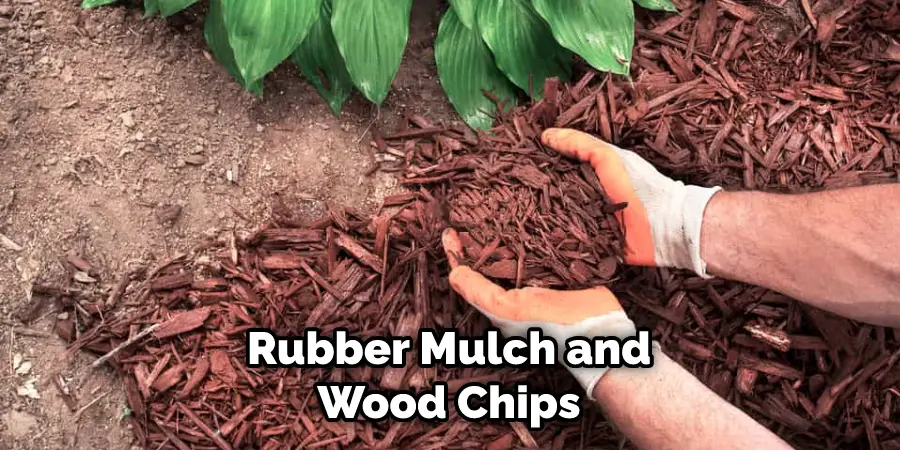
Wood chips are less expensive but may need to be replaced every few years due to weathering or decay. Both types have advantages and disadvantages, so be sure to consider all options before making your decision.
Step 2: Prepare the Area
Once you’ve chosen your type of mulch, the next step is to prepare the area for installation. This includes removing any existing debris or vegetation that may interfere with the installation process and leveling out any uneven ground surfaces so that the mulch will lay evenly when installed.
If necessary, you can use a tiller or rototiller to help level out any rough spots on the ground surface.
Step 3: Lay Down Your Mulch
After preparing the area, it’s time to start laying down your selected type of playground mulch. Again, it’s important to ensure that each layer of mulch is spread uniformly across the entire play area so that no gaps or voids remain uncovered.
Once everything has been properly laid down, use a rake or shovel to smooth out any bumps or irregularities to create an even surface for playing on.
Step 4: Secure the Mulch
Once you’ve laid down your mulch, it’s time to secure it. To do this, simply use a landscaping fabric or geotextile cloth and lay it over top of the mulch. This will help keep everything in place and prevent any shifting or sliding over time.
Step 5: Install Borders
If desired, you can install borders around your playground mulch to give it a more polished look and to help keep the mulch from spilling out of the play area.
Common options for borders include logs, stones, pavers, or even metal edging. Make sure that whatever material you choose is durable and will last for many years.
Step 6: Final Touches
Once the borders have been installed, it’s time to add some final touches. This could include a layer of topsoil, grass seed, or even decorative stones on top of the mulch. This will give your playground area a professional and finished look.
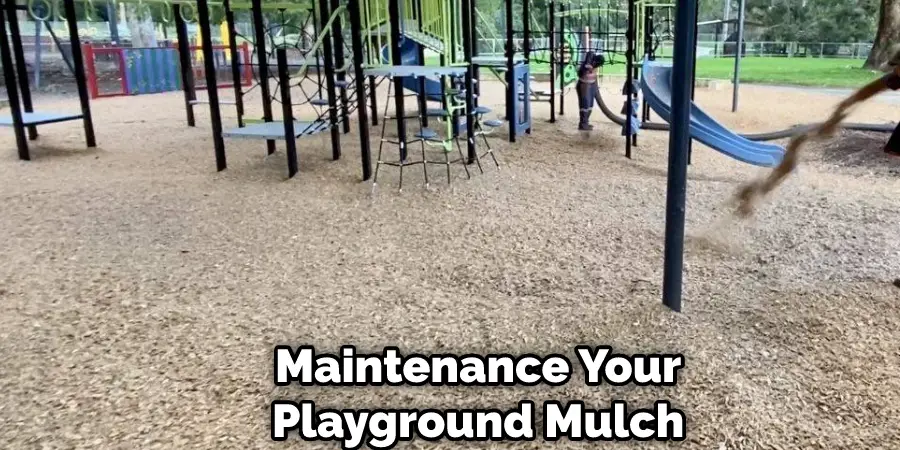
Step 7: Maintenance
Finally, keeping up with regular maintenance for your playground mulch is important. This includes periodic checks for weeds or debris and raking or fluffing the mulch every few months to keep everything looking its best.
With proper care and maintenance, your playground mulch should last for many years of fun and play!
Now that you know how to install playground mulch, it’s time to start your own project! With a little bit of effort and careful planning, you can have the perfect play area in no time.
Things You Need to Know Before Installing Playground Mulch
Installing new playground mulch can be a great way to add both functional and aesthetic value to your playground. Before diving into the project, however, some key factors must be considered.
You’ll need to know how much mulch is required for the space, how thick you plan on layering the mulch, and how often you’ll need to replenish it. It’s also imperative that you choose the right type of safety-rated material that meets safety guidelines—especially if children are frequenting the area.
Ultimately, analyzing these factors can help prevent maintenance issues in the future while ensuring a secure and fun play environment.
Benefits of Installing Playground Mulch
Playground mulch is a great way to make playgrounds safer, providing more cushioning in your children’s areas. Not only does it provide better protection for your kids, but it can help make playgrounds look better and last longer.
Installing playground mulch can also help reduce the temperature of the playground during those hot summer days. In addition to safety and aesthetic benefits, playground mulch helps improve water drainage by helping rainwater to sink into the ground rather than gather on the surface.
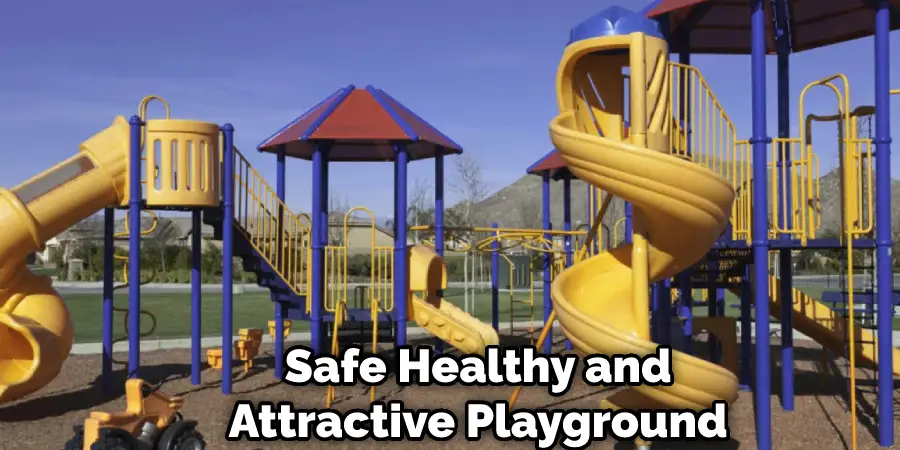
All in all, installing new mulch can be both an effective and economical choice when it comes to maintaining a safe, healthy and attractive playground!
6 Common Mistakes People Make When Trying to Install Playground Mulch
1. Not Raking the Area First
One of the most common mistakes people make when installing playground mulch is not raking the area first. Removing any rocks, sticks, or other debris that could puncture the mulch before you begin is important. Otherwise, you’ll end up with an uneven surface that’s unsafe for children to play on.
2. Not Installing a Weed Barrier
Another mistake is not installing a weed barrier before laying down the mulch. A weed barrier will help to prevent weeds from growing up through the mulch and ruining the look of your playground. It’s important to choose a weed barrier that’s made from a durable material that will last for years.
3. Not Leveling the Mulch
Another common mistake is not leveling the mulch once it’s been installed. You’ll want to use a rake or another tool to ensure that the mulch is evenly distributed across the playground. An uneven surface can be dangerous for children to play on and can also lead to drainage problems.
4. Not Compacting the Mulch
After you’ve leveled the mulch, it’s important to compact it using a hand tamper or another tool. This will help prevent the mulch from shifting over time and make it more comfortable for children to play on. Be sure to compact the mulch in multiple directions to ensure that it’s evenly compacted.
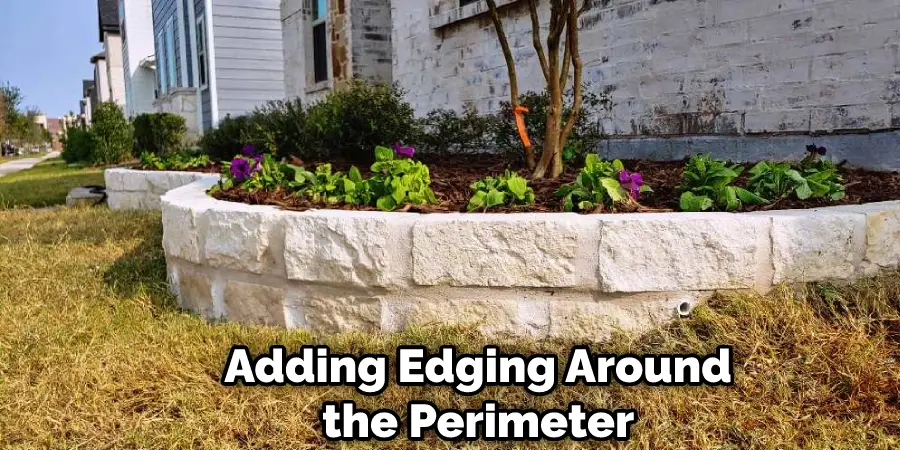
5. Not Adding Edging
Another mistake people make is not adding edging around the perimeter of the playground. Edging will help keep the mulch in place and give the playground a finished look. Be sure to choose an edging material that’s durable and child-friendly.
6. Not Maintaining the Mulch
Once you’ve installed playground mulch, it’s important to maintain it on a regular basis. You’ll need to rake it periodically to keep it level and free of debris, and you may also need to add more mulch over time as it breaks down and compacts.
What Are Some Safety Tips for Installing Playground Mulch?
When installing playground mulch, safety should always be a top priority. To help keep your playground safe, you should hire a licensed and insured professional to install the mulch, as attempting to do it yourself could put you at risk of an accident or injury.
Additionally, it’s important to ensure that the base of the area is level and free of debris before placing down the mulch to prevent any tripping or slipping hazards.
After installation, inspect the mulch regularly for signs of deterioration or displacement and have repairs made if necessary. By adhering to these tips, you can ensure that your playground remains both fun and safe for years to come.
Conclusion
Installing playground mulch is easy to create a safe and fun play environment for kids! By following these steps—choosing your type of mulch, preparing the area for installation, and laying down your chosen type—you can easily install playground mulch yourself in no time!
With just a bit of research and preparation beforehand, you can ensure that your little ones are playing safely in their very own custom-made play area! Thanks for reading our post about how to install playground mulch.
You Can Check It Out to Hook Up Propane Tank to Fire Pit
About
Outdoor Fixes is a distinguished figure in the world of Diy design, with a decade of expertise creating innovative and sustainable Diy solutions.
His professional focus lies in merging traditional craftsmanship with modern manufacturing techniques,
fostering designs that are both practical and environmentally conscious. As the author of diy,
outdoorfixes delves into the art and science of outdoorfixes-making, inspiring artisans and industry professionals alike.
Education RMIT University
(Melbourne, Australia) Associate Degree in Design (Outdoor Fixes) Focus on sustainable design, industry-driven projects,
and practical craftsmanship. Gained hands-on experience with traditional and digital manufacturing tools, such as CAD and CNC software.
Nottingham Trent University
(United Kingdom) Bachelor’s in outdoorfixes.com and Product Design (Honors) Specialized in product design with a focus on blending creativity with production
techniques. Participated in industry projects, working with companies like John Lewis and Vitsoe to gain real-world insights.
Publications and Impact
In diy, Outdoor Fixes his insights on indoor design processes, materials, and strategies for efficient production.
His writing bridges the gap between artisan knowledge and modern industry needs, making it a must-read for both budding designers and seasoned professionals.