Do you have an area in your yard that’s been plagued by a fast-spreading root system? Installing a root barrier is one of the most effective ways to manage invasive tree roots, and keep them from wreaking havoc on your lawn.
Root barriers provide protection for driveways, buildings, underground pipes, foundations, and more–and are perfect for anyone looking to minimize long-term damage due to trees with invasive or gregarious roots.
In this comprehensive guide, we’ll provide step-by-step instructions on how to install root barrier!
If you want to protect the health of your trees while ensuring they remain visually appealing, it is important to install a root barrier. Root barriers can help restrict unnecessary growth and promote healthy tree maintenance by preventing roots from growing too close to structures such as driveways and walkways.
In this blog post, we will explain how to install a root barrier so that you can start giving your trees the care they need!
Why May You Need to Install Root Barrier?
There are many reasons why you may need to install a root barrier. Such as:
1. To Control the Spread of Invasive Species of Plants
One of the main reasons to install a root barrier is to control the spread of invasive species of plants. This can help stop these unwanted plants from taking over your garden, lawn, or other areas. Also, it can protect your trees and other plants from becoming overrun by these invasive species.
2. To Stop Damage to Structures
Installing a root barrier can also help stop the spread of roots from damaging structures such as buildings, sidewalks, driveways, and foundations. This is important if you have a large tree or shrub on your property.
3. To Prevent Soil Erosion
Roots can cause soil erosion if they are not managed properly. By installing a root barrier, you can help prevent the spread of these roots and keep your soil from eroding over time. This is especially important if you have an area on your property that is prone to erosion.
4. To Improve Plant Health
Roots can cause damage to plants by competing with them for nutrients and moisture in the soil. By installing a root barrier, you can help prevent this competition and improve the overall health of your plants.
Installing a root barrier is an important step in protecting your property and preserving the health of your plants. With the right materials and proper installation techniques, you can protect your plants from invasive species, damage to structures, soil erosion, and more.
How to Install Root Barrier in 6 Easy Steps
Step 1: Select the Right Material
The very first step is to choose the right material for your root barrier. Several different types of materials are available, such as plastic and metal. You need to select a material that can handle the weight of your soil and plants without breaking or shifting.
Step 2: Measure How Deep To Dig
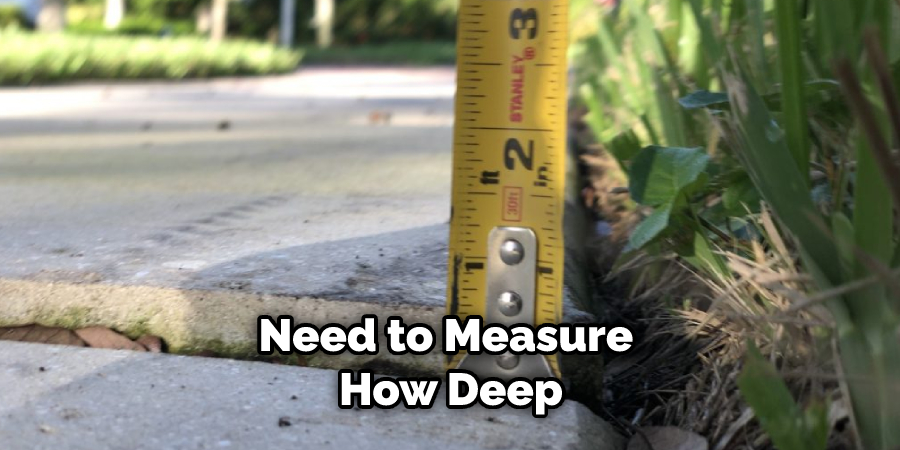
Once you have selected the appropriate material for your root barrier, you need to measure how deep you will need to dig in order to install it. The depth of the root barrier should be at least two feet below any plants roots.
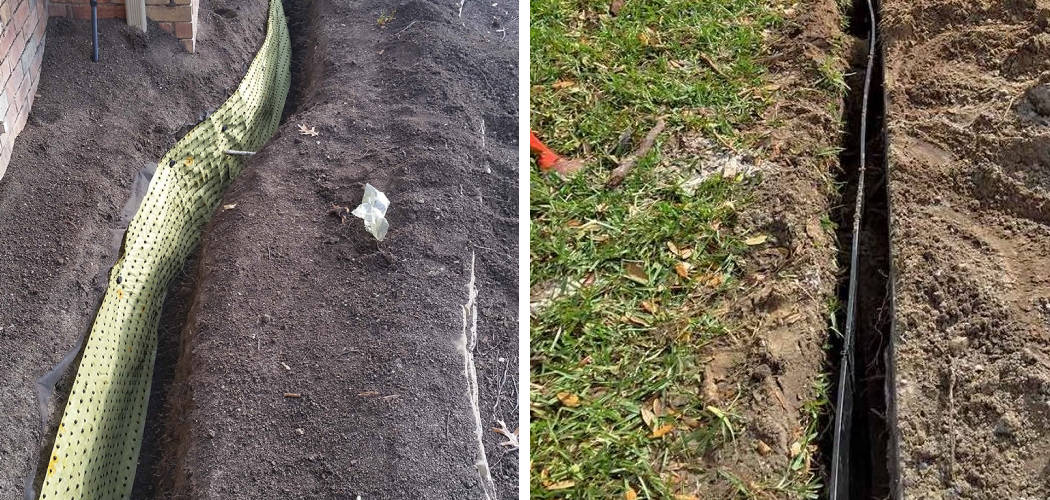
Step 3: Dig Trench For Barrier
Using a shovel, begin digging a trench that is as wide and deep as your root barrier’s specifications. Make sure that the bottom of the trench is level and free from any rocks or debris. Be careful not to damage any existing roots in the process.
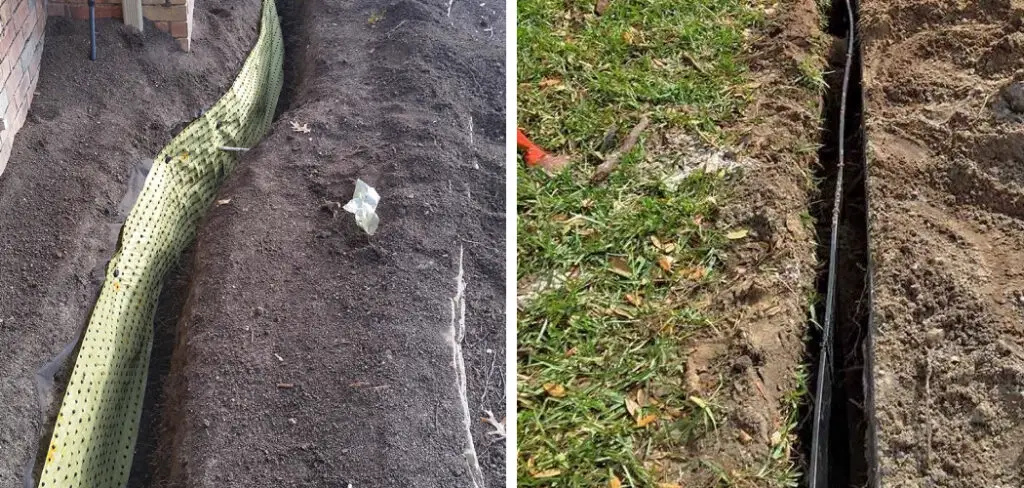
Step 4: Place Barrier in Trench
Place the root barrier into the trench and make sure that it fits properly. Secure the barrier to the ground using stakes, nails, or other fastening methods. Make sure that the barrier is flush with the ground so that it is not visible above the surface.
Step 5: Fill Trench With Soil
Once you have secured the root barrier, fill in the trench with soil. Make sure to tamp down firmly so that there are no air pockets or gaps. You have to be careful that no plants’ roots are damaged in the process.
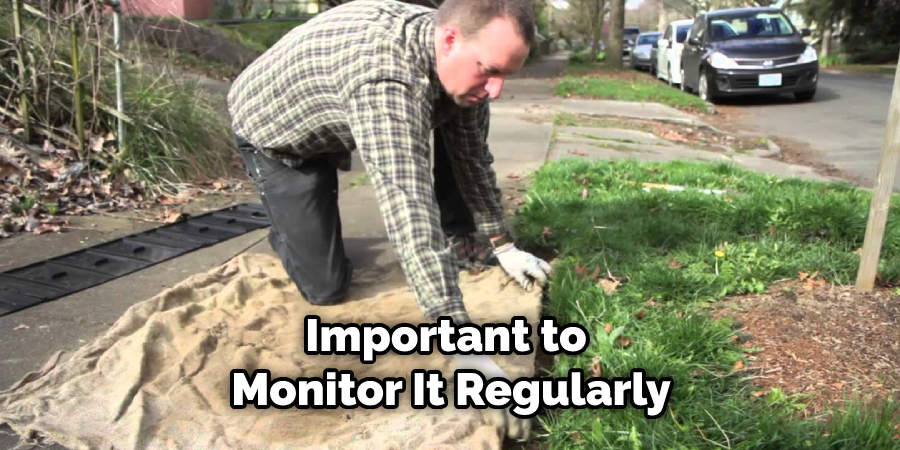
Step 6: Monitor Barrier
Once your root barrier is installed, it is important to monitor it regularly. Check for any signs of damage or shifting and take action if necessary. Make sure that the soil does not become overly saturated or dry out too quickly, as this can cause shifting.
By following these six easy steps, you can successfully install a root barrier to protect your plants and their roots.
Make sure to choose the right material for the job and take extra care when installing the barrier so that it lasts for many years. With regular monitoring, your root barrier should be able to withstand a variety of climates and soil types.
Some Additional Tips to Install Root Barrier
1. Do Not Overlap the Root Barrier
It is important to ensure that when installing a root barrier, you do not overlap the edges of the barrier. Overlapping can create gaps in the barrier, allowing roots to pass through and eventually cause damage.
2. Securely Fix The Root Barrier In Place
Make sure to secure your root barriers firmly in the ground. Use appropriate stakes, pins, or rods to fix them in place. This will ensure that the barrier is secure and prevents it from moving during extreme weather conditions.
3. Avoid Sharp Corners
Sharp corners of the root barrier can be a weak point for roots to grow through. Ensure that you round off any sharp corners or bends in the barrier. Also, ensure that the barrier is installed properly and fits snugly against the ground.
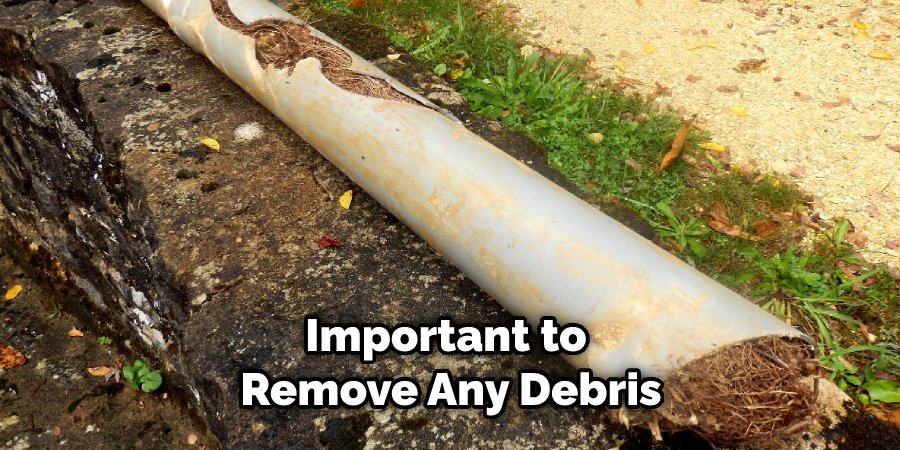
4. Clean up After Installation
Once your root barrier has been installed, removing any debris or soil that might have remained during installation is important. This will help prevent roots from growing through gaps in the barrier.
5. Regular Maintenance
Finally, it is important to inspect and maintain the root barrier regularly. Make sure to look for any signs of wear or damage and replace it if necessary. So make sure to keep your root barriers in good condition to ensure they are functioning properly.
These tips should help you install a root barrier correctly so that it can protect your property from the risks posed by roots. Remember to follow the tips outlined above and consult with an expert if needed so that you can get the best out of your root barrier installation.
Frequently Asked Questions
What Precautions Should I Take Before Installing a Root Barrier?
Before installing a root barrier, you should always be sure to check with your local building codes. Additionally, it’s important to survey the soil before installation, as obstacles may interfere with or impair the integrity of the root barrier. Finally, it’s best practice to use the correct tools and materials when installing root barriers to ensure the utmost safety and effectiveness.
How Deep Should a Root Barrier be Installed?
The depth of a root barrier is largely dependent on its intended purpose. In general, it should be deep enough to provide protection from invasive roots but shallow enough that you can maintain access to the soil. The exact depth will depend on the type of root barrier system you’re using, so it is best to check the manufacturer’s instructions for more details.
What Type of Tools are Needed to Install a Root Barrier?
The specific tools and materials needed will vary depending on the root barrier system you use. Generally, though, you will need a shovel or power auger for digging the trenches and a hammer for pounding the barriers into the ground.
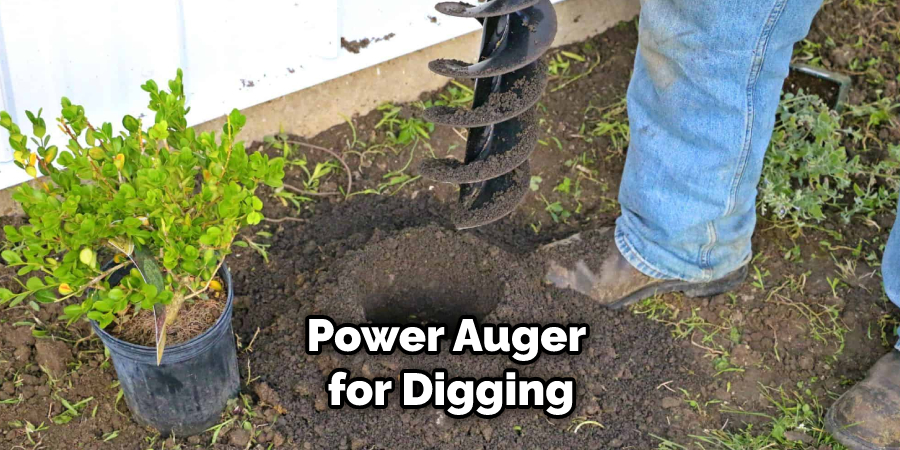
You may also need additional hardware, such as anchors, to secure the barriers in place. It is best to consult with the manufacturer’s instructions for more details on what tools are needed.
How Long Does it Take to Install a Root Barrier?
The amount of time needed to install a root barrier system will vary depending on the type and size of the system. Generally, you can plan for around 1-2 hours per 100 feet of a root barrier. Make sure that you have adequate time set aside for installation if you are doing the job yourself.
Conclusion
Now you know how to install root barrier correctly and you have all the tools and materials you need to get the job done. Make sure to follow the tips outlined above for the best results, and don’t forget to consult with an expert if needed.
With proper installation, your root barrier should be able to protect your property from costly damage caused by invasive roots. Installing a root barrier may seem like a daunting task, but with the right guidelines, it doesn’t have to be that hard.
You need to find a trusted source for obtaining the proper materials and also ensure correct installation.
If you take the time to measure your area twice and rent the necessary tools, installers will be able to identify which material best suits your needs and proceed accordingly.
To make sure that everything is done correctly, you should inspect all lines thoroughly upon completion. Following these instructions should help ensure that the new root barrier coating is safe and effective.
About
Outdoor Fixes is a distinguished figure in the world of Diy design, with a decade of expertise creating innovative and sustainable Diy solutions.
His professional focus lies in merging traditional craftsmanship with modern manufacturing techniques,
fostering designs that are both practical and environmentally conscious. As the author of diy,
outdoorfixes delves into the art and science of outdoorfixes-making, inspiring artisans and industry professionals alike.
Education RMIT University
(Melbourne, Australia) Associate Degree in Design (Outdoor Fixes) Focus on sustainable design, industry-driven projects,
and practical craftsmanship. Gained hands-on experience with traditional and digital manufacturing tools, such as CAD and CNC software.
Nottingham Trent University
(United Kingdom) Bachelor’s in outdoorfixes.com and Product Design (Honors) Specialized in product design with a focus on blending creativity with production
techniques. Participated in industry projects, working with companies like John Lewis and Vitsoe to gain real-world insights.
Publications and Impact
In diy, Outdoor Fixes his insights on indoor design processes, materials, and strategies for efficient production.
His writing bridges the gap between artisan knowledge and modern industry needs, making it a must-read for both budding designers and seasoned professionals.