Are you looking for an easy way to increase the privacy, security, and aesthetics of your home? Installing a vinyl fence is one reliable solution that can check all those boxes! But if your yard goes down hill or uphill from front to back, it may seem more trouble than it’s worth.
With this blog post, we’ll show you how simple installing a vinyl fence on a slope or hill can be – even if you don’t have professional experience in fencing installation. We’ll share helpful tips tricks, and practical advice for following the recommended instructions while ensuring that your new vinyl fence looks great (and works properly!).
Armed with basic tools and proper know-how to install vinyl fence on slope, you will soon find out just how simple this task can be!
What Will You Need?
Below are some of the supplies you’ll need to complete this project:
- Vinyl fence panels
- Fence posts
- Post hole digger
- Concrete mix
- Level
- Measuring tape
- Power drill or screwdriver
- Screws or brackets
Once you have these materials ready, you can begin the installation process.
8 Easy Steps on How to Install Vinyl Fence on Slope
Step 1: Plan and Prepare
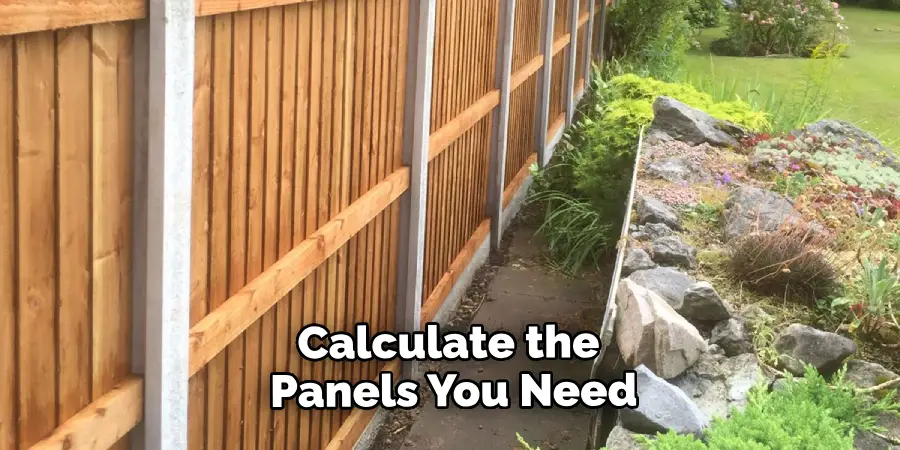
Before purchasing any materials or starting your project, planning and preparing for the installation process is important.
- Measure the length of your fence line and calculate how many panels you need.
- Determine the spacing between each fence post (usually around 6-8 feet).
- Decide where you want your gate to be located and ensure it has enough open space.
Step 2: Mark the Fence Line
After planning, the next step is to mark the fence line. This will give you a clear and accurate guide to follow during the installation.
- Start by marking the location of each post along the fence line using spray paint or a string and stakes. Ensure that the marked points follow the natural slope of the terrain.
- Remember that the distance between each fence post should equal the width of a fence panel. This will ensure that the panels fit perfectly between the posts.
- Make sure the line is straight by using a level. If the slope is too steep, you may need to step the panels to follow the terrain.
- Once the fence line is marked, double-check your measurements. Mistakes at this stage could lead to problems during the installation.
This step is crucial as it lays the groundwork for your fence installation and helps prevent any mistakes later.
Step 3: Dig the Holes for the Posts
The third step involves digging the holes for your fence posts.
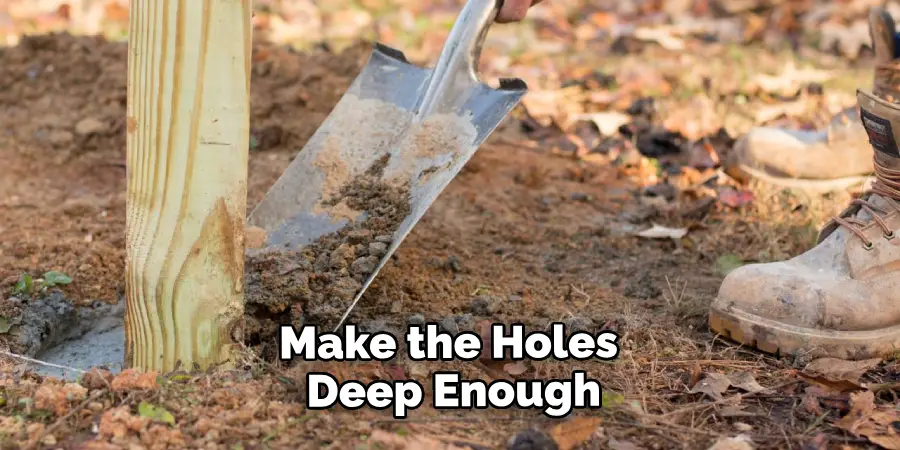
- Start at one end of the fence line and use your post hole digger to dig a hole approximately 10 inches in diameter and 24-36 inches deep (or about one-third the length of the fence post).
- As you work, ensure the holes are lined up with the markings you made during the previous step.
- It’s important to make the holes deep enough for your posts to support the weight of the fence. If the holes are too shallow, the fence may not be stable.
- After digging each hole, use a level to check that the bottom is flat and even. This will help ensure that your fence posts go straight and your fence looks neat and professional.
Please remember that digging holes can be hard work, especially if the ground is tough or rocky. Take regular breaks and keep hydrated. If the task seems too overwhelming, consider hiring a professional or using a power drill to make the job easier.
Step 4: Install the Fence Posts
The next step is to install the fence posts in the holes you’ve dug.
- Begin by placing one of your fence posts into the first hole. Ensure that the post is positioned upright using a level.
- Once you’ve confirmed the post is straight and level, prepare your concrete mix per the manufacturer’s instructions. Pour the concrete into the hole around the post until it’s about 2 inches from the top.
- Allow the concrete to set as directed by the product instructions before proceeding with the next steps. This is typically around 24 hours.
- Repeat this process for each post, ensuring they are all straight and level before allowing the concrete to set.
This step is critical in ensuring a sturdy and long-lasting fence, so take your time to get it right.
Step 5: Attach the Fence Panels
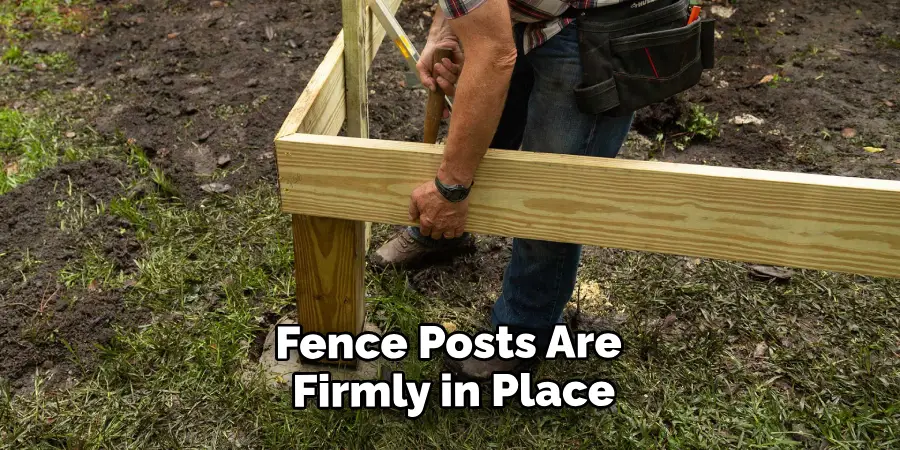
After the concrete has set and your fence posts are firmly in place, it’s time to attach the vinyl fence panels.
- Start from one end of your fence line. Hold up a vinyl fence panel between the first two posts and align it properly. The panel should be parallel to the slope of the ground.
- Once the panel is in the desired position, mark the points where the panel’s brackets meet the posts.
- Attach the brackets at these marked points using a power drill or screwdriver.
- Once the brackets are secured, slide the panel into the brackets and secure it with screws or the locking mechanism provided.
Repeat this process with each panel along your fence line, ensuring each one is properly aligned with the slope of the ground. This step will help ensure your fence is sturdy and looks professional.
Step 6: Check Alignment and Secure Panels
Once all the panels are in place, it’s time to double-check their alignment.
- Inspect the fence line to confirm each panel is parallel to the slope and evenly spaced from one another.
- Use the level to verify they’re in line and adjust as necessary.
- Once you’re satisfied with the alignment, secure the panels fully. This can be done by using your power drill or screwdriver to tighten the screws or brackets.
This step is crucial to ensure your vinyl fence on the slope is aesthetically pleasing, structurally sound, and durable.
Step 7: Install the Gate
After all the panels are secured, installing the gate is time.
- Locate the area you previously decided on for the gate’s placement. The posts for the gate should already be installed and secured.
- Measure the distance between the two gate posts and check the gate and its hardware for fit. Remember to account for necessary gaps as specified by the gate instructions.
- Attach the gate hinges to the gate post first, then, with assistance, lift the gate into place and secure the other part of the hinge to the gate itself.
- Once the gate is hung, install the latch. Test the gate to ensure that it swings open and closed freely and that the latch secures it properly.
Your fence installation is nearing completion. The last step includes some finishing touches to ensure your fence’s longevity and aesthetic appeal.
Step 8: Add Finishing Touches
Adding the finishing touches to your fence can greatly enhance its appearance and longevity. These can include placing caps on the top of the fence posts, as these not only provide a polished look but also prevent water from seeping into the posts, helping to prevent rot and extending your fence’s life. Ensure the caps fit securely on the posts, using adhesive if necessary.
Consider applying a vinyl fence cleaner to keep your fence looking new and bright. Regular cleaning can prevent the build-up of dirt and grime. Lastly, walk around your newly installed fence one more time, checking for any sharp edges or screws that may be sticking out, and ensure everything is properly secured. These measures will ensure your vinyl fence on a slope will look great and last for years.

With these eight steps, you can install a vinyl fence on a slope. Plan carefully and take your time during each step for the best results. Patience and attention to detail allow you to have a beautiful and durable vinyl fence on even the most challenging terrain.
5 Additional Tips and Tricks
- Preparation is Key: Before starting your project, ensure you’ve gathered all necessary tools and materials. This includes your fence panels and posts and concrete, levels, and power drills or screwdrivers.
- Check Local Regulations: Some areas have specific codes or rules around fencing, such as height restrictions or requirements for how far a fence must be set back from property lines. Check these before you start your installation to avoid any costly mistakes or redo’s.
- Consider the Weather: Concrete sets best in certain conditions, so try to choose a dry and relatively warm day for your installation.
- Don’t Rush: Speeding through the installation process may be tempting, but taking your time will result in a better-finished product. This is especially true when installing on a slope, as the alignment and spacing of your fence posts and panels are critical for a professional look.
- Maintenance Matters: Vinyl fencing is relatively low-maintenance, but it’s still important to clean it regularly. This helps prevent discoloration and keeps your fence looking its best. Use a mild detergent and a soft cloth or sponge for cleaning.
Conclusion
With our guide’s help, you now fully understand how to install vinyl fence on slope! Your next step should be to ascertain how much material you’ll need and read up on the local regulations for installing a fence. Once you have all that squared away, you can proceed with the installation and be one step closer to completion.
Remember, always take your time when working with manual labor. Take your time for the best results possible, and take safety precautions! In no time, you’ll have the perfect vinyl fence that increases property value and is aesthetically pleasing.
Hopefully, this guide has given you all the information and tips to make your vinyl fence installation on a slope a breeze. Good luck and happy installation!
About
Outdoor Fixes is a distinguished figure in the world of Diy design, with a decade of expertise creating innovative and sustainable Diy solutions.
His professional focus lies in merging traditional craftsmanship with modern manufacturing techniques,
fostering designs that are both practical and environmentally conscious. As the author of diy,
outdoorfixes delves into the art and science of outdoorfixes-making, inspiring artisans and industry professionals alike.
Education RMIT University
(Melbourne, Australia) Associate Degree in Design (Outdoor Fixes) Focus on sustainable design, industry-driven projects,
and practical craftsmanship. Gained hands-on experience with traditional and digital manufacturing tools, such as CAD and CNC software.
Nottingham Trent University
(United Kingdom) Bachelor’s in outdoorfixes.com and Product Design (Honors) Specialized in product design with a focus on blending creativity with production
techniques. Participated in industry projects, working with companies like John Lewis and Vitsoe to gain real-world insights.
Publications and Impact
In diy, Outdoor Fixes his insights on indoor design processes, materials, and strategies for efficient production.
His writing bridges the gap between artisan knowledge and modern industry needs, making it a must-read for both budding designers and seasoned professionals.