Are you looking for an easy way to install a durable and attractive fence around your property? A welded wire fence is an excellent option. Not only will it provide strong security for your home or business, but it looks great too! Plus, installing a welded wire fence is surprisingly simple—all that’s needed are a few basic tools and supplies.

In this guide on how to install welded wire fence, we’ll show you how to install a welded wire fence in just four steps. Read on to find out everything you need to know about installing this type of fencing so you can do it yourself with ease!
Necessary Tools
- Welded Wire Fence Panels
- Posts (Wood, Metal or Pvc)
- Gravel
- Concrete Mix
- Tension Bands
- Fence Tie Wires
- Pliers
- Wire Cutters
11 Step-by-step Instructions on How to Install Welded Wire Fence
Step 1: Plan and Prepare
Before beginning the installation process, it’s important to have a solid plan in place. Start by measuring the area where the fence will be installed and marking it with stakes. Ensure that you have all of the necessary tools and materials before starting. It’s also a good idea to check with your local building authorities to find out if there are any regulations or permits required for installing a fence in your area.
Step 2: Install the Corner Posts
Start by digging holes for the corner posts at least 2 feet deep and make sure they are wide enough to accommodate the post. Place gravel at the bottom of each hole, insert the corner post and fill with concrete mix. Use a level to make sure the posts are straight and let them set for at least 24 hours. If using metal or PVC posts, follow the manufacturer’s instructions for installation. But the process is similar.
Step 3: Install Intermediate Posts
After the corner posts have been set, it’s time to install the intermediate posts. These should be placed approximately 8 feet apart from each other. Repeat the same process as with the corner posts, making sure they are level and secure.
You may need to adjust the depth of your holes if you have uneven terrain. It’s also important to make sure the posts are all at the same height. This will ensure a level fence.
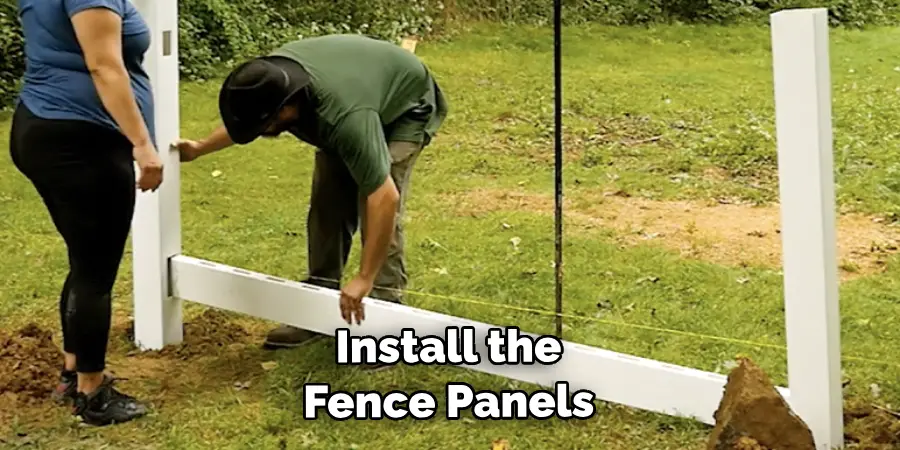
Step 4: Install Fence Panels
Once the posts have dried, it’s time to install the fence panels. Start at one corner and use tension bands to attach the panel to the post. Use pliers to tighten them securely in place.
Continue attaching panels until you reach the end of your fence line. Cut the last panel to fit if necessary. It’s important to ensure that the panels are straight and level as you install them. However, do not stretch the fence too tight as it may result in warping or damage.
Step 5: Secure Panels
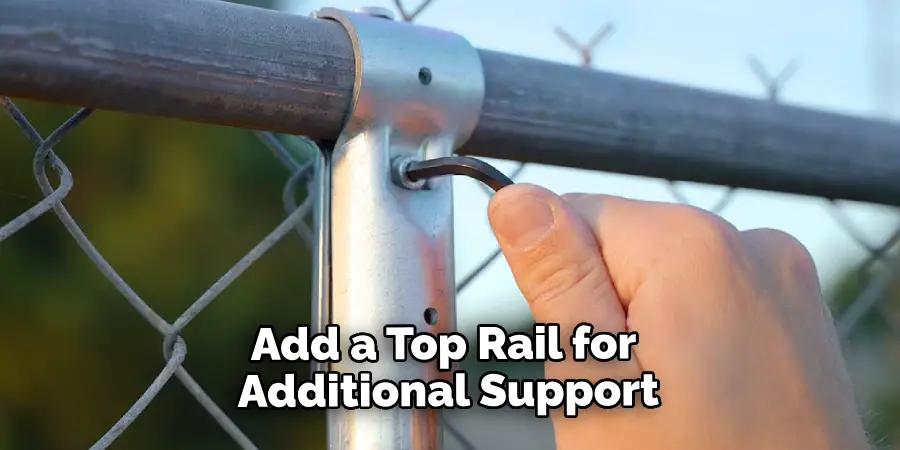
After all of the panels have been attached, use fence tie wires to secure them together at regular intervals. This will add stability and prevent any gaps between panels. You can also add a top rail for additional support by attaching it to the posts with brackets.
It’s important to make sure the top rail is level before securing it in place. However, if using metal posts, you can skip this step as the panels will attach directly to the posts. You can also add a bottom rail if desired for added strength.
Step 6: Installing a Gate
If your fence requires a gate, now is the time to install it. Follow the same steps as with the fence panels, making sure to use sturdy posts and proper hardware for the gate. It’s important to remember to leave enough space for the gate to swing open and close. Use hinges and a latch to secure the gate in place. These can be attached to the gate or directly to the posts.
Step 7: Finishing Touches
To give your fence a polished look, you can trim off any excess wire at the top using wire cutters. You can also add caps to the posts for a more finished appearance. It’s also a good idea to check for any loose or weak areas and reinforce them as necessary.
But overall, your welded wire fence should be strong and secure! You can also add any additional decorations or landscaping around the fence to enhance its appearance.
Step 8: Maintenance
To keep your welded wire fence looking its best, it’s important to perform regular maintenance. This may include removing any debris that accumulates in the fence, checking for and repairing any loose or damaged panels, and repainting or staining the fence as needed. You can also clean the fence with a mild detergent and water to remove any dirt or grime.
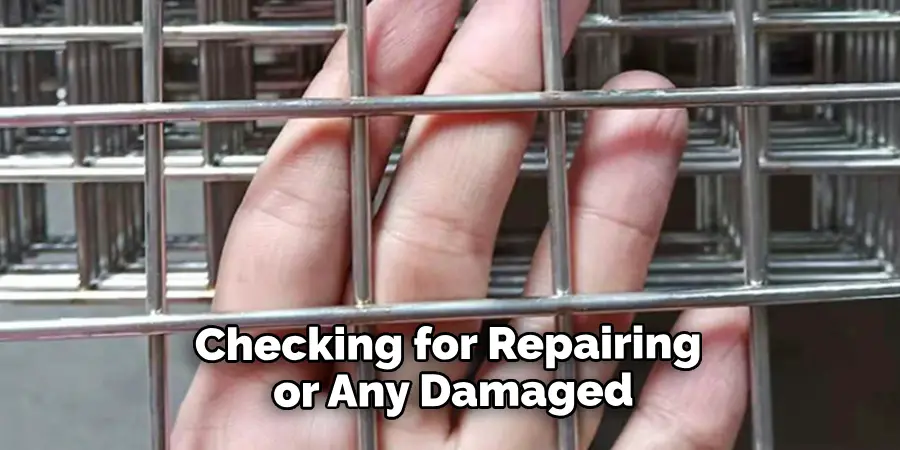
Keeping up with maintenance will ensure the longevity and appearance of your fence. You can also add regular inspections to your maintenance routine to check for any potential issues.
Step 9: Consider Using a Professional
While installing a welded wire fence is relatively simple, it can still be a time-consuming and physically demanding task. If you’re not confident in your abilities or don’t have the necessary tools, it may be best to hire a professional to install the fence for you.
It may cost more, but you’ll have the peace of mind of knowing that it was installed correctly and efficiently. That being said, if you have the time and resources, installing a welded wire fence yourself can save you money.
Step 10: Advantages of Welded Wire Fencing
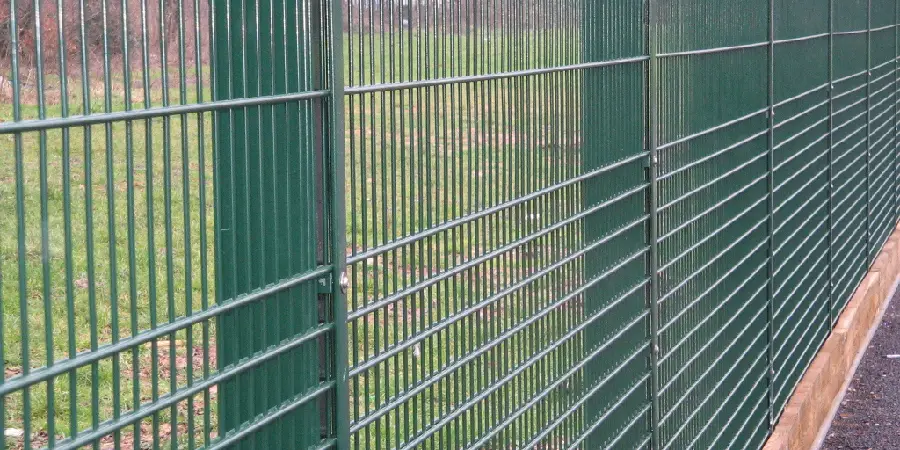
Now that your welded wire fence is installed, let’s take a look at some of its advantages. This type of fencing is known for its durability and strength, making it an excellent choice for security purposes. It also offers visibility, allowing you to see through the fence while still providing a barrier.
Additionally, welded wire fences are easy to maintain and can be customized with different panel sizes and styles. For these reasons, they are commonly used for residential, commercial, and agricultural purposes.
Step 11: Disadvantages of Welded Wire Fencing
While there are many advantages to welded wire fencing, it’s important to also consider any potential disadvantages. Some homeowners may not find this type of fence aesthetically pleasing, especially compared to other types like wood or vinyl. Additionally, small animals may be able to squeeze through the gaps in the fence. Always consider your specific needs and preferences before deciding on a fence type.

Following these steps on how to install welded wire fence should result in a beautiful and long-lasting fence for your property. With the right tools and proper maintenance, your new fence will provide security and add value to your home or business for years to come.
Do You Need a Permit?
Finally, before you begin installing your fence, be sure to check with your local government or homeowners association to see if you need a permit. Some areas have specific requirements for fence installation and failure to obtain proper permits may result in fines or the removal of your fence. It’s always better to be safe than sorry, so make sure to do your research beforehand.
Overall, installing a welded wire fence is a relatively simple and cost-effective way to add security and value to your property. With the right materials and proper installation techniques, you can have a strong and durable fence that will last for years to come. Remember to always perform regular maintenance and consider seeking professional help if needed. Happy fencing! End of Section
How Much Could It Cost?
The cost of installing a welded wire fence can vary depending on factors such as the size and length of the fence, materials used, and whether you choose to hire a professional or do it yourself. On average, the cost for materials can range from $5 to $10 per linear foot, while labor costs may add an additional $5 to $20 per linear foot.
Keep in mind that other factors such as terrain and special features like gates or corners may also affect the overall cost. It’s always best to obtain multiple quotes and compare prices before making a final decision.
Frequently Asked Questions
Q1: Can I Install a Welded Wire Fence on My Own?
A1: Yes, with the right tools and following the proper steps, you can install a welded wire fence on your own. However, it may be best to hire a professional if you don’t have the necessary tools or experience.
Q2: How Long Does a Welded Wire Fence Last?
A2: With regular maintenance, a welded wire fence can last up to 20 years. However, harsh weather conditions and lack of maintenance could shorten its lifespan. It’s important to properly maintain and inspect your fence for any potential issues.
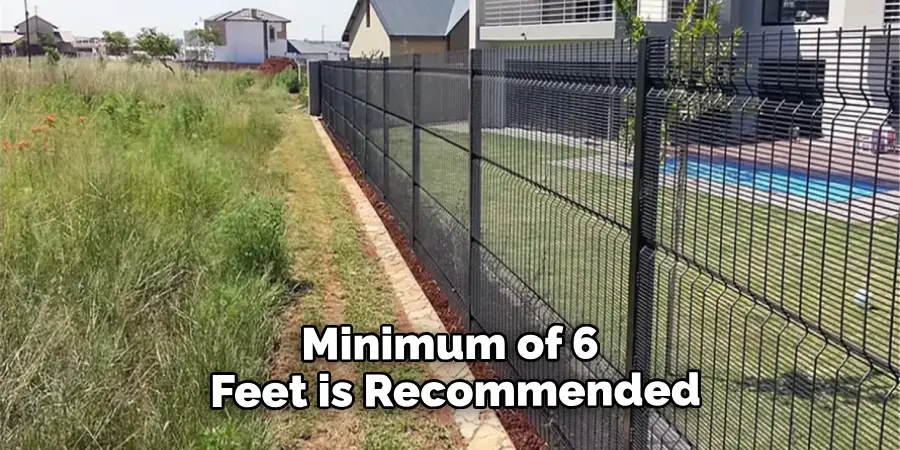
Q3: What is the Best Height for a Welded Wire Fence?
A3: The height of your welded wire fence will depend on its purpose. For security, a minimum of 6 feet is recommended. For decorative purposes, a lower height may be suitable. You should also check with your local regulations for any height restrictions.
Q4: Can I Use Welded Wire Fencing for Livestock?
A4: Yes, welded wire fencing can be used for livestock. However, make sure to choose the appropriate gauge and spacing to prevent animals from getting caught or escaping. It’s also important to regularly check for damage and reinforce weak areas. Consider consulting with a veterinarian or livestock expert for guidance on the best fencing options for your specific animals.
Conclusion
Installing a welded wire fence is a great way to add security for pets, livestock, children, and your property in general. It’s an affordable option that allows you to enjoy the benefits of privacy with its attractive appearance and tough construction materials. Plus, it provides the opportunity to customize the fence design with various styles of post end caps, mesh sizes, railings, and other accessories.
With just a few simple steps on how to install welded wire fence and some basic tools, you can easily install a welded wire fence in no time. Take the stress out of security with welded wire fences – they’re more than capable of making sure your home or business is safe all year round.
About
Outdoor Fixes is a distinguished figure in the world of Diy design, with a decade of expertise creating innovative and sustainable Diy solutions.
His professional focus lies in merging traditional craftsmanship with modern manufacturing techniques,
fostering designs that are both practical and environmentally conscious. As the author of diy,
outdoorfixes delves into the art and science of outdoorfixes-making, inspiring artisans and industry professionals alike.
Education RMIT University
(Melbourne, Australia) Associate Degree in Design (Outdoor Fixes) Focus on sustainable design, industry-driven projects,
and practical craftsmanship. Gained hands-on experience with traditional and digital manufacturing tools, such as CAD and CNC software.
Nottingham Trent University
(United Kingdom) Bachelor’s in outdoorfixes.com and Product Design (Honors) Specialized in product design with a focus on blending creativity with production
techniques. Participated in industry projects, working with companies like John Lewis and Vitsoe to gain real-world insights.
Publications and Impact
In diy, Outdoor Fixes his insights on indoor design processes, materials, and strategies for efficient production.
His writing bridges the gap between artisan knowledge and modern industry needs, making it a must-read for both budding designers and seasoned professionals.