
Are you having issues with pavers sinking in your yard? It is important to know how to keep pavers from sinking. It can be a hassle to have to constantly repair them. Yet at the same time, you must keep walkways and pathways looking like new.
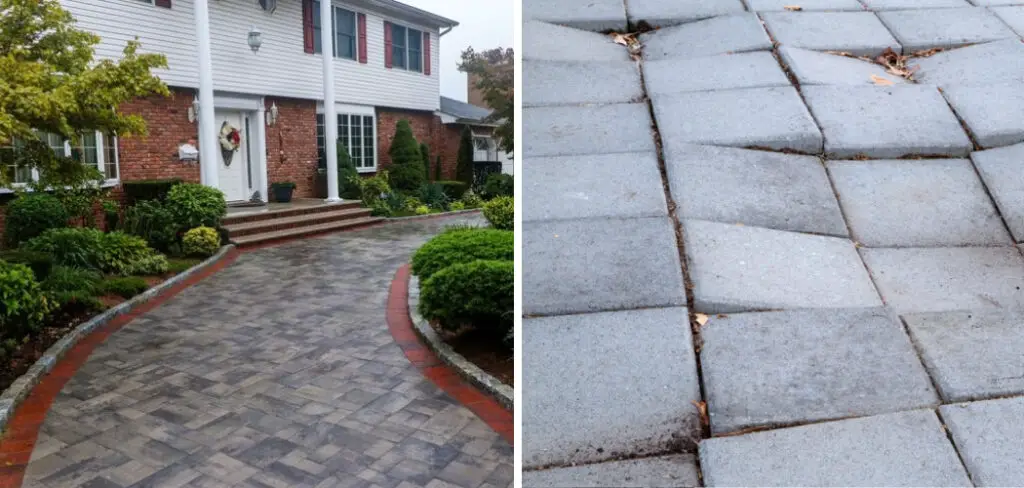
Fortunately, there are various steps you can take to help prevent pavers from sinking in the first place. In this blog post, we’ll be exploring some of these procedures so that you don’t feel overwhelmed by all the necessary upkeep. Read on for tips and tricks on how to keep your pavers unmoved and intact!
Tools You Will Need
- Shovel
- Tamper
- Level
- Sand/gravel mix
6 Steps Guide on How to Keep Pavers From Sinking
1. Make Sure That the Ground is on Level
Use a shovel to dig out any areas that are lower than the rest of the surface, making sure that the earth is packed down tightly with a tamper after each adjustment.
Preparing the surface area where you intend to lay your pavers is extremely important – it will make a huge difference in ensuring both durability and aesthetic longevity. With any paver laying job, the ground must be as level as possible.
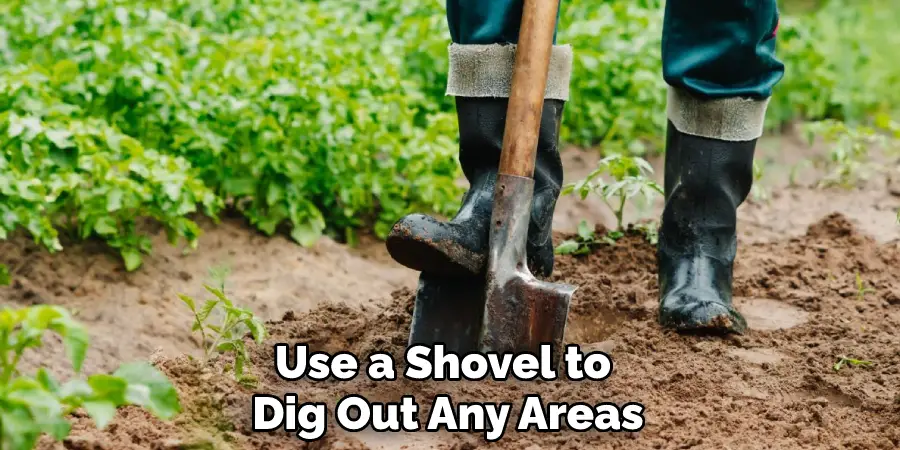
Making sure of this requires the use of a shovel to carefully dig out any areas that are lower than the rest of the surface. Once this has been done, fill in these spaces with enough material and then completely tamp down using either a hand tamper or a larger, mechanical tamper together with extra packing to account for potential sinking over time.
2. Sand Mix Beneath Your Pavers
This helps to create a stable and even foundation for them, so that way the weight of them is more evenly distributed across the ground.
Adding a layer of gravel or sand mix beneath your pavers is a key step when laying them out.
This foundation provides the essential stability needed to evenly distribute the weight they carry over and through the ground. Not doing this can lead to irregularities in the smoothness of your patio or walkway, and can cause sunken or unbalanced pavers which will cost both time and money to repair down the road.
Taking that extra moment before setting each paver into place can help ensure that your path will remain level and sturdy for many years to come.
3. Ensure That Everything is Even
Once you feel confident in the evenness, you can start laying down each paver.
After the initial base layer of pavers is laid out, it’s important to make sure that everything is level before continuing. A simple way to do this is to use a carpenter’s level – with one long side sitting across the pavers and the other sitting along their length – and check the bubble.
Once you’re confident that everything is even, you can then begin the process of laying individual pavers in place. This step helps to stop them from sinking into the base layer over time, ensuring that your paver project looks perfect for years down the road.
4. Use a Tamper to Press Them Firmly
Installing pavers correctly is essential to the success of your project and preventing future problems. To keep your pavers from sinking due to wear, it’s important to use a hand tamper as you lay them, making sure there are no gaps or uneven spots between them.
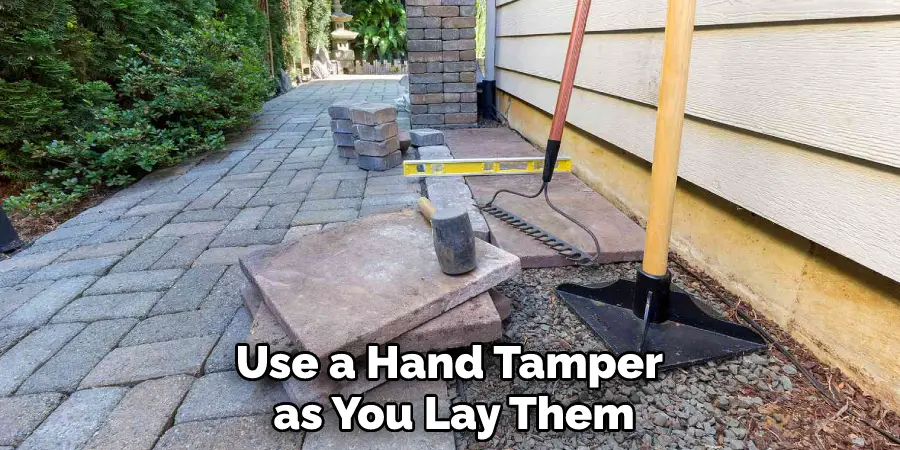
Start with the outer circle of pavers and work your way inward in a circular motion using firm pressure. This will ensure that the ground beneath them is packed tight enough for each paver; completion of this process should help you avoid any issues with sinking the road.
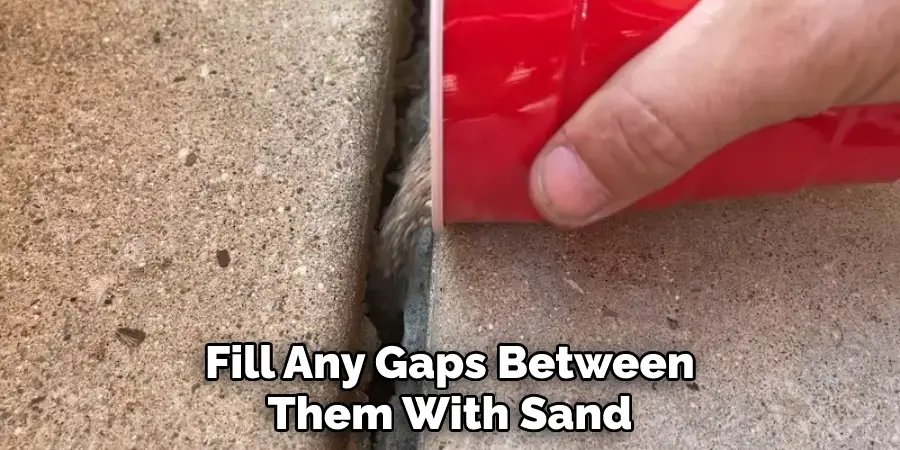
5. Fill Any Gaps With More Sand/gravel Mix
Taking the time to fill any gaps with sand or gravel mix after installing pavers can mean the difference between a long-lasting paver job and an uneven, sunken mess. Without filling these areas with an extra set of sand or gravel mix, the base may not be strong enough to support the weight of the various sizes of pavers that are used on top.
Plus, by moving around they could create further gaps leading to sinking and unwanted wobbling of the pavers. Installing just a small amount of extra material in the gaps leaves you with a hard-wearing and even surface that stands up to whatever nature throws at it for many years of satisfaction.
6. Re-level Any Areas as Needed
Taking the time to check your pavers regularly is an important measure you can take to keep them from sinking. If you spot any signs of settling or shifting, respond quickly and decisively by filling in any low spots and leveling out any irregularities that may have occurred.
This will help maintain their original level and protect them from further deterioration over time. Regular inspection can be a great way to ensure that your pavers remain in good condition for years to come.
By following these simple steps, you can help to ensure that your pavers remain intact and level for many years to come! How have you prevented your pavers from sinking? Let us know in the comments below.
Tips to Keep Pavers From Sinking
- One of the most important tips is to check the ground before you install them. The ground should be level and free of any large rocks or roots that could cause the pavers to sink. If you’re not sure whether or not the ground is suitable for pavers, you can always consult with a professional landscaper or paver installer.
- Another important tip is to choose a paver that’s suitable for your climate. If you live in an area with a lot of rain or snow, you’ll want to choose a paver that’s made from a durable material that can withstand the elements. Some of the most popular materials for pavers include concrete, brick, and stone.
- Once you’ve chosen the perfect paver for your project, it’s important to install it on a bed of sand. This will help to keep the pavers level and prevent them from sinking over time. Be sure to use high-quality sand that’s designed for use with pavers.
- Another tip is to use edging around them. Edging will help to hold the pavers in place and prevent them from shifting over time. There are a variety of different types of edging available, so be sure to choose one that’s made from a durable material that can withstand the elements.
- Once all of the pavers are in place, it’s important to fill any gaps between them with sand or another type of filler material. This will help to further stabilize the pavers and prevent them from sinking over time. Be sure to use a high-quality filler material that’s designed for use with pavers.
- After all of the pavers are in place and all of the gaps have been filled, it’s important to compact them using a plate compactor or another type of compactor. This will help to ensure that they’re properly stabilized and less likely to sink over time.
How to Select the Right Paver Material to Stand Up To Nature’s Elements?
Selecting the right paver material to stand up to different climate elements is an important decision. It’s wise to consider your local climate and weather conditions to select the right type of pavers for your outdoor area. For example, if you live in an area that experiences a lot of snow and rain, consider going with a concrete or stone option.
Concrete and stone are known to withstand high levels of moisture and can handle even the worst winter storms. Alternatively, if you live in a dryer climate then clay pavers may be more suitable as they are known for their durability against cracking from sun exposure.
No matter what climatic environment you reside in, be sure to thoroughly research all potential types of paver materials before making your decision for long-term satisfaction!
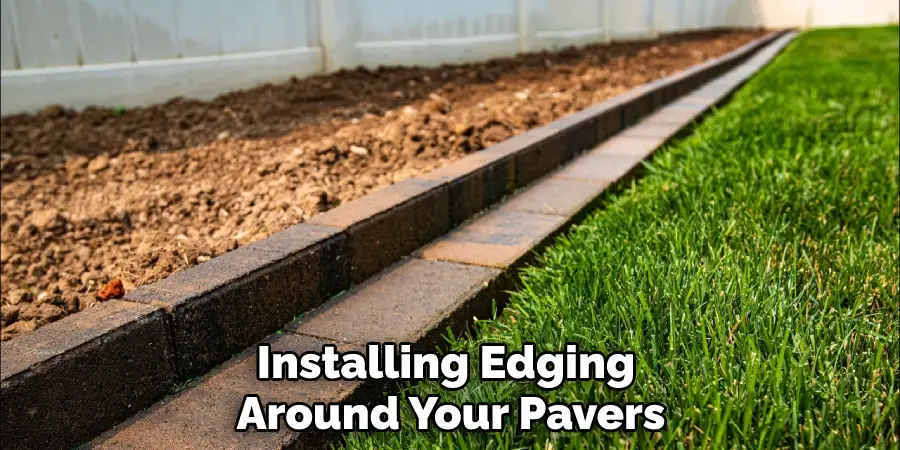
How to Install Edging Around Your Pavers for Greater Stability?
Installing edging around your pavers can help hold them in place better and give your outdoor space a more finished look. It is rather straightforward to install edge restraints; all you need is your paver material and the proper installation edge, which can usually be found at any hardware store.
Start by marking a corner of the area you wish to contain with the edging by pounding a stake into the ground. Take a string and attach it to the stake, running it out along the length of each side of where the edging will go, and secure it with stakes every few feet.
Next, cut each piece of edger material individually from larger pieces, making sure that each one fits flush against the outer faces of the pavers between two stakes or endcap ties alternating them on each side.
Lastly, gently tap in each piece with a rubber mallet to securely lock them into place while being careful not to damage your pavers. A few quick steps are all that’s necessary to create an attractive boundary for any patio or garden!
Conclusion
Although it may seem like a daunting and time-consuming task, keeping your pavers from sinking is relatively simple. You should carefully determine how to keep pavers from sinking.
By following the tips we’ve provided in this blog post, you can ensure that your pavers will stay level and look great for years to come. So what are you waiting for? Get out there and start paver maintenance today!
About
Outdoor Fixes is a distinguished figure in the world of Diy design, with a decade of expertise creating innovative and sustainable Diy solutions.
His professional focus lies in merging traditional craftsmanship with modern manufacturing techniques,
fostering designs that are both practical and environmentally conscious. As the author of diy,
outdoorfixes delves into the art and science of outdoorfixes-making, inspiring artisans and industry professionals alike.
Education RMIT University
(Melbourne, Australia) Associate Degree in Design (Outdoor Fixes) Focus on sustainable design, industry-driven projects,
and practical craftsmanship. Gained hands-on experience with traditional and digital manufacturing tools, such as CAD and CNC software.
Nottingham Trent University
(United Kingdom) Bachelor’s in outdoorfixes.com and Product Design (Honors) Specialized in product design with a focus on blending creativity with production
techniques. Participated in industry projects, working with companies like John Lewis and Vitsoe to gain real-world insights.
Publications and Impact
In diy, Outdoor Fixes his insights on indoor design processes, materials, and strategies for efficient production.
His writing bridges the gap between artisan knowledge and modern industry needs, making it a must-read for both budding designers and seasoned professionals.