Making a bird seed block is a great way to attract birds and keep them fed in the winter when there may not be much food available. It is also inexpensive to provide these birds with additional nutrition and energy. When making a bird seed block, it is important to use unsalted seeds and nuts that are safe for birds to eat.
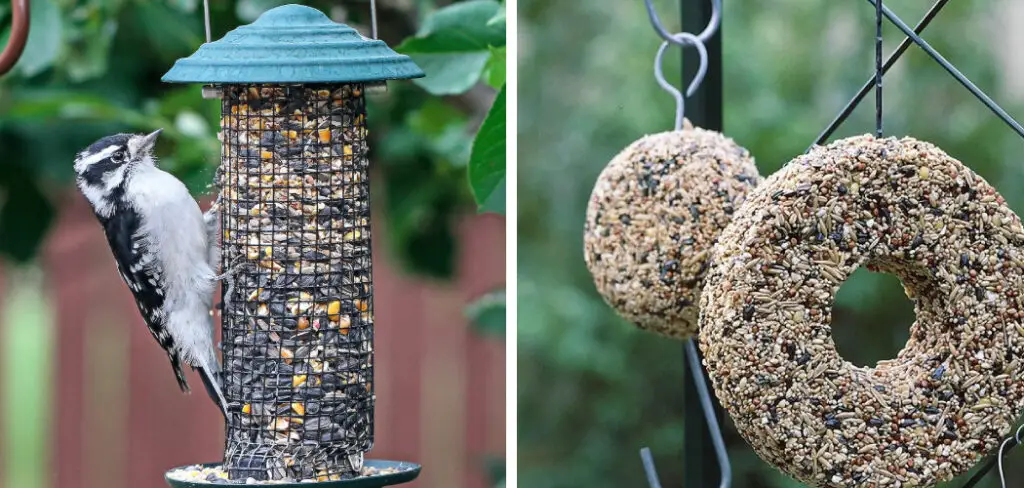
You can add some dried fruits, such as raisins or cranberries, and other treats, like peanut butter or suet.
Making a bird seed block can be an easy, inexpensive way to provide nutrition for your birds. It is also a great project for kids, as it teaches them the importance of helping wild animals find food and ensuring they have access to nutritious meals. Bird seed blocks are simple to make and can help attract a variety of birds to your backyard.
The blocks provide a variety of seeds, grains, and nuts that birds can feed on in the winter months when food resources are scarce. You can find step-by-step instructions on how to make a bird seed block in this blog article.
Tools You Will Need
- Measuring cups
- Mixing bowl or pot
- Spoon
- Knife
- Greaseproof paper
- Chopping board
- Silicone molds or cake tin
- Unsalted butter (melted)
- Bird seed mix
- Water
Step-by-Step Processes for How to Make a Bird Seed Block
Step 1: Inspect the Materials
Before making a birdseed block, you’ll need to ensure the materials are up to the task. Start by checking for any mold or other signs of spoilage in the bird seed and suet. If it looks old or off, don’t use it!
Additionally, make sure you have an appropriate block-making container and that there are no cracks or openings – this will ensure your seed block stays intact as it hardens.
Step 2: Heat the Suet
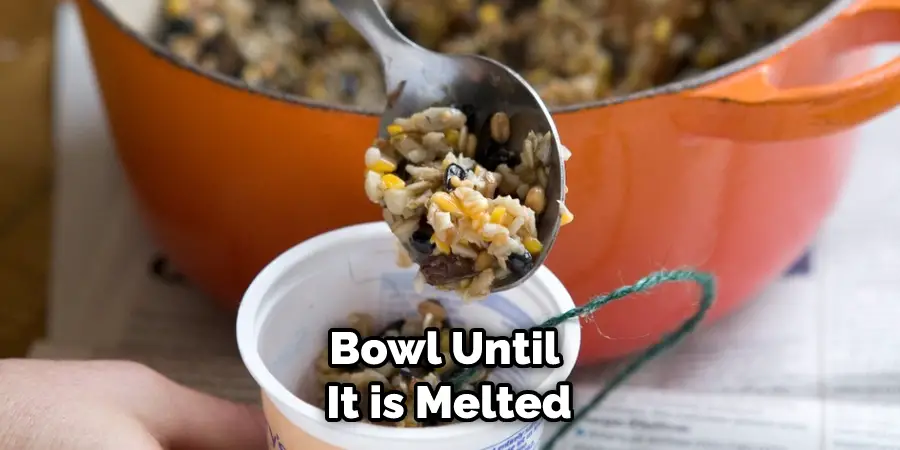
It’s time to make your birdseed block come together. Start by heating up some suet (available at many pet stores) in a microwave-safe bowl until it is melted and liquid. This will act as a binding agent, helping to hold all the pieces of your block together.
Step 3: Mix the Ingredients
Once the suet is melted, stir in some birdseed and other bird-friendly ingredients like dried fruit or nuts. You can also add some grains like oatmeal or wheat germ if you’d like. The possibilities are endless – just make sure you don’t put anything in that might harm the birds.
Step 4: Pour into Molds
Once your ingredients have been mixed, it’s time to pour the mixture into molds or bird-friendly containers. Ensure the molds are deep enough for the seed block to stay intact once it hardens. If you don’t have any molds, you can spread the mixture on a wax paper-lined baking sheet and cut it into cubes or other shapes when finished.
Step 5: Refrigerate
Now it’s time to let your seed block cool down and solidify. Place the molds or baking sheet in the refrigerator and let it sit overnight. This will help ensure that your bird seed block is firm and ready to hand out to your feathered friends!
Step 6: Feed the Birds
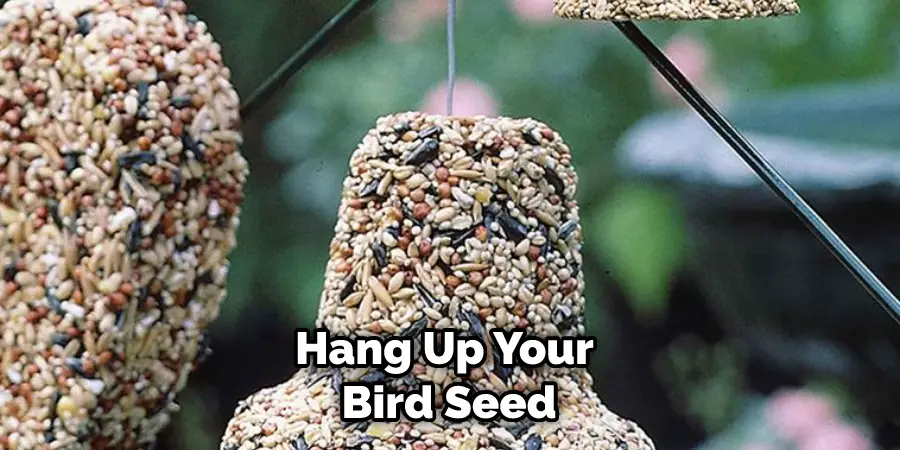
Voilà – you’ve made a delicious treat for your avian pals! Now all that’s left to do is hang up your bird seed block in a safe, protected place away from predators. Sit back, relax, and watch as the birds flock to enjoy your tasty creation.
Now that you know to Make a Bird Seed Block, there’s no stopping you from becoming an expert backyard bird feeder.
Precautions for How to Make a Bird Seed Block
- Wear protective gear such as gloves and a face mask when handling birdseed or cornmeal, which contains dust that can be harmful to breathe in.
- If you plan on attaching any extra items onto the block, such as string or ribbons, exercise caution not to wrap them too tightly around the block; birds may get caught in them when trying to take pieces from the block.
- If you are hanging your bird seed blocks outdoors, ensure that it is hung securely and away from any areas where animals, such as cats or raccoons, can easily reach it.
- Check local regulations before using any type of net or string to hang birdseed blocks; some states may have restrictions in place for this.
- Consider using a platform feeder or seed tray instead of hanging the bird seed block, as this will reduce the risk of other animals reaching the food source.
- When leaving your bird seed block outdoors, limit the amount of time it is exposed to direct sunlight and rain. Direct sunlight can cause the seed to spoil, while rain may dilute the mixture and make it less appealing to birds.
- Regularly clean your bird seed block feeders by wiping them down with a damp cloth or brush and replacing any wet or spoiled seeds with fresh ones.
- Monitor how much of the bird seed block is eaten and replace them when it has been fully consumed. Store any extra blocks in an airtight container to prevent spoilage.
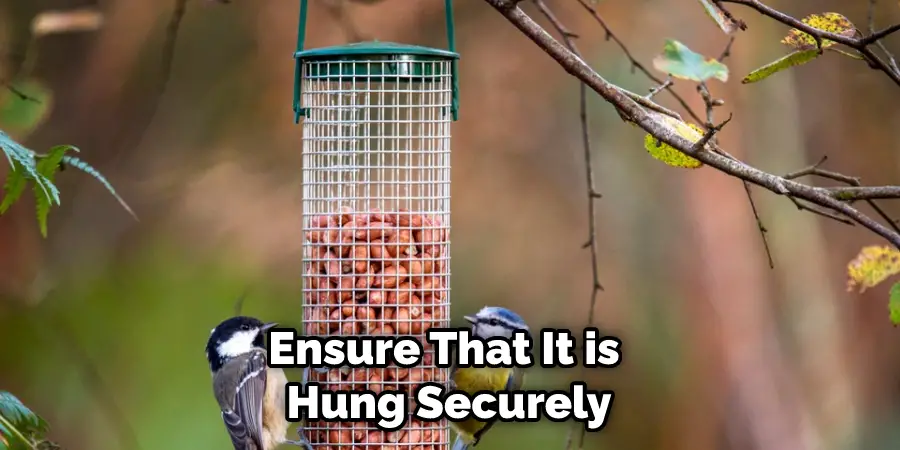
Following these precautions will help ensure that you are providing a safe, enjoyable dining experience for your feathered friends.
How Long Will the Block Last Before It Has to Be Replaced?
The lifespan of a bird seed block depends primarily on the environment it is placed in and how often birds visit. Generally, the block should be replaced after two to three weeks when it turns gray or soft. However, if birds frequently visit, it may need to be replaced sooner. It’s important to keep an eye on the block and watch for signs of mold or decay.
If it looks slimy, discard it and make a fresh one. To ensure your birds have access to a fresh source of nutrition, it’s best to replace the block at least once a month. Additionally, if you live in an area with heavy rainfall or humidity, replacing the block more frequently is best.
How Should You Store the Bird Seed Block?
Once you’ve created your birdseed block, it is important to store it properly. Most blocks should be kept in a cool, dry place away from direct sunlight and other heat sources. You can also wrap the block with plastic or wax paper to help keep the moisture out. If stored correctly, your bird seed block should last for about 6 to 8 months.
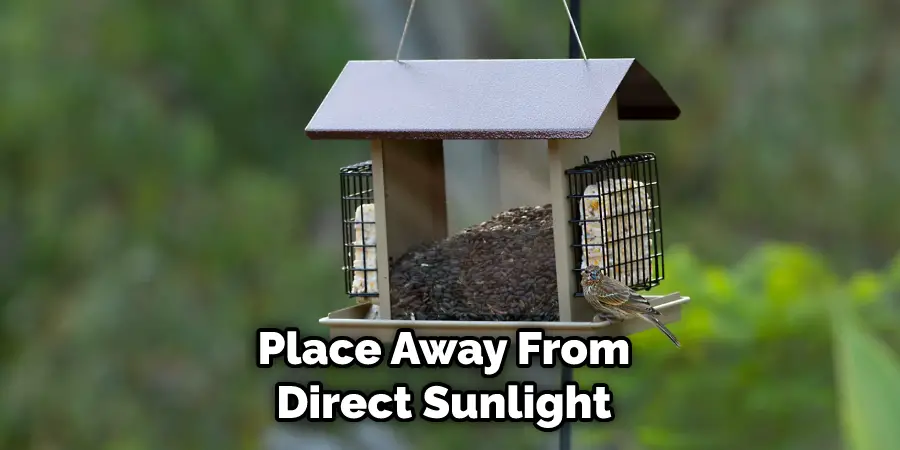
Make sure to check the block periodically and discard any that are past their expiration date.
To feed your bird seed blocks, place them in a suitable area, either on the ground or hanging from a rope or other device. Be sure not to hang it too high, as birds can have difficulty reaching it. Keep an eye on the block to ensure that it remains dry and clean.
If possible, place the block near a birdbath or water source so birds can stay hydrated.
How Do You Clean Up After Making a Bird Seed Block?
- After the birdseed block has dried fully, carefully remove it from the mold.
- Gently scrape away any excess mixture sticking to the mold’s sides and discard those pieces in a trash can or compost bin.
- Dispose of any remaining unused birdseed and corn syrup mixture in a way that will not attract local wildlife.
- Clean the mold with warm, soapy water and a stiff brush or sponge to remove any remaining birdseed mixture.
- Dry the mold thoroughly before storing it away for future use.
- Place the completed bird seed block in an area safe from scavenging wildlife such as pests and raccoons.
- Monitor the bird seed block for any signs of spoilage or mold growth, discarding promptly if any is seen.
- Replace the bird seed block every few weeks to ensure the birds receive fresh nutrition and treats.
By taking these steps, you can easily clean up after making a birdseed block and be sure that local wildlife remains safe and healthy.
Are There Any Safety Concerns to Keep in Mind When Making a Bird Seed Block?
Yes, there are some safety concerns to keep in mind when making a birdseed block. Firstly, be sure to use sterile materials or tools that have been washed with soap and water before contacting the birdseed mixture. Birds can carry bacteria and fungi on their feet and feathers, contaminating the feeder and endangering any bird that may eat from it.
Additionally, be sure to keep all bird feeders away from any sources of water or moisture and clean them regularly to prevent any mold or bacteria buildup. Finally, always keep an eye on your birds while they are eating, as some species can choke on large chunks of seed or become overly stressed if there is too much competition amongst other birds.
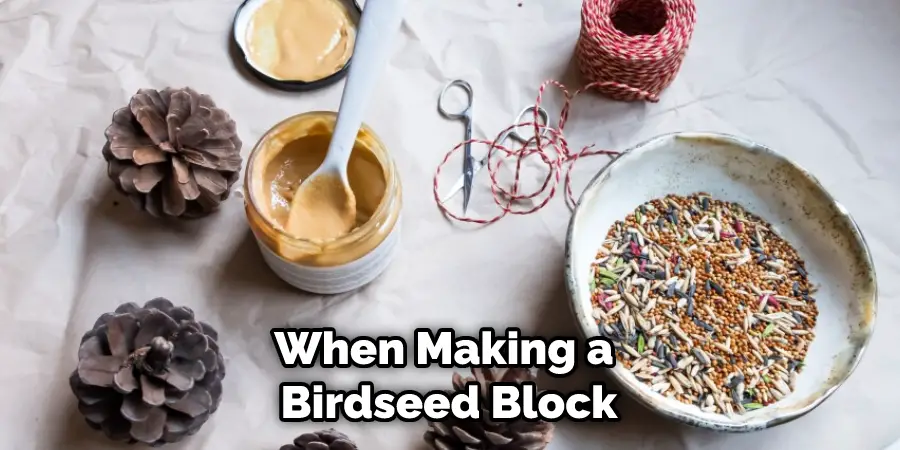
Following these simple precautions, you can ensure your birds are safe and secure while enjoying their birdseed block.
How Do You Make Sure That Your Bird Seed Block is Safe for Your Birds?
Making sure that your bird seed block is safe is important for the health of your birds. Before you make a birdseed block, it’s important to understand what ingredients are safe and which could potentially be dangerous. The safest ingredients to use in a birdseed block include sunflower seeds, oats, wheat flour, ground peanuts, and cornmeal.
It’s also important to ensure that the ingredients are free of toxins, mold, or other contaminants. Additionally, you should use only bird-safe vegetables such as broccoli, carrots, and apples.
When making a birdseed block, you should avoid dangerous ingredients such as chocolate and avocado, which can be toxic to birds. Additionally, you should not use processed ingredients, such as salt or sugar, which could harm your birds.
If you’re using other ingredients, such as nuts and dried fruits, it’s important to ensure that the items are unsalted and free of added preservatives. Nuts can be a choking hazard for birds, so it’s important to chop them up into small pieces before adding them to your block.
Lastly, you should avoid using any ingredients with sharp edges that could cause injury to your birds.
Conclusion
In conclusion, making a bird seed block is an easy and fun way to attract birds of all kinds to your backyard. You can customize it with any combination of ingredients that you would like, from nuts to dried fruit or even cooked grains, and the birds will love it!
This recipe is also great for those who want to use up some extra birdseed they have lying around or for those who want a more creative and cost-effective way to feed the birds.
Not only that, but the birds will love the variety of flavors and textures available in your homemade birdseed block. I hope this article has been beneficial for learning how to make a bird seed block. Make Sure the precautionary measures are followed chronologically.
About
Outdoor Fixes is a distinguished figure in the world of Diy design, with a decade of expertise creating innovative and sustainable Diy solutions.
His professional focus lies in merging traditional craftsmanship with modern manufacturing techniques,
fostering designs that are both practical and environmentally conscious. As the author of diy,
outdoorfixes delves into the art and science of outdoorfixes-making, inspiring artisans and industry professionals alike.
Education RMIT University
(Melbourne, Australia) Associate Degree in Design (Outdoor Fixes) Focus on sustainable design, industry-driven projects,
and practical craftsmanship. Gained hands-on experience with traditional and digital manufacturing tools, such as CAD and CNC software.
Nottingham Trent University
(United Kingdom) Bachelor’s in outdoorfixes.com and Product Design (Honors) Specialized in product design with a focus on blending creativity with production
techniques. Participated in industry projects, working with companies like John Lewis and Vitsoe to gain real-world insights.
Publications and Impact
In diy, Outdoor Fixes his insights on indoor design processes, materials, and strategies for efficient production.
His writing bridges the gap between artisan knowledge and modern industry needs, making it a must-read for both budding designers and seasoned professionals.

