
A chicken run door serves as a crucial checkpoint between the safety of the coop and the outside world. This entryway needs to be robust enough to deter predators and functional to facilitate daily chicken care routines. Understanding how to make a chicken run door is essential for any poultry enthusiast looking to ensure their flock’s security and well-being.
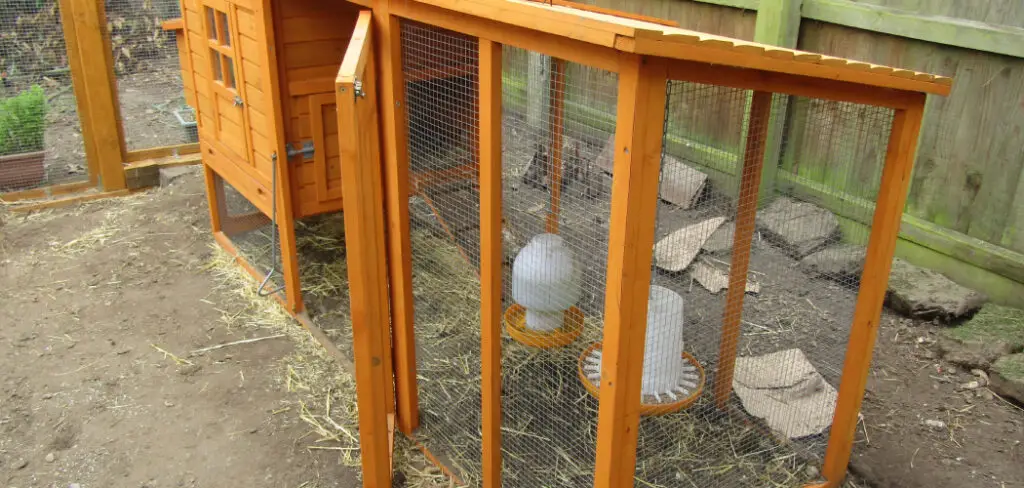
This guide outlines the importance of a secure and operational kitchen door for chicken runs, detailing the steps and materials necessary to build a DIY chicken run door. From choosing the right materials to installing the final product, this tutorial will provide you with the know-how to create a barrier that keeps your chickens safe and sound.
Assessing Your Chicken Run Needs
Before you begin constructing your chicken run door, it’s essential to make informed decisions regarding its size, placement, and design based on the specific needs of your flock and coop layout.
A. Size and Placement
The size of your chicken run door should be sufficient to allow your chickens to pass through comfortably without creating an unnecessarily large opening that could compromise the run’s security. Consider the size of your largest chicken as a basis for the door’s dimensions.
The location of the door is equally important; it should be placed in a convenient area that facilitates easy access for you but also in a position that doesn’t compromise the structural integrity of the run or coop.
B. Security Considerations
Identifying potential predators in your area is crucial for designing a door that can withstand their attempts to access your chickens. Common threats include foxes, raccoons, and birds of prey. The door must be sturdy, fitted with secure locks, and possibly reinforced with predator-proof materials like heavy-duty wire mesh or metal that can resist chewing or tearing.
C. Accessibility
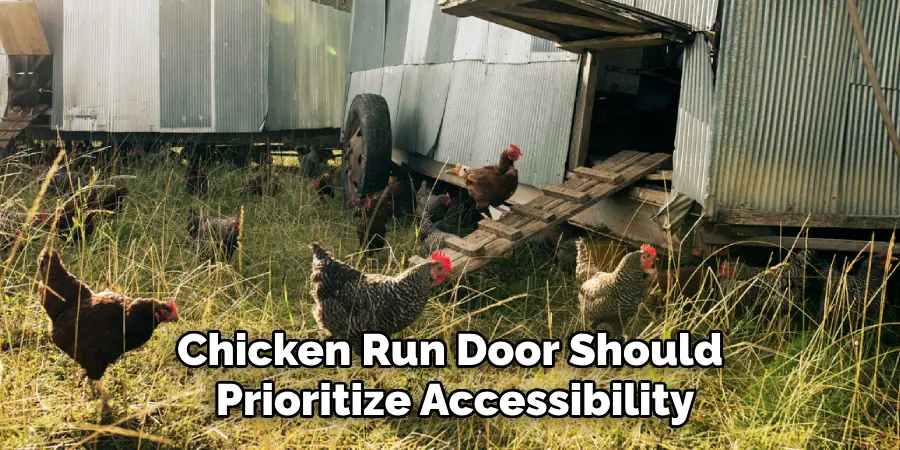
The design of your chicken run door should prioritize accessibility to ensure that daily tasks such as feeding, cleaning, and egg collection are not hindered. This might involve considering doors that offer ease of operation for humans while remaining secure against predators. Options could include sliding doors, hinged doors, or even automatic doors that open and close at set times to reduce the manual effort required in operating them. The door should enable you to enter and exit the chicken run easily, carrying supplies or equipment as needed for the care and maintenance of your flock.
Choosing Materials and Tools
Constructing a durable and functional chicken-run door requires carefully selecting materials and tools. This section covers the basics of what you’ll need to ensure your door can withstand the elements and keep your chickens safely enclosed.
A. Selecting Wood
Choosing the right type of wood for the door frame and panels is crucial. Durable and weather-resistant options are a must to prevent rot and wear over time. Cedar is an excellent choice due to its natural resistance to decay and pests. Pressure-treated lumber is another strong option, as it’s been chemically treated to fend off moisture, fungi, and insects. Whichever wood you choose, ensure it’s safe and non-toxic to your chickens, avoiding any materials that could harm your flock.
B. Hardware and Fasteners
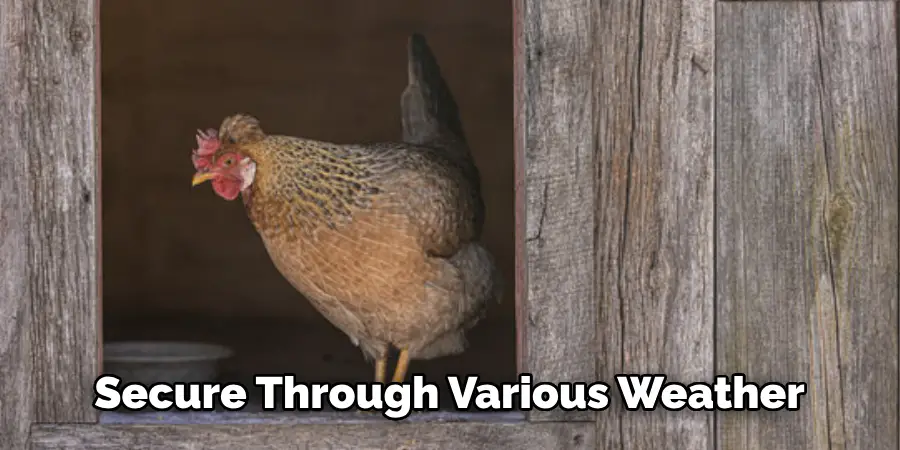
The hardware you choose will play a significant role in the security and longevity of your chicken run door. Select sturdy hinges to support the door’s weight without sagging. Latches should be robust and possibly lockable to deter predators.
When it comes to screws and nails, opt for galvanized or stainless steel materials to prevent rust and corrosion. The correct hardware will ensure your door remains functional and secure through various weather conditions.
C. Tools Needed
You will need a basic set of tools to assemble your chicken run door. A saw is necessary for cutting your wood to the correct dimensions. A drill will help you install screws more efficiently than a screwdriver, although having both on hand is advisable for finer adjustments.
A tape measure is essential for accurate measurement to ensure all parts fit together correctly. Lastly, a level will help you install the door evenly, preventing it from swinging open or closing unexpectedly. Before you begin your project, gathering these tools will streamline the building process and help achieve a professional-quality result.
How to Make a Chicken Run Door: Building the Door Frame
Constructing your chicken run door frame marks a significant step towards creating a secure and functional entrance to your chicken run. This stage requires precision and attention to detail to ensure the door’s safety and longevity.
A. Measure and Cut Wood
Begin by measuring the entrance of your chicken run to determine the exact size needed for the door frame. It’s crucial to ensure that the dimensions you choose allow for easy movement of your chickens and also align with your security and accessibility considerations mentioned earlier.
Once the measurements are confirmed, mark your wood accordingly, preparing for the cutting process. Cut the wood pieces using a saw, ensuring each piece is straight and true to the dimensions required. It’s advisable to double-check measurements before cutting to avoid waste and ensure accuracy.
B. Assemble Frame
With all wood pieces cut to the correct dimensions, the next step involves assembling the door frame. Lay out the pieces on a flat surface to form the rectangle or square that will make up the frame. Use wood screws or nails to join the corners of the frame together.

When doing this, ensure that the corners are square using a carpenter’s square and that the frame is sturdy and level. A level frame is essential not just for the door’s functionality but also for aesthetics and to prevent undue stress on any part of the frame over time.
C. Reinforce and Secure
To ensure the structural integrity of your chicken run door, reinforcing the frame is a key step. Adding cross braces or diagonal supports across the frame will significantly enhance its strength. Position the brace(s) so that they distribute the door’s weight and operational forces evenly, preventing sagging and warping.
The cross brace should be cut to fit snugly between opposite corners of the frame and then securely attached using screws or nails. This does not just add to the door’s durability but also to its resistance against potential intruders or predators.
Constructing a chicken-run door frame with care and precision lays the groundwork for a secure, durable, and high-functioning entryway to your chicken run. This process, while demanding attention to detail, is essential in understanding how to make a chicken run door that will serve your needs well into the future.
How to Make a Chicken Run Door: Adding Panels and Hardware
After constructing a sturdy door frame, the next step is to add panels and hardware to complete your chicken run door. This phase is crucial for ensuring the safety of your chickens and the convenience of operating the door.
A. Attach Panels
To begin with, choose between wood panels or wire mesh as the primary material for your door panel. Wood panels offer more security and protection against predators but can limit visibility and airflow. On the other hand, wire mesh provides excellent ventilation and allows you to easily check on your chickens without opening the door.

When attaching the panels, use screws or staples for wood, and ensure wire mesh is stretched tight and securely fastened to prevent any gaps. This secures your chickens within the run and promotes a healthy airflow, which is crucial for their well-being.
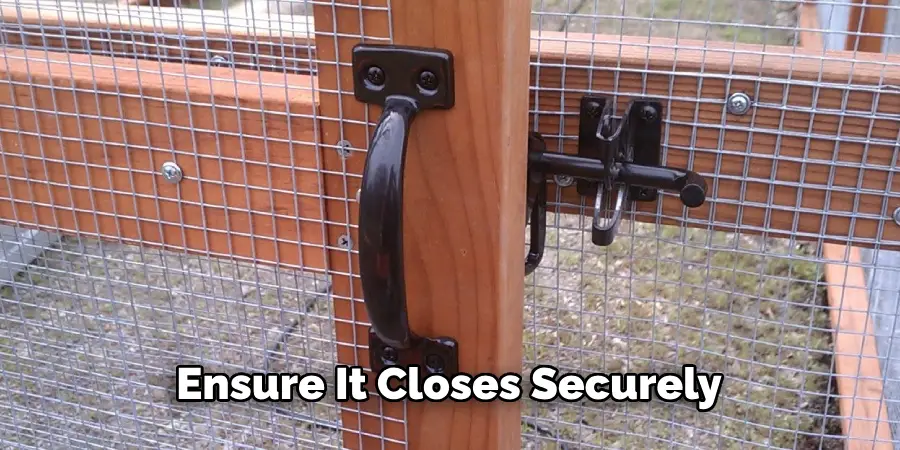
B. Install Hinges and Latches
The selection and installation of hinges and latches are fundamental for the door’s functionality. Choose hinges that can support the door’s weight without the risk of failing over time. When installing, position the hinges evenly and securely attach them to both the door and the frame, ensuring the door opens and closes smoothly without dragging on the ground or sticking. Attach a sturdy latch or lock to keep the door securely closed, protecting against intruders and curious predators. Test the door several times to ensure it swings open easily and latches shut securely.
C. Consider Automatic Openers
Consider installing an automatic door opener for convenience, especially if your schedule doesn’t allow consistent opening and closing times. Automatic openers can be set to operate based on light levels or at specific times, ensuring your chickens have access to their run when it’s safe and are securely enclosed at night.
When selecting an automatic opener, ensure it is compatible with the weight and type of your door. Installation can vary, so follow the manufacturer’s instructions closely or seek professional help if necessary. Automatic door openers add a layer of convenience and can provide peace of mind, knowing that the door will be opened and closed even when you’re not around.
Adding panels and hardware is a significant step in finalizing your chicken run door. By ensuring that these components are correctly installed and function as intended, you provide a safe, secure, and convenient access point to your chicken run, significantly contributing to your chickens’ overall health and safety.
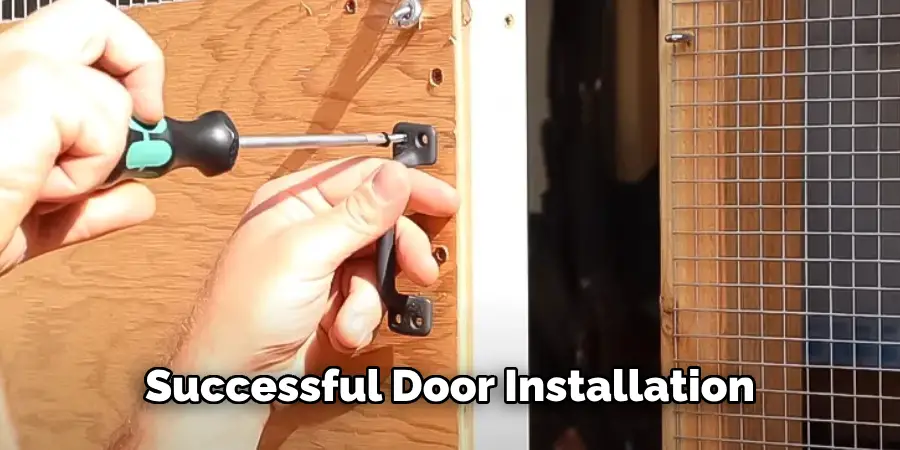
Installing the Door
Installing the door is the final step towards completing your chicken run, ensuring that your chickens are safe and secure. Proper installation is critical for functionality and longevity. Below are key steps to follow for successful door installation.
A. Positioning
Begin by positioning the door frame carefully at the entrance of the chicken run. Ensuring proper alignment is essential; the door should be centered with equal clearance on all sides to facilitate smooth opening and closing. Check that the door frame is level and plumb, using shims if necessary to adjust for any ground or coop structure irregularities.
Proper alignment is crucial not only for functionality but also to prevent uneven stress on the door and frame that could lead to premature wear or damage.
B. Secure Attachment
Once the door frame is perfectly positioned, attach it to the coop structure or posts using heavy-duty hinges. Select hinges that are strong enough to support the door’s weight and withstand the rigors of daily use.
Secure the hinges to both the door frame and the coop or posts with screws or bolts that are long enough to provide a stable and secure installation. Be sure to pre-drill holes for the screws or bolts to prevent the wood from splitting.
C. Test Functionality
With the door now hung, it’s critical to test the functionality. Open and close the door several times to check for smooth operation. Ensure the door swings freely without dragging on the ground or getting stuck. Test the latch or lock to ensure it closes securely and isn’t easily tampered with.
Make any necessary adjustments to the hinges, latch, or door alignment to improve functionality.
Proper testing ensures the door operates as intended, providing easy access for you and secure containment for your chickens.
Completing these steps with care and attention to detail results in a well-installed door that enhances your chicken run’s overall safety, security, and functionality, providing peace of mind and ease of use for years to come.
Adding Finishing Touches
Adding finishing touches to your chicken run door enhances its appearance and extends its durability and functionality. These final steps are crucial for a robust and inviting chicken run.
A. Seal and Waterproof
Apply a weatherproof sealant or paint finish to both the door frame and panels to protect against moisture and rot. This is particularly important in climates that experience heavy rain or humidity. A good quality sealant or exterior paint can prevent water infiltration, which can cause wood to swell and warp over time, ensuring your chicken run door remains sturdy and functional for years. Be sure to cover all surfaces evenly and allow adequate drying time before exposing the door to the elements.
B. Predator Proofing
Consider adding additional security measures to further secure your chicken run against potential threats. Predator guards, such as a skirt of hardware cloth buried around the perimeter of the run, can deter digging predators like foxes or raccoons. Electric fencing is another effective deterrent, providing a gentle zap to intruders. Ensuring these measures do not harm the chickens or impede their access to the run is essential.
C. Decorative Elements
Finally, infuse your chicken run door with personality by adding decorative elements. Painted designs like flowers or farm scenes can create a charming aesthetic. Personalized signage, displaying the names of your chickens or a playful name for your coop, adds a unique touch. These accents not only beautify the space but also reflect the care and affection you have for your chicken family.
By meticulously applying these finishing touches, your chicken run door will be functional and secure and a testament to your dedication to your chickens’ well-being and happiness.
Maintenance and Care
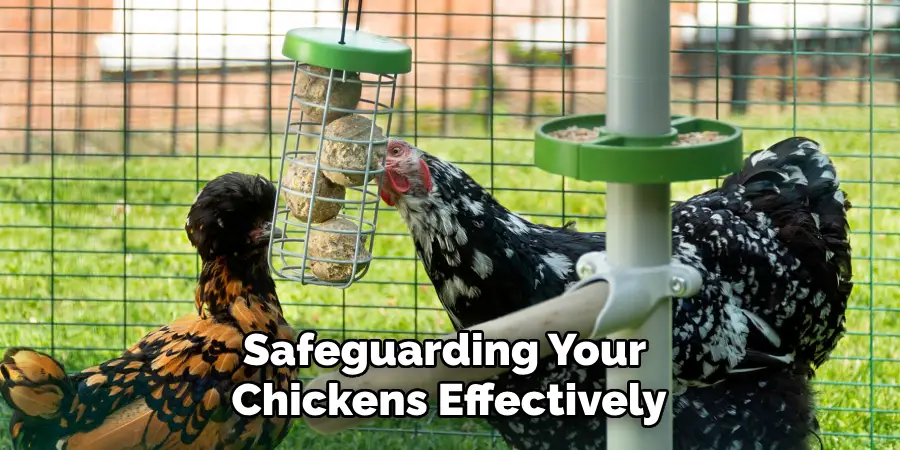
Maintaining your chicken run door is vital to ensure its longevity and functionality, safeguarding your chickens effectively over time. A systematic approach to maintenance and care can prevent many common issues from arising.
A. Regular Inspection
Periodically inspect the door for any signs of wear, damage, or loose hardware. Check the integrity of the door’s structure, looking out for any cracks, warps, or rot in the wood. Hinges and latch systems should be examined to ensure they are secure and in good working order. Making timely repairs or replacements as needed extends the door’s life and ensures it continues to function as intended, providing reliable security for your chickens.
B. Lubrication
To maintain smooth operation, it is important to lubricate hinges, latches, and any other moving parts. Use a suitable lubricant that can withstand outdoor conditions, applying it sparingly to prevent attracting dirt. Regular lubrication can significantly reduce wear and tear, prevent rust or corrosion, and make daily interactions with the door more pleasant by eliminating squeaks and stiffness.
C. Cleaning
Keep the door and surrounding area clean to maintain a hygienic environment for your chickens. Regular cleaning helps to remove dirt, debris, and any potential pest attractants, reducing the risk of vermin infestations. Use mild, non-toxic cleaning agents to avoid harming your chickens.
A clean coop and run contribute to the health and happiness of your chickens and the overall aesthetic appeal of your set-up.
By adhering to these maintenance and care guidelines, you ensure your chicken run door remains in top condition, functioning smoothly and securely for the safety and wellness of your feathered family.
Conclusion
In summary, this guide has walked you through the comprehensive steps and considerations on how to make a chicken run door, emphasizing the importance of meticulous planning, secure attachment, functionality testing, and the addition of finishing touches for aesthetic and durability purposes. We’ve also highlighted the role of regular maintenance and care in preserving the door’s integrity and functionality over time.
Building a secure and functional door design is critical for ensuring easy access to your chicken run while providing your chickens with a safe and protected environment. By following these guidelines, you’re well on your way to creating a robust chicken-run door that contributes to your feathered friends’ overall welfare and happiness. We wish you success in your chicken coop project and hope your chickens enjoy their secure enclosure!
You Can Check It Out to Scare Foxes Away From Chickens
About
Outdoor Fixes is a distinguished figure in the world of Diy design, with a decade of expertise creating innovative and sustainable Diy solutions.
His professional focus lies in merging traditional craftsmanship with modern manufacturing techniques,
fostering designs that are both practical and environmentally conscious. As the author of diy,
outdoorfixes delves into the art and science of outdoorfixes-making, inspiring artisans and industry professionals alike.
Education RMIT University
(Melbourne, Australia) Associate Degree in Design (Outdoor Fixes) Focus on sustainable design, industry-driven projects,
and practical craftsmanship. Gained hands-on experience with traditional and digital manufacturing tools, such as CAD and CNC software.
Nottingham Trent University
(United Kingdom) Bachelor’s in outdoorfixes.com and Product Design (Honors) Specialized in product design with a focus on blending creativity with production
techniques. Participated in industry projects, working with companies like John Lewis and Vitsoe to gain real-world insights.
Publications and Impact
In diy, Outdoor Fixes his insights on indoor design processes, materials, and strategies for efficient production.
His writing bridges the gap between artisan knowledge and modern industry needs, making it a must-read for both budding designers and seasoned professionals.