
Have you ever wanted to create something remarkable and original for your garden or backyard? Why not construct a flying scarecrow out of upcycled materials? These DIY projects are trendy right now, so why not enjoy the fun?
You can transform discarded objects into a unique art installation with just a few key ingredients – some wood planks, an old plastic bag, crafting supplies like glue and paint, and some creative thinking.
Whether you’re looking to spruce up your backyard or have fun crafting with materials you can find around the house, this project will keep you entertained.
In this blog post, we’ll provide detailed instructions on how to craft your flying scarecrow. Read on to learn more about how to make a flying scarecrow!
What Will You Need?
Before you can get started, you’ll need a few supplies to create your flying scarecrow. Here’s the list of materials required:
- Four 6″ x 16” wooden planks
- An old plastic bag
- Glue gun and glue sticks
- Acrylic paint in various colors
- Wire cutters or scissors
- Old buttons, beads, or other decorative items (optional)
Once you’ve gathered all of your supplies, you’re ready to start building the scarecrow’s frame.
8 Easy Steps on How to Make a Flying Scarecrow
Step 1. Crafting the Scarecrow Body
The first step in creating your flying scarecrow is constructing the body. To do this, you must take two of the planks and connect them at one end with a glue gun. Then, add a plank on each side to create a cross shape. Once all four planks are connected securely, you have created the base for your scarecrow’s body.
Next, use the old plastic bag to cover the scarecrow’s body. Simply cut off a piece of the bag large enough to fit around the frame, then secure it with glue. You can also use additional bags if you need more material.
Step 2. Adding Arms and Legs
Now it’s time to give your scarecrow some arms and legs! Using two more wooden planks, cut them into four equal lengths and shape them into arm- and leg-like pieces by adding an elbow or knee bend. Secure these pieces to the body of your flying scarecrow with glue and let dry for at least 30 minutes before continuing to step three.
Step 3. Decorating Your Flying Scarecrow
Once the glue is dry, it’s time to decorate your scarecrow! Using acrylic paint and any additional items like buttons or beads, you can create a unique design for your flying friend.
Have fun with this step – let your creativity run wild and see what design you come up with! Once you’re finished painting and decorating, set aside to allow the paint to dry completely before proceeding to the next step.
Step 4. Attaching Wings
Now that your scarecrow has arms and legs, it’s time to give him wings! To do this, cut two of the remaining wooden planks into two equal lengths. Secure these pieces together in a cross shape using glue and let dry. Once the wings are dry, attach them to the back of your scarecrow with additional glue.
Step 5. Adding Propellers
For the final step, you must create propellers for your flying scarecrow. To do this, take two old buttons or beads and secure them onto either side of the wings with glue. Ensure that both sides are even so they spin properly when you finish assembling your creation! When this step is completed, your flying scarecrow is ready to go!
Step 6. Hang and Enjoy!
Now that your flying scarecrow is complete, it’s time to hang him up and enjoy the view! If you’d like, you can even add a few more decorative pieces to the wings for extra flair. Once everything is in place, stand back and admire your work – you have created something unique with only a few simple supplies!
Step 7. Keep Learning
Creating art is a lifelong process; you can always keep learning new techniques and approaches. If you enjoyed making your flying scarecrow, why not explore other upcycling projects? See what you can create with the materials around you – endless possibilities!
Step 8. Maintain and Enjoy
Check for any signs of wear and tear to keep your flying scarecrow in top shape. If the wings or other pieces need repair, use glue and paint in different colors as needed to keep everything in working order. Proper maintenance will make your flying scarecrow a beautiful addition to your backyard for years.
Following these easy steps, you can craft your flying scarecrow out of upcycled materials. So what are you waiting for? Gather your supplies and get crafting today! Have fun creating and experimenting with different design ideas – endless possibilities.
5 Additional Tips and Tricks
- To make your flying scarecrow look extra realistic, stuff it with straw or other suitable material.
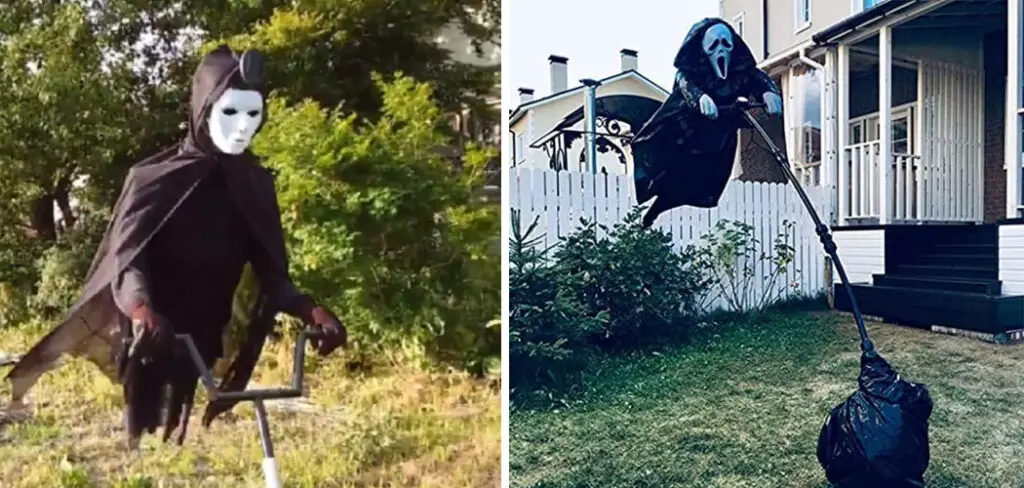
- If you want your scarecrow to look extra spooky, consider adding a few items to the costume to make it look creepier. A skeleton mask or a ghostly wig are great additions to your flying scarecrow.
- If you want to get creative with your flying scarecrow, use materials like sticks and fabric strips to make wings for him or her.
- To ensure your flying scarecrow is fully prepared for flight, attach strings or rope from the sides of its arms to the ground to anchor stability during windy days.
- Lastly, remember to have fun! Don’t be afraid to experiment and try different ideas when making your flying scarecrow – it’s all about having fun and getting creative!
With these tips, you’re now ready to make your flying scarecrow. Just follow the steps outlined above and enjoy the process of creating a unique and spooky flying scarecrow!
5 Things You Should Avoid
- Avoid using sharp objects like nails or screws when constructing your flying scarecrow, as this could cause injury.
- Make sure the materials you use are not hazardous to people’s health – some fabrics and glues can emit harmful fumes, so it is important to check their safety ratings before usage.
- Don’t use combustible material for making a flying scarecrow, such as paper mache, as this may be highly flammable and dangerous.
- Ensure the area where you plan to display the finished product is clear of obstacles that could impede its movement or damage the item, such as large branches or rocks.
- Take extra care when attaching strings and ropes to ensure they are not too tight or loose. This helps prevent the scarecrow from falling and potentially causing injury.
With these tips in mind, you now have all the information to make your flying scarecrow safely and securely! Just remember to use caution and have fun creating a unique flying scarecrow that will frighten any onlookers!
How Do You Make a Scarecrow Move?
Several methods can be used to make your scarecrow move, depending on the available materials.
For a lightweight flying scarecrow, it is possible to attach strings to its arms and then run those strings along pulleys attached to an overhead beam or tree branch. This allows the scarecrow’s arms to swing back and forth in a wide arc, giving the illusion of movement.
A second option is using motors or propellers connected to the arms of the scarecrow, which will create a spinning motion when switched on. Motors can be powered by batteries or solar energy, making them a great choice for eco-friendly solutions.
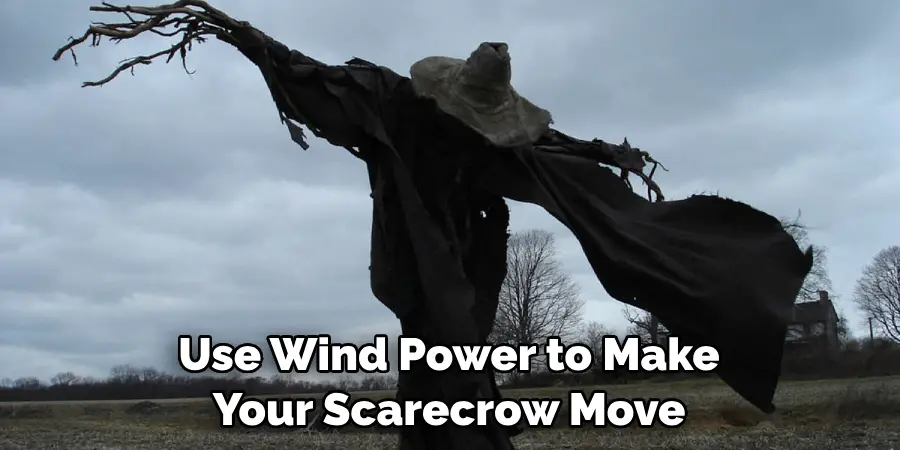
Finally, you can use wind power to make your scarecrow move by attaching large wings to its arms and allowing the wind to propel it. This effective method requires minimal maintenance, perfect for those who want their flying scarecrow to look realistic but don’t have much time to spend on upkeep.
No matter which method you choose, remember to be safe when creating or using your flying scarecrow. With these tips in mind, you should be able to make a spooky and fun-filled flying scarecrow this Halloween season!
Conclusion
With the tools and instructions provided here, you have everything you need to construct a flying scarecrow successfully! Now it’s time for some serious fun. The kids will love it when they see it in action, gently soaring through the air before their eyes. As an added bonus, your flying scarecrow project also guarantees entertainment for your family and friends.
Whether you use this project for an upcoming holiday or a backyard barbecue with friends, the flying scarecrow is undoubtedly a hit. Congratulations, you have just created something truly unique and inspiring that will be remembered for many years. All that remains now is to harness the wind and make your dreams take flight.
Hopefully, the article on how to make a flying scarecrow has inspired you to break out of your comfort zone and explore the wide range of possibilities regarding upcycling.
Making a flying scarecrow is no easy task, but with the right materials and frame of mind, you’ll have your masterpiece in no time. So what are you waiting for? Get creative and make something truly extraordinary!
About
Outdoor Fixes is a distinguished figure in the world of Diy design, with a decade of expertise creating innovative and sustainable Diy solutions.
His professional focus lies in merging traditional craftsmanship with modern manufacturing techniques,
fostering designs that are both practical and environmentally conscious. As the author of diy,
outdoorfixes delves into the art and science of outdoorfixes-making, inspiring artisans and industry professionals alike.
Education RMIT University
(Melbourne, Australia) Associate Degree in Design (Outdoor Fixes) Focus on sustainable design, industry-driven projects,
and practical craftsmanship. Gained hands-on experience with traditional and digital manufacturing tools, such as CAD and CNC software.
Nottingham Trent University
(United Kingdom) Bachelor’s in outdoorfixes.com and Product Design (Honors) Specialized in product design with a focus on blending creativity with production
techniques. Participated in industry projects, working with companies like John Lewis and Vitsoe to gain real-world insights.
Publications and Impact
In diy, Outdoor Fixes his insights on indoor design processes, materials, and strategies for efficient production.
His writing bridges the gap between artisan knowledge and modern industry needs, making it a must-read for both budding designers and seasoned professionals.