
Transforming your garden with a rock border is a simple yet impactful way to enhance its beauty and organization. Whether you want to create a distinct separation between flower beds and pathways or add a natural, rustic charm to your outdoor space, a rock border can do the trick.
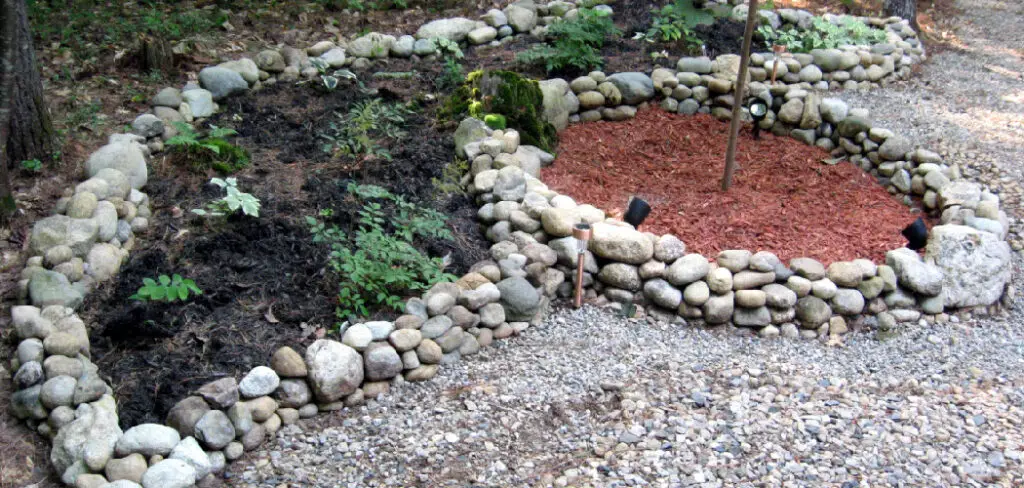
In this article, we’ll walk you through how to make a rock border for garden, from selecting the right rocks to preparing the ground and arranging the stones. With our easy-to-follow guide, you’ll be able to create a stunning and durable garden border that will elevate your landscape design.
Benefits of Adding a Rock Border to Your Garden
Incorporating a rock border into your garden not only enhances its visual appeal but also offers several practical advantages. Firstly, a rock border provides a clear definition between different areas of your garden, helping to organize plants and pathways effectively.
Additionally, it aids in soil erosion control, preventing the loss of topsoil during heavy rain or wind. Moreover, a rock border can act as a barrier to keep unwanted plants, such as weeds or grass, from encroaching on your flower beds. Finally, adding rocks to your garden can also improve drainage and create microclimates for different types of plants.
Materials You’ll Need
- Large rocks (for the base)
- Smaller rocks (for filling gaps)
- Shovel
- Rake
- Rubber mallet
- Level tool
- Landscaping fabric
- Scissors
Planning Your Rock Border for Garden
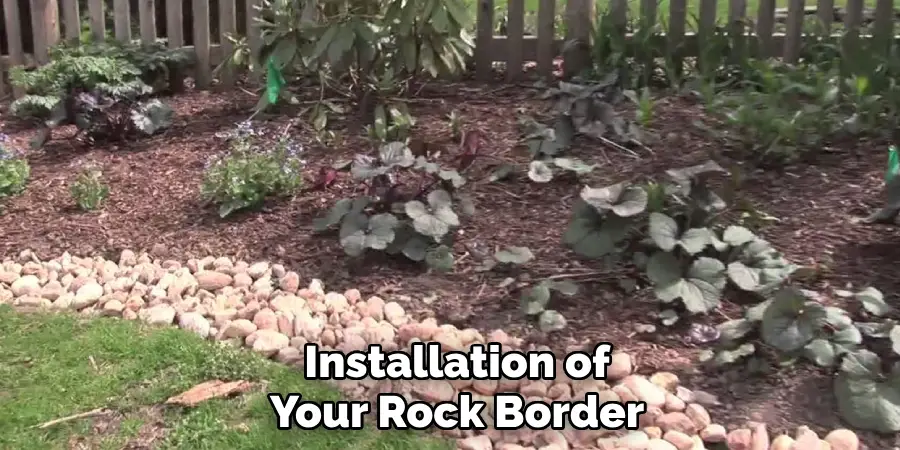
Before diving into the installation of your rock border, it’s essential to plan the layout to ensure a cohesive and attractive appearance. Start by determining the boundary of your garden to identify where the rock border will be placed. You can use marking paint or stakes with string to outline the desired shape, whether it’s a straight line or a more organic curve.
Next, consider the size and type of rocks you wish to use; larger rocks create a bolder statement, while smaller ones may offer a more subtle look. Additionally, think about the overall theme of your garden—natural, contemporary, or whimsical—and choose rocks that complement your style.
Finally, assess your budget and availability of materials, as these factors will help guide your choices and prevent overspending. With a well-thought-out plan, you will set the foundation for a beautiful rock border that enhances your garden’s charm.
Preparing the Ground
Once you have planned your rock border layout, the next step is to prepare the ground for installation. Start by clearing the designated area of any existing plants, grass, or debris.
This may involve using a shovel to remove unwanted vegetation and a rake to level the soil. It’s essential to ensure the ground is smooth and even, as this will provide a stable foundation for your rocks.
Next, you should dig a trench where the rock border will sit. The depth of the trench should be approximately one-third the height of the largest rocks you plan to use, ensuring they are set securely into the ground. This will help prevent shifting and establish a solid barrier.
After digging, compact the soil at the bottom of the trench to create a firm base. Finally, consider laying down landscaping fabric at the bottom of the trench to suppress weed growth and maintain clear separation between the soil and the rocks. With the ground prepared, you are ready to begin arranging your rocks for the border.
10 Methods to Make a Rock Border for Your Garden
Creating a rock border can be approached in various ways depending on the style and functionality you desire. Here are ten methods to consider:
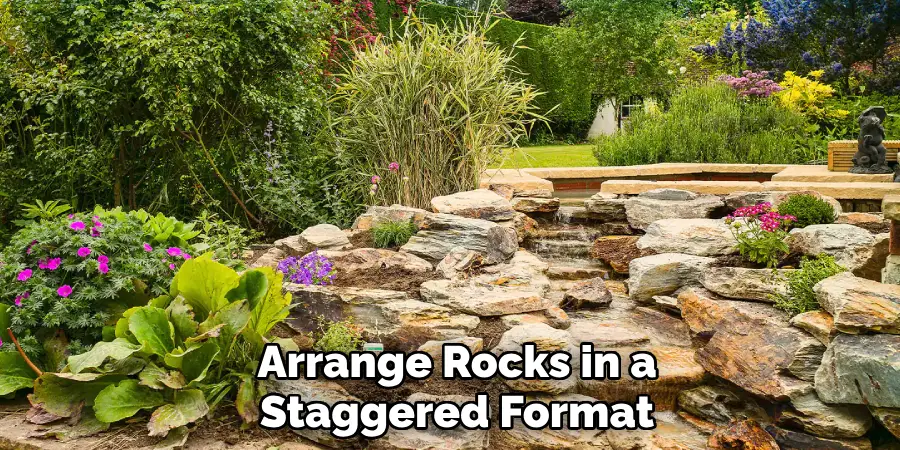
- Stacked Rocks: Arrange rocks in a staggered format, stacking larger stones on the bottom and smaller stones on top. This method creates a rustic and natural look.
- Flat Stone Edging: Use flat, smooth stones to create a low-profile border. This style is subtle and blends seamlessly with the landscape.
- Curved Border: For a softer appearance, create a winding rock border by placing stones in a gentle curve. This adds visual interest and can follow the shape of your flower beds or pathways.
- Rock and Soil Combination: Mix smaller rocks with soil to create a raised border. This technique elevates the planting area while providing good drainage.
- Mosaic Pattern: Use different colours and sizes of stones to create a mosaic effect. This intricate style is eye-catching and can be a focal point in your garden.
- Boulder Border: For a dramatic statement, incorporate boulders into your border. These large stones can serve as natural seating or a decorative feature.
- Cemented Rocks: For a more permanent solution, set rocks in concrete. This method ensures stability and can withstand weather elements.
- Layered Gravel and Rocks: Begin with a layer of gravel as a base, then add larger rocks on top. This combination promotes drainage while maintaining a structured look.
- Natural Rock Wall: Construct a low rock wall using stones of varying sizes. This method offers a strong boundary and can be enhanced with climbing plants for added aesthetics.
- Recycled Materials: Get creative by using recycled or reclaimed stones. Old bricks, tiles, or concrete can be repurposed to form a unique and eco-friendly garden border.
By employing these varied methods, you can create a rock border that not only beautifies your garden but also serves practical purposes, enhancing the overall health and structure of your outdoor space.
Arranging the Rocks for the Best Visual Effect
Once you have selected your rocks and prepared the area, it’s time to arrange them for maximum visual impact. Begin by placing the largest rocks at the focal points of your border; these will draw attention and create a strong visual anchor.
Position them in a staggered arrangement to avoid a straight line, which can appear unnatural. Fill in the gaps between larger stones with smaller rocks, ensuring there is a harmonious balance between the different sizes to create depth and texture.
Consider the color palette of your rocks as well—placing darker stones next to lighter ones can help highlight their unique features. It’s also beneficial to leave some spaces for planting creeping plants or ground cover to soften the edges of the border, adding a touch of greenery that complements the stones.
Lastly, step back periodically to evaluate the arrangement from different angles, making adjustments as necessary to achieve a pleasing and cohesive look that enhances the overall beauty of your garden.
Finishing Touches
After arranging your rock border, it’s time to add the finishing touches that will elevate its overall appearance and integration into your garden. Start by thoroughly cleaning the rocks to remove dirt and dust; this will enhance their natural colors and textures.
If you have used landscaping fabric, ensure it is neatly tucked under the stones to maintain a tidy look.
Next, consider adding mulch or bark around the rock border to create a defined area and suppress weeds. This addition not only provides a clean aesthetic but also helps retain moisture in the soil.
Incorporate plants around the border, such as low-maintenance perennials or decorative grasses, to weave in organic elements that soften the hard edges of the rocks. For added charm, consider installing solar-powered garden lights along the border to illuminate the rocks at night, creating a magical effect.

Finally, take a step back and assess the visual harmony of your garden space; small adjustments can make a significant difference. With these finishing touches, your rock border will not only enhance the beauty of your garden but also its functionality and appeal.
Things to Consider When Creating a Rock Border
When planning to create a rock border for your garden, there are several important factors to consider that will impact both the aesthetics and functionality of your design. First, assess the size and layout of the area where you plan to install the border; this will help determine the scale and type of rocks that will be most suitable.
Consider the surrounding landscape, including existing plants, pathways, and other features, to ensure that your rock border complements the overall garden design.
Additionally, think about the maintenance requirements; some rock borders may require regular upkeep to prevent weed growth or to keep the rocks clean. The climate in your region is also a vital consideration, as specific stone types may perform better in certain weather conditions.
Finally, be mindful of your budget, as the cost can vary significantly depending on the materials chosen and their sourcing. By keeping these factors in mind, you can create a rock border that enhances your garden’s beauty while ensuring practicality and longevity.
Conclusion
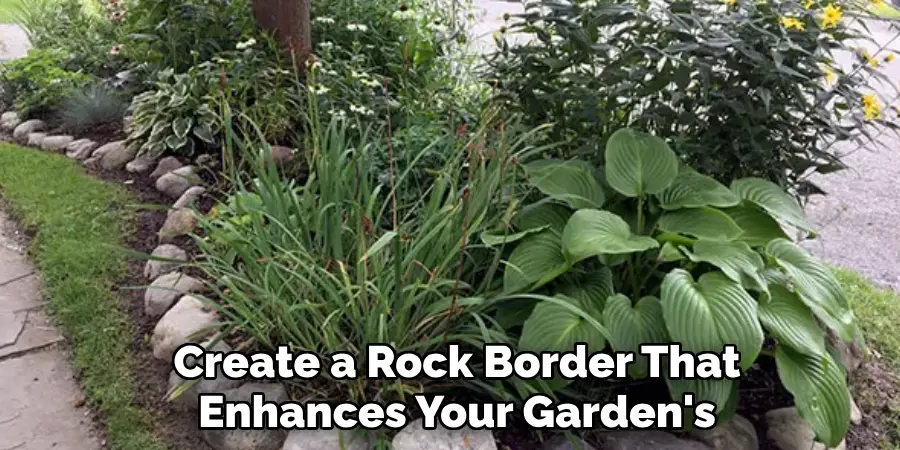
Creating a rock border can significantly enhance the aesthetic appeal and functionality of your garden. By thoughtfully selecting materials and arranging them in a visually striking manner, you can harmoniously integrate natural elements into your outdoor space.
The various techniques discussed not only allow for creative expression but also provide practical benefits such as improved drainage and weed control.
As you embark on this project, remember to consider the unique characteristics of your garden and the surrounding environment to achieve a cohesive look. Thanks for reading, and we hope this has given you some inspiration on how to make a rock border for garden!
About
Outdoor Fixes is a distinguished figure in the world of Diy design, with a decade of expertise creating innovative and sustainable Diy solutions.
His professional focus lies in merging traditional craftsmanship with modern manufacturing techniques,
fostering designs that are both practical and environmentally conscious. As the author of diy,
outdoorfixes delves into the art and science of outdoorfixes-making, inspiring artisans and industry professionals alike.
Education RMIT University
(Melbourne, Australia) Associate Degree in Design (Outdoor Fixes) Focus on sustainable design, industry-driven projects,
and practical craftsmanship. Gained hands-on experience with traditional and digital manufacturing tools, such as CAD and CNC software.
Nottingham Trent University
(United Kingdom) Bachelor’s in outdoorfixes.com and Product Design (Honors) Specialized in product design with a focus on blending creativity with production
techniques. Participated in industry projects, working with companies like John Lewis and Vitsoe to gain real-world insights.
Publications and Impact
In diy, Outdoor Fixes his insights on indoor design processes, materials, and strategies for efficient production.
His writing bridges the gap between artisan knowledge and modern industry needs, making it a must-read for both budding designers and seasoned professionals.