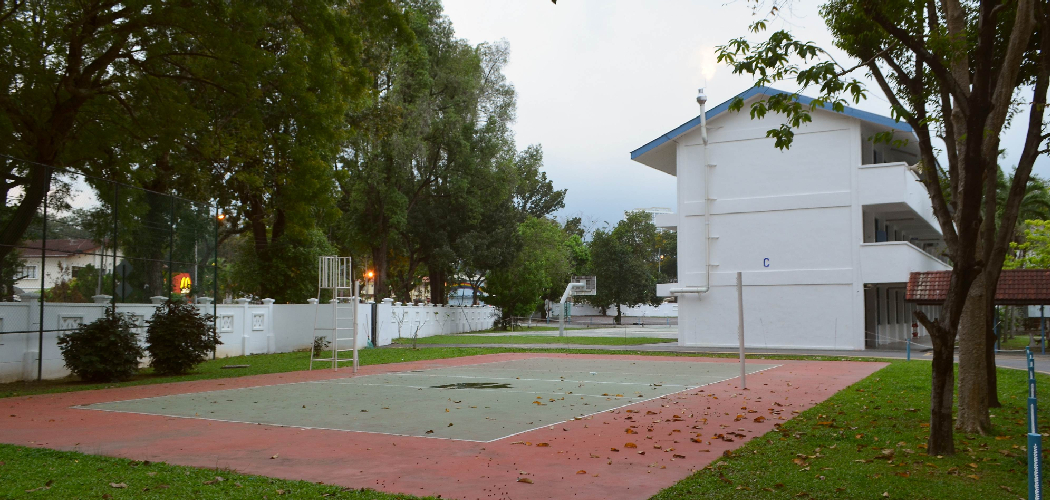
Do you dream of enjoying a match of volleyball with family and friends in your backyard? It may seem like an unattainable task, but with the right materials and determination – creating your outdoor court is not only possible but also relatively simple! volleyball offers a fun way to stay active and can be enjoyed by people of all ages.

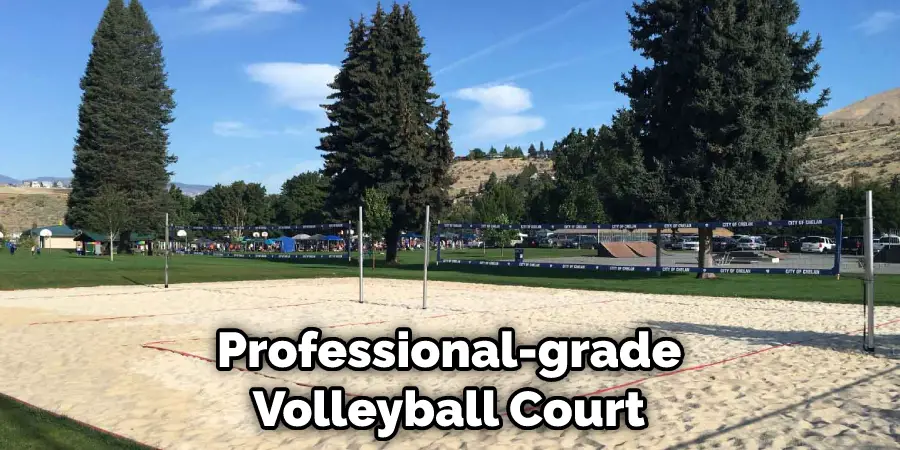
So, it is important to know how to make a volleyball court in your backyard. In this blog post, we’ll explore how to make your very own professional-grade volleyball court complete with sand for traction and elevation for net height. So come along as we embark on this exciting project that will transform any backyard into a ready-to-play sporting ground – read on to learn more!
Tools You Will Need
The first step in building your volleyball court is to gather the necessary materials and tools. Here is a list of items you will need:
- Pressure-treated wood (for framing)
- Plywood sheets (for flooring)
- 1/4 inch rebar or steel stakes (for stability)
- Sand or gravel (for traction and elevation)
- Volleyball net
- Measuring tape
- Hammer
- Drill
- Leveler
- Shovel
6 Steps Guide on How to Make a Volleyball Court in Your Backyard
1. Measure and Mark the Desired Area of Your Court
This is where you will build your court, so make sure it’s large enough to accommodate the full size of a typical volleyball game – which means measuring out an area that is at least 40 feet by 20 feet.
Starting the process of building a volleyball court in your backyard begins with measuring and marking the desired area. When taking measurements, it is important to make sure that your court is clear of any obstacles and has at least 40 feet by 20 feet of open space – anything smaller would not accommodate a full-size game.
To ensure that your measurements are accurate, feel free to take multiple readings after each mark and use an additional device, such as a tape measure, to double-check your work. After every corner is marked it will be easier to begin preparations for constructing the court itself.
2. Lay Out the Pressure-treated Wood for Framing
Once you have all of the dimensions figured out, it’s time to lay down your pressure-treated wood for framing. Ensure that three sides are built for the court outline and also include a fourth side to act as the net post holder. For proper stabilization, place stakes or rebar at each corner according to your measurements.
Use the provided fastening hardware to firmly secure each post in place, so you can be sure that your volleyball court is properly framed and strong enough for some fun games with your friends and family!
3. Attach Plywood Sheets
When making a volleyball court in your backyard, it is important to attach plywood sheets to the flooring area to provide a smooth playing surface. This can be challenging as the plywood sheets must be secured firmly with screws and checked for alignment to ensure that the surface is flat and level before moving forward.
Different types of screws should be used depending on the type of plywood you’re using, so make sure that you read up on the right kind of hardware before attempting any installation. With a little patience and attention to detail, installing the plywood sheets in this way will create an excellent base for your backyard volleyball court.
4. Fill in the Court With Sand or Gravel
Installing sand or gravel in your backyard court is an important step to take when making a volleyball court. Not only will the small grains of material help improve traction and ball control, but they can also act as a form of elevation; this plays an important role when it comes to serves and receiving passes.
In addition to traction and elevation, sand or gravel installed correctly can form a great playing surface that will bring your backyard court closer to professional-grade quality. With just a few scoops of either option, your volleyball court dreams can come true!
5. Construct the Net Post Holder
Creating a backyard volleyball court is a great way to have fun for the whole family. Constructing the support for your network is an important part of creating your court. To do this correctly, begin by attaching a side of the wood to the frame. The wood must be firmly in place and tall enough to suit your desired playing height.
Once this has been securely attached you can adjust it as needed until you are satisfied with its stability and positioning. With a sturdy net holder in place, you can now enjoy many hours of outdoor fun!
6. Attach the Net Post Holder
Making a volleyball court in your backyard is a great way to stay active as well as have some outdoor fun. With the proper equipment and materials, it is easy to set up your court. The final step in the process is to attach the net post holder to your volleyball net. It should adjust easily so that you can ensure everything is secured and safe for use.
If you pay attention to detail when constructing your court, you will be able to enjoy it for many summers to come!
Now you have all the tools and knowledge necessary to build a professional-grade volleyball court in your backyard – all you need to do is get started!
We hope this guide has helped inform you on how to make your very own outdoor court. With the right materials and determination, anyone can create a space for family and friends to have fun and stay active. Good luck and happy playing!
Tips to Make a Volleyball Court in Your Backyard
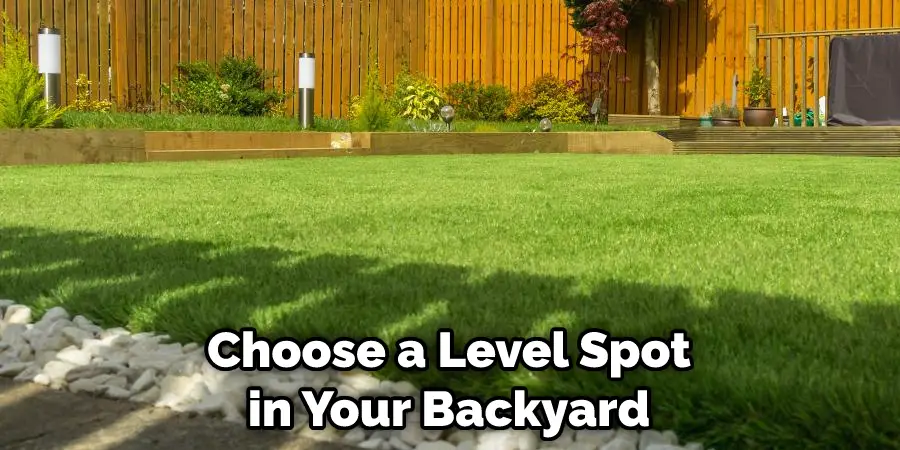
- The first thing you need to do is choose a level spot in your backyard. You will need to clear the area of any debris or large rocks.
- Next, you will need to mark out the dimensions of your court. A regulation volleyball court is 60 feet by 30 feet.
- Once you have marked out the dimensions of your court, you will need to excavate the area to a depth of six inches.
- After you have excavated the area, you will need to install a layer of gravel. This will help with drainage and prevent the growth of weeds.
- The next step is to install a layer of sand. This should be a minimum of two inches thick.
- Once you have installed the sand, you will need to roll it smoothly with a roller.
- The next step is to install the net. There are many different types of nets available, so be sure to choose one that is appropriate for your needs.
- Once you have installed the net, you will need to line your court with tape or paint. This will help define the boundaries of your court and make it easier to see when playing.
How To Set Up Your Own DIY Volleyball Court?
Setting up your DIY volleyball court doesn’t have to be a hard task. All you need is some measuring tape, sturdy poles, and a large net and you’ll have the perfect court set up in no time. First, start by picking the size of your court – indoors or outdoors – and finding the dimensions that will accommodate it.
Once you’ve done this, you can start measuring out the area where your court will go, using your measuring tape.
Next is the big step – installing sturdy, outdoor-rated poles for your net. Make sure to read any instructions carefully before doing this step so everything can be done properly. Finally, hang up your net tightly and evenly so no sagging spots are making it difficult to get a good game going!
With these steps, anyone can make their DIY volleyball court and use it to host a game in no time at all!
How to Install A Net and Line your Backyard Volleyball Court?
Installing a net and lining your backyard court for volleyball is a great way to enjoy the game with family or friends from the comfort of your own home. While it may seem like a daunting task, it can be completed in just a few steps. First, you need to choose an appropriate location for the court since you will need some open space to play.
Once that’s done, lay the tape down in two three-foot wide strips creating two sidelines and one 10-foot baseline. After that, use four poles; set two of them approximately 30 feet apart at each end of the court, and then place stakes into each corner.
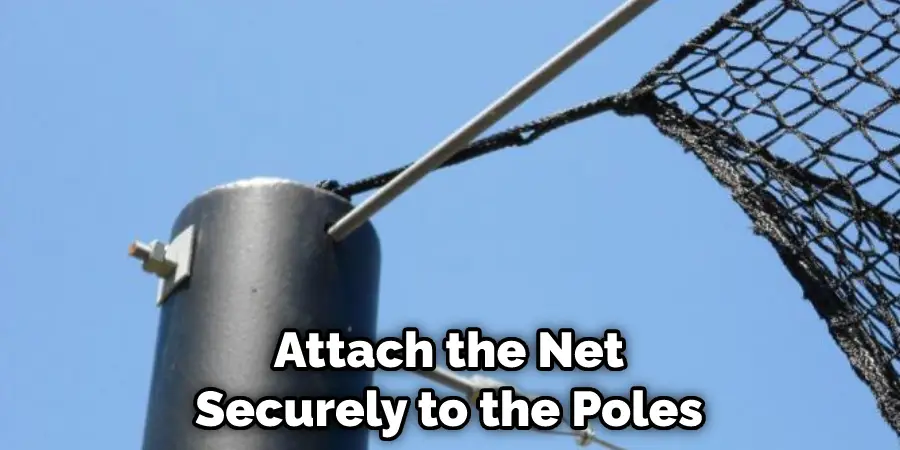
Finally, attach the net securely to the poles so it is evenly draped across the middle of the court. When you’re done, you are ready to bask in all that summer fun!
Conclusion
Now that you know how to make a volleyball court in your backyard, you can get started on enjoying some fun games with your friends and family. If you want to take things up a notch, consider investing in some professional-grade equipment so that you can host tournaments or other events.
Whatever route you decide to go, remember to have fun and stay safe!
About
Outdoor Fixes is a distinguished figure in the world of Diy design, with a decade of expertise creating innovative and sustainable Diy solutions.
His professional focus lies in merging traditional craftsmanship with modern manufacturing techniques,
fostering designs that are both practical and environmentally conscious. As the author of diy,
outdoorfixes delves into the art and science of outdoorfixes-making, inspiring artisans and industry professionals alike.
Education RMIT University
(Melbourne, Australia) Associate Degree in Design (Outdoor Fixes) Focus on sustainable design, industry-driven projects,
and practical craftsmanship. Gained hands-on experience with traditional and digital manufacturing tools, such as CAD and CNC software.
Nottingham Trent University
(United Kingdom) Bachelor’s in outdoorfixes.com and Product Design (Honors) Specialized in product design with a focus on blending creativity with production
techniques. Participated in industry projects, working with companies like John Lewis and Vitsoe to gain real-world insights.
Publications and Impact
In diy, Outdoor Fixes his insights on indoor design processes, materials, and strategies for efficient production.
His writing bridges the gap between artisan knowledge and modern industry needs, making it a must-read for both budding designers and seasoned professionals.