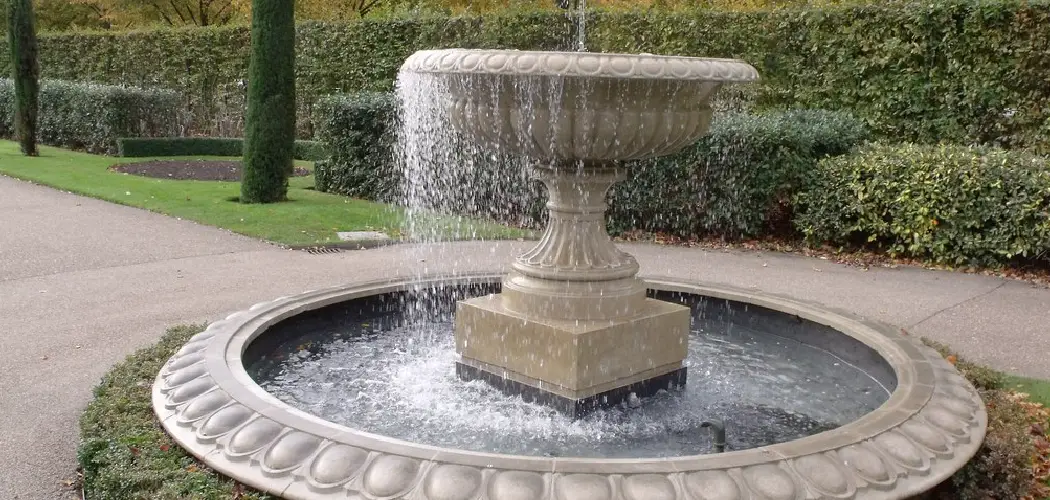
Do you want to add a beautiful, tranquil fountain feature to your backyard space? Are you looking for a DIY project that doesn’t require special supplies or expert skills? Look no further! Making a concrete fountain can be easy and fulfilling.

In this blog post, we’ll discuss the process of creating an integral concrete fountain structure with readily available tools and materials.
We will cover step-by-step instructions on how to design, how to make concrete fountain, and install and maintain such fountains — providing all the information you need to make them successful. So let’s get started!
Why Do You Need a Concrete Fountain?
As you can imagine, there are several reasons why having a concrete fountain is an excellent idea. Not only will it add a touch of beauty and character to your outdoor space, but it can also provide relaxing white noise or even serve as a focal point for meditation.
Furthermore, the water feature helps to attract birds and other wildlife, making your space more enjoyable for everyone. It is needed for a concrete fountain to be durable in the long run and to prevent potential damage from water splashing.
How to Design the Best Concrete Fountain?
Before starting, it’s important to plan out how you want your concrete fountain to look. This includes sketching out a design with the exact measurements and shapes of the overall structure, as well as where the water will be flowing from.
Additionally, consider what type of materials you want to use for your project. Choose the best-quality concrete and other materials for your fountain to make sure it lasts.

When designing, keep in mind that concrete fountains are typically circular or rectangular in shape. Additionally, there should be enough room for the water to circulate freely around the structure without spilling over or breaking apart.
It’s also important to consider the placement of the fountain. Place it near a power source, as you’ll need an electric pump to run the water feature.
Materials Needed
- Concrete mix
- Release agent
- Rebar
- Gravel
- Cement dye or paint
- Waterproofing sealant
- Basin (optional)
- Pump/Water feature
10 Steps on How to Make Concrete Fountain
Step 1: Prepare the Area
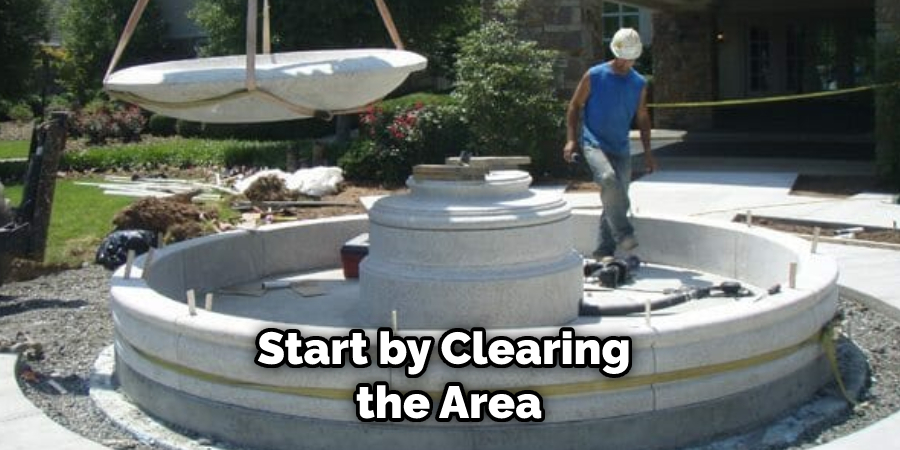
Start by clearing the area where you plan to put your concrete fountain. Make sure it’s flat and level with no obstructions or debris. Cleaning up the area will ensure that your fountain looks clean and is well-maintained.
Step 2: Mix and Pour the Concrete
Mix your concrete according to the manufacturer’s instructions. The mix should be thick enough so it won’t run off the sides of the fountain but still pourable. Once you have made the concrete, pour it into the area you have prepared.
Step 3: Install Rebar
Rebar will help to give your fountain structure and strength, so it’s important to install it before pouring the concrete. Place the rebar in a circular or rectangular shape inside of the concrete mix — depending on how you want your fountain to look.
Step 4: Add Gravel
Gravel helps to make the structure of your concrete fountain more durable. Place some gravel around and inside the rebar before pouring the rest of the concrete mix. This will also help keep it in place while you are working on other steps.
Step 5: Smooth Out Concrete
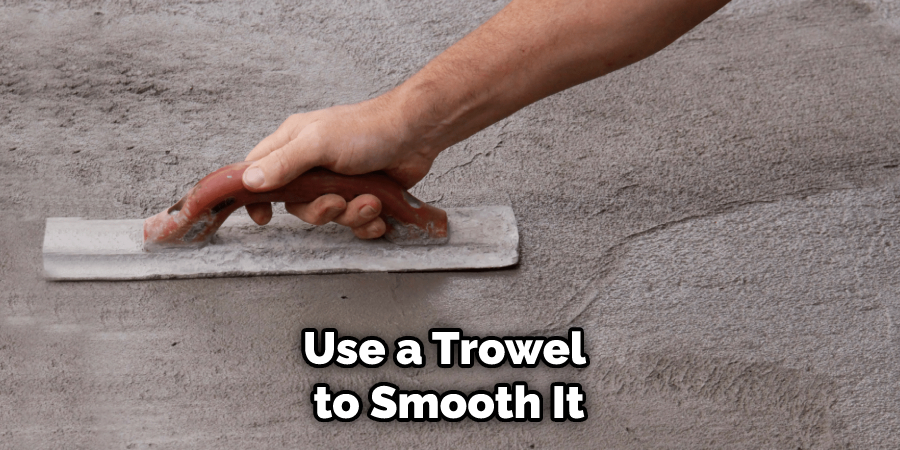
Once the concrete is poured, use a trowel to smooth it out evenly. Make sure there are no air pockets and that the surface is even with no lumps or bumps. An uneven surface can create cracks in the concrete.
Step 6: Let it Cure
Let the concrete cure, or dry, for at least two days before doing any more work on your fountain. This will ensure a strong and durable structure that won’t crack or break apart easily. Leave it undisturbed and check the curing process regularly.
Step 7: Paint or Dye
Once the concrete has cured, it’s time to paint or dye it. This will give your fountain a more polished look, as well as help protect it from water and weather damage. Choose a paint or dye that is waterproof and designed for outdoor use.
Step 8: Seal it
To protect your fountain from water and weather damage, you need to seal it. Apply a waterproofing sealant over the entire surface of the fountain. This will help keep the structure strong for years to come.
Step 9: Install the Pump/Water Feature
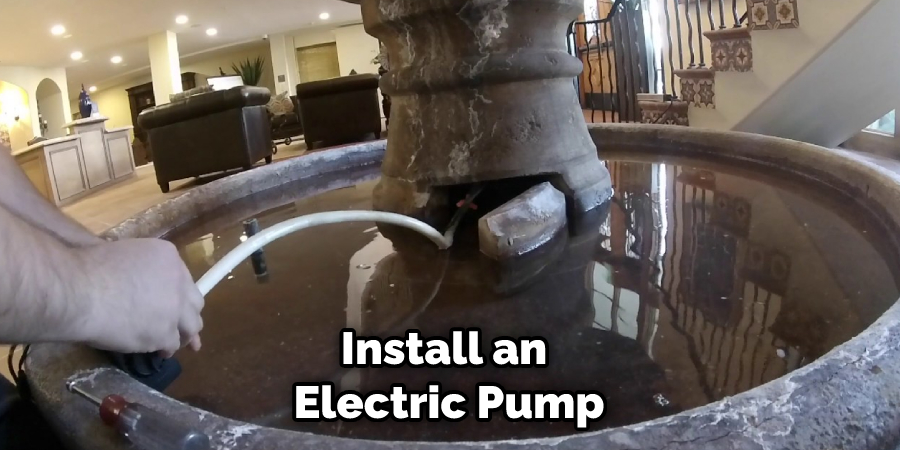
Install an electric pump and water feature to get the water flowing. Make sure you place it near a power source so that you can plug it in. If it is not near a power source, you can use a battery-powered pump.
Step 10: Test It Out
Finally, turn on your fountain and make sure that everything is working correctly. Adjust the flow of water as needed and ensure that there are no leaks or water splashing outside of the fountain. Once you’re happy with the results, your concrete fountain is ready to use!
With a bit of patience and hard work, you can create a beautiful concrete fountain that will be a stunning addition to any garden or outdoor area. It’s an easy and cost-effective way to add an eye-catching feature to your space that will be sure to wow your guests.
8 Maintenance Tips
- Clean off any dirt or debris regularly to keep the fountain looking fresh. Use a soft cloth and mild detergent to gently wipe away dirt and dust, but avoid using harsh chemicals as they can damage the cement.
- Inspect each piece of the fountain for cracks or other signs of damage on a regular basis, especially after periods of significant temperature changes. If any areas are cracked or structurally unsound, it’s best to repair them right away to avoid further damage.
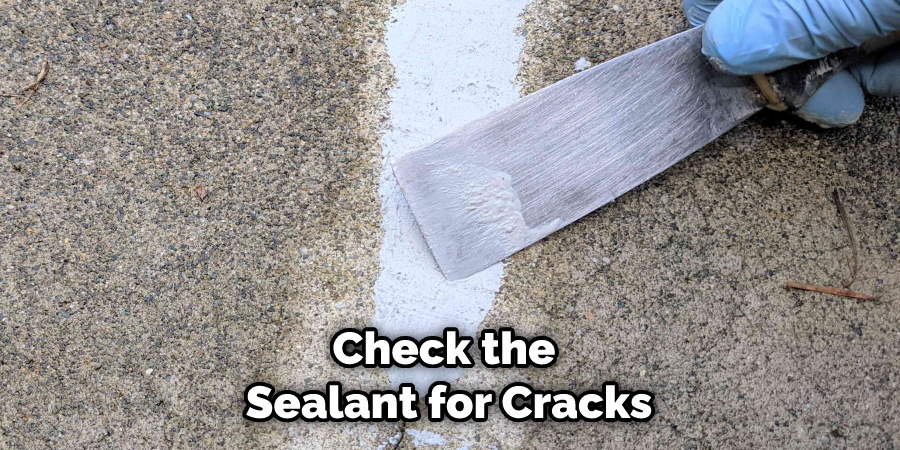
- Check the sealant for cracks or gaps on a regular basis too, as these can eventually lead to water leakage from the fountain. Regularly re-sealing any areas of concern will help to prevent further damage.
- Change out the water in the fountain at least once a month, and use only clean, fresh water. This will help to keep the fountain looking attractive and reduce mineral buildup on any of the interior surfaces.
- Check for signs of algae growth regularly, as it can take only a few days to spread over the entire surface of the fountain. If you notice any signs of algae, treat it right away with an appropriate cleaning product.
- 6. Clean out any pumps and filters in the fountain once a month as well, using a mild detergent or vinegar-water solution. Take care not to damage any seals while doing so.
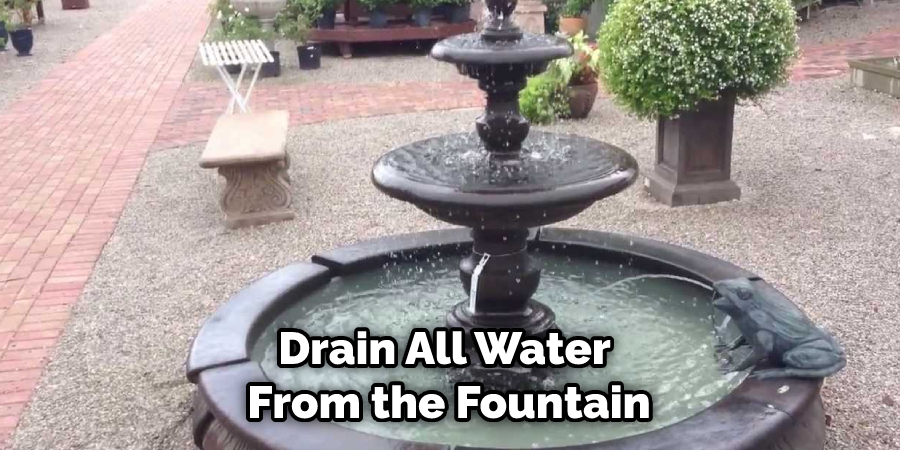
- Be sure to winterize your fountain properly if you live in an area with freezing temperatures, as this can cause significant damage. Drain all water from the fountain and store it indoors in a cool, dry place until the warm weather returns.
- If your fountain is located outdoors, protect it from direct sunlight whenever possible to avoid fading and damage. If necessary, use a tarp or other covering to shield it from the sun’s rays.
Following these simple maintenance tips can help to keep your fountain looking beautiful for years to come!
Frequently Asked Questions
How much Will It Cost to Finish the Project?
The cost of completing a concrete fountain project will depend on the size and complexity of the design, as well as any additional components that may be needed, such as pumps or filters. It’s best to consult with a professional for an accurate estimate before beginning the project.
It may help to look for DIY kits that include all the necessary components if you’d like to save money.
What Should I Use To Clean My Fountain?
When it comes to cleaning your fountain, use a soft cloth and mild detergent or vinegar-water solution. Avoid using harsh chemicals as they can damage the cement and cause discoloration.
For more stubborn stains, you may need to use a specialty cleaner designed specifically for concrete fountains. Be sure to follow the instructions closely and take any safety precautions necessary before beginning.
Additionally, check out our cleaning guide for more detailed instructions on how to clean a concrete fountain.
How Often Should I Change the Water in My Fountain?
It’s best to change out the water in your fountain at least once a month and use only clean, fresh water. This will help to keep the fountain looking attractive and reduce mineral buildup on any of the interior surfaces. If you have an outdoor fountain, it’s also a good idea to check for signs of algae growth, as this can spread quickly if left untreated.
Treat any algae right away with an appropriate cleaning product. Additionally, make sure to winterize your fountain properly if you live in an area with freezing temperatures. Drain all water from the fountain and store it indoors in a cool, dry place until the warm weather returns.
Conclusion
Building a concrete fountain can be a great and fulfilling project, regardless of your previous experience with the material.
By preparing the area, acquiring all of your materials, measuring out and mixing the concrete, constructing the actual fountain shape, and incorporating any optional features, you have created a one-of-a-kind piece that will bring unique beauty to your home.
After allowing ample time for curing and drying the concrete, be sure to keep it clean to prevent algae or other bacteria from forming. By following a few simple steps on how to make concrete fountain and using the necessary tools, you can create a compelling concrete masterpiece that will bring beauty and tranquility to your garden for years to come.
You Can Check It Out to Protect Concrete From Fire Pit
About
Outdoor Fixes is a distinguished figure in the world of Diy design, with a decade of expertise creating innovative and sustainable Diy solutions.
His professional focus lies in merging traditional craftsmanship with modern manufacturing techniques,
fostering designs that are both practical and environmentally conscious. As the author of diy,
outdoorfixes delves into the art and science of outdoorfixes-making, inspiring artisans and industry professionals alike.
Education RMIT University
(Melbourne, Australia) Associate Degree in Design (Outdoor Fixes) Focus on sustainable design, industry-driven projects,
and practical craftsmanship. Gained hands-on experience with traditional and digital manufacturing tools, such as CAD and CNC software.
Nottingham Trent University
(United Kingdom) Bachelor’s in outdoorfixes.com and Product Design (Honors) Specialized in product design with a focus on blending creativity with production
techniques. Participated in industry projects, working with companies like John Lewis and Vitsoe to gain real-world insights.
Publications and Impact
In diy, Outdoor Fixes his insights on indoor design processes, materials, and strategies for efficient production.
His writing bridges the gap between artisan knowledge and modern industry needs, making it a must-read for both budding designers and seasoned professionals.