
Gardening can be a rewarding experience when done properly, but there are many details that need to be taken care of in order to have the best garden possible. Attracting beneficial insects, such as pollinators, is important for keeping flowers and vegetables healthy and thriving.
For those who want to provide a safe home for beneficial bugs, garden netting frames are an accessible idea that anyone can make themselves with minimal supplies and tools. In this blog post, we’ll discuss step-by-step how to make garden netting frame using basic materials like wire mesh and wooden boards so you can better design your outdoor space!
What Is the Best Netting for Vegetables?
When choosing a netting for your vegetable garden, there are several important factors to consider. First, you’ll want to make sure that the netting is made from a material that won’t rust or degrade quickly in the sun and rain.
High-density polyethylene (HDPE) netting is one of the most popular options and is highly durable, lightweight, and easy to use. It’s also relatively inexpensive compared to other types of netting. Another great option is knitted polyethylene mesh, which offers increased protection by forming a tighter weave than HDPE netting.
In addition to material type, you’ll want to consider the size of the holes in the netting. For garden vegetables, you’ll want a size that will protect from larger birds and animals but still allow for adequate ventilation and sunlight to enter. A mesh size of 1/4 to 1/2 inch is generally recommended.
Finally, choose a netting with bright colors or reflective strips if possible. This will help to make it more visible to birds and other animals, helping them to avoid bumping into it or getting stuck in it.
By taking these factors into consideration when choosing garden netting, you can ensure that your vegetables will be safe and secure without sacrificing their growth potential. With the right choice of materials, size, and color combination, you can create a netting frame that will serve you well for many years to come.
10 Methods How to Make Garden Netting Frame
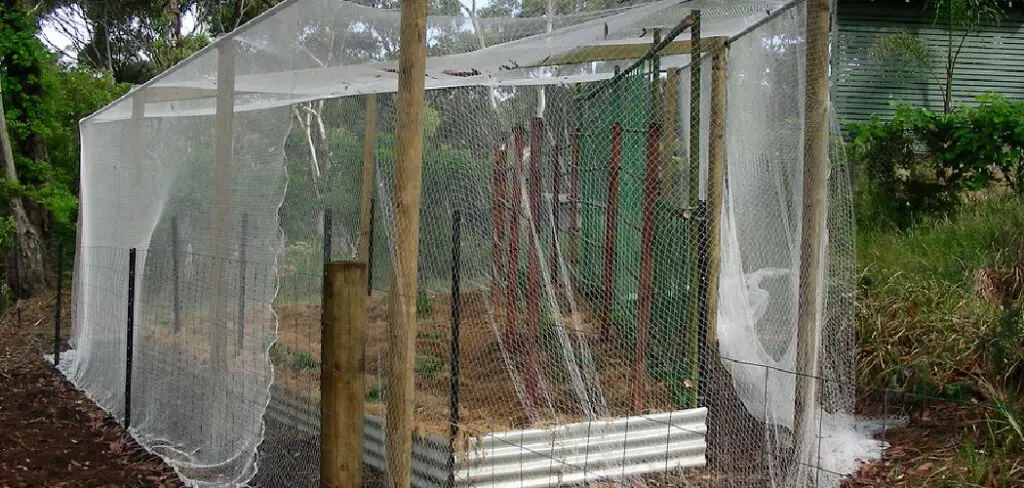
Making a garden netting frame does not have to be difficult. With a few materials and some time, you can create a sturdy frame that will protect your plants and garden from birds, insects, and other pests. Here are ten simple methods for creating a garden netting frame:
1. Gather Your Supplies –
The supplies you’ll need will depend on the size of your frame and the type of netting you’ve chosen. Common items include metal frames with corner pieces, wire mesh or plastic netting, zip ties or metal clips, pliers, scissors, and stakes. If you’re using a metal frame, you may also need a drill and screws.
Although metal is the sturdiest option, you can also make your frame with PVC pipes or wooden stakes if desired. However, these materials may require more maintenance. While gathering your supplies, make sure to measure the size of the frame and netting you’ll need. This will ensure that you have enough material for your project.
2. Measure Your Area –
Before beginning your project, measure the area where you’ll be placing your netting frame. The length and width measurements should match the size of your chosen metal frame so that it fits properly when installed. While you can purchase pre-made frames in various sizes, you may want to consider customizing the size of your frame for a more exact fit.
This will help ensure that the frame can securely hold your netting in place and protect your garden from pests. If you decide to customize your frame size, use a tape measure or ruler to determine the correct measurements for each side of the frame. Although it’s possible to make the frame out of wood, metal is a more durable and long-lasting option.
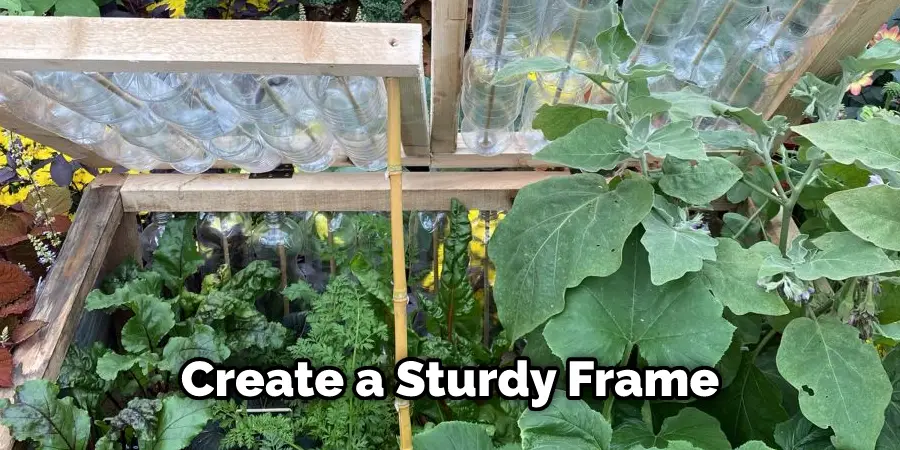
3. Assemble Your Frame –
To assemble the metal frame, you’ll need to connect the corner pieces with either zip ties or metal clips, depending on which type of frame you’ve purchased. After connecting all four corners together, use pliers to secure them if necessary. While you are assembling the frame, make sure that it is level and even on all sides.
Next, attach your garden netting to the frame. Depending on the type of netting you have, you may need to use zip ties or multi-purpose clips. Make sure that all sides are tightly secured, and that there are no gaps or openings.
4. Attach the Netting –
Once the frame is assembled and standing up straight in its intended location, start attaching your chosen netting material by clipping it to one side of the frame using clamps or zip ties, securely fastening it in place every few inches around all four sides until it’s completely attached.
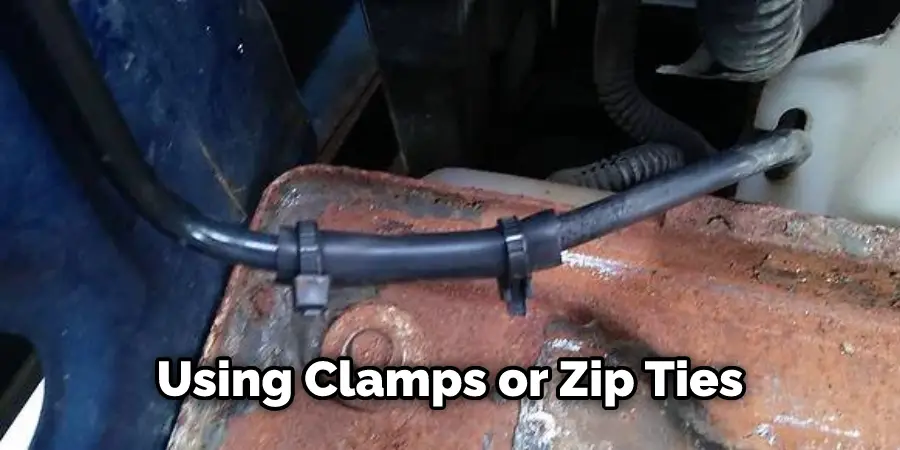
If using wire mesh, then this step may require cutting with scissors to perfectly fit around all four corners of the frame before securing it into place with clamps or zip ties along all four sides as well as any curves or awkward shapes within each section of wire mesh that need trimming for perfect coverage over each part of the entire frame structure.
5. Secure Into Place –
Once all parts are securely attached to each other via clamps or zip ties along every edge and corner of both sides (inside and outside) of the entire structure then, use stakes pounded into soft soil at least two feet apart along each side on both inside and outside edges to further secure the whole thing firmly into the ground level below where applicable (soil must remain solid enough to support them).
While doing this step, you may need to readjust the frame slightly (like moving it closer or farther away from a wall) if needed in order to ensure the stakes are in solid soil that supports them well. Once the frame is secured into place, you can attach garden netting/mesh over it for the desired effect (e.g., keeping animals out or directing plants to grow in certain directions).
6. Install Support Poles –
For extra stability in windy areas, install support poles running parallel across either side of your netting frame top portion (where applicable) for added protection against blowing off during storms, etcetera, especially if using lightweight plastic varieties instead heavier duty sturdier.
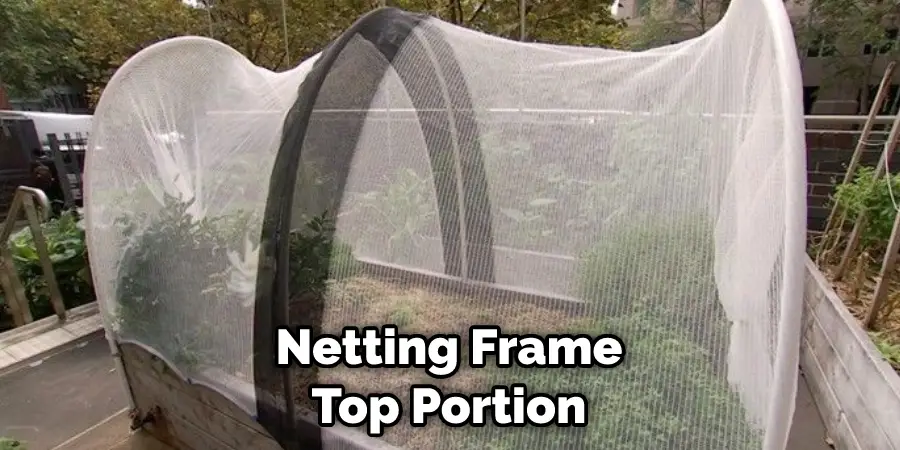
Stronger metals types like steel wires & etceteras as needed plus additional poles may also go underneath the bottom base level perimeter edge levels near outermost reaches thereabouts help keep everything nice tight secure, properly tightly fastened into place firmly gripping the ground surface despite potential bad weather
7. Resecure Periodically –
Check periodically throughout season that the netting frame is still secured to the ground. Secure it in place as needed with stakes and ties, especially after strong winds or rainstorms. It is also advisable to move the frame around periodically so that the same places are not permanently damaged by contact with the frame.
This helps keep the frame in better condition and makes sure your garden remains protected. If needed, you can also purchase replacement netting material if your frame is damaged or worn out. Although it takes some time and effort to create the frame, it will help protect your garden for a long time.
With proper maintenance, you can enjoy fresh fruits, vegetables, and herbs for many years.
8. Use Proper Tools –
When removing old nets from a frame, avoid using sharp tools to prevent tearing or ripping the mesh. Also, make sure to securely fasten new nets with suitably sized nails or staples. Be careful not to use overly large nails or staples, as they can damage the frame and make it less secure. Finally, use pliers or a staple gun to make sure the fasteners are securely attached. Doing so will ensure that your netting frame remains in good condition for many years to come. When finished, be sure to clean up any debris or loose nails left behind.
9. Keep Out Unwanted Guests –
Make sure unwanted guests such as birds, deer, and other animals don’t get into your garden. Place the netting frame on top of the garden to prevent these animals from entering. Secure the frame to the ground with stakes or other similar materials. Make sure the netting is stretched tight, and there are no gaps that would allow animals to get through.

Make sure to inspect the netting regularly and replace it if any worn or torn areas appear. This will ensure that your garden is well-protected and your plants are safe. And there you have it – a simple and effective way to create a garden netting frame that will keep out unwanted visitors. A netting frame is an inexpensive and easy way to protect your garden, so be sure to give it a try!
10. Add Extra Layers Of Protection –
If desired, add an extra layer of protection either by using a plastic sheet or by adding additional netting. Secure the pieces of netting together using zip ties, wire, or twine. This will help to create a stronger frame and will ensure that the netting does not blow away in strong winds.
For added protection, you can also use garden staples to secure the edges of the netting to the sides of the frame. Finally, make sure to inspect your netting every few weeks for any damaged areas or rips so that it remains effective in keeping out pests. With proper maintenance, your garden netting frame should last you several years.
Things to Consider When Making Garden Netting Frame
1. Choose the Location for Your Frame:
When considering where to place your garden netting frame, it is important to think about what type of space you’ll need for it. Make sure the chosen area is large enough to accommodate the frame and any plants or vegetables that will be grown inside. Take factors such as sunlight, shade, and wind into consideration when deciding on a spot.
2. Use Sturdy Posts:
When creating your garden netting frame, make sure to utilize sturdy posts to hold up the frame. This will help ensure that your frame is secure and can handle any strong winds or heavy rain that may come it’s way.
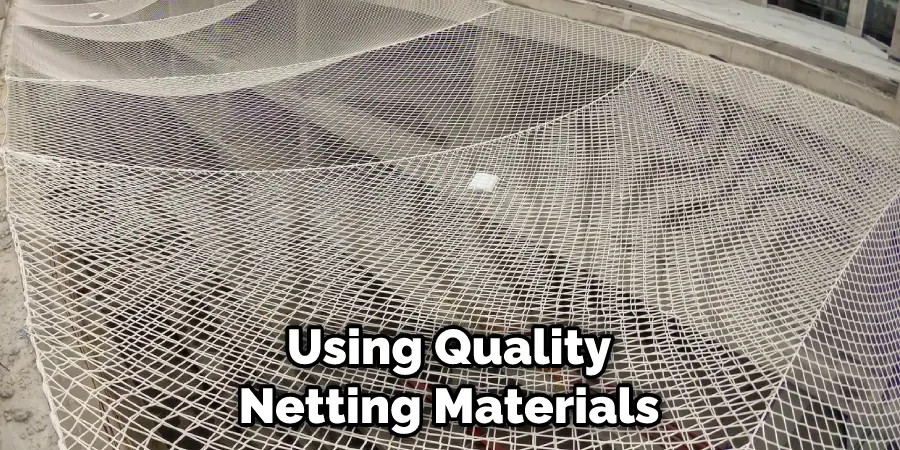
3. Use Quality Netting:
Using quality netting materials is essential when constructing a garden netting frame. Cheap, flimsy material won’t be able to withstand the elements and won’t provide adequate protection for your plants. Make sure to purchase durable, weather-resistant netting that will protect your plants from pests and other outside threats.
4. Check the Netting Regularly:
Once you have constructed your netting frame, it is important to regularly check that it is in good condition. Make sure the netting is still securely fastened to the posts and that there are no rips or tears. If necessary, make repairs or replace any damaged materials.
By following these tips and by constructing a sturdy garden netting frame, you can grow healthy plants and crops in your garden. With a little bit of planning and preparation, you can create a safe and secure environment for all of your plants.
What Is the Best Material to Cover Plants with?
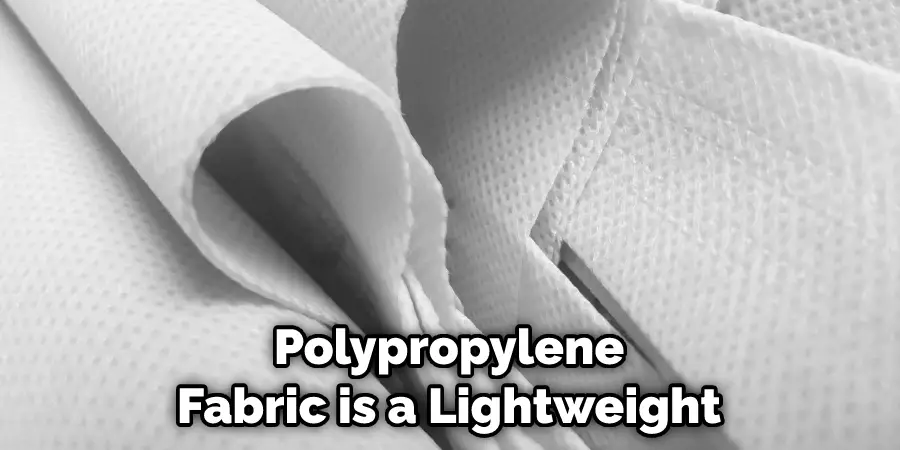
Once your netting frame is in place, you’ll need to cover the plants with a material that will protect them from extreme weather and pests. The best materials to cover plants with are spun bonded polypropylene fabric, horticultural fleece, and insect mesh.
Spunbonded polypropylene fabric is a lightweight, breathable material that provides an effective barrier against wind, cold temperatures, and light frost. It’s easy to install and can last up to 5 years before needing replacement.
Conclusion
Now that you know how to make garden netting frame, you can keep your plants safe from pests all season long. This easy project can be completed in the afternoon, and it will make a big difference in the health of your plants. So what are you waiting for? Get started on your garden netting frame today!
About
Outdoor Fixes is a distinguished figure in the world of Diy design, with a decade of expertise creating innovative and sustainable Diy solutions.
His professional focus lies in merging traditional craftsmanship with modern manufacturing techniques,
fostering designs that are both practical and environmentally conscious. As the author of diy,
outdoorfixes delves into the art and science of outdoorfixes-making, inspiring artisans and industry professionals alike.
Education RMIT University
(Melbourne, Australia) Associate Degree in Design (Outdoor Fixes) Focus on sustainable design, industry-driven projects,
and practical craftsmanship. Gained hands-on experience with traditional and digital manufacturing tools, such as CAD and CNC software.
Nottingham Trent University
(United Kingdom) Bachelor’s in outdoorfixes.com and Product Design (Honors) Specialized in product design with a focus on blending creativity with production
techniques. Participated in industry projects, working with companies like John Lewis and Vitsoe to gain real-world insights.
Publications and Impact
In diy, Outdoor Fixes his insights on indoor design processes, materials, and strategies for efficient production.
His writing bridges the gap between artisan knowledge and modern industry needs, making it a must-read for both budding designers and seasoned professionals.