
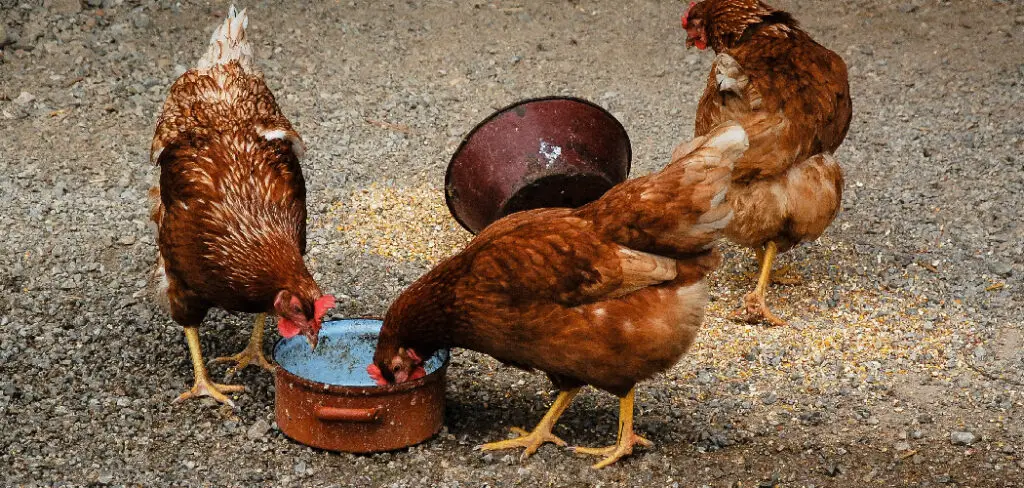
Chickens are omnivorous creatures that eat a variety of food, including grains and seeds. However, they also require grit in their diet to help them digest their food properly. Grit is small, insoluble particles such as sand or pebbles that chickens consume to help grind up the food in their gizzard.
In this guide, we will discuss how to make grit for chickens at home using common household items.
Necessary Items
To make grit for chickens, you will need the following items:
- Crushed eggshells or oyster shells
- Sand or small pebbles
- Mortar and pestle (optional)
8 Things to Know Before You Start
Before you start making grit for your chickens, there are a few things to keep in mind:
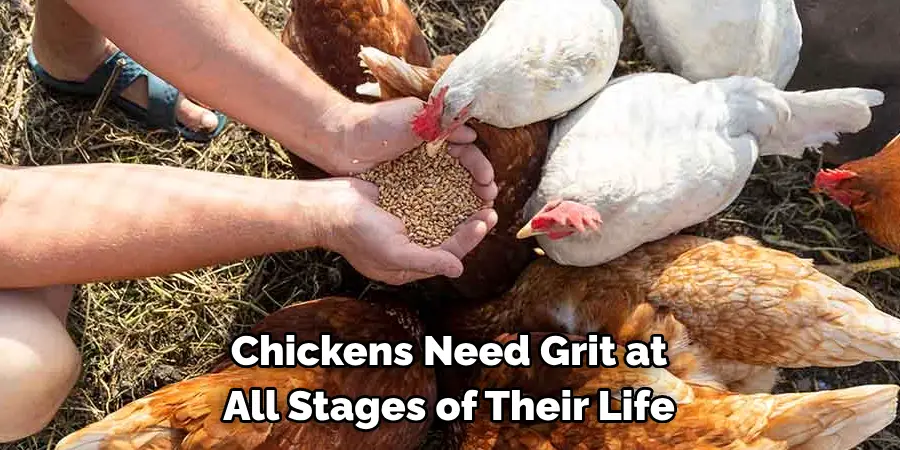
1) Chickens Require Grit at All Stages of Their Life
Chickens need grit at all stages of their life, from chicks to adults. It is essential for their digestion and overall health. However, the size of grit they need may vary depending on their age and the type of food they consume.
2) Provide Grit Separately from Their Feed
It is essential to provide grit separately from their regular feed. This allows chickens to consume it as and when needed, rather than it being mixed in with their food. If grit is mixed in with their feed, chickens may overeat it and develop health issues.
3) Use Insoluble Grit
Grit should be insoluble so that it can effectively grind the food in the gizzard. Soluble grit such as limestone or sea shells will dissolve in their digestive system and not serve its purpose. While some sources may suggest using soluble grit, it is best to avoid it and stick with insoluble options.
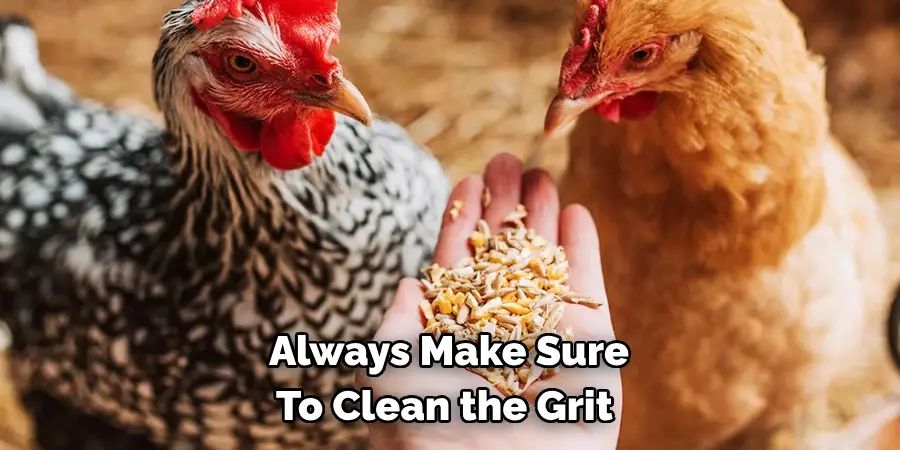
4) Cleanliness is Key
Always make sure to clean the grit before providing it to your chickens. This will remove any dirt or debris that may harm their health. Additionally, regularly replace old grit with fresh ones to maintain its effectiveness.
5) Keep Grit in a Separate Container
Grit should be kept separate from their feed and water. Use a separate container for grit to avoid contamination and keep it clean. But make sure to place it close to their feed and water so that they can access it easily.
6) Do Not Overfeed Grit
Chickens will only consume as much grit as needed, so there is no need to overfeed them. A small amount of grit provided once or twice a week is sufficient for adult chickens. However, chicks will require more frequent doses of grit.
7) Monitor Your Chickens’ Intake
It is essential to monitor your chickens’ intake of grit. If you notice that they are not consuming enough, increase the frequency of providing it to them. On the other hand, if they are consuming too much, reduce the amount or frequency to avoid any health issues.
8) Consult a Veterinarian if Necessary
If you notice any changes in your chickens’ health or behavior after introducing grit into their diet, consult a veterinarian. They will be able to advise on the appropriate amount and type of grit for your chickens.
Making grit for chickens at home is a cost-effective and easy way to ensure that your chickens have this essential component in their diet.
By following the necessary precautions on how to make grit for chickens and keeping an eye on your chickens’ consumption, you can provide them with the right amount of grit they need to maintain their health and well-being. Remember to clean and replace the grit regularly to keep it effective. Happy chicken raising! Keep exploring and experimenting with different grit options to find the best one for your flock. So, don’t hesitate to consult a veterinarian if you have any concerns or questions about providing grit to your chickens. With proper care and attention, your chickens will have all the necessary resources to thrive and produce delicious eggs for you!
12 Steps on How to Make Grit for Chickens
Step 1: Collect and Clean Shells
The first step in making grit for chickens is to collect empty eggshells or oyster shells. You can also purchase them from a feed store if you don’t have access to these shells. Make sure to clean the shells thoroughly with water and remove any remaining membrane or egg residue.
Step 2: Dry the Shells
After cleaning, dry the shells completely before crushing them. You can air-dry them or place them in an oven at a low temperature for a few minutes. While the shells are drying, prepare your sand or small pebbles.
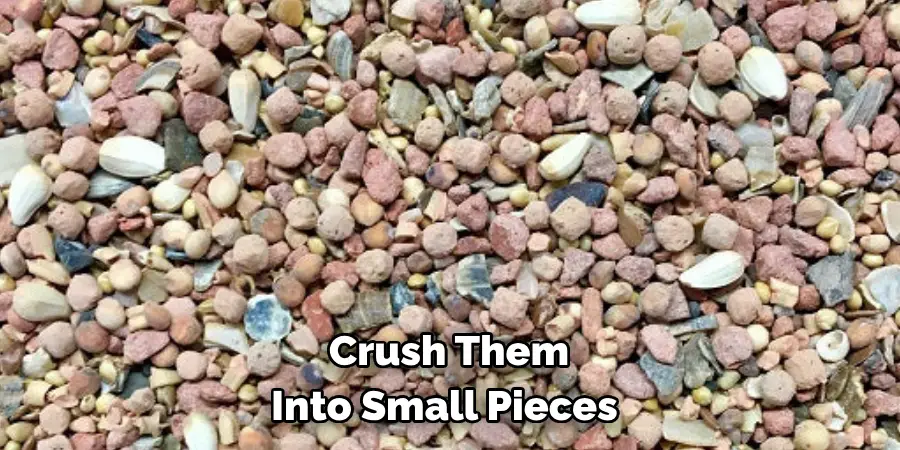
Step 3: Crush the Shells
Once the shells are fully dry, crush them into small pieces using a mortar and pestle or by placing them in a plastic bag and rolling over them with a heavy object. Crushing the shells will make it easier for chickens to consume and digest them.
Step 4: Clean and Dry the Sand/Pebbles
If using sand or pebbles, make sure to clean them thoroughly as well. You can rinse them with water and let them dry before use. And if you’re using store-bought sand, make sure it is free of any additives or chemicals.
Step 5: Mix the Shells and Sand/Pebbles
In a ratio of approximately 2:1, mix the crushed shells with the sand or pebbles. You can adjust the ratio depending on the size of your flock and their individual needs. When mixing, make sure to do it in a clean container.
Step 6: Grind the Mixture (Optional)
If you want a finer grit, you can grind the mixture of shells and sand/pebbles in a mortar and pestle. This step is not necessary, but it will result in smaller particles that may be easier for chickens to consume.
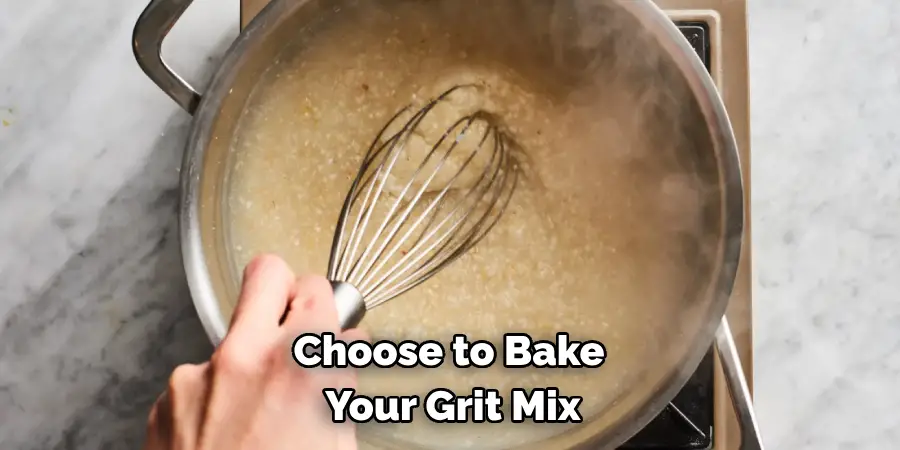
Step 7: Bake the Mixture (Optional)
For added calcium, you can bake the mixture in an oven at a low temperature for a few minutes. This step is optional but will increase the mineral content of your homemade grit. If you choose to bake the mixture, let it cool before providing it to your chickens.
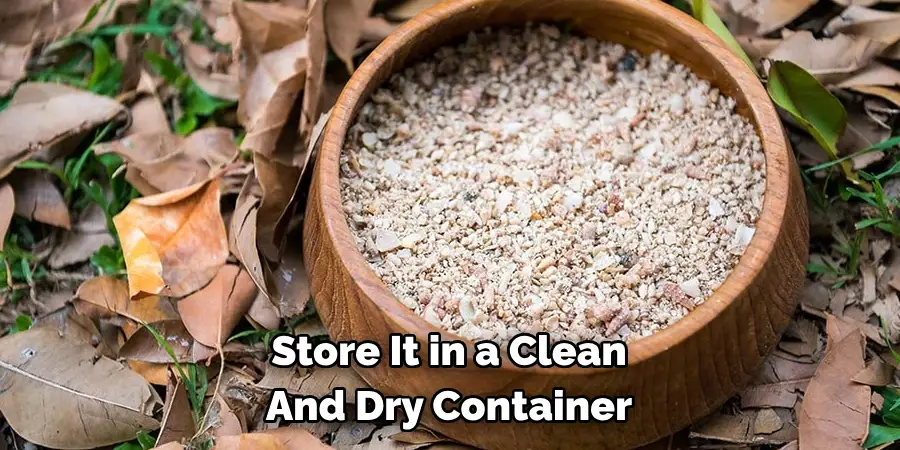
Step 8: Store in a Clean Container
After preparing the grit, store it in a clean and dry container. This will prevent contamination and keep the grit fresh for longer. Make sure to place it in an easily accessible location for your chickens. Another option is to provide the grit in a separate container, as mentioned earlier.
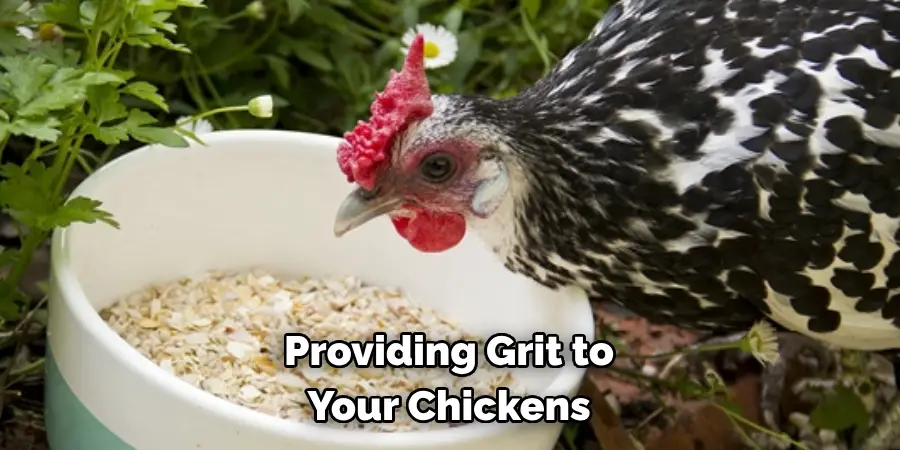
Step 9: Offer Grit to Your Chickens
Place the container of homemade grit near your chickens’ feed and water. They will naturally consume it as needed. Keep an eye on their intake and adjust the amount or frequency accordingly. But remember not to overfeed them.
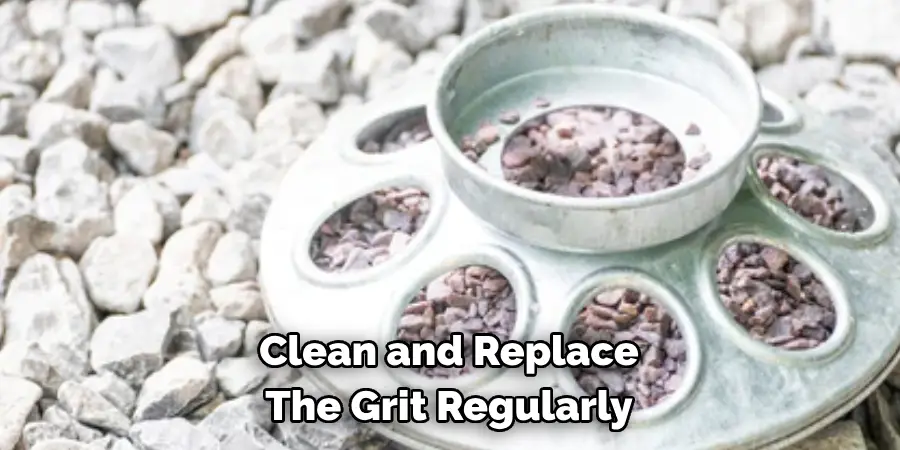
Step 10: Regularly Clean and Replace Grit
Clean the container and replace the grit regularly. This will ensure that your chickens have access to clean and effective grit at all times. More importantly, it will prevent any health issues from arising due to contaminated grit.
Step 11: Experiment with Different Options
Don’t be afraid to experiment with different types of crushed shells, sand, or pebbles to find the best combination for your chickens. You can also consult with other chicken owners or a veterinarian for recommendations.
Step 12: Enjoy Healthy and Happy Chickens
By providing your chickens with homemade grit, you are ensuring that they have all the necessary nutrients for good health and egg production. With regular care and attention, your chickens will thrive and reward you with delicious eggs! So, don’t hesitate to consult a veterinarian if you have any concerns or questions about providing grit to your chickens.
With proper care and attention, your chickens will have all the necessary resources to thrive and produce delicious eggs for you! Keep exploring and experimenting with different grit options to find the best one for your flock. Don’t forget to regularly clean and replace the grit for maximum effectiveness.
8 Things to Avoid When Making Grit for Chickens
When making grit for chickens, there are certain things you should avoid to ensure the health and safety of your flock. Here are eight things to keep in mind:
1) Don’t Use Dirty or Contaminated Shells
Make sure to thoroughly clean and dry the egg or oyster shells before crushing them. Using dirty or contaminated shells can lead to health issues for your chickens. If you’re unsure about the cleanliness of the shells, it’s best to purchase them from a feed store.
2) Avoid Adding Chemicals or Additives
When making homemade grit, stick to natural and clean ingredients. Adding chemicals or additives can be harmful to your chickens’ health. Always check labels if purchasing sand or other materials for your grit mix.
3) Don’t Overfeed Your Chickens
Providing too much grit to your chickens can cause digestive issues. Make sure to monitor their intake and adjust accordingly. Remember, they will naturally consume it as needed. While grit is an essential nutrient, too much of it can be harmful.
4) Avoid Using Large Pieces
When crushing shells or using sand/pebbles, make sure the pieces are small enough for your chickens to consume easily. Feeding them large chunks can cause choking or other digestive problems.
5) Don’t Forget to Bake (Optional)
If you choose to bake your grit mix, don’t forget to let it cool before offering it to your chickens. Hot grit can cause burns or other injuries to the mouth and digestive tract. But remember, this step is entirely optional.
6) Avoid Contamination
Always use clean containers and utensils when preparing and storing grit. Keep the container in a dry and easily accessible location for your chickens. Regularly cleaning and replacing the grit will also prevent contamination.
7) Don’t Use Grit as a Substitute for Proper Nutrition
While grit is essential for proper digestion in chickens, it should not be used as a substitute for a well-balanced diet. Make sure to provide your flock with high-quality feed and fresh water at all times.
8) Avoid Using Grits or Other Grain Products
Grits or other grain products are not suitable substitutes for grit. They do not provide the necessary minerals and nutrients for chickens’ digestive health. Stick to using crushed shells, sand, or pebbles for homemade grit.
By avoiding these common mistakes, you can ensure that your chickens have access to clean and effective grit for optimal health and egg production.
Remember, always consult with a veterinarian if you have any concerns or doubts about providing grit to your flock. Now, go forth and make some homemade grit for your happy and healthy chickens! Happy farming! So, don’t hesitate to experiment with different options to find the best one for your flock. And remember to regularly clean and replace the grit for maximum effectiveness. By avoiding these mistakes, you can ensure that your chickens have all the necessary resources for good health and egg production.
8 Additional Tips for Chicken Owners
As a chicken owner, there are many other things you can do to ensure the health and happiness of your flock. Here are eight additional tips to keep in mind:
1) Provide Adequate Space
Make sure your chickens have enough space to roam, exercise and socialize. Overcrowding can lead to stress and health issues. But remember the amount of space needed may vary depending on the breed and size of your flock.
2) Offer a Balanced Diet
In addition to grit, provide your chickens with a balanced diet that includes essential nutrients such as protein, calcium, and vitamins. You can also supplement their feed with kitchen scraps or treats in moderation.
3) Keep the Coop Clean
Regularly cleaning and maintaining the coop can prevent the spread of diseases and parasites. It also creates a more pleasant living environment for your chickens. While cleaning, make sure to wear gloves and dispose of waste properly.
4) Provide Fresh Water
Always have fresh, clean water available for your chickens. They need water not just for drinking but also for regulating their body temperature. Never let their water source run dry.
5) Protect Against Predators
Secure your coop and chicken run to protect against predators such as raccoons, foxes, and hawks. You can also use deterrents such as motion-activated lights or sound machines to keep them away. While free-ranging, supervise your chickens to keep them safe from potential harm.
6) Monitor for Signs of Illness
Regularly checking on your flock and monitoring for any changes in behavior or appearance can help detect health issues early on. Be familiar with common chicken illnesses and consult a veterinarian if necessary.
7) Provide Enrichment Activities
Chickens are intelligent and curious animals, so provide them with activities such as pecking blocks or hanging treats to keep them mentally stimulated and entertained. This can also prevent negative behaviors such as feather picking.
8) Handle Your Chickens with Care
When handling your chickens, be gentle and avoid excessive stress or rough movements. Proper handling techniques can reduce the risk of injuries and build trust with your flock.
Remember, happy and healthy chickens make for happy and successful chicken owners. By following these tips on how to make grit for chickens and providing your flock with the best care possible, you can enjoy fresh eggs and a rewarding experience raising chickens. Happy farming!
So, don’t hesitate to experiment with different options to find the best one for your flock. And remember to clean and replace the grit regularly for maximum effectiveness. By avoiding these mistakes, you can ensure your chickens have all the necessary resources for good health and egg production.
Frequently Asked Questions
How Often Should I Provide Grit to My Chickens?
Grit should be available to your chickens at all times. They will naturally consume it as needed, so make sure to monitor their intake and adjust accordingly.
Are There Any Other Homemade Grit Options?
Yes, some chicken owners use crushed eggshells or oyster shells as a calcium-rich grit option for their flock. However, these may not provide the same benefits as traditional grit and should be used carefully in moderation.
Do All Chicken Breeds Require Grit?
While most chicken breeds require grit for proper digestion, some breeds that primarily consume commercial feed may not need grit as much. It’s important to research your specific breed and consult with a veterinarian for guidance. Remember, always consult with a veterinarian if you have any concerns or doubts about providing grit to your flock. Now, go forth and make some homemade grit for your happy and healthy chickens!
Can I Use Any Type of Sand or Pebbles for Homemade Grit?
It is best to stick with natural materials such as crushed shells, sand, or pebbles for homemade grit. Avoid using harsh materials or chemicals that may be harmful to your chickens’ digestive system. So, don’t hesitate to experiment with different options to find the best one for your flock. And remember to regularly clean and replace the grit for maximum effectiveness.
Is Grit Necessary If My Chickens Free-Range?
Chickens that have access to a wide variety of foraging options may not require grit as much. However, it’s always better to err on the side of caution and provide grit to ensure the health of your flock’s digestive system. Happy farming! So, don’t hesitate to experiment with different options to find the best one for your flock.
Conclusion
Grit is an essential component of a chicken’s diet and plays a crucial role in their overall health and egg production. By providing your flock with grit, you can ensure proper digestion and prevent potential health issues. Remember to regularly clean and replace the grit for maximum effectiveness, and don’t be afraid to try different options to find the best one for your flock.
So, don’t hesitate to experiment with different options to find the best one for your flock. By avoiding these mistakes on how to make grit for chickens and providing your chickens with a well-balanced diet, adequate space, and proper care, you can enjoy fresh eggs and a thriving flock.
About
Outdoor Fixes is a distinguished figure in the world of Diy design, with a decade of expertise creating innovative and sustainable Diy solutions.
His professional focus lies in merging traditional craftsmanship with modern manufacturing techniques,
fostering designs that are both practical and environmentally conscious. As the author of diy,
outdoorfixes delves into the art and science of outdoorfixes-making, inspiring artisans and industry professionals alike.
Education RMIT University
(Melbourne, Australia) Associate Degree in Design (Outdoor Fixes) Focus on sustainable design, industry-driven projects,
and practical craftsmanship. Gained hands-on experience with traditional and digital manufacturing tools, such as CAD and CNC software.
Nottingham Trent University
(United Kingdom) Bachelor’s in outdoorfixes.com and Product Design (Honors) Specialized in product design with a focus on blending creativity with production
techniques. Participated in industry projects, working with companies like John Lewis and Vitsoe to gain real-world insights.
Publications and Impact
In diy, Outdoor Fixes his insights on indoor design processes, materials, and strategies for efficient production.
His writing bridges the gap between artisan knowledge and modern industry needs, making it a must-read for both budding designers and seasoned professionals.