
Have you ever browsed landscaping photos online and been drawn to the lush, inviting appeal of gardens featuring stones that look deliciously damp and mossy? The subtle sheen of “just-rained-on” rocks can transport viewers to a setting of tranquility and shade on even the hottest afternoons.
Landscaping rocks are a key element in many outdoor design schemes, adding texture and visual interest to gardens with their rugged qualities. When worked carefully into a garden’s natural landscape, rocks can do everything from creating paths to retaining walls, giving home gardeners countless ways of using these versatile building blocks.
In today’s post, I’ll share my top tips for how to make landscaping rocks look wet without having to wait around for the next rainfall.
What Will You Need?
- A selection of landscaping rocks in different sizes, shapes, and colors
- Water-resistant sealant (optional)
- Garden hose with a spray nozzle
- Matte finish spray sealant (optional)
Once you have the above items, you’re ready to get started on creating the illusion of wet rocks in your garden.
10 Easy Steps on How to Make Landscaping Rocks Look Wet
Step 1: Choose Your Rocks
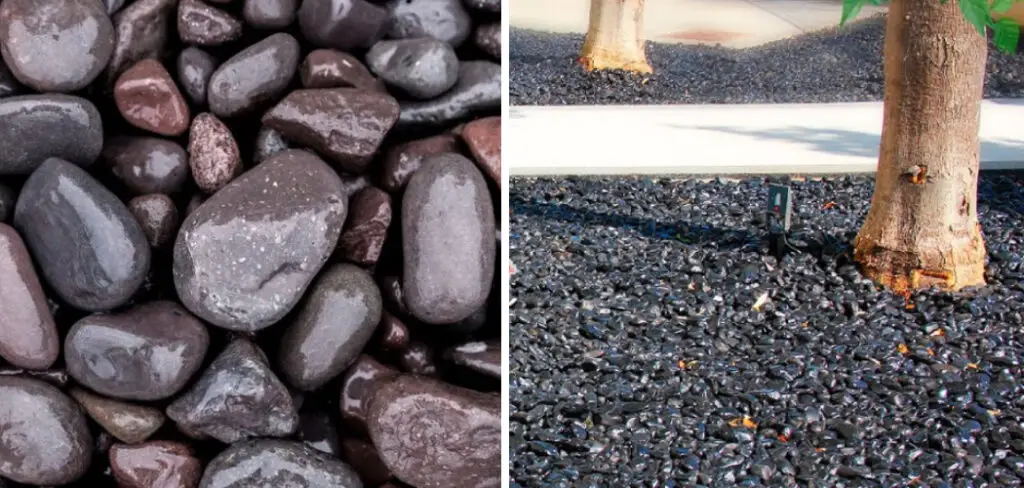
For the best results, choose a variety of rocks that complement your garden’s style and color scheme. Consider the shapes, sizes, and textures, as these will contribute to the overall aesthetic appeal. Variety is vital – a mixture of large boulders, medium-sized rocks, and small stones can create a natural and attractive assortment.
Remember, the goal is to make these rocks look like they have been naturally caressed by the rain, adding an atmosphere of freshness and tranquility to your garden.
Step 2: Clean Your Rocks
Before you start the process, you’ll want to ensure your rocks are clean. Use the garden hose to wash away any dirt or debris. This is necessary to ensure the water effect is captured on the rock’s surface rather than on a layer of dust or dirt. A clean surface is even more essential if you’re using the water-resistant sealant. Allow your rocks to dry naturally in the sun before moving to the next step.

Step 3: Apply Water-Resistant Sealant
Once your rocks are clean and dry, it’s time to apply the water-resistant sealant. This step is optional, but it can help to maintain the wet look for a more extended period.
Apply the sealant according to the manufacturer’s instructions, typically by spraying or brushing it onto the rock’s surface. Be sure to cover all surfaces of the rock for a uniform look. After applying, allow the sealant to dry completely, per the product’s guidelines, before moving on to the next step.
Step 4: Applying the Matte Finish Spray Sealant
After the water-resistant sealant is completely dry, the next step is to apply the matte finish spray sealant. This product will create a layer on the surface of the rocks that will reflect light, giving them a perpetually wet look. Simply spray the matte finish sealant evenly over the rocks, ensuring all areas are covered. Once again, allow the sealant to dry thoroughly according to the manufacturer’s instructions.
Step 5: Arrange Your Rocks
After the sealant has dried completely, it’s time to place your rocks in their desired location in your landscape. Take into consideration the overall aesthetic and balance of your garden.
Mix the sizes and shapes to create a natural, organic look. The placement of the rocks is crucial in achieving the ‘wet look’ effect, as the way they catch and reflect light can enhance their wet appearance. Once satisfied with the placement, you can move on to the next step.
Step 6: Moistening Your Rocks
Now that your rocks are in place, it’s time to give them the much-awaited ‘wet look’. Using your garden hose, gently moisten the stones. Be sure to wet all surfaces, but avoid a heavy stream of water that could displace or damage the sealant.
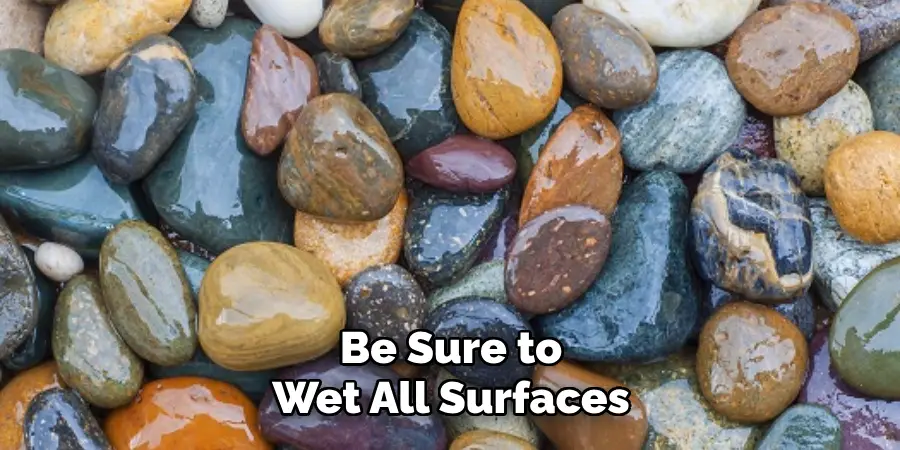
The water will interact with the matte sealant to create the illusion of wet rocks. As the day progresses and sunlight shines on your landscape, the wet rocks will subtly reflect light, enhancing the wet-look effect.
Step 7: Regular Maintenance
Periodic maintenance is essential to maintain the wet look of your landscaping rocks. Although the sealant provides a durable layer, environmental factors such as rain, wind, and sun can gradually wear it out. Keep an eye on the rocks – if you notice the wet look starting to fade, it may be time to apply another coat of matte finish spray sealant.
Ensure the rocks are clean and dry before reapplying the sealant. With proper care, your landscaping rocks will continue to look freshly rained upon, adding an enchanting charm to your garden.
Step 8: Seasonal Adjustments
Different seasons may demand slight tweaks to maintain the wet look of your landscaping rocks. During the hotter months, the sealant may dry out more quickly, necessitating more frequent applications. In contrast, the wet look can last longer during colder months with less sunlight.
Always be attentive to your garden’s response to changing weather conditions and adjust your maintenance routine accordingly to keep your landscaping rocks looking their best.
Step 9: Enjoy the Results
Finally, after all the steps are completed, take a step back and admire the results of your hard work. Your landscaping rocks should now have a permanent “wet” look that enhances natural beauty and adds a fresh, dynamic element to your garden.
Enjoy the new, polished aesthetic of your outdoor space, and feel proud of creating this effect yourself. Remember, the best part about DIY projects like this is not just the result but also the joy and satisfaction that come from the process.
Step 10: Showcase Your Garden
Now that you have enhanced your garden’s aesthetic with your wet-looking rocks, it’s time to show it off. Invite your friends, family, and neighbors to appreciate the fresh and inviting atmosphere you’ve created in your outdoor space.
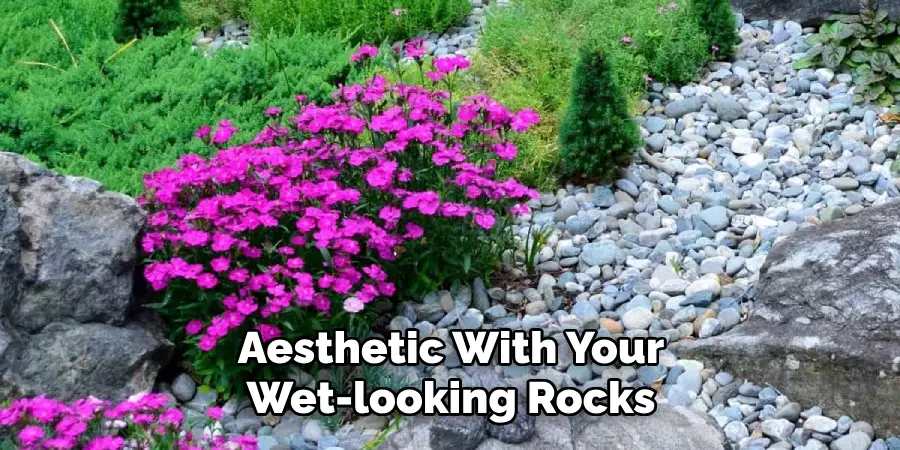
Remember, the beauty of your garden is not just for you to enjoy. It can also serve as a source of inspiration, relaxation, and admiration for others. Always be open to feedback and suggestions, as continuous improvement is key to keeping your garden looking its best year-round.
Following these steps can easily transform your landscaping rocks into a wet-looking masterpiece.
5 Additional Tips and Tricks
- Use a High-gloss Sealant: One of the best ways to make your landscaping rocks look wet is by applying a high-gloss sealant. This product creates a shiny, wet look that lasts for an extended period, resisting weathering and wear.
- Clean the Rocks Thoroughly Before Applying the Sealant: To ensure a uniform look, ensure your rocks are free from dirt, dust, and other debris before applying the sealant.
- Apply Multiple Thin Layers: Instead of one thick sealant layer, consider numerous thin layers. This approach makes the rocks look wet and prevents the adhesive from peeling or chipping over time.
- Use Sponge or Brush for Application: A sponge or brush is an ideal applicator for sealant. It ensures even distribution, especially for smaller rocks and crevices.
- Consider Natural Alternatives: Not a fan of chemical-based sealants? You can achieve a similar effect by using natural alternatives such as linseed oil or mineral spirits. These products add shine to rocks while maintaining their natural appearance.
With these additional tips and tricks, you can achieve a professional-looking wet rock effect in your landscaping.
5 Things You Should Avoid
- Avoid Applying Sealant on Wet Rocks: Applying sealant on damp rocks will prevent it from adhering properly. Always ensure the stones are arid before application.
- Avoid Ignoring Safety Measures: When working with sealants or alternatives like linseed oil and mineral spirits, always prioritize safety. Use gloves and masks, and work in a well-ventilated area to avoid inhaling harmful fumes.
- Avoid Rushing the Process: Do not rush through the application process. Applying sealants hastily might lead to uneven coating and an undesirable finish.
- Avoid Excessive Use of Sealant: More sealant doesn’t mean a better finish. Excessive application of the product can lead to a plastic-like appearance, negating the natural aesthetics of the rocks.
- Avoid Inconsistent Maintenance: Regular maintenance is vital to preserving the wet look of your landscaping rocks. This aspect must be revised to avoid dullness and degradation of the shiny appearance over time.

Remember, attention to detail and patience are crucial to making landscaping rocks look wet. Avoid these common pitfalls, and you will surely achieve a stunning, wet-looking landscape.
Does Water Make Rocks Lighter?
While water may temporarily make rocks appear darker or shinier, it does not affect their weight. This is because the water only coats the rock’s surface and does not penetrate its core. However, if your goal is to enhance the appearance of your landscaping rocks and make them look wet, using a sealant or natural alternatives will achieve a longer-lasting effect.
Additionally, incorporating water features, such as fountains or ponds, in your landscaping can add to the overall aesthetic and create a natural wet look. With proper maintenance and care, you can enjoy the beauty of wet-looking rocks in your landscape for years.
So try these tips and tricks to transform your landscaping rocks into stunning focal point.
What Gives Rocks Dark Color?
Dark-colored rocks are typically formed through geological processes, such as volcanic eruptions and sedimentation. These processes involve the melting and solidification of minerals, which determine the color of the rock.

For example, dark-colored igneous rocks like basalt and obsidian are formed from the rapid cooling of lava. In contrast, sedimentary rocks like shale and coal get their dark hues from accumulating organic matter over time.
Additionally, exposure to elements like water and air can contribute to rocks’ darkening through oxidation or weathering processes. Ultimately, the composition and history of a rock determine its color, giving it a unique appearance in landscaping.
So, when choosing rocks for your landscape design, consider their natural colors and how they will fit into your overall vision. With the proper techniques and tips, you can enhance the natural beauty of rocks and create a stunning landscaping look that will last years.
Conclusion
Overall, there are many ways how to make landscaping rocks look wet. Whether you purchase a specific sealant or spray the stones with water to create an instant gloss is up to you! While it may be more convenient and more accessible for some homeowners to buy the sealant if you have extra time and are interested in experimenting, spritzing your rocks with water can create beautiful results.
Taking appropriate precautions might also be necessary before applying any of these methods. With this knowledge, you can now take on the task of making your landscaping rocks look wet with confidence.
Don’t wait: get creative with your DIY projects so that you can enjoy unique results—showcase your skill and ingenuity in your lawn today!
About
Outdoor Fixes is a distinguished figure in the world of Diy design, with a decade of expertise creating innovative and sustainable Diy solutions.
His professional focus lies in merging traditional craftsmanship with modern manufacturing techniques,
fostering designs that are both practical and environmentally conscious. As the author of diy,
outdoorfixes delves into the art and science of outdoorfixes-making, inspiring artisans and industry professionals alike.
Education RMIT University
(Melbourne, Australia) Associate Degree in Design (Outdoor Fixes) Focus on sustainable design, industry-driven projects,
and practical craftsmanship. Gained hands-on experience with traditional and digital manufacturing tools, such as CAD and CNC software.
Nottingham Trent University
(United Kingdom) Bachelor’s in outdoorfixes.com and Product Design (Honors) Specialized in product design with a focus on blending creativity with production
techniques. Participated in industry projects, working with companies like John Lewis and Vitsoe to gain real-world insights.
Publications and Impact
In diy, Outdoor Fixes his insights on indoor design processes, materials, and strategies for efficient production.
His writing bridges the gap between artisan knowledge and modern industry needs, making it a must-read for both budding designers and seasoned professionals.