
Landscaping rocks serve many purposes, both aesthetic and practical. From adding eye-catching texture to flower beds to helping create durable pathways in a garden, these materials can easily transform an outdoor space into something beautiful. However, if not properly set in place, the landscaping rocks can sink deep into the soil over time, creating an unattractive look and potentially damaging the surface underneath.

To prevent this, it is important to know to keep landscaping rocks from sinking. One of the greatest advantages of using landscaping rocks is that they are easy to maintain. They do not need to be watered or fertilized and can last for many years without significant upkeep.
Additionally, since they won’t get buried in the soil, you don’t have to worry about weeds sprouting up around them. However, these same properties can make it difficult to keep them from sinking. If the rocks are not properly installed, they can slowly sink into the ground over time. You can find step-by-step instructions on how to keep landscaping rocks from sinking in this blog article.
Step-by-step Instructions for How to Keep Landscaping Rocks From Sinking
Step 1: Inspect the Area
The first step in keeping landscaping rocks from sinking is to inspect the area where they will be placed. Make sure the soil beneath them is packed tightly and evenly. If it isn’t, use a shovel to pack it down before moving on. Once you have inspected the area and packed the soil, add a weed barrier before putting the rocks down. This will help keep weeds and other debris from pushing up through the rocks and settling on top of them.
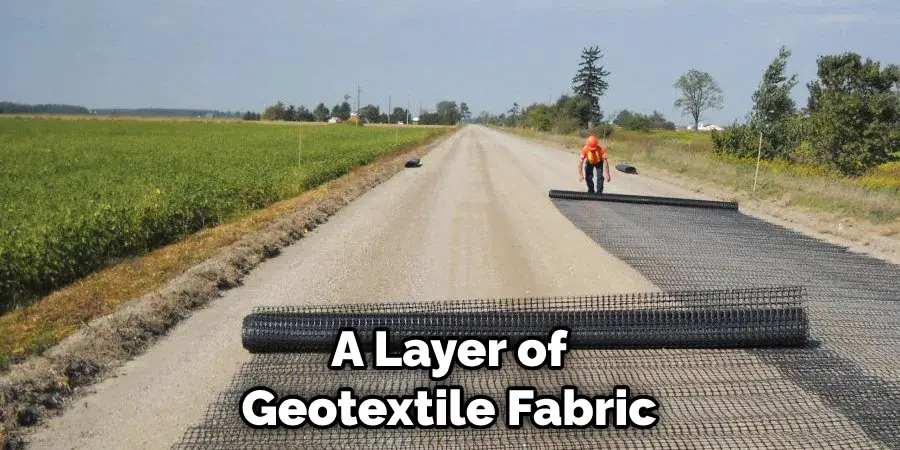
Step 2: Apply Geotextile Fabric
To further protect your landscaping rocks from sinking, consider laying down a layer of geotextile fabric before placing the rocks. This fabric helps to keep the rocks in place while allowing water and air to pass through, so it’s a great addition to any landscape project. When placing your landscaping rocks, do not dump them all at once. Instead, lay them down in thin layers of one inch or less at a time. This will help keep the rocks from shifting and sinking over time.
Step 3: Use Landscaping Adhesive
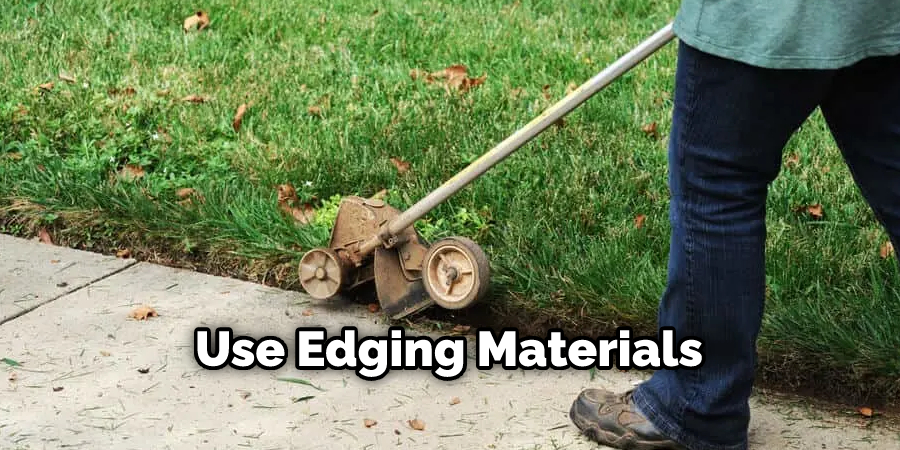
You can use landscaping adhesive to help keep your rocks in place for added protection. Just make sure to apply the adhesive directly onto the ground before putting down each layer of rocks. To give your landscaping rocks extra stability and strength, add an edging material such as plastic or metal around the outside of them. This will help keep them from shifting and sinking over time.
Step 4: Create a Slope
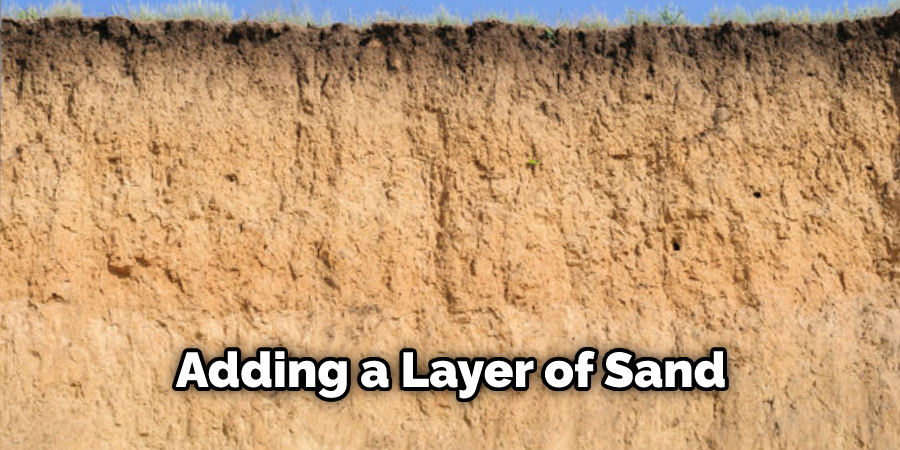
If you are putting down rocks on a sloping hill, make sure to create a slope so that the rocks are evenly distributed and do not sink over time. You can give your landscaping rocks extra stability by adding a layer of sand or gravel underneath them before you place them down. This will prevent them from settling over time.
Step 5: Water Until Rocks are Securely in Place
Once you have placed your landscaping rocks, it’s important to water them until they feel secure in place. This will help keep them from shifting or sinking over time. Even after taking all these steps, it’s important to check the area yearly to ensure the landscaping rocks are still secure. If any of them seem like they are starting to sink, simply follow these steps again. Doing so will help ensure your landscaping rocks stay in place for years to come.
By following these steps, you can keep your landscaping rocks from sinking and maintain a neat and tidy look for your yard.
Safety Tips for How to Keep Landscaping Rocks From Sinking
- Avoid placing large rocks on soft ground or poorly compacted soil. The larger the rock, the higher the chance it will sink. If you must use a big rock for your landscaping project, then be sure to add extra support and reinforcement to keep it from sinking.
- Before positioning any rocks, consider the existing soil grade and make adjustments to the grade or slope if necessary.
- If possible, avoid placing rocks along sidewalks, driveways, pathways, or other areas that get a lot of foot traffic. The pressure from walking can cause even large rocks to sink over time.
- Place smaller rocks on top of larger ones for extra stability.
- Make sure the rocks are well-secured with a strong adhesive or cement compound.
- Add soil or mulch around the base of the rock to help provide extra support and keep it from moving.
- Install drainage systems such as French drains nearby so that water can’t pool up around the rocks and cause them to sink. Water can be extremely heavy; if it builds up, it will put extra pressure on the rocks and cause them to sink over time.
Following these safety tips for Keeping Landscaping Rocks From Sinking will ensure that your project is done right and your landscaping rocks remain in place for years to come.
How Do You Maintain Your Landscaping Rocks After They Have Been Installed?
Once you have installed landscaping rocks, maintaining them is important so they won’t begin to sink. Here are several tips for keeping your rocks in place:
- Make sure the area is properly prepped before installation. Before laying down rocks, ensure you have a level ground surface and compacted soil. This is important so that the rocks stay in place and don’t start to sink over time.
- Use an adhesive when necessary. If you are using large rocks or laying them on a steep slope, consider using an adhesive to keep them from slipping and sliding around.
- Cover the surface with a stabilizing material. After the rocks are installed, covering them with a stabilizing material such as gravel or sand is a good idea. This will help keep the rocks in place and prevent them from shifting due to temperature changes, wind, and other elements.
- Use edging materials. Edging materials like plastic or metal can be used to create a barrier that will prevent the rocks from shifting due to wind, animals, and other elements.
By following these steps, you can ensure that your landscaping rocks stay in place and don’t start to sink over time.
How Can You Prevent Animals and Pests From Disturbing Your Landscaping Rocks?
Animals and pests can be attracted to landscaping rocks, as they provide a safe hiding spot or even food sources. To prevent animals and pests from disturbing your landscaping rocks, there are several steps you should take.
- First, make sure the area around your landscape is well-maintained. This means trimming back overgrown vegetation, edging along flower beds, and removing any standing water where pests could breed.
- Second, maintain the health of your lawn. Healthy grass is less likely to attract animals and pests than overgrown or patchy areas, which provide more hiding spots for unwelcome visitors.
- Third, use repellents such as natural sprays that contain essential oils and herbs or even commercial products. These repellents can be sprayed in areas where animals and pests are likely to enter.
Finally, if all else fails, you may need to consider installing a fence or barrier around your landscaping rocks. This will keep out unwanted visitors and allow you to enjoy your landscape without worries about pesky critters.
How Can You Protect Your Landscaping Rocks From Becoming Damaged by Extreme Weather Conditions?
Extreme weather conditions can wreak havoc on landscaping rocks, making them sink into the soil and become damaged over time. To protect against damage due to extreme weather conditions, you should consider a few guidelines when installing landscaping rocks. First and foremost, the area where you will be placing the rocks should be properly prepared. The soil should be compacted, level, and free of weeds and other debris. If the area is not properly prepared, the rocks can easily sink into the soil and become damaged by water or wind exposure.
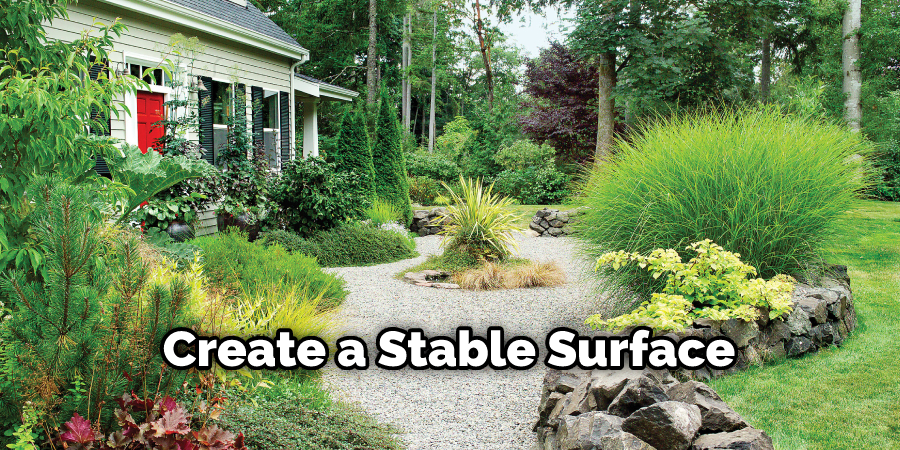
You should also use a layer of weed-blocking fabric to cover the area where you will place your landscaping rocks. This will help keep weeds away and create a barrier between the rocks and the soil. Finally, you should use a gravel or stone base to secure your landscaping rocks in place. This will help protect them from sinking into the ground by creating an even surface for them to sit on top of. You can also add some sand to help create a stable surface for your landscaping rocks to sit on.
Conclusion
In conclusion, there are a few different ways to keep landscaping rocks from sinking. Firstly, you can use a layer of sand or gravel underneath the rocks and tamp them down firmly before adding the rocks. Secondly, you can use larger pieces of stone as support under smaller stones to prevent them from sinking.
Finally, you can build up soil layers around the base of the rocks to add extra support and prevent them from sinking. I hope this article has been beneficial for learning how to keep landscaping rocks from sinking. Make Sure the precautionary measures are followed chronologically.
About
Outdoor Fixes is a distinguished figure in the world of Diy design, with a decade of expertise creating innovative and sustainable Diy solutions.
His professional focus lies in merging traditional craftsmanship with modern manufacturing techniques,
fostering designs that are both practical and environmentally conscious. As the author of diy,
outdoorfixes delves into the art and science of outdoorfixes-making, inspiring artisans and industry professionals alike.
Education RMIT University
(Melbourne, Australia) Associate Degree in Design (Outdoor Fixes) Focus on sustainable design, industry-driven projects,
and practical craftsmanship. Gained hands-on experience with traditional and digital manufacturing tools, such as CAD and CNC software.
Nottingham Trent University
(United Kingdom) Bachelor’s in outdoorfixes.com and Product Design (Honors) Specialized in product design with a focus on blending creativity with production
techniques. Participated in industry projects, working with companies like John Lewis and Vitsoe to gain real-world insights.
Publications and Impact
In diy, Outdoor Fixes his insights on indoor design processes, materials, and strategies for efficient production.
His writing bridges the gap between artisan knowledge and modern industry needs, making it a must-read for both budding designers and seasoned professionals.