
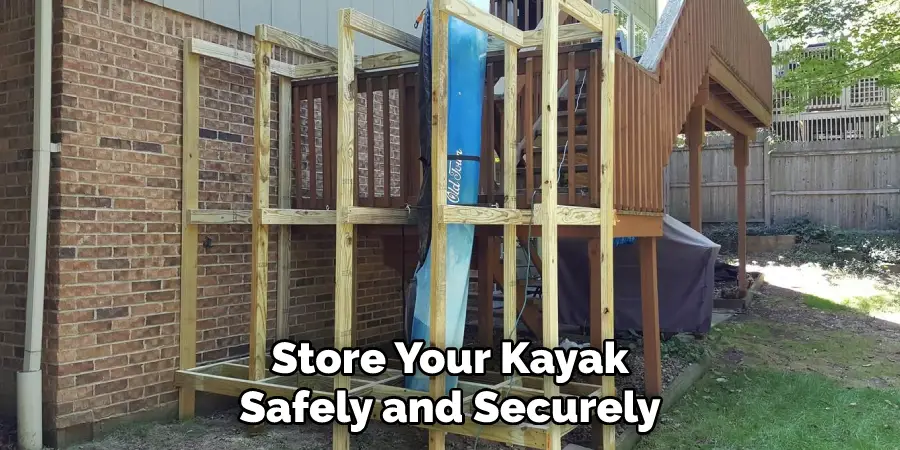
A kayak rack is a great way to store your kayaks, canoes, and other watercraft. It will keep them off the ground and in easy reach when needed. Many types of racks are available, but building a vertical rack is an affordable way to create storage space for your boats. Building a vertical kayak rack is an efficient way to store and display your kayaks.
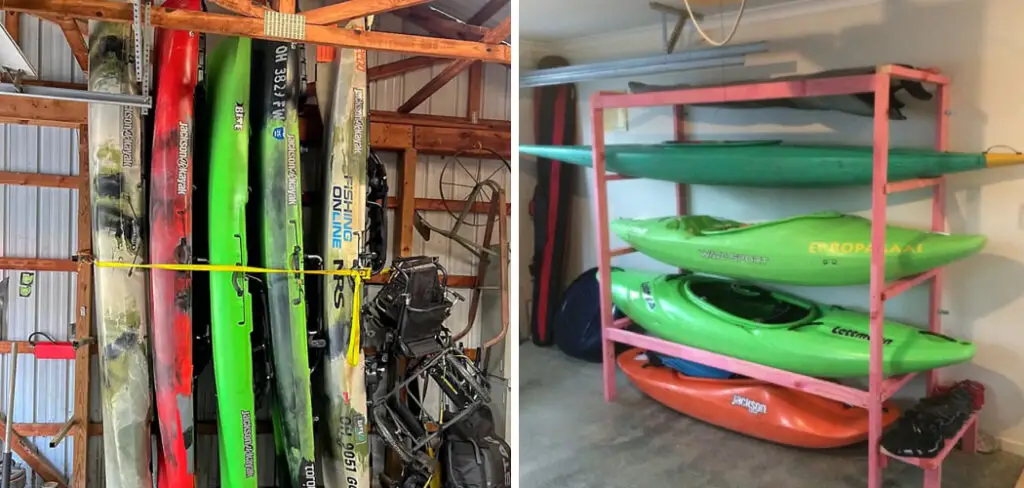
A vertical storage system helps keep the boats off of the ground, preventing them from being exposed to excessive moisture or dirt. It also takes up less space than a horizontal storage system, allowing you to maximize your available garage or yard area.
Finally, storing your kayaks vertically also makes them easier to access and use, as they are more readily visible. In this blog post, You will learn in detail how to build a vertical kayak rack.
Importance of How to Build a Vertical Kayak Rack
- A Vertical Kayak Rack is an important piece of equipment for any kayaker. It provides a secure, lightweight, and efficient way to store your kayaks off the ground.
- A vertical rack also helps save space since it takes up much less room than horizontal racks. As such, building a vertical kayak rack can benefit those with limited storage space.
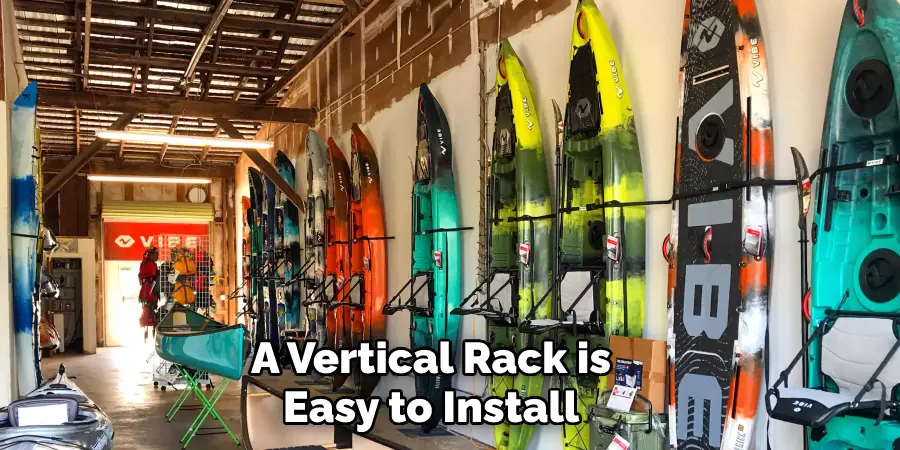
- Furthermore, a vertical rack is easy to install and doesn’t require any expensive equipment or materials, making it a great DIY project for anyone with basic carpentry skills. Once the kayak rack is built, you can easily slide your kayaks in and out of the slots without having to lift them manually.
- Building a vertical kayak rack is a practical way to store your kayaks and adds an aesthetic touch to your garage or shed. With the right materials, you can customize the look of the rack to match your decor and make it look more appealing.
- Finally, a vertical kayak rack is a great way to protect your kayaks from the elements. It can help prevent damage from wind, rain, and UV rays that can wear down the material over time.
Tools You Will Need
- Tape measure
- Drill and drill bits
- Circular saw
- Jigsaw
- Hammer
- Level
- Screws
- Nails
- Caulking gun
- Wood glue.
Step-by-Step Processes for How to Build a Vertical Kayak Rack
Step 1: Inspect the Area
Before starting to build the kayak rack, it is important to take a look at the area where you plan to build it and identify any potential hazards or obstacles. To begin building the rack, you will need several materials, including lumber pieces, screws, drill bits, and brackets. Make sure you have enough of these materials on hand before beginning.
Step 2: Measure the Area
The measurements you take will depend on the size of the rack you are building. Be sure to measure twice and mark each piece of wood at its appropriate spot to fit perfectly into place when assembled. Once all measurements have been taken, the next step is to cut the pieces of wood according to your measurements and ensure they fit together.
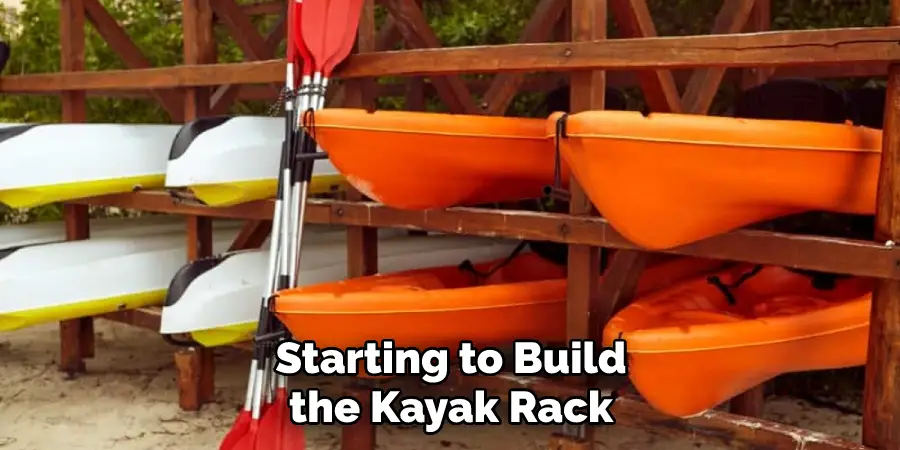
Step 3: Assemble the Rack
Now that all the pieces have been cut and measured, it is time to assemble the rack. Use screws to secure each piece of wood in place and ensure a sturdy build. Painting the rack will give it a long lasting finish and better protection from the elements. Use outdoor paint that is specifically designed for wood.
Step 4: Install Kayak Hooks
Now it’s time to install the kayak hooks onto your newly built rack. Ensure they are securely fastened into the wood and won’t come loose over time. Installing brackets and hinges will make it easier to fold down or move the rack if needed. Use screws for secure installation.
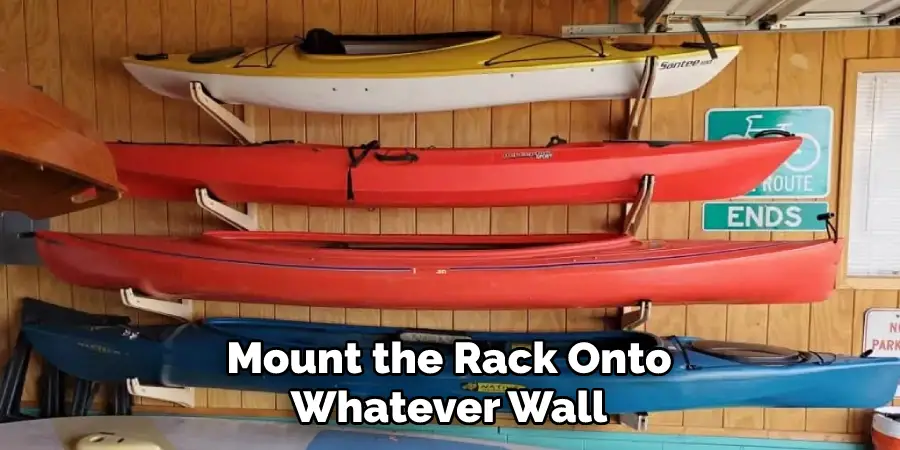
Step 5: Mount Rack onto Wall
Once all the pieces have been assembled, painted, and installed, you can mount the rack onto whatever wall surface it will be placed on. Your vertical kayak rack is now finished and ready to use. Enjoy your new storage solution for all of your kayaking needs.
Safety Tips for How to Build a Vertical Kayak Rack
- Always wear protective gear when using power tools to build your vertical kayak racks such as goggles and a dust mask.
- Ensure you are using the appropriate tools for the job; do not use a tool that is too powerful or weak for the task at hand.
- Take extra care when cutting materials, especially wood, and metal.
- Verify all measurements before drilling or sawing to ensure accuracy in the final product.
- Make sure you use the right screws, nails, and other fasteners for your kayak rack project; these should be corrosion-resistant materials such as stainless steel or brass.
- Check that all screws, bolts, and nuts are securely tightened before using the rack.
- Make sure to check for any damaged or worn parts that may need repair or replacement.
- When finished building, aquarist the rack in a safe environment such as a pool or lake to ensure it is sturdy and reliable when carrying your kayak.
Following these steps and safety tips will ensure that your vertical kayak rack is built correctly and will last many years. With the right tools, knowledge, and care, you can build a reliable rack to help you store your kayak safely and securely.
How Much Does It Cost to Build a Vertical Kayak Rack?
The cost of building a vertical kayak rack can vary widely depending on the materials used and the complexity of the build. Generally, basic materials such as wood and metal pipe will run from $50 to $200. The costs could easily double if you decide to use heavy-duty materials like aluminum or stainless steel.
In addition, you may need to purchase additional components such as lag screws, support brackets, and mounting hardware. If you decide to hire someone to build the rack for you, labor costs could add several hundred dollars more.
All in all, a typical home-built vertical kayak rack can cost anywhere from $100 – $500, depending on the materials used and the complexity of the build.
In addition to materials and labor, there are other costs that should also be factored into your budget. Safety is of the utmost importance when building a vertical kayak rack, so you may need to invest in safety straps or cables to secure the rack to the wall.
Depending on where you live, you may also need to purchase a building permit and have your rack inspected by the local building authority.
How Often Should You Inspect and Maintain the Rack?
Once the rack is built and installed, it’s important to keep an eye on it to ensure it’s in top condition. The amount of maintenance required will depend on the material chosen for the rack. For instance, wooden racks may require additional treatment with sealant or other preservatives ,depending on their environment.
In addition, any hardware used for the rack should be checked regularly and tightened if necessary.
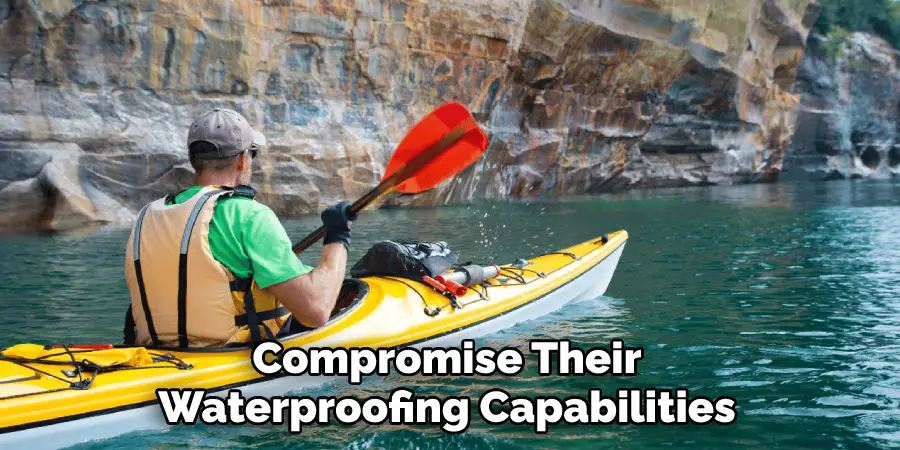
It’s also a good idea to check the integrity of the kayaks stored in the rack on a regular basis. This can include inspecting them for any cracks, splits, or other damage that could compromise their waterproofing capabilities. If any damage is found, it’s important to repair it promptly to avoid further damage or possible injury.
Overall, inspect the rack and kayaks stored in it at least once a year if kept outdoors and every few months if kept indoors. Performing these regular checks will ensure that the rack is safe to use and that your kayaks stay in good condition for years to come.
How Long Will the Rack Last Before Needing to Be Replaced?
The lifespan of a vertical kayak rack depends on the materials used to build it and how often you use it. If you build your kayak rack out of high-quality materials, such as wood or metal, it should last for many years with proper maintenance and care. However, if you use cheaper materials like PVC piping, the lifespan of your rack may be shorter.
In addition, if you are using the rack frequently or leave it outdoors for extended periods in harsh weather conditions, its lifespan may be greatly reduced.
You should inspect your vertical kayak rack regularly to ensure it is safe and secure before use. If the materials start to wear down or break due to age or overuse, you should replace the rack as soon as possible. Overall, with regular maintenance and proper care, you can significantly extend your vertical kayak rack’s lifespan.

Investing in high-quality materials and taking good care of your rack allows you to enjoy many years of safe and secure storage for all your kayaks.
How Can You Prevent Damage or Wear to Your Kayak while Stored on a Vertical Rack?
One way to prevent damage or wear to your kayak while it is stored on a vertical rack is to use padding. You can use foam pipe insulation, pool noodles, and other soft materials to pad the metal surfaces of the rack and ensure that your kayak won’t suffer unnecessary dings, scratches, or abrasions.
Additionally, you can use waterproof fabric or canvas covers to protect the kayak from UV rays and other climate factors. Other measures you can take include using bungee cords, ratchet straps, and tie-down ropes to secure the kayak in its place on the vertical rack. This will reduce the risk of it slipping off or becoming loose while stored.
Finally, you can use a kayak trolley or support bar to help distribute the weight of the kayak across multiple points. This will lower pressure on any one single point and reduce wear and tear over time.
By following these tips, you can ensure that your vertical kayak rack is both safe and secure for your kayak. With the right setup and preparation, you can protect your kayak from damage and wear while it is stored on a vertical rack.
This will ensure that you can enjoy years of use out of your kayak without having to worry about any unnecessary repairs or replacements.
Do You Need to Call a Professional?
There are a few different ways to build a vertical kayak rack, and the method you choose will depend on your DIY skills and the materials that you have available. If you don’t feel confident in your ability to complete a project from start to finish, it might be best to call a professional.
A professional carpenter can provide advice, materials, and the skills to build a lasting vertical kayak rack. They can also customize the design to fit your specific needs and preferences.
If you decide to tackle this project on your own, several requirements should be met for the rack to be effective and safe. Start by measuring out the space available for the rack to ensure it will fit where you intend it to. Once you have confirmed measurements, you can gather the necessary materials and tools.
Sturdy lumber such as pressure-treated wood is ideal for a vertical kayak rack, as it can withstand various weather conditions.
Conclusion
One of the major disadvantages of building a vertical kayak rack is that it can take up a lot of space. A vertically mounted kayak rack may require more floor or wall space, depending on its design. Additionally, the weight and size of the kayaks being stored could also be an issue when considering this option.
If the kayaks are large or particularly heavy, getting them mounted correctly and securely using a vertical rack can be difficult.
In conclusion, building a vertical kayak rack can be a simple and effective way to store multiple kayaks in your home or garage. With the right tools and materials, it’s easy to construct your own safe and efficient rack for storing your kayaks. Ensure you use sturdy boards, secure fasteners, and reliable hardware to ensure your rack is strong and reliable.
With a little bit of work, you’ll have an organized, efficient kayak storage solution that will last for years to come. I hope this article has been beneficial for learning how to build a vertical kayak rack. Make Sure the precautionary measures are followed chronologically.
About
Outdoor Fixes is a distinguished figure in the world of Diy design, with a decade of expertise creating innovative and sustainable Diy solutions.
His professional focus lies in merging traditional craftsmanship with modern manufacturing techniques,
fostering designs that are both practical and environmentally conscious. As the author of diy,
outdoorfixes delves into the art and science of outdoorfixes-making, inspiring artisans and industry professionals alike.
Education RMIT University
(Melbourne, Australia) Associate Degree in Design (Outdoor Fixes) Focus on sustainable design, industry-driven projects,
and practical craftsmanship. Gained hands-on experience with traditional and digital manufacturing tools, such as CAD and CNC software.
Nottingham Trent University
(United Kingdom) Bachelor’s in outdoorfixes.com and Product Design (Honors) Specialized in product design with a focus on blending creativity with production
techniques. Participated in industry projects, working with companies like John Lewis and Vitsoe to gain real-world insights.
Publications and Impact
In diy, Outdoor Fixes his insights on indoor design processes, materials, and strategies for efficient production.
His writing bridges the gap between artisan knowledge and modern industry needs, making it a must-read for both budding designers and seasoned professionals.