
Are you looking to refresh your outdoor living space? Installing a slate patio is one of the easiest yet most impressive ways to update any yard.
The slate patio is definitely the way to go if you’re looking for a unique and eye-catching way to add texture, style, and functionality to your outdoor living space.
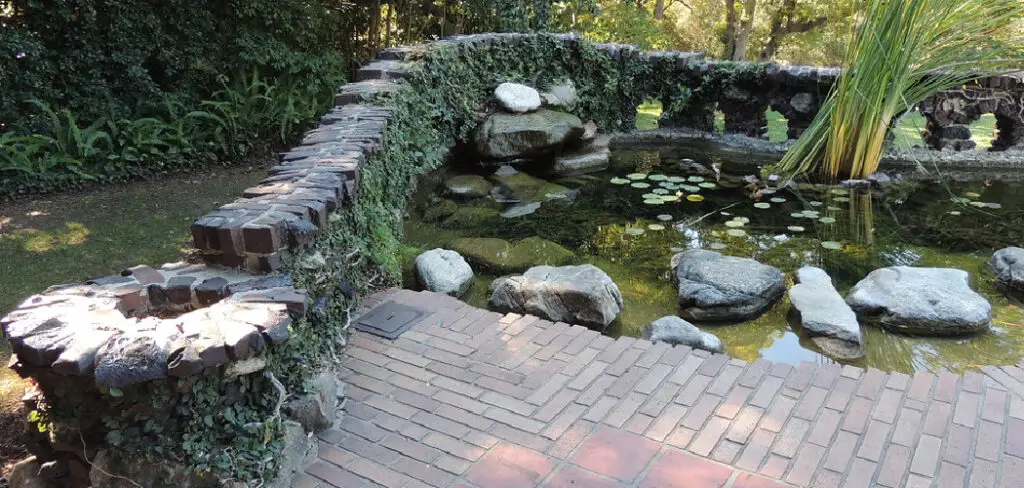
Not only does it serve as a beautiful addition to any landscape design, but it can also be used in so many ways to create interesting visual interest–from making an inviting porch or walkway area that stands out nicely against surrounding foliage to covering or decorating furniture and other items with intricate patterns.
With its distinct look that has both an old-world appeal and modern edginess, the slate patio creates a timeless look unlike any other material.
In this post, we’ll offer advice on how to make slate patio. Keep reading for our top tips!
What are The Benefits of Installing a Slate Patio?
There are many reasons to choose a slate patio for your outdoor living space:
1. Durability & Strength: Slate is incredibly durable, making it well-suited to patios and other areas subject to heavy foot traffic. Its non-slip surface also makes it a great choice for wet or rainy weather.
2. Versatility: Slate comes in various colors and textures, allowing you to create unique designs and patterns that can suit any landscape design or theme.
3. Easy Maintenance: Since the slate patio doesn’t require much maintenance, you won’t need to worry about regular upkeep like with some other materials (e.g., wood). Plus, its natural finish also helps protect it from staining and fading over time.
4. Cost Efficiency: Installing a slate patio may be more cost-effective than other patio materials, such as concrete or brick.
5. Eco-Friendliness: Slate is a natural material, meaning it’s environmentally friendly and can be recycled when you’re finished with it.
Now that you know the benefits of installing a slate patio keep reading to learn how to make it happen!
What Will You Need?
Before starting your slate patio project, ensure you have all the necessary supplies first. You’ll need the following:
- Slate tiles
- Mortar
- Level
- Sand
- Trowel
- Grout float
- Sponge
Once you’ve gathered all the supplies, you’ll be ready to begin.
10 Easy Steps on How to Make Slate Patio
Step 1: Prepare the Surface
Once you’ve gathered your supplies, it’s time to start preparing the surface. Remove any existing grass or vegetation from the area where you want to install the patio. Make sure it’s level and firm before continuing.
Step 2: Lay the Tiles
Next, lay out your slate tiles in a pattern of your preference to cover the entire area. Make sure they are even and secure them to the surface with mortar. If you prefer, you can also use adhesive instead of mortar.
Step 3: Level the Slate
Once all your tiles are laid out and secured, ensure everything is leveled properly by using a spirit leveler or other leveling tool. Double-check that each tile is firmly set into place and make adjustments if needed. It will help you get a nice, even finish.
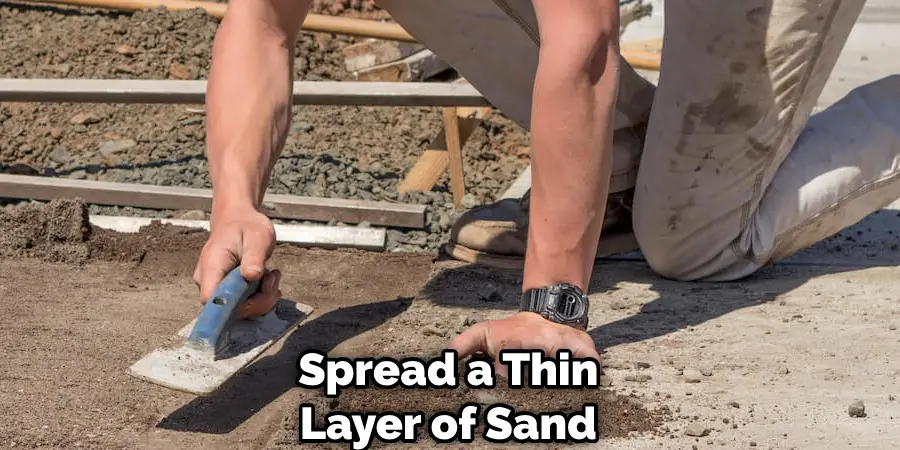
Step 4: Spread the Sand
Spread a thin layer of sand over the entire area and use a broom to ensure it’s evenly distributed. This will help prevent any shifting when you walk on the tiles. Be careful not to use too much sand, as it can cause the tiles to be uneven.
Step 5: Mix Mortar
Mix your mortar according to the instructions on the package and use a trowel to spread it over the tiles, making sure each tile is thoroughly covered. Make sure there are no gaps or uneven patches in between the tiles, as this could cause them to become loose over time. You can use a damp sponge to smooth out the mortar.
Step 6: Lay Grout
Once you’ve finished spreading the mortar, it’s time to lay down the grout. Use a grout float to spread the grout between each tile and ensure they’re filled in properly. Use a damp sponge to smooth it out and remove any excess grout.
Step 7: Clean Up
Once the grout has dried, use a damp sponge to clean up any excess mortar or grout. Make sure you get into all the nooks and crannies and remove anything that is not necessary. Let your slate patio dry completely before walking on it or using it in any way. Depending on how thick the mortar was applied, this could take anywhere from 24-48 hours.
Step 8: Seal It Up
Once your slate patio has had time to dry, you can seal it with a special stone sealer to protect against water and wear. Apply in a thin layer and let dry according to directions. This will help keep your patio looking its best for years to come.
Step 9: Enjoy
Now that you’ve finished your slate patio, it’s time to enjoy the fruits of your labor! Invite some friends and relax with a nice cup of tea or wine on your beautiful new patio. Don’t forget to show off how proud you are of your DIY project!
Step 10: Maintenance
Don’t forget about maintenance! Make sure to keep up with regular cleaning and sealing so that your slate patio looks its best. This will help prevent any damage from rain, snow, or other elements. With proper care, you can enjoy your slate patio for many years to come!
We hope this guide has provided you with useful information on how to make a slate patio. With the right supplies, tools, and knowledge, you can create a beautiful outdoor space that will last for years to come.

5 Additional Tips and Tricks
- Make sure to wear protective gear when cutting and laying the slate. Doing so will help protect you from dust, flying particles, and other potential hazards associated with this project.
- When laying the slate, consider how you want to arrange it in terms of color or pattern. This will help you create a unique design and maximize visual impact.
- Use a level tool to make sure that each piece is even before securing them into place with mortar.
- Make sure to have your materials ready before beginning the project; having everything on hand will save time, energy, and money in the end!
- If you are not confident about handling the cutting process yourself, hire a professional for assistance – it’s worth it for precision and quality results!
- With these tips and tricks in mind, you can make your own slate patio. Good luck!
5 Precautions You Can Take While Making a Slate Patio
1. Wear Proper Safety Gear: When working with stone or slate, it’s important to wear proper safety gear. This includes gloves and eye protection to help protect yourself from any potentially sharp edges or dust.
2. Use the Right Tools: When cutting slate, using the right tools is crucial to ensure a safe and successful installation. A hand-held grinder is generally ideal for this type of work, as it will allow you to make precise cuts without damaging the material or yourself.
3. Lay Slabs Evenly: Before laying your slabs onto the prepared surface, make sure to lay them out evenly so that all sides are level. This will help ensure your patio looks even and professional when completed.
4. Use a Grout: After laying the slabs, applying grout is important in order to not only protect the surface but also keep it looking its best. Using a water-resistant sealant can help prevent mold and other issues caused by moisture.
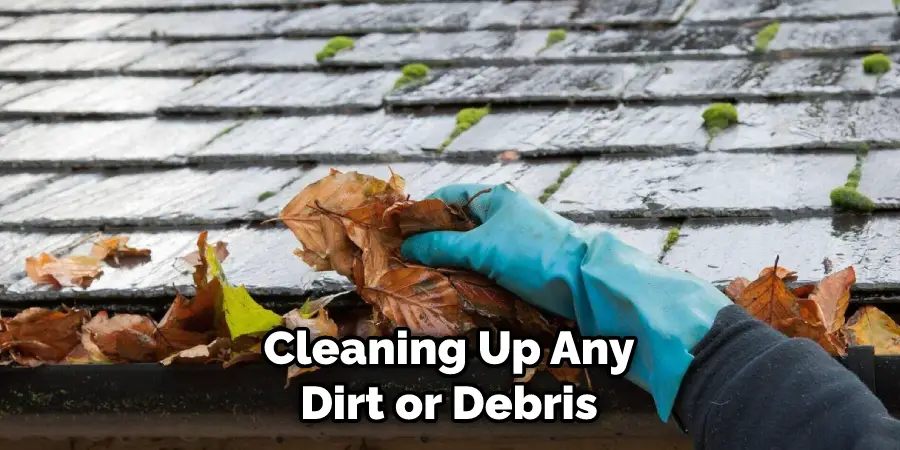
5. Clean Thoroughly: Cleaning up any dirt or debris throughout the installation process is crucial in order to keep your patio looking great for years to come. Wiping down the area with water regularly can help remove dust and dirt without causing damage to the slate tiles.
Follow these simple steps, and you can be sure to create a beautiful slate patio that will last for years. With carefully chosen materials, the right tools, and a bit of know-how, you can easily tackle this project yourself.
Conclusion
Taking the time to create a slate patio is more than just a chance to add character and class to the exterior of your home; it is an investment worth making if you wish to ensure your space remains durable for years to come. As with any project, it’s essential that if you choose to undertake this personal endeavor yourself, you take extra precautions and use the relevant materials needed for a professional-looking finish, such as Loris creations products.
Regardless of your method, however, one thing remains true; with some effort and planning, installing a slate patio can be an easy weekend project that brings you satisfaction with its successful completion. So grab your tools and supplies, roll up those sleeves, and create!
Hopefully, the article on how to make slate patio has been informative and helpful to you! Have fun with your project!
About
Outdoor Fixes is a distinguished figure in the world of Diy design, with a decade of expertise creating innovative and sustainable Diy solutions.
His professional focus lies in merging traditional craftsmanship with modern manufacturing techniques,
fostering designs that are both practical and environmentally conscious. As the author of diy,
outdoorfixes delves into the art and science of outdoorfixes-making, inspiring artisans and industry professionals alike.
Education RMIT University
(Melbourne, Australia) Associate Degree in Design (Outdoor Fixes) Focus on sustainable design, industry-driven projects,
and practical craftsmanship. Gained hands-on experience with traditional and digital manufacturing tools, such as CAD and CNC software.
Nottingham Trent University
(United Kingdom) Bachelor’s in outdoorfixes.com and Product Design (Honors) Specialized in product design with a focus on blending creativity with production
techniques. Participated in industry projects, working with companies like John Lewis and Vitsoe to gain real-world insights.
Publications and Impact
In diy, Outdoor Fixes his insights on indoor design processes, materials, and strategies for efficient production.
His writing bridges the gap between artisan knowledge and modern industry needs, making it a must-read for both budding designers and seasoned professionals.