
As children, many of us dreamt of the wonders that lived beyond the backyard fence or at the local park. The winding slides, towering jungle gyms, and mysterious tunnels of the playground sparked our imagination and fueled our sense of adventure.
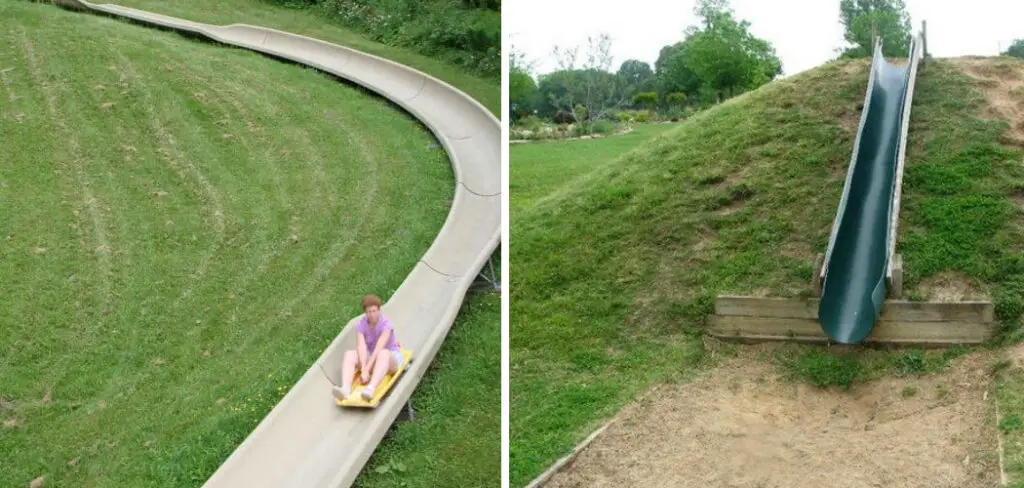
While the carefree innocence of childhood feels like a distant memory, indulging our spirit of play and discovery need not end with growing up. Creating your backyard playground with homebuilt slides can offer a fun new creative outlet and bonding activity with friends or family. With some basic woodworking skills and tools, you can craft rustic slides that recapture those nostalgic play vibes and let the inner child in us all come out again.
In this guide on how to make your own slide, I’ll break down the straightforward steps to design and construct simple yet thrilling backyard slides you can enjoy for years to come.
What Will You Need?
Creating your slide will require some basic tools and materials. Of course, the specific items you’ll need may vary depending on your design and budget, but here are some essentials to get you started:
- Wooden boards or planks (preferably pressure-treated or rot-resistant)
- Saw (hand or power saw)
- Drill
- Screws or nails
- Sandpaper
- Paint or sealant (optional)
- Measuring tape
- Level
- Hammer
- Ladder or scaffolding (depending on the height of your slide)
Once you have these materials ready, it’s time to get started on your slide-building journey!
10 Easy Steps on How to Make Your Own Slide
Step 1. Gather Your Materials
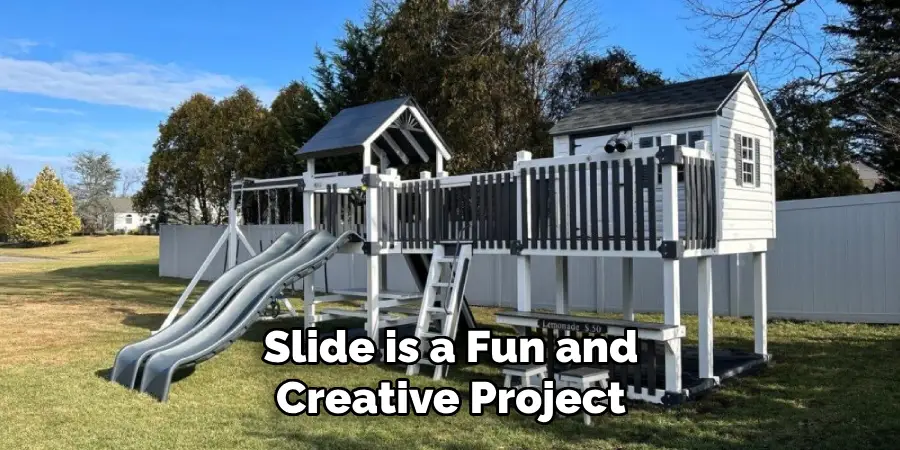
Making your slide is a fun and creative project that anyone can do with the right materials. To make your slide, you will need a piece of plywood, some screws, two pieces of rope, and some paint. You will also need a saw to cut the wood into the desired shape and some sandpaper to smooth rough edges.
Step 2. Assemble the Slide
Once you have all of your materials gathered, it’s time to assemble the slide. Start by cutting the plywood into the desired shape using a saw. Once you have cut out the shape of your slide, use screws to attach two pieces of rope along either side of the slide for support. Finally, sand down any rough edges and paint your slide however you like!
Step 3. Enjoy Your Slide!
Now that your slide is assembled and painted, it’s time to enjoy it! Ensure that you check all connections before letting anyone use them to ensure everything is secure and safe. Once everything has been reviewed and approved, let kids (or adults!) enjoy sliding down your homemade creation!
Step 4. Regular Maintenance and Safety Checks
Regular inspections and maintenance are crucial to ensure the longevity and safety of your homemade slide. Check the stability of the slide, tighten any loose screws, and look for any wear and tear that might need repair. If the slide is painted, look for chips or peeling paint that may need to be retouched. Remember, safety should always come first, so never neglect this critical step.
Step 5. Encourage Creative Play
Having built your own slide, it’s now time to bring to life the playground of your dreams. Add other homemade elements, such as swings, tunnels, or a climbing frame, to increase the fun. Encourage kids to use their imagination and create their games. A homemade playground is more than just a place to play; it’s a canvas for creativity and a hub for adventure.
Step 6. Expansion and Adaptation
As time passes, your needs or your children’s needs may change. The kids have grown a bit older and are looking for more challenging play structures, or maybe you’ve added more children to your family, and you need more play areas. Whatever the scenario might be, the beauty of a homemade playground is its adaptability.

You can always add more slides of different sizes, a seesaw, or a fort. You can paint new designs or switch up the playground layout completely. It’s all about growing and adapting to keep the fun alive.
Step 7. Enjoy the Outdoors
Your homemade playground isn’t just about the slide or other play structures. It’s about embracing the great outdoors. Use this space to teach kids about nature, let them explore the outside world, and encourage physical activity.
Plant a garden, have a picnic, or simply lay down on the grass and watch the clouds. The options are endless. The memories you’ll create in your backyard playground will last a lifetime, and the lessons learned will be invaluable.
Step 8. Sharing the Fun
Once your playground is ready, consider inviting friends, family, and neighbors over for a play date. It’s a fantastic opportunity to foster community bonds, promote social skills among children, and simply enjoy the fruits of your labor.
Remember, playgrounds are places for laughter, shared experiences, and creating beautiful memories. With your homemade playground, you’re not just giving your kids a place to play but also creating a space where happiness and friendships can bloom.
Step 9. Personalization and Upgrades
As time goes by, consider personalizing and upgrading your playground. Whether adding personal touches like signs with your kids’ names or fun stickers or upgrading structures as your children grow, these changes can keep the space exciting and new.
You can even involve your kids in these upgrades, allowing them to suggest changes or pick new colors for the slide. This continuous evolution of the playground keeps the play area fresh and exciting and teaches your children about creativity and the value of ongoing improvement.
Step 10. Celebrate the Achievement
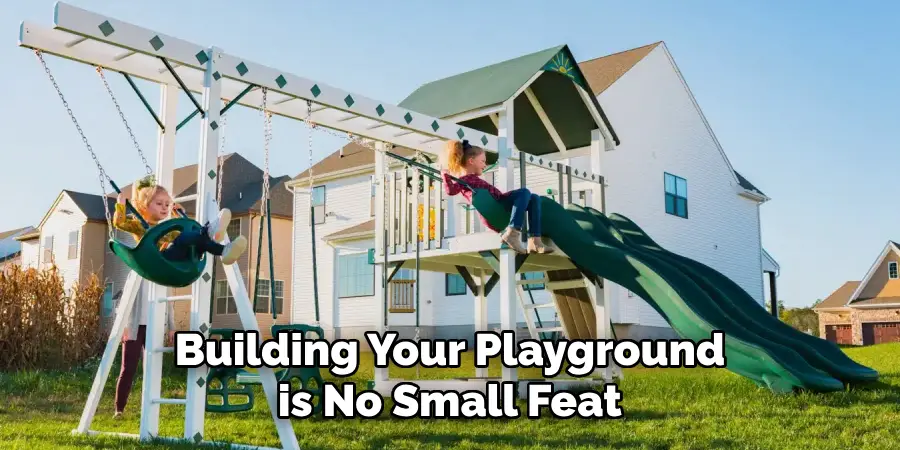
Finally, take a moment to celebrate your achievement. Building your playground is no small feat—it requires planning, effort, creativity, and dedication. Reflect on the fun memories you’ve created during the building process, and look forward to the joy and laughter the playground will bring.
Don’t forget to take many pictures of your finished project, perhaps even hosting a small gathering or party to inaugurate the playground. Above all, remember that the real success lies in the happiness and growth this space will foster for your children.
By following these ten easy steps, you’ll have a beautiful and functional homemade slide that will bring endless joy to your family.
5 Additional Tips and Tricks
- Stay Consistent: Consistency is the key to success. Whether practicing a new skill, studying for an exam, or embarking on a fitness journey, stay consistent. Regular effort over time leads to substantial progress.
- Take Breaks: Don’t underestimate the power of rest. Short breaks during work or study sessions can improve focus and productivity. Remember to balance hard work with time for recovery.
- Set SMART Goals: Goals should be Specific, Measurable, Achievable, Relevant, and Time-bound. A well-defined goal gives a clear direction to your efforts and keeps you motivated.
- Stay Curious: Nurture your curiosity. It’s an excellent driving force for learning and innovation. Always keep an open mind and be ready to explore new ideas and perspectives.
- Embrace Failure: Don’t fear failure. It’s an integral part of the journey to success. Each failure is a learning opportunity that brings you one step closer to your goal.
With these additional tips and tricks, you can take your personal and professional development to the next level. Remember to stay consistent, take breaks when needed, set SMART goals, nurture your curiosity, and embrace failure.
5 Things You Should Avoid
- Procrastination: Delaying tasks often leads to last-minute rush, increased stress, and poor quality work. Stay organized and prioritize your tasks to avoid procrastination.
- Neglecting Health: Success in any field demands good health. Avoid unhealthy habits such as skipping meals, lack of sleep, and excessive caffeine intake.
- Over-commitment: Taking on more tasks than you can handle often results in decreased productivity and burnout. Learn to say ‘no’ when necessary and avoid overcommitting yourself.
- Ignoring Feedback: Feedback, both positive and negative, is a valuable resource for growth. Avoid disregarding it and use it as a tool for self-improvement.
- Stagnation: Avoid getting stuck in your comfort zone. Continual learning and adapting to change are vital for personal and professional development.

You can maintain a healthy and productive lifestyle by avoiding these common pitfalls. Remember to prevent procrastination, prioritize your health, manage your commitments, utilize feedback, and embrace change.
Conclusion
Taking the initiative to make your own slide is a great way to show off your creativity and skill. With the right materials, patience, and a little bit of practice, you can create stunning slide presentations that will wow your audience. Try it out today and take the first step towards turning those ideas into reality.
Hopefully, the article on how to make your own slide has provided you with the necessary knowledge and tools to get started. Remember, practice makes perfect, so don’t be discouraged if your first attempt isn’t excellent.
Who knows? It may open up whole new opportunities for you in the future! And why not share this knowledge with others? Spread the word – with a little effort, anyone can make their slides. So wherever you go, know you have one more great skill to use in any environment.
You Can Check It Out to Water Slide
About
Outdoor Fixes is a distinguished figure in the world of Diy design, with a decade of expertise creating innovative and sustainable Diy solutions.
His professional focus lies in merging traditional craftsmanship with modern manufacturing techniques,
fostering designs that are both practical and environmentally conscious. As the author of diy,
outdoorfixes delves into the art and science of outdoorfixes-making, inspiring artisans and industry professionals alike.
Education RMIT University
(Melbourne, Australia) Associate Degree in Design (Outdoor Fixes) Focus on sustainable design, industry-driven projects,
and practical craftsmanship. Gained hands-on experience with traditional and digital manufacturing tools, such as CAD and CNC software.
Nottingham Trent University
(United Kingdom) Bachelor’s in outdoorfixes.com and Product Design (Honors) Specialized in product design with a focus on blending creativity with production
techniques. Participated in industry projects, working with companies like John Lewis and Vitsoe to gain real-world insights.
Publications and Impact
In diy, Outdoor Fixes his insights on indoor design processes, materials, and strategies for efficient production.
His writing bridges the gap between artisan knowledge and modern industry needs, making it a must-read for both budding designers and seasoned professionals.