Finding the perfect plant is only half the battle; the other half is finding its perfect home. A round planter can be a beautiful addition to any space, but choosing the right size is crucial for your plant’s health and the overall look of your decor.
Measuring a round planter might seem straightforward, but a few key details can make all the difference. An accurate measurement ensures your new plant has enough room to grow, prevents soil and water issues, and helps you create a visually pleasing arrangement.
This guide on how to measure a round planter will walk you through everything you need to know to get it right every time.

What are the Benefits?
Taking a few moments to measure a round planter correctly offers several significant benefits. Firstly, it ensures your plant has adequate space for its root system to expand, which is vital for healthy growth. A pot that’s too small can lead to a root-bound plant, stunting its development. Conversely, a pot that’s too large can hold excess moisture, increasing the risk of root rot.
Proper measurements also help you calculate the exact amount of soil needed, saving you from buying too much or too little. Finally, understanding the dimensions of your planter allows you to plan your space effectively, ensuring your new botanical addition fits perfectly on your shelf, windowsill, or patio, creating the aesthetic balance you desire.
What Will You Need?
Before you begin, gather a few simple tools to make the process quick and accurate. You don’t need anything specialized, and you likely have these items around your home already.
- A flexible measuring tape (like one used for sewing) or a standard retractable metal measuring tape
- A notepad or your phone’s notes app
- A pen or pencil
10 Easy Steps on How to Measure a Round Planter
Measuring a round planter involves more than just finding its width. To ensure your plant thrives, you need to consider the top diameter, bottom diameter, height, and even the internal volume. Following these ten steps will give you a complete and accurate set of measurements for any circular pot.
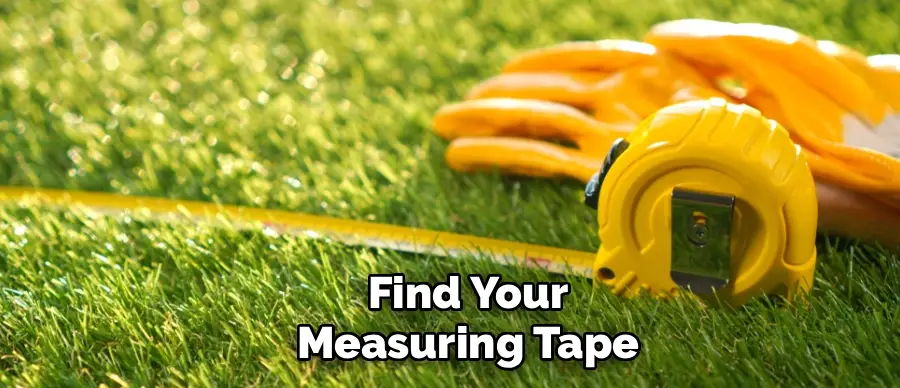
Step 1: Gather Your Tools
The first step is to get organized. Find your measuring tape, notepad, and pen. A flexible measuring tape is often best for circular objects as it can wrap around the planter to measure circumference, but a rigid tape will work perfectly for measuring diameter and height. Having your notepad ready will allow you to jot down each measurement as you take it, preventing confusion later. Clear a flat, stable surface like a table or a clean patch of floor to work on. This will ensure your planter doesn’t tip over and that your measurements are as precise as possible.
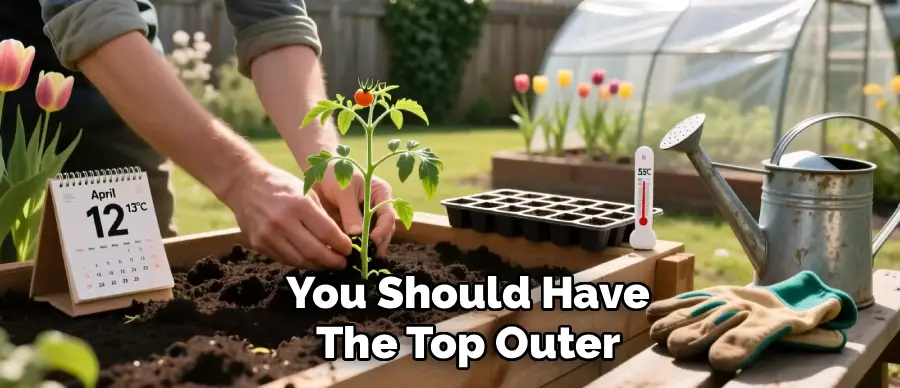
Step 2: Measure the Top Outer Diameter
The diameter is the distance straight across the widest part of the circle, passing through the center. Start by measuring the top outer diameter of the planter. Place one end of your measuring tape on the outer edge of the planter’s rim. Extend the tape straight across to the opposite outer edge, making sure you are measuring the widest point of the circle. This measurement is important for knowing the total space the planter will occupy. If you are placing it into a snug spot or alongside other pots, the outer diameter will tell you if it will fit. Record this number as “Top Outer Diameter.”
Step 3: Measure the Top Inner Diameter
Next, measure the top inner diameter. This is one of the most critical measurements for your plant. It tells you the actual opening size and the available surface area for your plant. Place your measuring tape on the inside lip of the planter and extend it across to the opposite inside lip. Again, ensure you are measuring the widest part of the opening. This dimension will help you determine if your plant’s current root ball will fit comfortably inside without being squeezed. Write this measurement down as “Top Inner Diameter.”
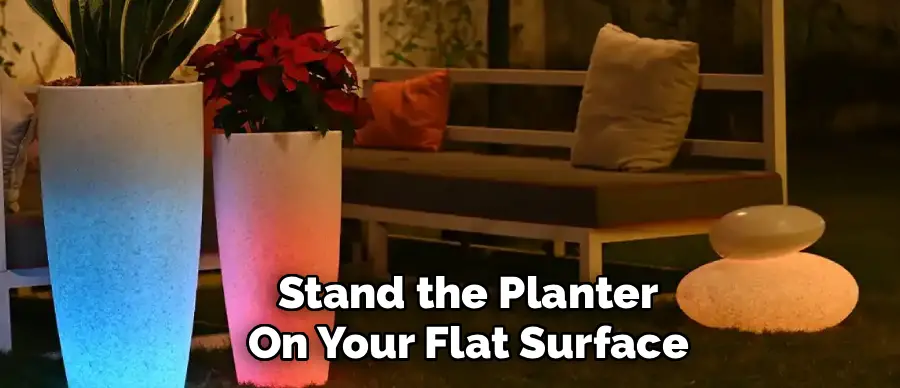
Step 4: Measure the Height
Now, it’s time to measure the height of the planter. Stand the planter on your flat surface. Place the end of your measuring tape on the surface, right next to the base of the planter. Extend the tape vertically up to the top rim of the planter. This gives you the total external height. This measurement is useful for aesthetic purposes, helping you visualize how tall the planter will look in its intended location. Note this as “Total Height.”
Step 5: Measure the Interior Depth
The interior depth is different from the total height and is crucial for root health. Some planters have a false bottom or a thick base, which reduces the internal space available for soil and roots. To measure the interior depth, place the end of your measuring tape on the inside bottom surface of the planter. Extend it straight up to the top rim. This measurement tells you exactly how much vertical space your plant’s roots will have to grow. Record this number as “Interior Depth.”
Step 6: Measure the Bottom Diameter
Many round planters are tapered, meaning they are wider at the top than at the bottom. Measuring the base is important for both stability and understanding the soil volume. Flip the planter upside down carefully. Measure the diameter of the base by extending your tape from one edge of the bottom to the opposite edge, passing through the center. A wider base generally means a more stable pot. Record this as “Bottom Diameter.”
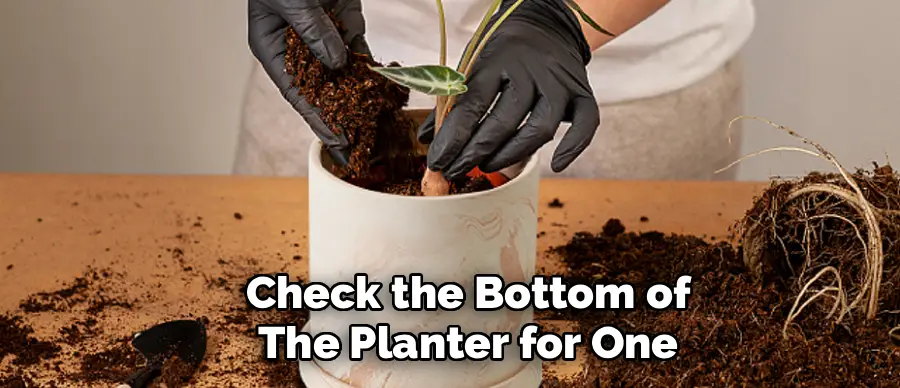
Step 7: Check for Drainage Holes
While not a measurement, this step is essential for plant health. Check the bottom of the planter for one or more drainage holes. Proper drainage prevents water from pooling at the bottom of the pot, which can cause root rot. If your planter does not have drainage holes, you will either need to drill them yourself or place a smaller pot with drainage inside the decorative one.
Step 8: Calculate the Circumference (Optional)
Measuring the circumference, which is the distance around the outside of the planter, is not always necessary, but can be helpful. If you plan to wrap the planter with decorative fabric or place it in a circular plant stand, this measurement is useful. Use a flexible measuring tape to wrap around the widest part of the planter. If you only have a rigid tape, you can use a piece of string, wrap it around the pot, mark where it meets, and then measure the string.
Step 9: Determine the Volume (Optional)
Calculating the volume will tell you how much soil you need to buy. For a simple tapered cylinder, the formula can be complex. However, you can estimate it. Most bags of potting soil are sold by volume (e.g., in quarts or cubic feet). Many online calculators can help you determine the volume if you input the height and the top and bottom inner diameters. This can save you time and money at the garden center.
Step 10: Review Your Notes
The final step is to review all the measurements you have written down. You should have the top outer and inner diameters, the total height and interior depth, and the bottom diameter. Double-check each one to ensure it is accurate. Having these precise dimensions will empower you to choose the perfect plant for your pot and the perfect spot for your plant, setting you up for gardening success.
5 Things You Should Avoid
- Guessing the Size: Never estimate a planter’s size by just looking at it. A pot that appears large might have a thick rim or a false bottom, offering less planting space than you think.
- Forgetting the Inner Diameter: Only measuring the outer diameter is a common mistake. The inner diameter is the most important measurement for ensuring your plant’s root ball will fit.
- Ignoring the Taper: Assuming a round planter is a perfect cylinder can be misleading. Always measure both the top and bottom diameters to understand the true shape and volume.
- Using an Inappropriate Tool: Trying to measure a curved surface with a stiff ruler can lead to inaccurate results. Use a flexible tape measure for the most precise readings, especially for circumference.
- Not Accounting for the Lip: The lip or rim of a planter can add significant width to the outer diameter. When determining if a pot will fit into a tight space, always measure from the widest points of the rim.
Conclusion
Measuring a round planter is a simple task that pays huge dividends for the health of your plants and the beauty of your home.
By taking a few extra minutes to accurately measure the diameter, depth, and volume, you set your plants up for success. These measurements empower you to provide the right amount of soil, ensure adequate room for root growth, and select a pot that fits perfectly into your living space. Armed with these easy steps, you can confidently choose and prepare any round planter for its new green resident.
Hopefully, the article on how to measure a round planter has helped guide you through the process of selecting and preparing a planter for your plants.
About
Outdoor Fixes is a distinguished figure in the world of Diy design, with a decade of expertise creating innovative and sustainable Diy solutions.
His professional focus lies in merging traditional craftsmanship with modern manufacturing techniques,
fostering designs that are both practical and environmentally conscious. As the author of diy,
outdoorfixes delves into the art and science of outdoorfixes-making, inspiring artisans and industry professionals alike.
Education RMIT University
(Melbourne, Australia) Associate Degree in Design (Outdoor Fixes) Focus on sustainable design, industry-driven projects,
and practical craftsmanship. Gained hands-on experience with traditional and digital manufacturing tools, such as CAD and CNC software.
Nottingham Trent University
(United Kingdom) Bachelor’s in outdoorfixes.com and Product Design (Honors) Specialized in product design with a focus on blending creativity with production
techniques. Participated in industry projects, working with companies like John Lewis and Vitsoe to gain real-world insights.
Publications and Impact
In diy, Outdoor Fixes his insights on indoor design processes, materials, and strategies for efficient production.
His writing bridges the gap between artisan knowledge and modern industry needs, making it a must-read for both budding designers and seasoned professionals.