
Are you looking for an easy way to give your bench a facelift? Painting it is one of the most cost-effective and straightforward ways to improve its look. With some basic supplies, you can transform your bench in no time!
Painting pieces of furniture is a great way to give it a fresh and updated look, and it can be surprisingly easy!
Whether you’re looking for an inexpensive weekend project or something more time consuming, painting your own bench will bring creative and unique charm to any area.
In this blog post, we’ll take you through the basics of how to paint a wood bench – from what materials you need comprised of top-quality supplies to the best techniques for priming, applying color coatings, and protecting against wear.
So get ready for some DIY action because, by the end of this post, you’ll have everything you need to know about how to paint a bench!
What Will You Need?
Before you begin your painting project, you’ll need to make sure you have the right supplies. Here’s a list of materials and tools that will be essential for painting your bench:
- A stiff bristle brush or foam roller
- Clean cloths
- High quality paint & primer (latex is ideal, but oil paints can also work)
- Sandpaper
- Primer
- Paintbrush/foam brush
- Screwdriver for taking off hardware if necessary
Once you have your supplies, it’s time to get started!
10 Easy Steps on How to Paint a Bench:
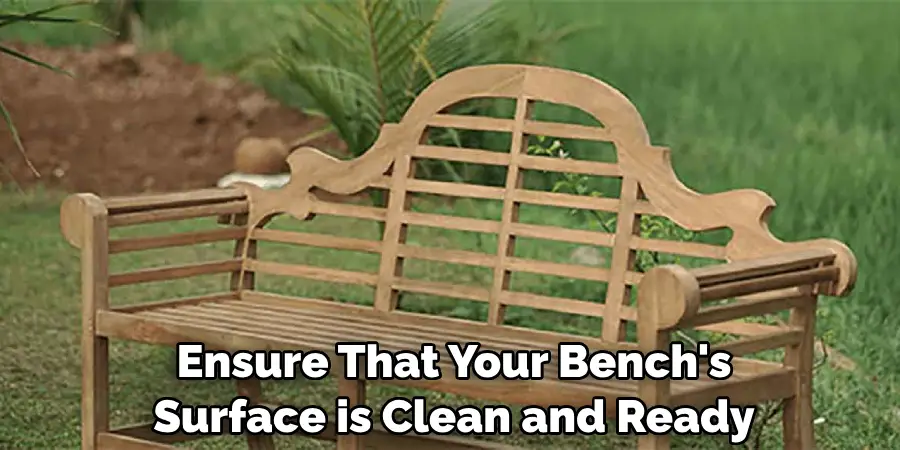
Step 1: Prepare the Bench Surface
The first step is to ensure that your bench’s surface is clean and ready for painting. Start by wiping the bench with a damp cloth to remove dust and dirt. If there are any areas of discoloration or any paint buildup, use a mild cleanser and soft brush to help clean it off.
Step 2: Sanding
Once you’ve cleaned the surface, take some sandpaper and lightly sand the entire bench. This will help prepare the surface for painting by creating an even base on which to apply your primer and color coats. Make sure you sand in one direction, not back and forth – this will ensure no lines or marks are left behind on the wood after you’re done!
Step 3: Priming
Now it’s time to apply a coat of primer. Primer will help ensure that your paint adheres to the surface evenly and smoothly and will also help protect the wood from damage over time. If you’re using latex primer, apply a foam roller or brush in thin layers until the entire bench is covered. Allow the primer to dry completely before moving on to painting.
Step 4: Paint
Once the primer is dry, it’s finally time to get painting! Choose a color of paint that you like and apply in thin layers. If you’re using latex paint, a brush or roller works best for applying an even coat. Be sure to let each layer dry completely before adding the next one. Once your bench has been painted with two thin layers, let it dry overnight.
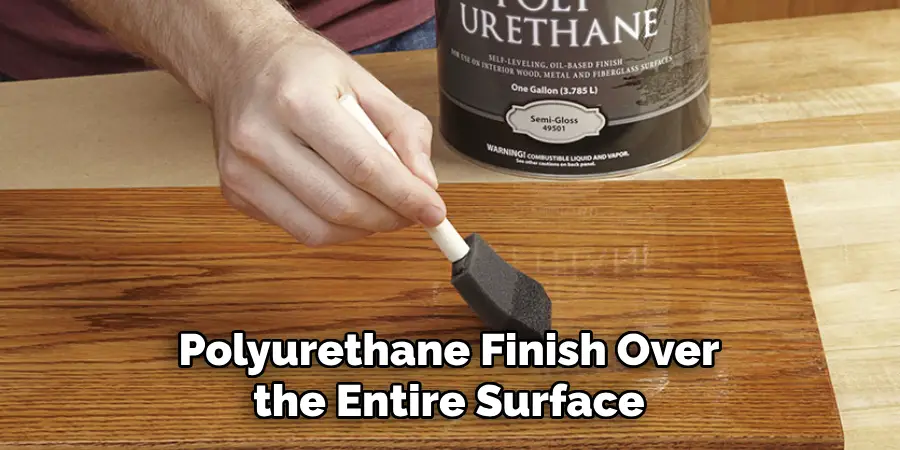
Step 5: Protect the Paint
Once the paint is completely dry, your bench must be sealed and protected from wear and tear. To do this, apply a clear sealant or polyurethane finish over the entire surface of the bench (using a brush or roller). This will help protect the paint from fading and scratches.
Step 6: Reattach Hardware
Finally, it’s time to reattach any hardware you may have removed before painting. Use a screwdriver to put the fixtures back in place. And there you have it! Your newly painted bench is ready for use!
Step 7: Keep It Clean
To keep your bench looking its best, always make sure to give it a good clean with a damp cloth and mild cleanser. This will help remove any dirt or debris that can accumulate over time and any grease or oil spills that can damage the paint job.
Step 8: Maintain Its Shine
Once your bench is clean, you can maintain its shine by using furniture polish or wax. This will help protect the paint and keep it looking new for longer. As with any other piece of furniture, it’s important to keep your bench out of direct sunlight to avoid fading.
Step 9: Refresh the Paint Job
Every now and then, it’s a good idea to give your bench a fresh coat of paint. This will bring back the color and luster that may have faded over time. You can also use this to repaint in a different color if you want to switch up the look of your bench!
Step 10: Enjoy Your New Bench!
You did it! Now all that’s left is for you to enjoy your newly painted bench. With just a few simple steps, you can transform your bench and give it an updated look. So kick back, relax, and admire your handy work!
By following these simple steps, you know how to paint a bench and give it an updated look. So get out your supplies and prepare for a DIY project that will bring life to any space!
5 Additional Tips and Tricks
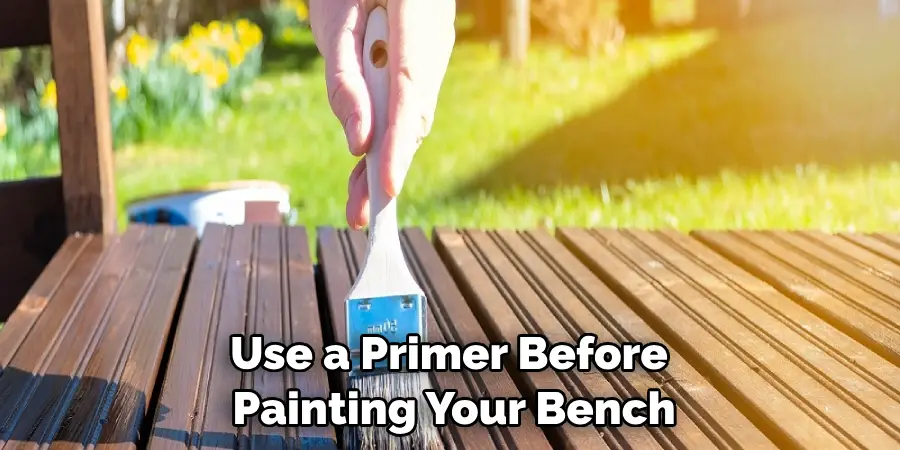
- Make sure to use a primer before painting your bench. This will help the paint adhere better and last longer.
- If your bench is made of metal, use a rust inhibitor before painting. This will help protect it from corrosion over time.
- If you want a smooth finish, sand the bench before painting. This will help to remove any rough surfaces and give you a nice, even result.
- Apply several thin coats of paint instead of one thick coat. This will ensure that the color is even and there are no streaks or drips when dry.
- Use outdoor paint if your bench is going to be exposed to elements such as rain or sunlight. Outdoor paints are designed specifically for this purpose and can stand up against harsher conditions compared to regular indoor paints.
With these tips in mind, you’ll be sure to get a great-looking painted bench!
5 Things You Should Avoid
- Don’t use paint that is too thick. This can cause drips or an uneven finish.
- Avoid painting in direct sunlight, as this can cause the paint to dry too quickly and produce cracks and peeling over time.
- Remember to complete the primer when painting your bench. Not using a primer can result in the paint not adhering properly and wearing off after only a few months of use.
- Don’t forget to allow for proper drying time between coats of paint! Trying to rush the process may lead to an unsatisfactory outcome due to insufficient drying time between coats of paint.
- Lastly, try to apply only a few layers of paint at a time, as this can lead to an uneven texture. Allow the paint to dry between each layer for a better finish.
Follow these simple tips and tricks when painting your bench, and you’ll be sure to get great results!
5 Different Theme Ideas
- Color block – create a bold statement by painting your bench in two or more colors.
- Stencil designs – add a pop of pattern to your bench with stencils and paint.
- Faded effect – use a combination of light and dark shades of the same color for an ombre-like effect on your bench.
- Rustic look – give your bench an aged, distressed look by sanding down some areas before painting.
- Metallic finish – go for a modern twist on traditional finishes by using metallic paints instead! With this, you can easily transform an ordinary bench into something unique and luxurious looking!
No matter what theme you choose to go for, there’s sure to be something that suits your style.
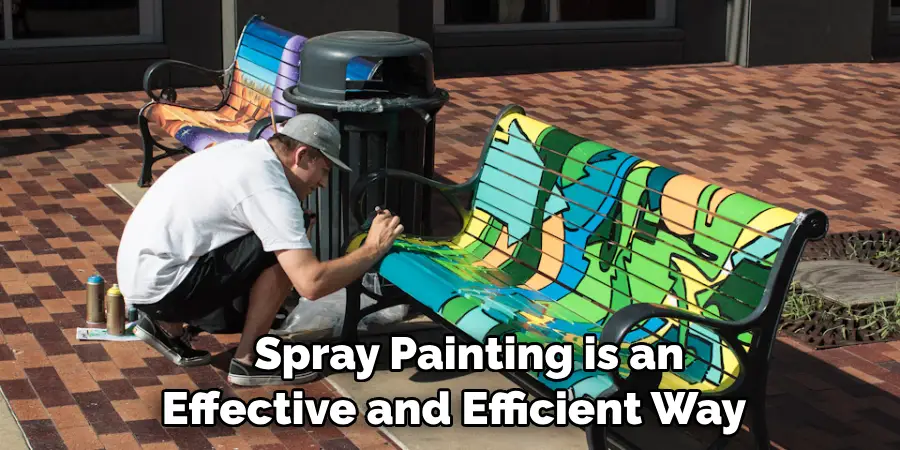
Can You Spray Paint a Bench?
Yes, you can spray paint a bench! Spray painting is an effective and efficient way to get even coverage on the surface of your bench. However, make sure that you use a primer before applying the spray paint in order to ensure good adhesion between the paint and the surface.
Also, be careful not to over-apply too many layers of paint, as this can lead to an uneven texture. Allow each layer of paint to dry completely before applying another coat for the best results.
Additionally, if the bench is exposed to harsher elements, make sure you use outdoor-friendly spray paint. These types of paints are specifically designed for this purpose and can stand up against rain or sun without flaking off.
With these considerations in mind, you’ll be sure to get great results by spray painting your bench!
Conclusion
So, armed with a plan, some patience, and the right tools, you’re ready to start mastering the art of painting a bench. While there are many ways to go about this project – your creativity can really come alive with color choices and unique design elements – the above steps can help guide you so that the finished product is one that you can be proud of for years to come.
The article on how to paint a bench has given you the confidence and knowledge to get started.
So grab your painting supplies today and get to work on making something beautiful! And don’t forget to share your artistic creations – we’d love to see how they turned out!
You Can Check It Out To Paint Vinyl Fence
About
Outdoor Fixes is a distinguished figure in the world of Diy design, with a decade of expertise creating innovative and sustainable Diy solutions.
His professional focus lies in merging traditional craftsmanship with modern manufacturing techniques,
fostering designs that are both practical and environmentally conscious. As the author of diy,
outdoorfixes delves into the art and science of outdoorfixes-making, inspiring artisans and industry professionals alike.
Education RMIT University
(Melbourne, Australia) Associate Degree in Design (Outdoor Fixes) Focus on sustainable design, industry-driven projects,
and practical craftsmanship. Gained hands-on experience with traditional and digital manufacturing tools, such as CAD and CNC software.
Nottingham Trent University
(United Kingdom) Bachelor’s in outdoorfixes.com and Product Design (Honors) Specialized in product design with a focus on blending creativity with production
techniques. Participated in industry projects, working with companies like John Lewis and Vitsoe to gain real-world insights.
Publications and Impact
In diy, Outdoor Fixes his insights on indoor design processes, materials, and strategies for efficient production.
His writing bridges the gap between artisan knowledge and modern industry needs, making it a must-read for both budding designers and seasoned professionals.