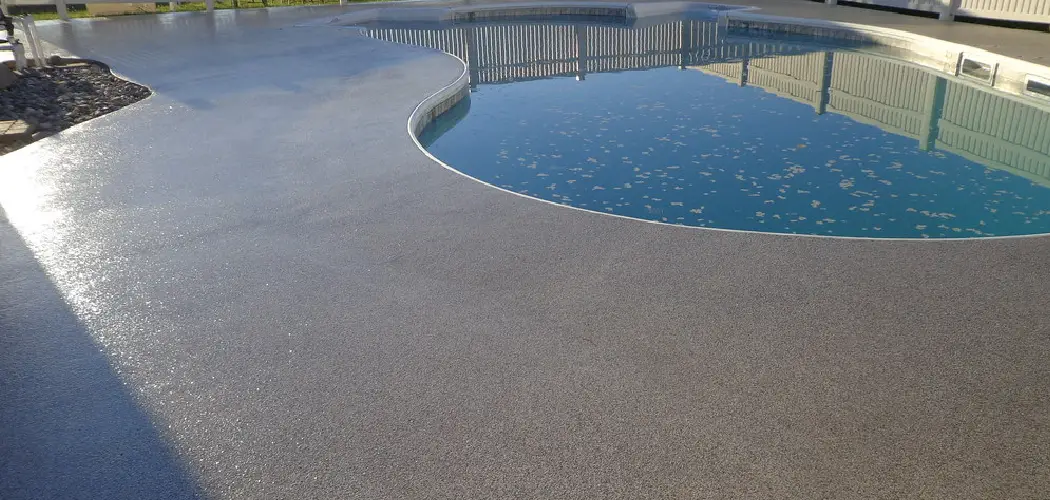
A concrete pool deck is a fantastic, durable surface for any backyard oasis, but over time, it can start to show its age. Sun-bleached patches, stubborn stains from fallen leaves, and the general wear and tear of summer fun can leave it looking tired and dated. Before you consider a costly replacement, there is a powerful and rewarding solution: a fresh coat of paint. Revitalizing your deck with paint can transform the entire look and feel of your outdoor space, making it feel new again.

This isn’t as simple as slapping on a coat of exterior house paint. A pool deck is a unique environment that demands specific products and preparation to withstand constant sun exposure, chlorinated water, and heavy foot traffic. This comprehensive guide will walk you through every step of how to paint a concrete pool deck, ensuring a durable, beautiful, and slip-resistant finish that will last for years to come.
Assessing the Condition of Your Deck
Before you even think about picking a paint color, you need to play detective and thoroughly inspect your deck’s current condition. Paint is a cosmetic fix; it can hide minor imperfections but will fail quickly if applied over significant structural problems.
Inspecting for Cracks and Damage
Walk the entire perimeter of your deck and look for cracks. Small hairline cracks are common and can be easily filled. However, large, deep cracks (wider than a credit card) or cracks where one side is higher than the other may signal a more serious structural issue with the concrete slab or the soil underneath. Likewise, look for areas of “spalling,” where the concrete surface is flaking, chipping, or popping out. These damaged areas must be repaired before painting, as the new coating will not bond to a crumbling surface.
Testing for Moisture
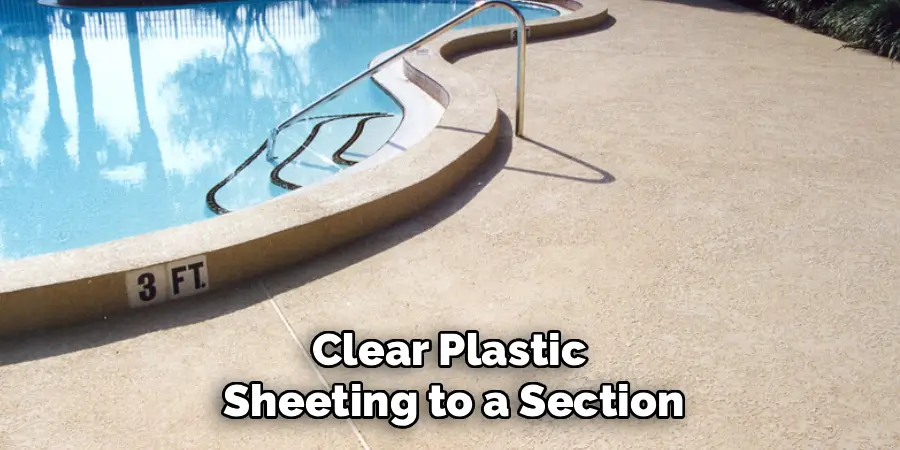
Concrete is a porous material that can hold a surprising amount of moisture. Painting over damp concrete is a recipe for disaster, as the trapped moisture will eventually push the paint off from underneath, causing widespread peeling and bubbling. To test for moisture, securely tape a 2×2 square of clear plastic sheeting to a section of the deck. Leave it in place for 24 hours. When you remove it, check the underside of the plastic. If you see condensation, the concrete is still too wet to paint. You will need to wait for a prolonged dry spell or find the source of the moisture before proceeding.
Choosing the Right Paint and Materials
Not all paints are created equal, and the paint aisle can be overwhelming. For a pool deck, you need a specialized coating designed to handle the harsh environment.
Selecting Pool Deck Paint
Standard exterior latex paint is not durable enough for this application. It will quickly peel, fade, and become slippery when wet. You need a dedicated pool deck paint. The two most common types are acrylic and epoxy.
Water-based acrylic deck paint is the most user-friendly and popular choice for DIY projects. It is breathable, allowing some moisture to escape, which reduces the risk of peeling. It is also UV-stable, meaning the color will resist fading in direct sunlight. Many modern acrylic deck paints also incorporate “cool feel” technology, which reflects more heat than standard paint, making the surface more comfortable for bare feet.
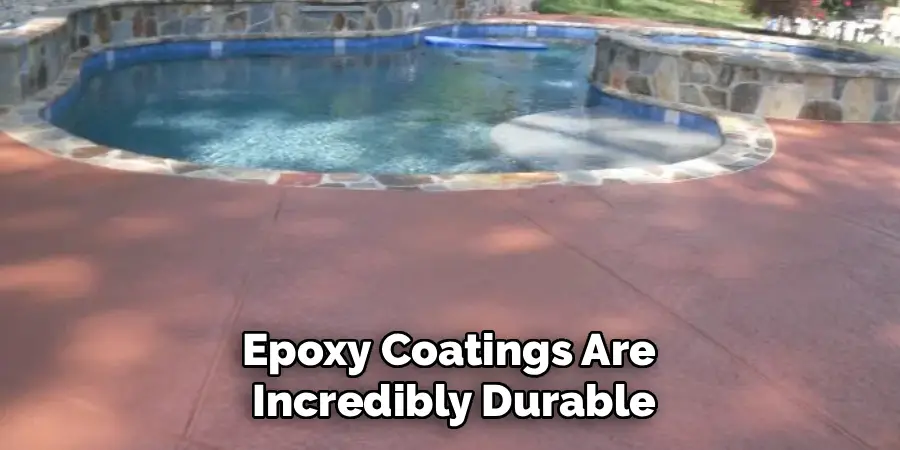
Epoxy coatings are incredibly durable and offer superior resistance to chemicals and abrasion. However, they are more difficult to apply, often requiring a two-part mixing process and a strict application window. Some epoxies can also become brittle and yellow over time with UV exposure unless they are specifically formulated for outdoor use. For most residential applications, a high-quality acrylic paint is the best balance of performance and ease of use.
The Importance of Anti-Slip Additives
Safety should be your top priority. A standard painted surface becomes extremely slippery when wet, creating a serious hazard around a pool. To prevent this, you must add a non-slip texture to your paint. This is achieved by mixing a fine aggregate, often a sand-like silica or polymer grit, directly into your final coat of paint. This additive is barely visible but creates a textured, high-friction surface that provides crucial grip for wet feet. Do not skip this step; it is essential for creating a safe swimming environment.
Essential Tools and Safety Gear
Having the right tools on hand makes the job go smoothly. A well-prepared workspace is a safe and efficient one.
Tools Checklist
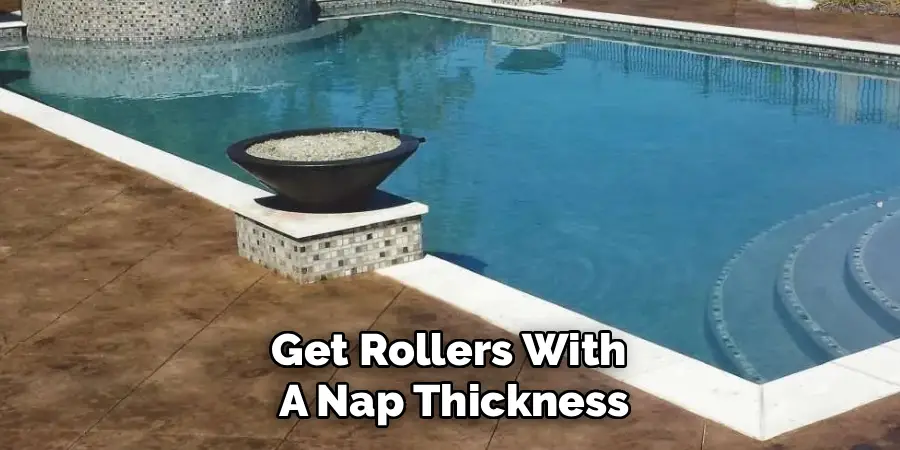
Your primary tool for surface preparation will be a pressure washer, which is essential for deep cleaning the concrete. For the application, you will need paint rollers with extension poles to cover large areas quickly and save your back. Get rollers with a nap thickness appropriate for textured surfaces (around ½ inch). You’ll also need a few 2-3-inch paintbrushes for “cutting in” around the edges, stairs, and pool coping.
Other necessary items include painter’s tape and plastic sheeting for masking off areas you want to protect, large buckets for mixing paint and additives, and a mixing paddle that attaches to your drill.
Safety Equipment
Concrete prep and painting involve materials that can be harmful. Always wear safety glasses or goggles, especially when pressure washing or working with chemical etchers. Waterproof gloves are necessary to protect your skin from degreasers and paint. Finally, when you are on your hands and knees repairing cracks or cutting in edges, a good pair of knee pads will make the job much more comfortable.
Step-by-Step Guide on How to Paint a Concrete Pool Deck
With your prep work done and materials gathered, it is time for the transformation. Follow these steps methodically for a professional-quality finish.
Step 1: Deep Clean the Surface
Your paint job is only as good as the surface underneath. Start by thoroughly pressure washing the entire deck. Use a degreaser solution on any oil, grease, or food stains. Focus on removing all dirt, mold, algae, and any old paint that is already flaking or peeling. The goal is to get back to a clean, sound concrete surface. Rinse thoroughly and allow the deck to dry completely, which may take 24-48 hours depending on the weather.
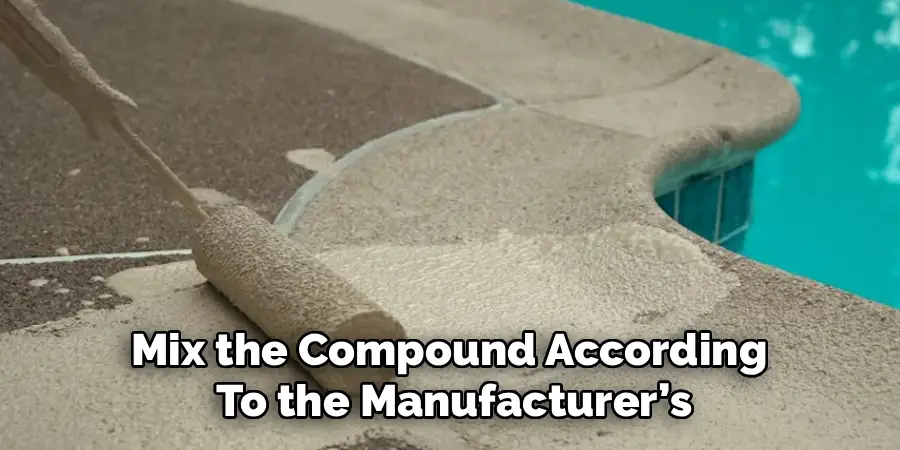
Step 2: Repair Cracks and Holes
Now, address the damage you identified earlier. For small hairline cracks, a flexible concrete crack sealant applied with a caulking gun is often sufficient. For larger cracks or areas of spalling, use a polymer-modified concrete patch compound. Mix the compound according to the manufacturer’s instructions and pack it firmly into the damaged area with a trowel. Feather the edges so the patch is flush with the surrounding deck. Allow the repairs to cure fully, then sand them smooth.
Step 3: Etch the Concrete
This step is critical for paint adhesion, especially on smooth, machine-troweled concrete. Etching the surface opens up the pores of the concrete, creating a microscopic profile that the paint can grip onto. You can use a solution of muriatic acid (with extreme caution and proper safety gear) or a safer, eco-friendly concrete etching product. Apply the etcher, scrub it in with a stiff brush, and then rinse thoroughly according to the product’s directions. The surface should feel like fine-grit sandpaper when dry.
Step 4: Mask Off Surrounding Areas
Protect any surface you do not want to get paint on. Use painter’s tape to create clean lines along the pool coping, ladders, diving board bases, or where the deck meets your house. Use plastic sheeting to cover adjacent landscaping, patio furniture, and the pool water itself to protect it from drips and splatter.
Step 5: Apply the Primer (If Required)
Check your paint manufacturer’s recommendations to see if a primer is needed. For new or very porous concrete, a dedicated concrete or masonry primer is highly recommended. Primer seals the surface, prevents the topcoat from soaking in unevenly, and promotes a stronger bond. Apply the primer just as you would the paint, using a brush for the edges and a roller for the main areas. Let it dry completely.
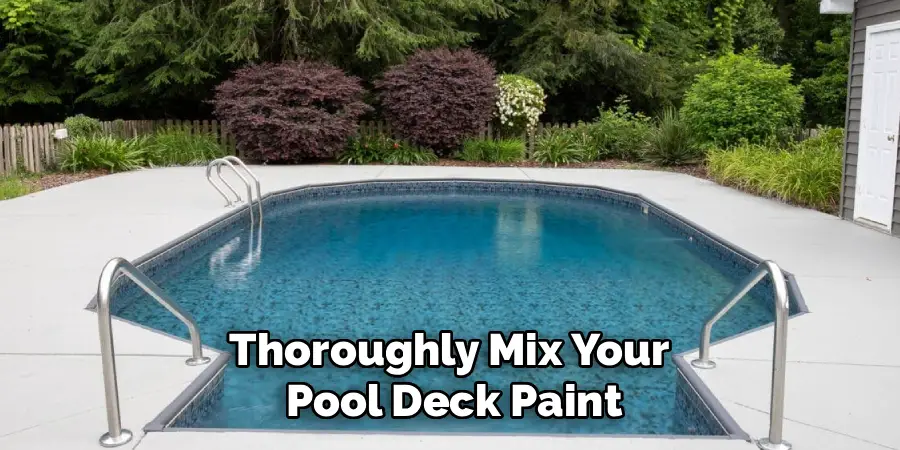
Step 6: Roll On the First Coat of Paint
You are finally ready to paint. Thoroughly mix your pool deck paint. Start by “cutting in” the edges with your paintbrush, creating a 3-4 inch border around the perimeter and any obstacles. Then, use your roller with an extension pole to fill in the main areas. Work in small, manageable sections (e.g., 4×4 feet) and always maintain a “wet edge” to avoid visible lap marks. Apply a thin, even coat.
Step 7: Apply the Second Coat with Texture
Allow the first coat to dry according to the manufacturer’s instructions. For the final coat, mix in your anti-slip additive. Pour some paint into a separate bucket and slowly stir in the aggregate, mixing thoroughly to ensure it is evenly distributed. Do not mix the additive into your main paint can, as it will settle to the bottom over time. Apply this second coat just as you did the first, rolling it on evenly. The texture may feel subtle at first, but it will provide the necessary grip once cured.
Weather Considerations for Painting
Timing is everything. The weather has a huge impact on how your paint will dry and cure.
Ideal Temperature Range
Most deck paints require an ambient temperature between 50°F and 90°F for proper application. If it is too cold, the paint will not cure correctly. If it is too hot or you are painting in direct, intense sunlight, the paint will dry too quickly, which can lead to blistering and poor adhesion. An overcast, mild day is perfect.
Avoiding Rain and High Humidity
Check the forecast and ensure you have a clear window of at least 24-48 hours with no rain. Rain can ruin a fresh paint job, washing it away or causing spots. High humidity can also significantly slow down the drying time and interfere with the curing process, so it is best to paint when humidity levels are low to moderate.
Drying and Curing Times
Patience is a virtue after you have finished painting. “Dry” and “cured” are two different things.
Light Foot Traffic vs. Furniture
The paint may feel dry to the touch in a few hours, but it is not ready for heavy use. Most manufacturers recommend waiting at least 24 hours before allowing light foot traffic. However, the paint needs to fully cure and harden, which can take up to 7 days. Wait at least 3-4 days before placing heavy patio furniture, grills, or large planters back on the surface to avoid scuffing or imprinting the new finish.
Dealing with Pool Water Splashes
It is almost inevitable that some pool water will splash onto the deck while it is curing. During the first 24 hours, try to avoid this as much as possible. If splashes do occur, gently blot them with a soft, absorbent cloth. Do not rub, as this can smudge the finish. Once the paint has had a few days to cure, splashes will not harm it.
Maintenance Tips for a Long-Lasting Finish
A little upkeep will go a long way in preserving your beautiful new deck.
Regular Cleaning Routine
Keep the deck clean by sweeping it regularly to remove dirt and leaves that can grind into the surface. Hose it down periodically to wash away dust and grime. For tougher spots, use a mild soap and a soft-bristled brush. Avoid using a pressure washer on the newly painted surface for at least 30 days.
Touching Up High-Traffic Areas
Inevitably, some areas will show wear faster than others, particularly around stairs and main entry points. Keep any leftover paint (and a small container of the anti-slip additive) for touch-ups. A quick touch-up once a season can keep the entire deck looking fresh and prevent small scuffs from turning into large peeling patches.

Conclusion
A freshly painted pool deck does more than just improve your home’s curb appeal; it revitalizes your entire outdoor living space and enhances safety for your family and guests. Learning how to paint a concrete pool deck is a highly rewarding DIY project that empowers you to protect and enhance the appearance of your investment. By carefully preparing the surface, choosing the right materials, and applying the paint with patience and precision, you can achieve a professional-looking finish that will endure for many summers. Now, all that is left to do is let it cure, set up your lounge chairs, and enjoy your stunning, refreshed backyard retreat.
About
Outdoor Fixes is a distinguished figure in the world of Diy design, with a decade of expertise creating innovative and sustainable Diy solutions.
His professional focus lies in merging traditional craftsmanship with modern manufacturing techniques,
fostering designs that are both practical and environmentally conscious. As the author of diy,
outdoorfixes delves into the art and science of outdoorfixes-making, inspiring artisans and industry professionals alike.
Education RMIT University
(Melbourne, Australia) Associate Degree in Design (Outdoor Fixes) Focus on sustainable design, industry-driven projects,
and practical craftsmanship. Gained hands-on experience with traditional and digital manufacturing tools, such as CAD and CNC software.
Nottingham Trent University
(United Kingdom) Bachelor’s in outdoorfixes.com and Product Design (Honors) Specialized in product design with a focus on blending creativity with production
techniques. Participated in industry projects, working with companies like John Lewis and Vitsoe to gain real-world insights.
Publications and Impact
In diy, Outdoor Fixes his insights on indoor design processes, materials, and strategies for efficient production.
His writing bridges the gap between artisan knowledge and modern industry needs, making it a must-read for both budding designers and seasoned professionals.