
Are you wondering how to paint parking lot lines without the use of a machine? You can easily achieve this task with some basic supplies, such as a roller and paint. Here are a few tips on how to do it.
Painting parking lot lines is key to getting any area looking sharp and well-maintained, but it can be a challenge if you don’t want to invest in expensive line-painting equipment. The good news is that some great alternatives to machine painting provide amazing results without the hassle or expense.
In this blog post, we’ll cover our top tips for how to paint parking lot lines without a machine – from prepping and creating the design to choosing paints and tools for the job. So read on if you’re ready to transform your outdoor spaces and make them look professionally painted!
What Will You Need?
Before you start painting, you’ll need to gather the right supplies. You will need the following:
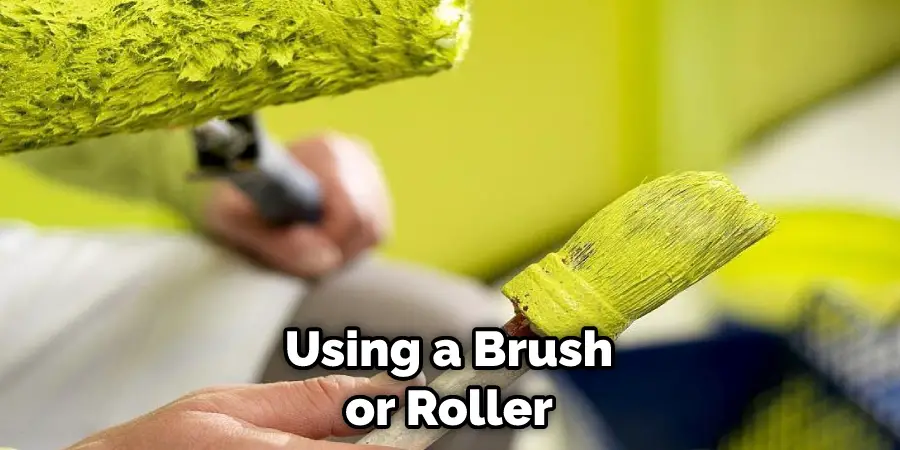
- A paint roller and extension handle
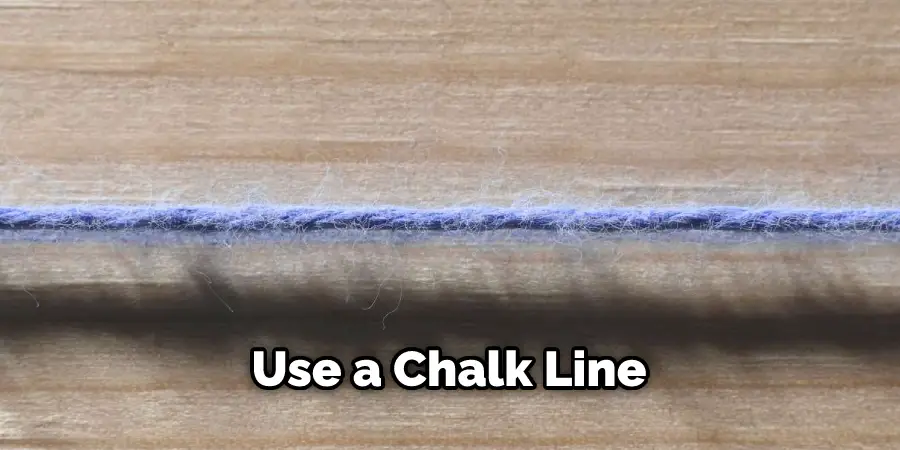
- Chalk-line reel and chalk
- Angle grinder (optional)
- Paint in your desired color
- Masking tape
- Drop cloth or newspaper to protect the ground from paint splatters
- Measuring tape and level for accuracy
Once you have all the necessary supplies, it’s time to start.
10 Easy Steps on How to Paint Parking Lot Lines Without a Machine
Step 1. Create the Design:
The first step is to create a design that you want to paint onto the parking lot surface. Start by laying out the lines with a chalk-line reel, which will help ensure accuracy and make it easier when it’s time actually to paint the lines on the ground. To use a chalk line, attach one end of the string to the surface you want to paint different colors and then pull it tight. Then, turn the reel handle until the string is taut. The chalk powder will make a line on the ground that you can use as a guide when painting.
Step 2. Mask off Areas You Don’t Want Painting:
Once your design is marked out with a chalk-line reel, you’ll need to mask off any areas that you don’t want to be painted. Use masking tape and drop cloths or newspaper to cover up these areas so they’re protected during painting. Be careful to use high-quality masking tape that won’t leave sticky residue on the ground when you’re done.
Step 3. Calculate Paint Amounts:
It’s important to do some calculations before starting painting in order to ensure you have enough paint for the job. To calculate how much paint you’ll need, measure the length and width of your parking lot lines and multiply those figures together to get the surface area that needs to be covered. Then, check the label on your paint can to determine how many square feet it will cover per gallon. Once you have this figure, divide it into your total square footage in order to determine how many gallons are needed for the job – usually around one gallon per 350 square feet.
Step 4. Prepare Your Paint:
Once you know how much paint is needed, prepare it by mixing up a batch according to the instructions on the label. Make sure not to add too much water, as this can make the paint runny and difficult to work with when you are painting. This is especially important when painting parking lot lines.
Step 5. Paint the Lines:
When your paint is ready to go, it’s time to start painting. Use a roller and extension handle for an even application of paint on the surface. Start with smaller sections at a time and use long strokes to get an even coat of paint. The chalk line will help you stay within the boundaries of your design while painting. Be sure to maintain a wet edge as you work so that the colors blend together nicely when dry.
Step 6. Check for Accuracy:
After all the lines have been painted, check for accuracy with a level or measuring tape to ensure everything looks even and straight. If you notice any imperfections, go back and touch them up with a small brush. As you get closer to the edges of the lines, use a smaller brush for more precision.
Step 7. Allow the Paint to Dry:
Once all the lines are painted, allow them to dry completely before continuing on with any other tasks. This could take several hours, depending on the temperature and humidity of your area – so be patient! Additionally, be sure to keep foot traffic off of the lines until they are completely dry.
Step 8. Remove Masking Tape and Clean Up:
Once the paint is dry, remove any masking tape that was used to protect areas from being painted. Be careful not to pull up any of the newly painted lines when doing this step. When all of the tapes has been removed, you can clean up your workspace by disposing of empty paint cans and cleaning up any spilled paint or debris.
Step 9. Inspect Your Work:
Step back and inspect your work to ensure you’re happy with the results. If there are any areas that need touching up or adjusting, now is the time to do it. Don’t forget to admire your work – you just painted parking lot lines without a machine!
Step 10. Enjoy Your Newly Painted Lines:
Your parking lot lines should be looking great! Take pride in your hard work and enjoy the satisfaction of having created something beautiful without needing a machine. Congratulations on getting the job done, and don’t forget to share pictures with friends and family!
Following these ten steps, you can easily learn how to paint parking lot lines without a machine. With a little bit of preparation and patience, you’ll have beautiful parking lot lines in no time! Good luck!
5 Additional Tips and Tricks
- Prepare the Surface: Clean and dry the pavement before painting. Ensure no debris or dust is removed, and no oil or grease remains.
- Choose the Right Paint: Use a latex-based, oil-resistant traffic paint designed for parking lot lines. The best paints will be waterproof and made with reflective particles to make your parking lot lines more visible in low light conditions.
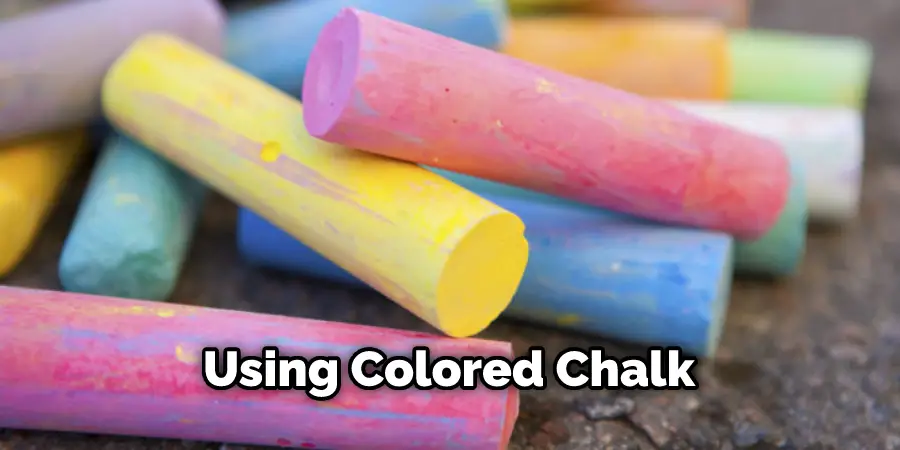
- Mark Your Lines Clearly: Using colored chalk, mark the area where you want to paint the parking lot lines. Be sure to draw firmly so that it can easily be seen when painting over it.
- Work in Small Sections: Start by dividing the pavement into manageable sections before beginning to apply the paint. This will help ensure even coverage of your lines and prevent uneven buildup of paint on one side or another.
- Allow Enough Time for Drying: Before adding additional coats of paint, make sure to allow the first coat to dry completely. This could take up to 24 hours, depending on the temperature and humidity of your location. Once you have followed these steps, you should have a freshly painted parking lot with clearly visible lines! Have fun, and stay safe while painting!
5 Things You Should Avoid
- Avoid Using Spray Paint: Spray paint is not designed for outdoor use and will quickly fade away.
- Do Not Overlap Lines: Overlapping the lines can cause confusion and lead to accidents.
- Don’t Rush the Job: It’s important to take your time when painting parking lot lines to ensure the paint’s accuracy and even coverage.
- Stay Out of Traffic Lanes: Make sure that you are aware of any cars or other vehicles in the area before beginning to paint, as it can be dangerous to be working on a busy parking lot with traffic present.
- Do Not Apply Too Much Paint at Once: Applying too much paint at one time can create an uneven finish and can also lead to paint seeping into the pavement and creating dangerous slick spots.
By following these tips and tricks, you can successfully paint parking lot lines without a machine!
Conclusion
Painting parking lot lines may seem intimidating, but with a few simple tools like measuring tape, powdered paint, and chalk, anyone can learn how to do it! Taking your time and doing the job right is essential. The difference that knowing how to paint parking lot lines without using a machine will make in your parking facility will be noticeable. You can proudly say you did it, and the process doesn’t have to take hours on end. Perfectly straight lines provide good aesthetics, improved organization, and better guidance for visitors.
Just remember to follow proper safety protocols when driving stakes into the cement, such as wearing a face mask and protective gloves for both handlings of chemicals and protection against any residual dust from concrete. If things aren’t going quite as planned, try reaching out to an expert or consulting resources online for help if you don’t have access to machinery.
Hopefully, the article on how to paint parking lot lines without a machine has been helpful and informative. Thanks for reading!
About
Outdoor Fixes is a distinguished figure in the world of Diy design, with a decade of expertise creating innovative and sustainable Diy solutions.
His professional focus lies in merging traditional craftsmanship with modern manufacturing techniques,
fostering designs that are both practical and environmentally conscious. As the author of diy,
outdoorfixes delves into the art and science of outdoorfixes-making, inspiring artisans and industry professionals alike.
Education RMIT University
(Melbourne, Australia) Associate Degree in Design (Outdoor Fixes) Focus on sustainable design, industry-driven projects,
and practical craftsmanship. Gained hands-on experience with traditional and digital manufacturing tools, such as CAD and CNC software.
Nottingham Trent University
(United Kingdom) Bachelor’s in outdoorfixes.com and Product Design (Honors) Specialized in product design with a focus on blending creativity with production
techniques. Participated in industry projects, working with companies like John Lewis and Vitsoe to gain real-world insights.
Publications and Impact
In diy, Outdoor Fixes his insights on indoor design processes, materials, and strategies for efficient production.
His writing bridges the gap between artisan knowledge and modern industry needs, making it a must-read for both budding designers and seasoned professionals.