Are you looking for a way to patch a bounce house? If so, we’re here to help! Patching a bounce house can be done quickly and easily with a few simple steps.

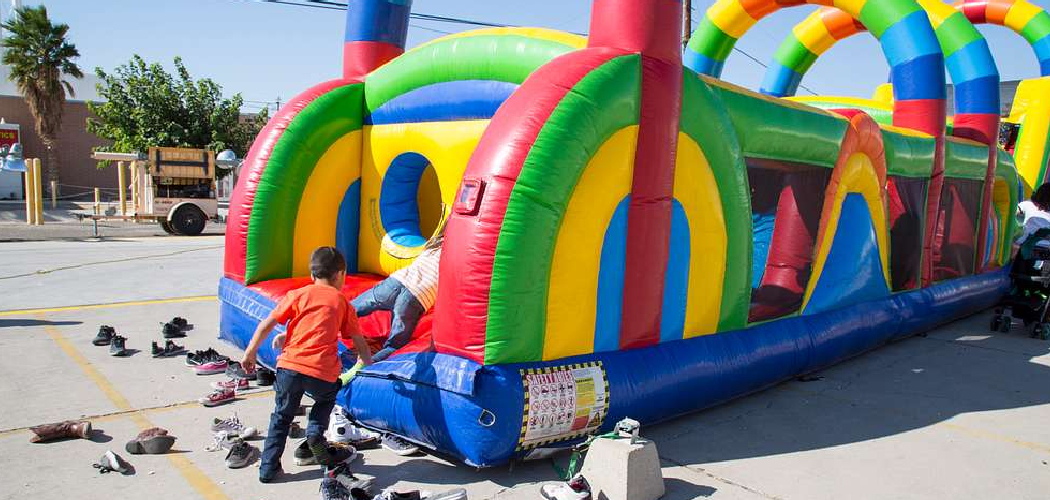
There is nothing quite as exciting and fun as bringing a bounce house to your event. Whether you are hosting an outdoor party, setting up for a school carnival, or just adding some extra fun at home for the kids, a bounce house adds that extra element of excitement! That being said, sometimes accidents can happen, and you may need to patch it up with some repair work. If you’ve recently found yourself asking, “How do I patch my bounce house?” we have you covered!
In this article we will provide step-by-step instructions on how to patch a bounce house so that everyone can go back to having all the bouncing fun they want.
What Are the Benefits of Patching a Bounce House?
The main benefit of patching a bounce house is that it allows you to repair any damage that has taken place. This includes rips, tears, holes, and other damage that may have occurred from normal wear and tear or an accident.
By patching a bounce house, you can ensure the safety of all guests who will be using it. You want to make sure that no one gets hurt while they are playing in the bounce house, so taking the time to repair any issue is always worth your effort.
Patching a bounce house also helps you avoid replacing your whole unit or buying a new one altogether. It’s a much more cost-effective solution that allows you to enjoy your bouncy fun for years!
What Will You Need?
To patch a bounce house, you will need the following items:
- Repair kit (either DIY or commercial)
- Patch material
- Scissors
- Tape measure
- Pencil/marker for marking patch spots
- Waterproof glue or adhesive (such as E6000)
Once you have all of these items, you are ready to start!
10 Easy Steps on How to Patch a Bounce House
Step 1. Locate and Measure:
Begin by locating the tear or hole and measuring it with tape. For easy identification, you can use a pencil and marker to mark the damaged area. It will also help you when it comes to cutting the patch material later on.
Step 2. Cut Patch Material:
Cut a piece of patch material using scissors to the same size as the damaged area. Ensure it is a tight fit to cover up the damage and properly provide proper reinforcement. Don’t forget to include an extra inch or two around the edges for a secure connection.
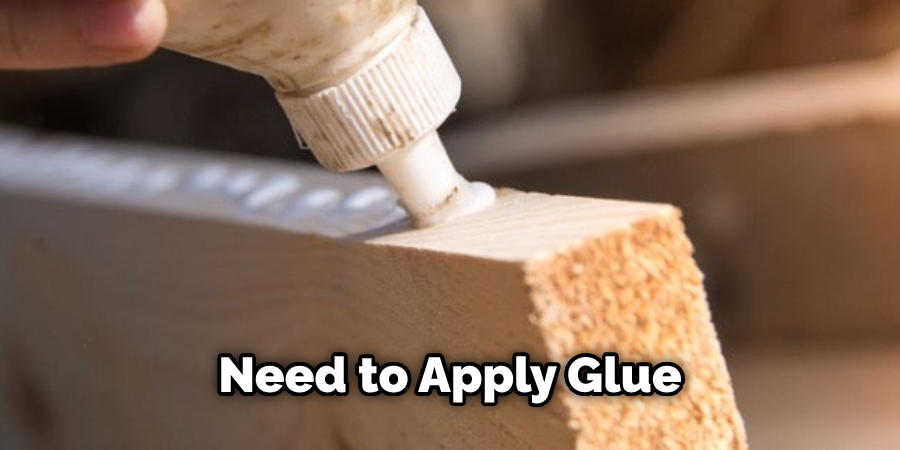
Step 3. Apply Glue/Adhesive:
Now, you’ll need to apply glue or adhesive to both surfaces – the patch material and the damaged area. Be sure to spread evenly and give ample time for each side to dry before moving on to the next step. As you apply the glue or adhesive, ensure it is evenly distributed.
Step 4. Place Patch Material:
Once both surfaces are dry, place the patch material overtop of the damaged area and press firmly so that it sticks in place. You may want to use something heavy such as books or bricks, for added support while pressing down if necessary. You can also use your hands to smooth out any wrinkles or bubbles.
Step 5. Secure Patch:
This step is optional but highly recommended to ensure that your patch is secure and will last. To do this, you can use duct tape or another strong adhesive tape around the patch material’s edges to reinforce it and prevent any further damage. If you are using duct tape, make sure to use the heavy-duty version for added durability.
Step 6. Trim Excess Material:
Using scissors, trim any excess patch material so that it has a clean finish. Ensure not to cut too close to the edges, as this could cause the patch to be undone more easily. Moreover, if you have used any type of adhesive tape for added support, make sure to trim those as well.
Step 7. Allow Patch to Set:
Now you have to allow your patch time to settle. This step is important because it allows for the glue/adhesive to dry properly, thus ensuring that your patch is securely in place and will hold up for years to come. Keep the area clean and dry to help speed up the process.
Step 8. Check for Air Leaks:
To check for air leaks, inflate the bounce house and listen for any escaping air. If you hear any, that means there is an issue with your patch job that needs to be redone. This is another reason why allowing the patch enough time to set properly before testing for air leaks is important.
Step 9. Re-Check Patch Material:
Take a few minutes to re-check the patch material one final time to ensure everything is secure and in place. It’s always better to double-check than be sorry later on! Don’t forget to visually inspect the area for any signs of air leaks as well.
Step 10. Enjoy!:
And finally, enjoy! Now that your bounce house has been patched up properly, everyone can go back to having all the fun they want without worrying about any more damage or safety issues. Remember, if you ever need to patch up your bounce house again, you now know how!
Patching a bounce house is not complicated, but it does take time and patience to do it properly. With the right tools and instructions, you can easily patch your bounce house in no time. So don’t wait any longer, and get started patching up your unit today!
5 Additional Tips and Tricks
- When patching the bounce house, work from the inside out. This will ensure that you cover the entire hole and not just parts of it.
- Always use the same type of patching material that was used to make the bounce house. This will ensure a secure and permanent fix.
- Make sure your patch material is clean before applying it to the surface of the bounce house. A dirty patch will not adhere properly.
- If you use a special adhesive, let it dry completely before inflating the bounce house again. This will give your repair an extra layer of security.
- If you have any doubts about patching a bounce house, consult an expert or manufacturer for further guidance on how best to proceed. Doing so can help prevent future issues from arising due to improper repair techniques!
With these tips and tricks, you’ll be able to confidently patch your bounce house and ensure that it is safe and secure for all who use it.
6 Things You Should Avoid
- Don’t use duct tape as a patch for the bounce house. While it may seem like an easy fix, this type of material isn’t designed to hold up against the constant wear and tear that a bounce house experiences.
- Don’t attempt to inflate the bounce house until all patches are properly applied and dry. Doing so can cause further damage if your repair job is not secure enough.
- Never make repairs on the exterior of a bounce house without consulting with an expert first. The fabric used on these structures could easily be damaged from improper patching techniques or materials.
- If you notice any signs of puncturing before inflating, do not try to repair the hole yourself. Have a professional assess the damage and repair it correctly.
- Avoid using sharp objects to cut open the bounce house and apply patches. This could cause further damage and compromise the structure’s integrity if not done properly!
- Don’t attempt to repair the bounce house in wet or humid conditions. This can cause patches to become ineffective and not last as long as intended.
By avoiding these common mistakes, you can help ensure that your bounce house is safe for everyone who uses it and that any necessary repairs are done correctly.
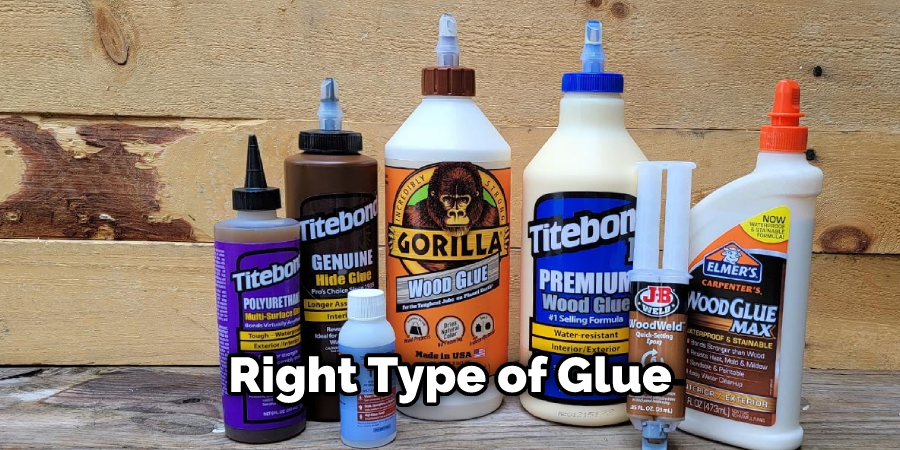
What Glue Do You Use to Patch a Bounce House?
When patching a bounce house, it is important to use the right type of glue for the job. This will ensure that your patches hold up against any wear and tear that may occur from normal use. The most commonly used glues for patching bounce houses are PVC glue and vinyl adhesive. These both provide an extra layer of protection on top of your fabric patches to help keep them secure in place!
Additionally, some people opt for silicone caulk as an extra precaution when patching their units.
No matter what type of glue you choose to use, follow all instructions carefully and give it plenty of time to dry completely before testing or using the bounce house again.
Conclusion
Patching a bounce house is no fun task, but if it needs to be done, you can now rest assured you have the tools and skills to do it. With the right materials and some time, you’ve got the ability to patch up any tears that may come your way. It may seem intimidating initially, but with concerted effort and dedication, patching up a bounce house doesn’t have to be stressful. Plus, you can brag about the accomplishment once you finish!
Just think of how satisfied and proud you’ll be when all of your hard work pays off. Although time-consuming, doing repairs yourself saves money and provides immense satisfaction in accomplishing this self-reliant task.
Hopefully, this guide has been helpful to you in understanding how to patch a bounce house. So long as safety always comes first, take pleasure in fixing your own bounce house!
About
Outdoor Fixes is a distinguished figure in the world of Diy design, with a decade of expertise creating innovative and sustainable Diy solutions.
His professional focus lies in merging traditional craftsmanship with modern manufacturing techniques,
fostering designs that are both practical and environmentally conscious. As the author of diy,
outdoorfixes delves into the art and science of outdoorfixes-making, inspiring artisans and industry professionals alike.
Education RMIT University
(Melbourne, Australia) Associate Degree in Design (Outdoor Fixes) Focus on sustainable design, industry-driven projects,
and practical craftsmanship. Gained hands-on experience with traditional and digital manufacturing tools, such as CAD and CNC software.
Nottingham Trent University
(United Kingdom) Bachelor’s in outdoorfixes.com and Product Design (Honors) Specialized in product design with a focus on blending creativity with production
techniques. Participated in industry projects, working with companies like John Lewis and Vitsoe to gain real-world insights.
Publications and Impact
In diy, Outdoor Fixes his insights on indoor design processes, materials, and strategies for efficient production.
His writing bridges the gap between artisan knowledge and modern industry needs, making it a must-read for both budding designers and seasoned professionals.