Replacing your deck boards is an easy way to keep your deck looking new and inviting. However, removing deck boards can be a daunting task, especially if they’re filled with nails.
The good news is removing deck boards with nails can be done without causing any damage. In this blog post, we’ll take you through the steps on how to remove deck boards with nails without damage.
Can You Remove Deck Boards with Nails Without Damage?
Removing deck boards with nails can be a daunting task, especially when you’re worried about damaging the deck itself. However, with the right tools and techniques, it is possible to remove deck boards with nails without causing any damage.
First, make sure to wear protective gloves and eye gear. Then, use a crowbar or pry bar to slowly and carefully pry up the board from the edges, loosening the nails as you go. Once the board is completely free, use a hammer or pliers to pull out any remaining nails, ensuring to avoid any surrounding boards. With a little patience and careful attention, you can successfully replace or remove deck boards without any major damage.
Why Should You Remove Deck Boards with Nails Without Damage?
When it comes to home improvement, removing old deck boards with nails can seem daunting. However, it’s important to do so without causing damage to the surrounding area or the boards themselves. Not only can damaged boards be unsightly, but they can also pose a safety hazard if left unchecked.
Additionally, leaving nails in place can lead to rust and deterioration over time, making removal even more difficult. By taking the time to remove deck boards with nails without causing unnecessary damage, you’ll not only improve the overall appearance and safety of your outdoor space, but you’ll save yourself time and frustration in the long run.
How to Remove Deck Boards with Nails without Damage – in 7 Easy Steps
Step 1: Start by Surveying the Deck
Before removing any deck boards, take a moment to survey the entire deck. Look for any boards that need to be replaced and determine the best order to remove them. This will help you remove the boards in a systematic way that ensures no damage is done to the deck.
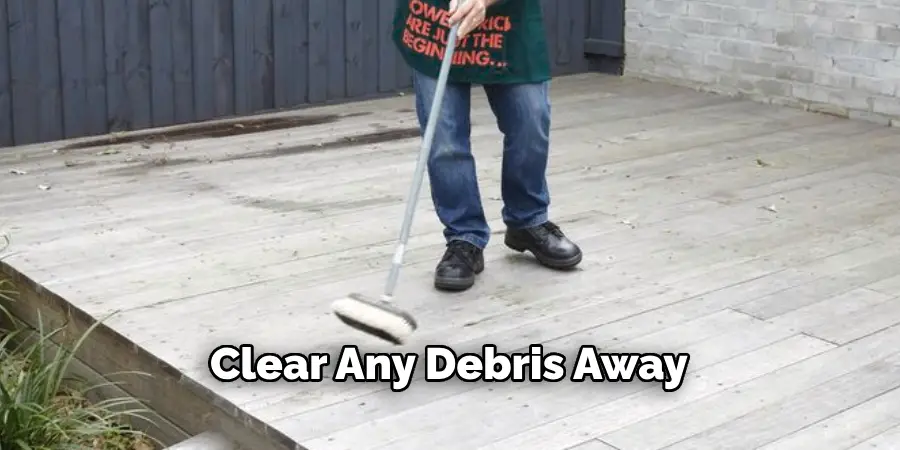
Step 2: Remove Excess Debris
Once you’ve determined the order to remove the deck boards, start clearing the deck of any excess debris. This includes any leaves, branches, or dirt on the deck’s surface that could interfere with the removal of the deck boards. Be sure to clear any debris away from the edges of the deck as well.
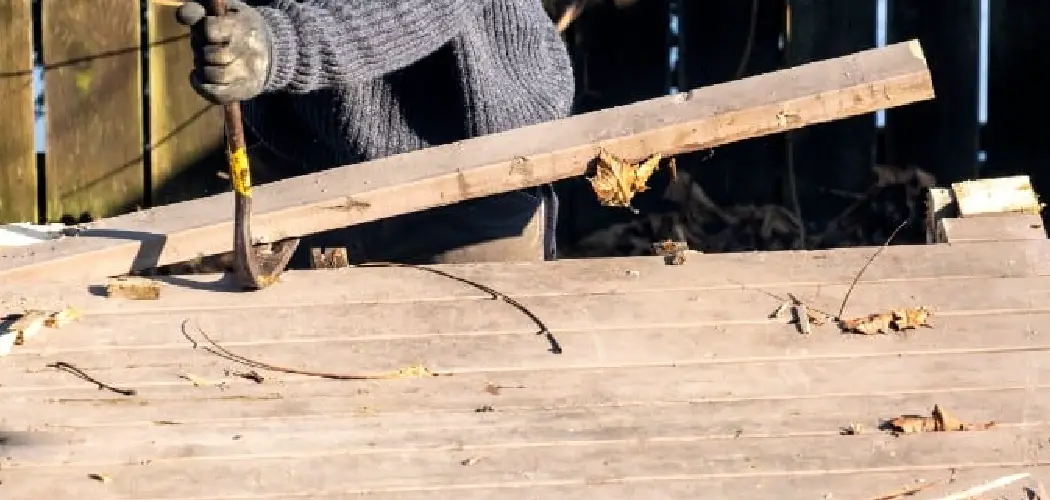
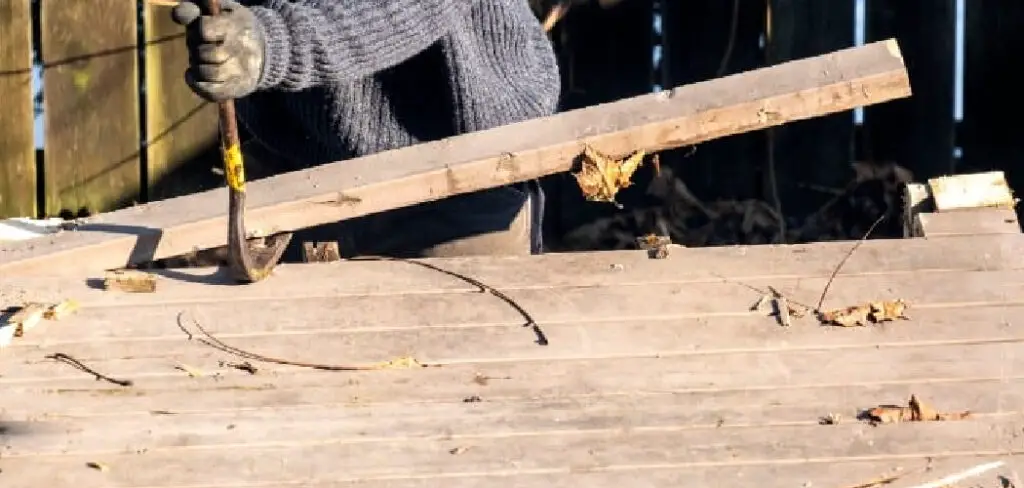
Step 3: Use a Cat’s Paw
To remove the nails, you’ll need a tool called a cat’s paw. This is a small, curved tool that’s ideal for removing nails from wood. Start by inserting the claw of the cat’s paw underneath the head of the nail. Then, gently rock the tool back and forth until the nail comes loose. Repeat this process for each nail in the deck board.
Step 4: Remove the Deck Board
Once all the nails have been removed from the deck board, it’s time to remove the board. Use a pry bar to gently pry the board away from the deck joists. Be careful not to force the board or damage the surrounding deck boards. If the board is still stuck, use a hammer to tap it gently from the other side until it comes loose.
Step 5: Examine the Nails
Once you’ve removed a deck board, take a moment to examine the nails. This will give you an idea of how much force was used to secure them and if any extra steps need to be taken during the removal process. If you notice any damaged or bent nails, use a pair of pliers to remove them before proceeding.
Step 6: Repeat for Each Board
Continue removing deck boards one at a time until all desired boards have been removed. Be sure to clear away any debris that may accumulate during the process, and continue to use the cat’s paw and pry bar to remove the nails without causing damage.
Step 7: Replace or Repair
Once all the deck boards have been removed, you can assess if any repairs or replacements need to be made. If a board is damaged beyond repair, replace it with a new one. If it just needs minor repairs, fix them before reattaching the board to the deck joists.
And remember, always use new nails when reattaching the deck boards to ensure a secure and safe deck.
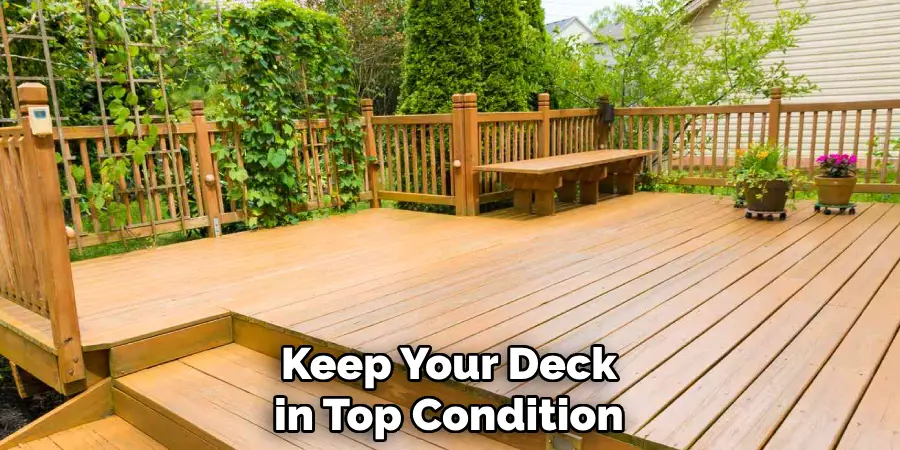
That’s it! You’ve now learned how to remove deck boards with nails without causing any damage. By following these steps and taking your time, you can safely and effectively remove deck boards and keep your deck in top condition.
5 Considerations Things When You Need to Remove Deck Boards with Nails Without Damage
1. Use a Pry Bar
When removing deck boards with nails, one of the most important tools to have is a pry bar. A pry bar is a long metal tool with a sharpened end and can be used to carefully remove nails from wood without damaging the board or the surrounding area. It’s important to use caution when using a pry bar, as it can easily cause damage if not used properly.
2. Wear Protective Gear
It’s also important to wear protective gear when removing deck boards with nails. This includes safety glasses, work gloves, and protective clothing such as long pants and closed-toe shoes. These items will help to protect you from flying debris and splinters that may occur during the removal process.
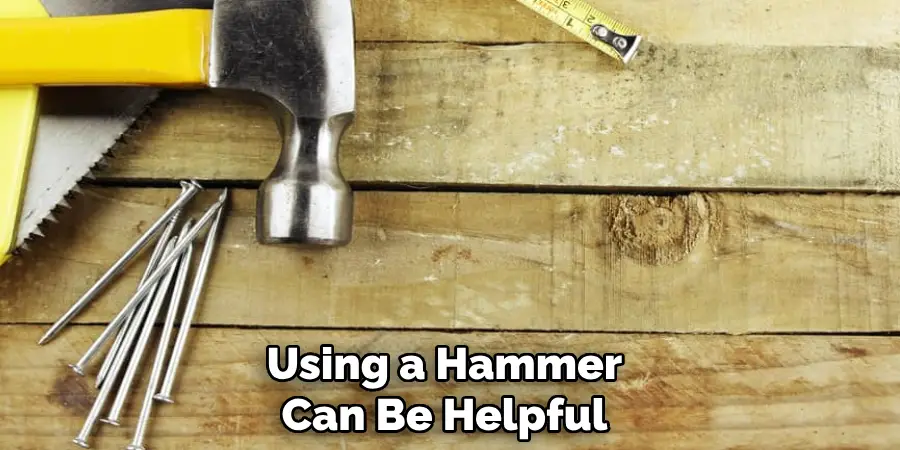
3. Use a Hammer
Using a hammer can be helpful when removing deck boards with nails, as it can help to loosen the nail so that it can be pulled out more easily with the pry bar. When using a hammer, it’s important to use caution so that you don’t cause any damage to the surrounding area or the board itself.
4. Have an Extra Person on Hand
Having an extra person on hand can be helpful when removing deck boards with nails, as they can assist in holding down the board while you are working on it or providing additional support if needed. It’s also helpful for them to have their own pair of work gloves and safety glasses in case they need to help out with any of the removal processes.
5. Dispose of Nails Properly
Once all of the nails have been removed from the deck board, it’s important to dispose of them properly so that they do not cause any harm or injury after they have been removed from your property. The best way to dispose of old nails is by taking them to your local recycling center, where they will be recycled into new materials instead of ending up in landfills or other hazardous areas.
Benefits of Remove Deck Boards with Nails Without Damage
Removing deck boards with nails can be a daunting task, but doing it carefully and correctly can ultimately pay off in the long run. When you remove deck boards with nails without causing damage, you can save time and money on repairs.
Nails left behind can lead to rust and rot, which can compromise the integrity of your deck over time. Additionally, if you plan on reusing the removed boards, you’ll want to preserve them as much as possible to avoid having to replace them altogether. By taking the time to properly remove deck boards with nails, you’re actively prolonging the life and appearance of your deck.
3 Common Mistakes People Make When Trying to Remove Deck Boards with Nails Without Damage
1. Not Using the Right Tools
One of the most common mistakes people make when removing deck boards with nails is not using the right tools. A pry bar is one of the best tools for removing nails from deck boards without damaging them.
It is important to use a pry bar with a wide enough head to fit between the board and the nail but not so wide that it will damage the board. Additionally, it is important to use a hammer or mallet to gently tap the pry bar into place before applying pressure.
2. Not Pre-Drilling Holes
Another mistake people often make when removing deck boards with nails is not pre-drilling holes in the boards first. Pre-drilling holes in the boards can help reduce the force needed to pull out the nails, which can minimize damage to both the board and the nail head. It is important to ensure that any holes drilled are slightly larger than the diameter of the nail being removed.
3. Applying Too Much Pressure
Finally, another mistake people often make when trying to remove deck boards with nails is applying too much pressure when pulling out the nails. This can cause unnecessary damage to both the board and nail head, making it difficult or impossible for either piece to be reused in future projects. When pulling out a nail, it is important to apply steady pressure until it comes loose rather than yanking on it with excessive force.

Conclusion
Removing deck boards with nails can seem daunting, but it’s a simple process if you follow the right steps. By surveying the deck beforehand and taking time, you can easily remove deck boards without any damage. With these tips, you can replace your deck boards and keep your deck looking its best for years to come. Thanks for reading our post about how to remove deck boards with nails without damage.
About
Outdoor Fixes is a distinguished figure in the world of Diy design, with a decade of expertise creating innovative and sustainable Diy solutions.
His professional focus lies in merging traditional craftsmanship with modern manufacturing techniques,
fostering designs that are both practical and environmentally conscious. As the author of diy,
outdoorfixes delves into the art and science of outdoorfixes-making, inspiring artisans and industry professionals alike.
Education RMIT University
(Melbourne, Australia) Associate Degree in Design (Outdoor Fixes) Focus on sustainable design, industry-driven projects,
and practical craftsmanship. Gained hands-on experience with traditional and digital manufacturing tools, such as CAD and CNC software.
Nottingham Trent University
(United Kingdom) Bachelor’s in outdoorfixes.com and Product Design (Honors) Specialized in product design with a focus on blending creativity with production
techniques. Participated in industry projects, working with companies like John Lewis and Vitsoe to gain real-world insights.
Publications and Impact
In diy, Outdoor Fixes his insights on indoor design processes, materials, and strategies for efficient production.
His writing bridges the gap between artisan knowledge and modern industry needs, making it a must-read for both budding designers and seasoned professionals.