Are you tired of trying to remove old, rusty fence staples that have been left behind from a previous fence installation?

Removing fence staples might seem straightforward at first glance, but it requires a careful approach to avoid damage to the fence or injury. These staples are designed to securely hold fence wires in place, often enduring the elements for years, which can cause them to become rusted or deeply embedded in the fence posts.
Whether you’re undertaking a fencing repair, replacing sections of a fence, or completely removing an old fence, knowing the right techniques and tools for removing fence staples is essential.
This guide will provide you with step-by-step instructions on how to remove fence staples, ensuring your fencing project proceeds smoothly and your fence remains intact and unharmed in the process.
What are the Benefits of Removing Fence Staples?
Before jumping into the removal process, it’s essential to understand why you should take the time and effort to remove fence staples properly. Here are some of the key benefits:
- Protect Your Fence: Leaving old, rusted staples in place can weaken the structural integrity of your fence over time. This can lead to sagging or even collapse in severe cases.
- Improve Safety: Sharp, protruding staples can pose a danger to both humans and animals. Removing them will eliminate this risk and make your fence safer for everyone.
- Easier Future Maintenance: If you plan on replacing or repairing sections of your fence in the future, removing old staples now will make the process much easier. It will also prevent potential damage to new fence materials caused by leftover staples.
- Keep Your Property Looking Neat: Removing old staples can improve the overall appearance of your fence and property. It’s a small but essential step in maintaining curb appeal.
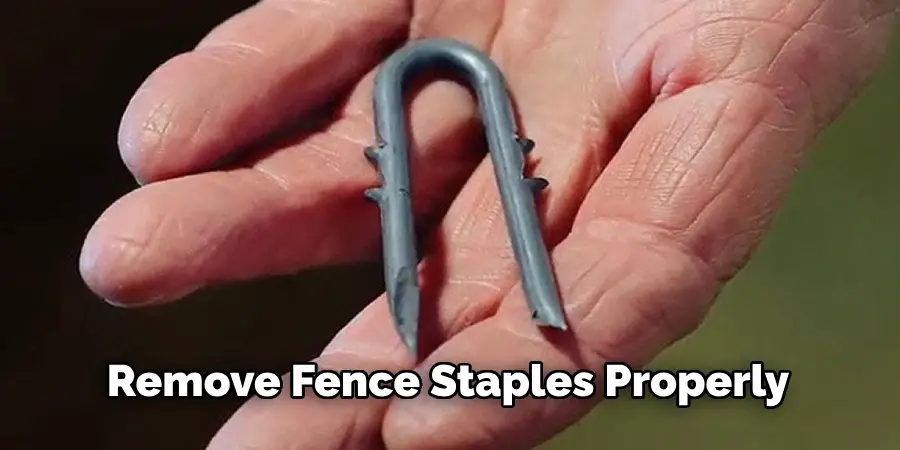
These are just a few reasons why it’s worth taking the time to remove fence staples properly. Now, let’s examine the steps you need to follow.
What Will You Need?
Before getting started, gather the following tools and materials:
- Pliers: Pliers are a versatile tool that can be used for many tasks, including removing fence staples. Choose a pair with a comfortable grip and sharp jaws.
- Hammer: A hammer is useful for tapping out stubborn staples or flattening any sharp edges left behind after removal.
- Screwdriver or Pry Bar: Sometimes, staples can be deeply embedded in the fence posts, making them difficult to remove with just pliers. A screwdriver or pry bar can help loosen these stubborn staples.
- Protective Gear: When removing fence staples, it’s essential to prioritize safety. Wear work gloves and safety glasses to protect your hands and eyes from sharp edges or flying debris.
- Bucket or Container: As you remove staples, it’s essential to collect them in a bucket or container to avoid creating a mess and prevent any potential injuries from stepping on stray staples later.
Once you have all the necessary tools and materials, it’s time to begin the removal process.
10 Easy Steps on How to Remove Fence Staples
Step 1. Inspect the Fence Staple:
Start by closely examining the fence staples you need to remove. Check their condition, how deeply they’re embedded into the wood, and whether there’s any visible rust or corrosion.
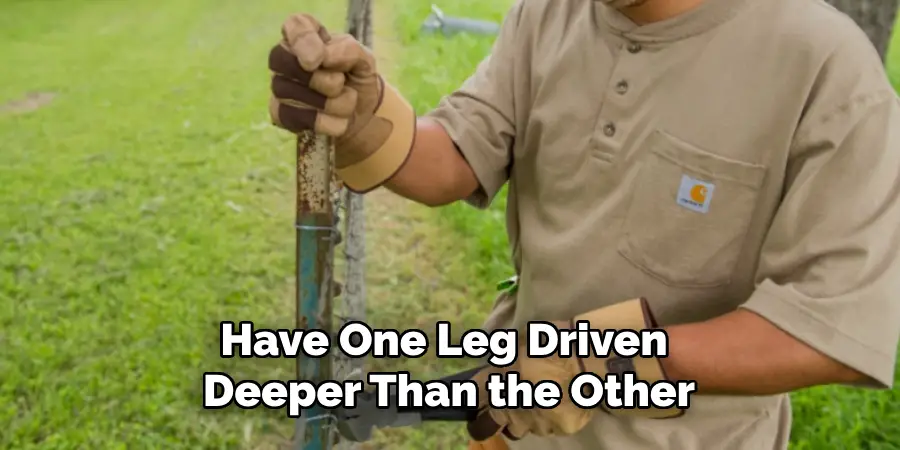
This inspection will help you determine the best approach for removal, as some staples might come out easily with pliers, while others may require more effort or additional tools. Pay special attention to staples that are bent or have one leg driven deeper than the other, as these will need a slightly different technique to remove them effectively and safely.
Step 2. Prepare the Area:
Before attempting to remove any staples, ensure the surrounding area is clear and you have stable footing. This is particularly important if you’re working with a fence that’s close to delicate plants, landscaping, or hard surfaces where tools could cause damage if dropped.
If necessary, lay down a drop cloth or similar protective material to protect the ground and any nearby objects. This step not only ensures the safety of your surroundings but also makes the clean-up process easier once you’ve removed the staples.
Step 3. Use Pliers for Initial Removal:
With your area prepared and your protective gear on, start the staple removal process using your pliers. Grip the visible part of the staple firmly with the pliers. If the staple doesn’t budge with a simple pull, try wiggling it gently back and forth to loosen it from the wood.
This motion can help break any rust or corrosion that’s binding the staple to the fence post. A steady, controlled pull should suffice to extract staples that are not too deeply embedded. However, avoid using excessive force to prevent breaking the staple or causing damage to the fence post. If the staple is particularly stubborn, proceed to the next step for an alternative approach.
Step 4. Leverage with a Screwdriver or Pry Bar:
If pliers alone aren’t doing the trick, it’s time to use a screwdriver or pry bar for additional leverage. Position the screwdriver’s flat end or the pry bar’s curved end under the staple. You can tap gently on the tool with a hammer to wedge it further underneath the staple for better leverage. Once it’s in place, use a slow, steady motion to pry the staple up.
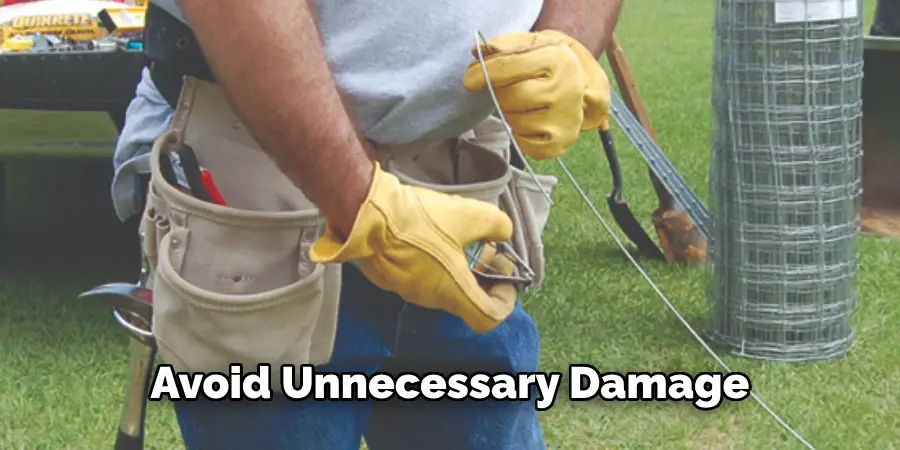
This method is particularly effective for staples that are deeply embedded or rusted into the wood. Be cautious to apply force evenly and slowly to reduce the risk of snapping the staple or damaging the fence. If the staple still resists, you may alternate between using the pliers and the screwdriver or pry bar, gradually loosening it until it can be fully removed. Remember, patience and gentle persistence are key in this step to avoid unnecessary damage.
Step 5. Flatten Sharp Ends:
After successfully removing the staple, examine the area where it was affixed. There may be sharp ends or splinters left behind in the wood. Using your hammer, gently tap down any protruding sharp ends to avoid future injuries or damage to the fence.
If there are larger splinters or damaged wood, a wood filler can be applied and sanded down once dry, although this step may not be necessary for every staple removal. This ensures that your fence remains safe to touch and maintains its structural integrity. Remember, taking the time to properly finish each removal spot keeps your fence looking neat and prolongs its lifespan.
Step 6. Collect and Dispose of Staples:
Once a staple is removed, immediately place it in your bucket or container. Keeping removed staples organized minimizes the risk of injury from sharp objects and helps keep your workspace clean. After all the staples have been extracted, dispose of them properly.
Depending on the condition and materials of the staples, they may be recycled or thrown away. It’s essential to handle this step with care to avoid any accidents. Proper disposal also ensures that your work area is safe for pets or children who might later play near the fence.
Step 7. Inspect and Repair the Fence Post:
After all the staples have been removed, take a moment to closely inspect the fence post and the surrounding area for any damage that may have occurred during the removal process. Look for cracks, splits, or areas where the wood has been weakened.
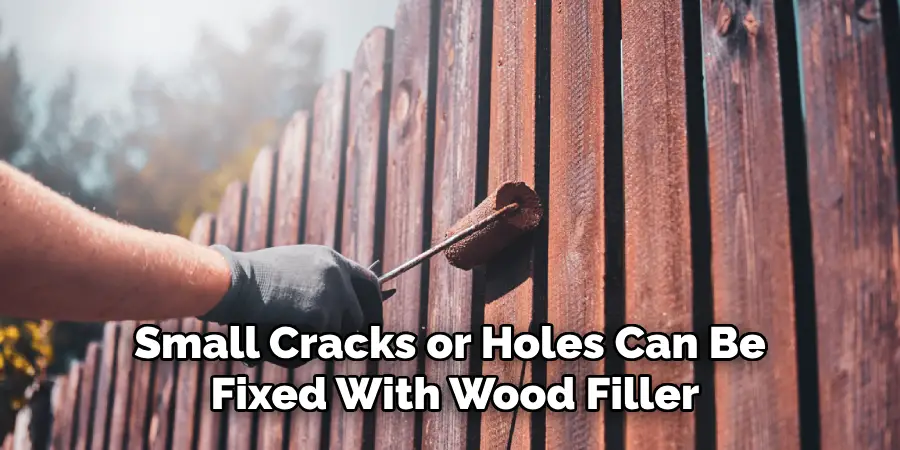
If you find any damage, evaluate the extent and decide whether it can be repaired or if the section of the fence needs to be replaced. Minor damages like small cracks or holes can be fixed with wood filler. After applying the filler, allow it to dry completely before sanding it down to a smooth finish.
Step 8. Repaint or Restain the Fence:
After repairs are made and the fence is in good condition, consider repainting or restaining it to further protect the wood and enhance its appearance. Choose a paint or stain that matches the existing color, or take this opportunity to give your fence a new look with a different shade. Before applying the new coat, ensure the wood is clean, dry, and debris-free.
A new layer of paint or stain not only revitalizes the look of your fence but also adds an extra layer of protection against the elements, preventing weather damage and prolonging the life of the wood. Apply the paint or stain with a brush or sprayer, following the manufacturer’s instructions for the best results, and allow it to dry completely before proceeding to the next step.
Step 9. Conduct Final Inspection and Maintenance Check:
With the paint or stain fully dried, conduct a final inspection of the fence to ensure that all repairs have been properly completed and that the fence is in optimal condition. Check for any missed staples, exposed sharp edges, or areas requiring additional sanding or filling.
Additionally, assess the stability of the fence posts and the condition of the connecting materials, such as nails or screws, adjusting or replacing them as necessary. This step not only ensures the safety and longevity of your fence but also maintains its aesthetic appeal.
Step 10. Routine Maintenance and Upkeep:
Establish a routine maintenance schedule to ensure your fence’s longevity and durability. Regular checks for any new damage, such as cracks, warping, or pests, will help address problems before they escalate. Cleaning your fence annually with a mild detergent and water can prevent the build-up of dirt and grime, and inspecting for signs of mold or mildew is crucial, especially in humid climates.
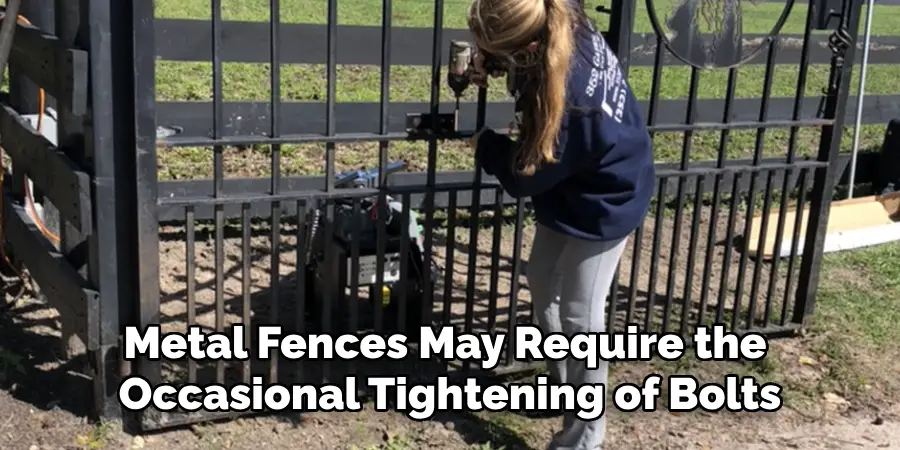
For wood fences, reapplying a sealant or protective finish every two to three years can significantly extend the life of the wood. Metal fences may require the occasional tightening of bolts and nuts or the application of rust-preventive solutions.
By dedicating time to these maintenance tasks, you can enhance the aesthetic appeal of your fence and ensure it continues to function effectively for years to come.
5 Additional Tips and Tricks:
- Lubricate Before Removal: Applying a penetrating oil to the staples before removing them can significantly ease the process. Allowing the oil to soak in for a few hours or even overnight will help loosen the rust and reduce the staples’ grip on the wood.
- Leverage Heat: If you find the staples are stubbornly resistant, using a heat gun to apply moderate heat for a few minutes can expand the metal slightly, making it easier to pull out. However, exercise caution to avoid burning the wood or yourself.
- Multiple Tool Approach: Sometimes one tool isn’t enough. Use pliers to grip the staple firmly, using a flat-head screwdriver or a small pry bar to gently lever the staple out. This dual-action method can provide the additional leverage needed to remove stubborn staples.
- Tap Technique: For partially lifted staples but difficult to grab, use a small hammer to gently tap the exposed parts of the staple. This can either fully drive the staple out or extend it enough to be gripped with pliers.
- Patience and Persistence: Removing fence staples can be tedious, and rushing through them may cause damage to the wood or result in personal injury. Take your time, approach each staple methodically, and switch strategies if one method isn’t working. Patience and persistence are key to avoiding frustration and achieving a clean removal.
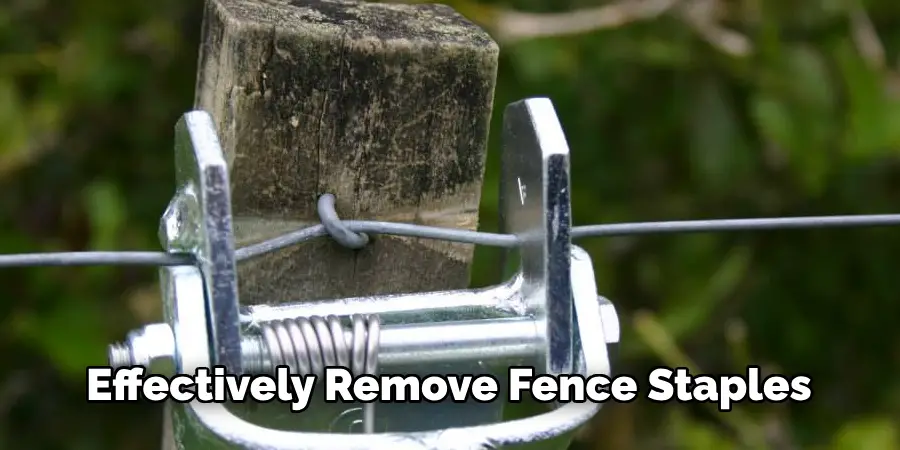
With these additional tips and tricks, you should now better understand how to safely and effectively remove fence staples.
5 Things You Should Avoid
- Avoid Using Excessive Force: Leveraging too much force when trying to remove a staple can not only damage the wood but also cause the staple to break, leaving parts embedded that are much harder to remove.
- Don’t Neglect Safety Gear: Always wear protective gloves and eyewear. Removing staples can lead to sharp edges, causing cuts or staples flying off unexpectedly and causing eye injury.
- Refrain From Using Improper Tools: Employing tools not designed for the job, such as a knife instead of a screwdriver or pliers, can damage the tool’s surface and pose a safety risk to yourself.
- Avoid Working on Unstable Surfaces: Ensure the fence or staple removal area is stable. Working on an unstable ground or surface increases the risk of injury from slips or falls.
- Do Not Rush the Process: Struggling through staple removal can result in accidents or overlooked staples. Take the necessary time to carefully assess and remove each staple properly to ensure a thorough and safe job.
Avoiding these mistakes can ensure a smoother and safer removal process.
What are the Causes of Damaged Fences?
Fences can become damaged for various reasons, from natural wear and tear to harsh weather conditions. Some common causes of damage include:
- Exposure to sun, wind, or rain
- Rotting wood due to moisture or insects
- Improper installation or use of low-quality materials
- Accidents, such as vehicles crashing into the fence
- Lack of proper maintenance and upkeep

Addressing these causes can prevent or minimize damage to your fence. Regular inspections and timely repairs can also help maintain its overall integrity.
How Do You Remove Fence Spikes?
Fence spikes, or fence caps or finials, are decorative elements placed on top of fence posts to give them a finished look. These can be easily removed by prying them off with a flat-head screwdriver or pliers. If the spikes are secured with screws, a screwdriver can be used to remove them before taking off the spike.
It is important to exercise caution when removing fence spikes, as they may be sharp or have jagged edges. Wearing protective gloves is recommended to avoid injury. Overall, removing fence spikes is a simple task that can be completed with basic tools and little effort.
What Can You Do With Old Fence Staples?
After successfully removing old fence staples, you may wonder what to do with them. Here are a few ideas:
- Recycle Them: Most metal staples can be recycled at your local recycling center.
- Use as Garden Markers: Clean the staples thoroughly and use them to label plants or herbs in your garden.
- Create Art: Get creative and use the staples to create unique art pieces or sculptures.
- Repurpose as Hooks: With a little bending and shaping, old fence staples can be transformed into functional hooks for hanging tools or decorations.
- Donate: If you have no need for old fence staples, consider donating them to someone who may find a use for them in their projects. There are endless possibilities for repurposing old fence staples, so don’t be quick to toss them away. Get creative and give them a new life!
Taking care of your fence and properly removing any old or damaged components can help prolong its lifespan and keep it looking great. With the right tools and techniques, tackling staple removal can be a simple and satisfying task.
Conclusion
In conclusion, how to remove fence staples requires attention to detail, proper tools, and a patient approach to avoid damage to both the operator and the fence.
By following the highlighted techniques—such as softening the staples with penetrating oil, applying heat, employing multiple tools for leverage, utilizing the tapping technique, and maintaining patience and persistence—homeowners and professionals alike can efficiently tackle this task. Equally important is understanding what to avoid, including the use of excessive force, neglecting safety gear, employing improper tools, working on unstable surfaces, and rushing the process.
Additionally, by acknowledging the broader context—such as recognizing the causes of fence damage and knowing how to deal with fence spikes and what to do with old staples—individuals can ensure the successful removal of staples and contribute to the longevity and maintenance of their fences.
Ultimately, with the right preparation and respect for the process, removing fence staples can be a straightforward, safe, and effective task, empowering individuals to restore or repair their fences effectively.
About
Outdoor Fixes is a distinguished figure in the world of Diy design, with a decade of expertise creating innovative and sustainable Diy solutions.
His professional focus lies in merging traditional craftsmanship with modern manufacturing techniques,
fostering designs that are both practical and environmentally conscious. As the author of diy,
outdoorfixes delves into the art and science of outdoorfixes-making, inspiring artisans and industry professionals alike.
Education RMIT University
(Melbourne, Australia) Associate Degree in Design (Outdoor Fixes) Focus on sustainable design, industry-driven projects,
and practical craftsmanship. Gained hands-on experience with traditional and digital manufacturing tools, such as CAD and CNC software.
Nottingham Trent University
(United Kingdom) Bachelor’s in outdoorfixes.com and Product Design (Honors) Specialized in product design with a focus on blending creativity with production
techniques. Participated in industry projects, working with companies like John Lewis and Vitsoe to gain real-world insights.
Publications and Impact
In diy, Outdoor Fixes his insights on indoor design processes, materials, and strategies for efficient production.
His writing bridges the gap between artisan knowledge and modern industry needs, making it a must-read for both budding designers and seasoned professionals.