
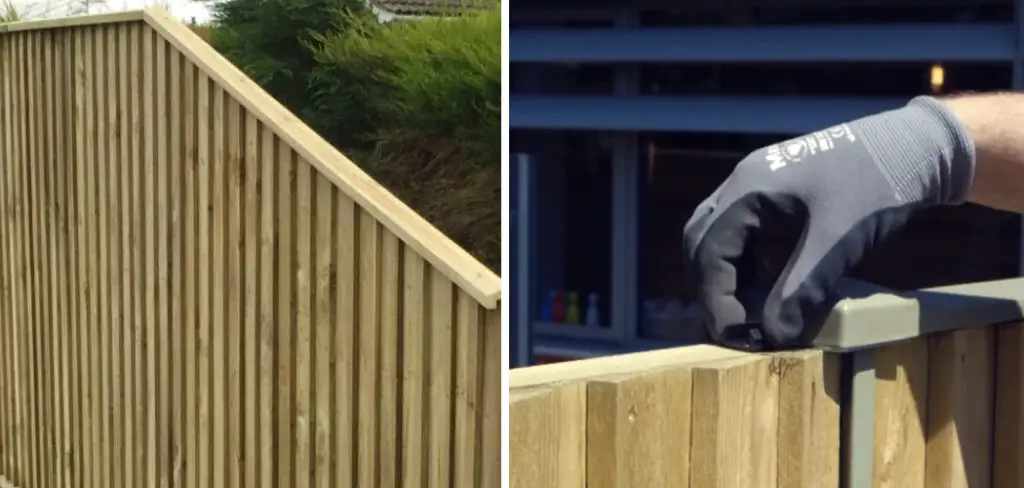
A fence adds value to your property, enhances privacy, and offers security. But to make it look more appealing and aesthetically pleasing, you might want to consider adding fence capping. Fence capping gives the fence a polished and finished look, and it also seals the top of the fence to keep out water, insects, and other debris. In this blog post, we’ll guide you on how to attach fence capping to your fence with the right tools and materials.
Can You Attach Fence Capping
Are you tired of a plain and uninviting fence? Fence capping may be the perfect solution for you! With fence capping, you can add a touch of style and sophistication to your fence while also providing additional protection from the elements. But can you attach fence capping yourself? The answer is yes! With the right tools and a bit of patience, you can easily attach fence capping on your own.
Not only will this give your fence a fresh look, but it will also give you a sense of pride knowing you’ve accomplished this DIY task. So, don’t wait any longer; start transforming your fence with some easy-to-install fence capping today!
Why Should You Attach Fence Capping
Fence capping may seem like an optional addition to your fencing, but it’s actually a practical and necessary investment for the longevity of your fence. It provides an aesthetic finishing touch to the top of your fence and protects it from weather damage, rotting, and other wear and tear. Fence capping acts as a barrier against water penetration, preventing moisture from seeping into the fence panels.
This, in turn, helps to reduce the risk of mold and rot, which can weaken the fence and eventually lead to its collapse. By attaching fence capping, you can ensure that your fence remains strong, looks great, and provides maximum protection for many years to come.
How to Attach Fence Capping – A Step-by-Step Guide
Step 1: Choose the Right Capping Material
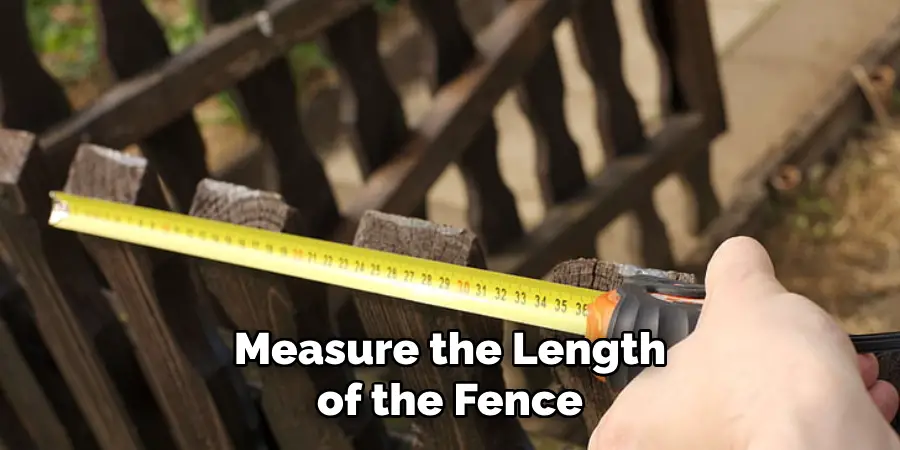
The first step in attaching fence capping is selecting the right capping material. Common fence capping materials include timber, metal, plastic, and stone. The choice of material depends on your fence type, personal preference, and budget. Once you have selected the capping material, you’ll need to measure the length of the fence and buy enough capping to cover the entire length.
Step 2: Prepare the Fence
Before installing the capping, you need to prepare the fence. This involves removing any debris or dirt from the top of the fence. If any nails are sticking out or broken edges, these should be fixed before you install the fence capping. Also, make sure the top of the fence is straight and level.
Step 3: Install the Capping
Once everything is set, it’s time to install the capping. Start by placing the first piece of capping on the fence’s edge and positioning it carefully to cover the entire edge of the fence. Use a nail gun or screws to attach the capping to the fence. Ensure that the capping is level and parallel to the fence. Repeat this process along the entire length of the fence, ensuring that each piece of capping is secured with nails or screws.
Step 4: Seal the Capping
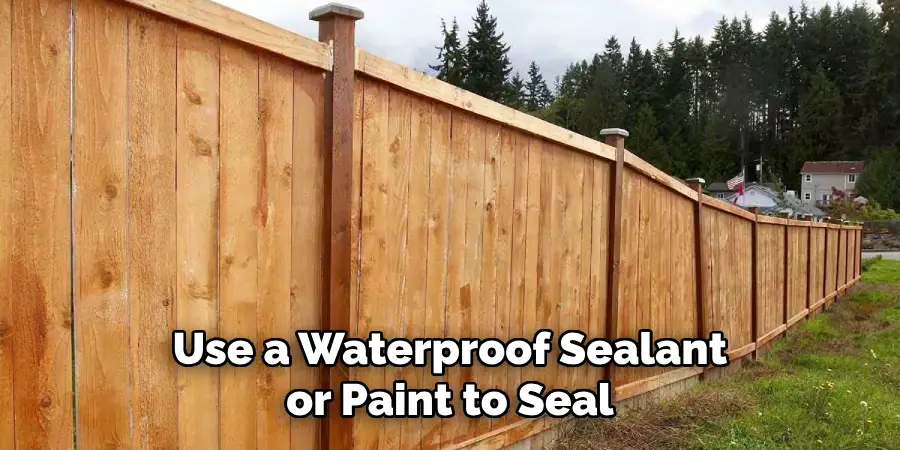
After attaching the capping to the fence, it’s important to seal it to protect it from moisture, insects, and other elements. You can use a waterproof sealant or paint to seal the capping. Apply the sealant according to the manufacturer’s instructions, and allow it to dry completely before exposing the fence to the elements. This step will help prolong the lifespan of your fence capping.
Step 5: Add Decorative Touches
If you want to add some decorative touches to your fence capping, this is the time to do it. You can paint the capping a different color to match your overall fence design or add some intricate designs using stencils. Get creative and make your fence truly unique.
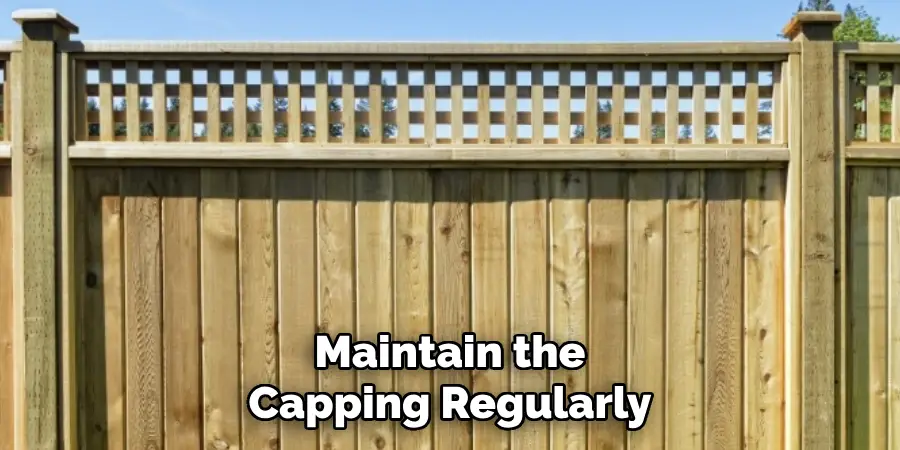
Step 6: Regular Maintenance
Proper maintenance is essential to ensure that your fence capping stays in good condition. Inspect the capping regularly for any damage or signs of wear and tear. Make any necessary repairs, such as replacing broken pieces or resealing any areas where the sealant has worn off.
Step 7: Consider Professional Installation
If you are not confident in your DIY skills, or if you have a large fence to cap, it may be best to hire a professional for installation. They will have the necessary tools and expertise to ensure that your fence capping is installed correctly and will last for years to come.
Now that you know how to attach fence capping, go ahead and give your fence a polished and finished look. Remember to choose the right materials, prepare the fence properly, and seal and maintain the capping regularly for a beautiful and durable result. Regular maintenance is key to preserving the capping’s appearance and functionality. Consider adding decorative touches to make your fence stand out even more.
And if you’re unsure about installing the capping yourself, don’t hesitate to hire a professional. With these steps, your fence will not only look great but also withstand the test of time. So get started and give your fence the perfect finishing touch with capping today!
5 Benefits of Attach Fence Capping
1. Improved Aesthetic Appeal
Attach fence capping can provide an improved aesthetic appeal to any fence. Fence capping adds a decorative touch and can be used to create a unique look for any fence. The addition of fence capping can also help to create a more attractive and inviting outdoor space, making it an ideal choice for both residential and commercial properties.
2. Increased Durability
Fence capping can also increase the durability of any fence. The addition of capping helps to protect the edges of the fence from moisture, wind, and other elements that can cause damage over time. This added protection helps to extend the fence’s life and ensure that it remains in good condition for many years to come.
3. Easier Maintenance
Fence capping also makes it easier to maintain your fence over time. With capped fences, dirt and debris are less likely to accumulate along the edges of the panels, which makes it easier to clean and maintain your fence in between regular servicing intervals. Additionally, capped fences are less susceptible to damage caused by insects or animals, so they require less maintenance overall than uncapped fences.
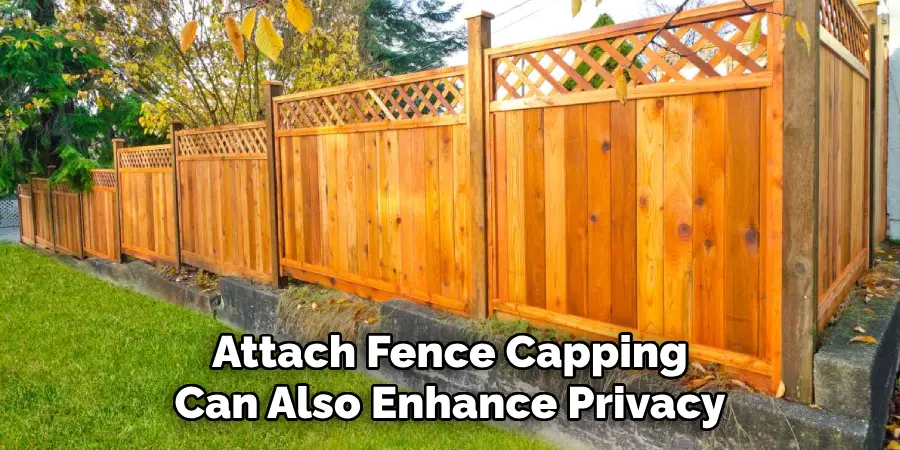
4. Enhanced Privacy
Attach fence capping can also enhance privacy on your property by preventing people from peeking through gaps in between slats or panels on your fence. Additionally, attaching caps with spikes or other features can help deter would-be intruders from climbing over your fence, providing an extra layer of security for your home or business premises.
5. Added Value
Finally, adding attached fence capping can add value to any property by increasing its curb appeal and overall aesthetic appeal. This added value could be beneficial if you ever decide to sell your property, as potential buyers may be drawn towards properties with attractive fencing solutions such as attached fence capping installed on them. So not only does attaching fence capping add practical benefits, but it can also be a smart investment for your property as well.
So now you know the top 5 benefits of attach fence capping. Whether you want to improve the look of your fence or increase its durability and functionality, fence capping is an excellent solution for any type of fence. Just make sure to choose the right materials, prepare the fence properly, and properly maintain your capping for long-lasting results.
Some Common Mistakes People Make When Trying to Attach Fence Capping
Putting up a fence is a great way to add privacy and security to any outdoor space, but it takes some work to make sure it looks its best. One important aspect of fencing is capping, which involves placing a cap or trim along the top of the fence to finish off the look and provide extra protection. Unfortunately, many people make some common mistakes when trying to attach fence capping.
For example, they may not properly measure or cut the pieces, leading to uneven or ill-fitting results. Another mistake is not using the right materials or tools for the job, which can lead to damage or instability. By being aware of these common pitfalls and taking the time to plan ahead, anyone can successfully add fence capping to their fencing project.
Conclusion
Attaching fence capping is an easy DIY process that enhances the look of your fence and protects it from damage. By following the above steps, you can attach fence capping to your fence in no time. Remember to choose the right material, prepare the fence, install the capping, seal it, and maintain it regularly. With proper care, your fence capping will last for years, adding value and beauty to your property. Thanks for reading our post about how to attach fence capping.
About
Outdoor Fixes is a distinguished figure in the world of Diy design, with a decade of expertise creating innovative and sustainable Diy solutions.
His professional focus lies in merging traditional craftsmanship with modern manufacturing techniques,
fostering designs that are both practical and environmentally conscious. As the author of diy,
outdoorfixes delves into the art and science of outdoorfixes-making, inspiring artisans and industry professionals alike.
Education RMIT University
(Melbourne, Australia) Associate Degree in Design (Outdoor Fixes) Focus on sustainable design, industry-driven projects,
and practical craftsmanship. Gained hands-on experience with traditional and digital manufacturing tools, such as CAD and CNC software.
Nottingham Trent University
(United Kingdom) Bachelor’s in outdoorfixes.com and Product Design (Honors) Specialized in product design with a focus on blending creativity with production
techniques. Participated in industry projects, working with companies like John Lewis and Vitsoe to gain real-world insights.
Publications and Impact
In diy, Outdoor Fixes his insights on indoor design processes, materials, and strategies for efficient production.
His writing bridges the gap between artisan knowledge and modern industry needs, making it a must-read for both budding designers and seasoned professionals.