
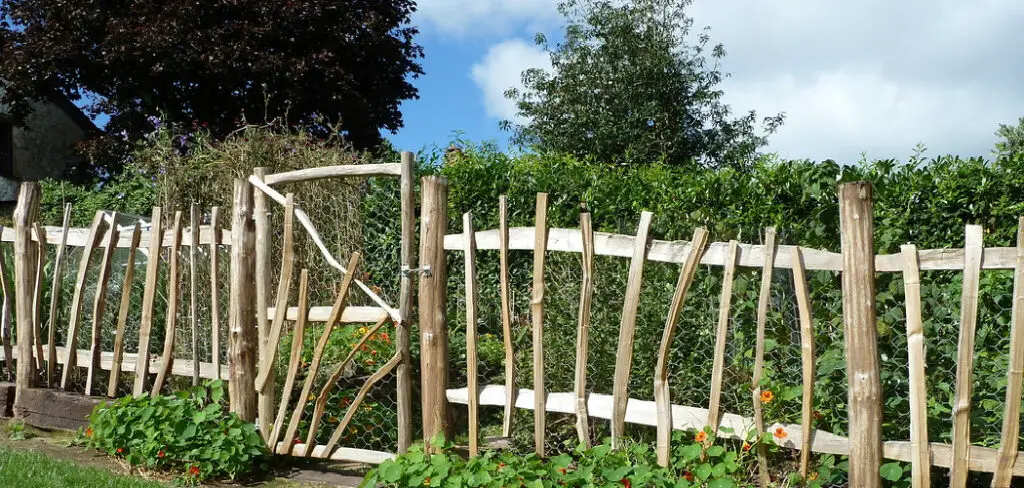
Are you considering building a round post and rail fence around your property? This is an effective way to protect your space while adding a classic, rustic feel. Whether you’re looking to contain animals or just add a touch of charm to your home, this type of fencing can be done quickly and economically and will last for years to come. Read on for our guide on how to build a round post and rail fence!
Needed Materials
Given below is a list of materials you will need in order to build your round post and rail fence:
- Round Posts (6 Inches to 8 Feet Long)
- Round Rails
- Post Hole Digger or Auger
- Concrete Mix
- Water
- Fence Staples or Nails
- Level
- Tape Measure
- Saw (if cutting rails)
11 Step-by-step Guidelines on How to Build a Round Post and Rail Fence
Step 1: Planning and Preparation
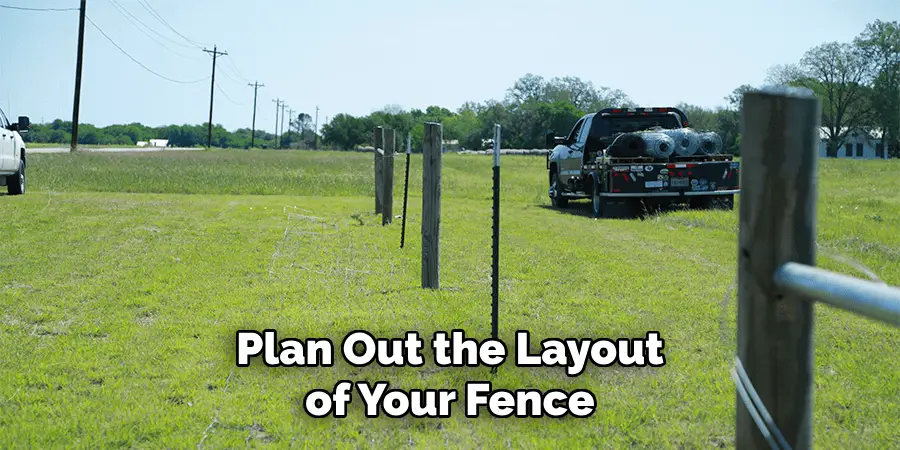
Before you start building your round post and rail fence, it is essential to plan out the layout of your fence. Decide on its location, length, height, and the number of rails you will use. Make sure to mark out the locations where you want to place your posts as well. It’s also a good idea to check with your local authorities about any zoning laws or permits you may need. But don’t worry, this type of fence typically does not require any special permits.
Step 2: Preparing the Ground
Once you have planned out your fence, it’s time to prepare the ground. Remove any debris or obstacles that may be in the way and use a rake to level the area where your fence will stand. This is important for ensuring that your posts will be stable and your fence will have a straight appearance. You can also use a string or chalk line to mark out the fence’s perimeter for added accuracy. It’s also a good idea to create a small trench around the perimeter of your fence, which will help with drainage.
Step 3: Digging Holes for Posts
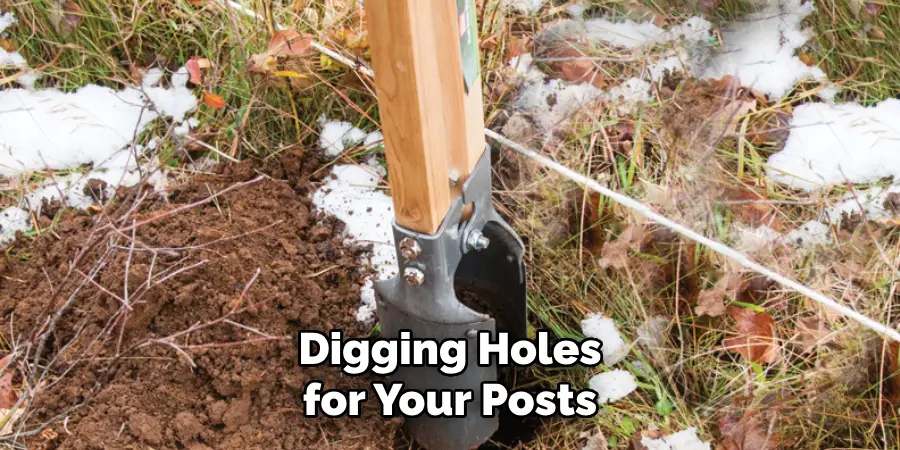
Using your post-hole digger or auger, start digging holes for your posts. The depth and distance between each hole will depend on how tall and long you want your fence to be, as well as the spacing between your posts. As a general rule, for a 3-rail fence, your holes should be at least 2 feet deep and 8 feet apart. Be sure to check the depth of each hole with a tape measure and use a level to ensure they are straight.
Step 4: Mixing Concrete
For added stability, you will need to secure your posts in concrete. Follow the instructions on your concrete mix to create a proper mixture and add it to each hole. Make sure to leave a few inches of room at the top for water. But before you pour water over the mix, place your post in the hole and use a level to make sure it’s straight. Once everything is aligned, add water over the concrete mix and let it set for at least 24 hours.
Step 5: Cutting Rails (if necessary)
If your rails are longer than needed, you can use a saw to cut them down to the appropriate size. You can also purchase pre-cut rails if you prefer. It’s always a good idea to measure each rail before cutting to ensure they are all the same length. You can also make angled cuts at the end of each rail to achieve a more finished look. This is optional but can add a touch of style to your fence. It’s also recommended to use treated wood for your rails, as it will be more resistant to rot and insects.
Step 6: Attaching Rails
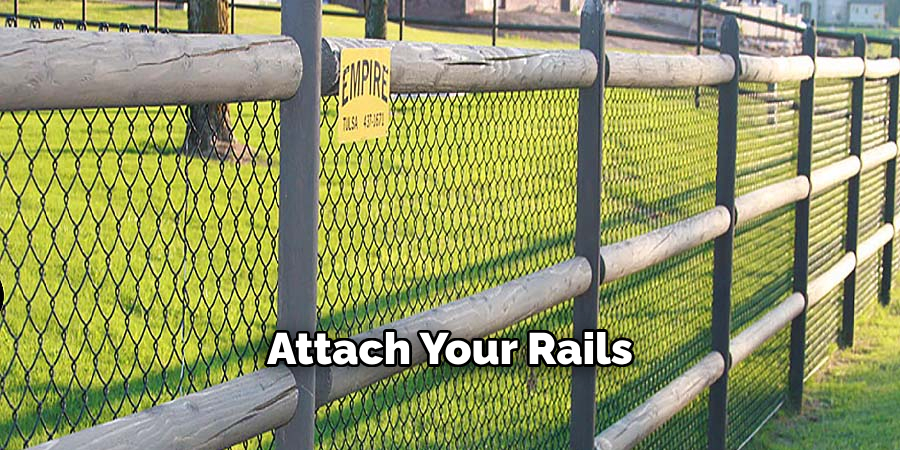
Once your posts are set and the concrete has dried, it’s time to attach your rails. First, lay out your bottom rail along the length of your fence. Use a level to ensure that it is straight, then attach it to your posts using fence staples or nails. Make sure to leave a bit of room between the bottom rail and the ground for proper drainage. Next, attach your middle and top rails in the same manner. Otherwise, the process will be identical to attaching the bottom rail.
Step 7: Creating a Gate (if desired)
If you plan on including a gate in your round post and rail fence, now is the time to build it. You can use extra posts or rails for this purpose and attach them together using hinges. Be sure to leave enough room for the gate to open and close freely. You can also use a latch to keep the gate securely closed. You can also purchase pre-made gates if you prefer.
Step 8: Finishing Touches
Once your fence is built, take a step back and inspect it for any gaps or unevenness. You can use additional rails or staples to fix any imperfections. It’s also a good idea to paint or stain your fence for added protection against the elements. You can match the color to your home or choose a natural wood stain for a more rustic look.
Step 9: Maintenance
To ensure that your round post and rail fence lasts for years to come, it’s essential to perform regular maintenance. This can include removing debris or overgrown plants from around the fence, checking for any loose posts or rails, and repainting or restaining as needed. By keeping up with maintenance, you can prolong the lifespan of your fence and maintain its aesthetic appeal.
Step 10: Alternative Design Options
While a traditional round post and rail fence is made with round posts and rails, there are also alternative design options available. These include using square or rectangular posts and rails, which may give a more modern look to your fence. You can also add decorative elements to your posts and rails, such as carved or turned details.
Step 11: Enjoy Your New Fence
Congratulations! You have successfully built your round post and rail fence. Not only will it add a touch of charm to your property, but it will also provide practical benefits such as defining boundaries, keeping pets contained, and adding privacy. Now it’s time to sit back, relax, and enjoy your new fence. This is just one method of building a round post and rail fence; there are many variations and techniques that can be used. With some creativity, you can customize your fence to fit your property and personal style. Remember to always prioritize safety and proper planning when undertaking any DIY project.
Following these steps on how to build a round post and rail fence and taking proper care of your fence will ensure that it remains sturdy and visually appealing for years to come. So get started on building your very own round post and rail fence today, and enjoy the benefits it brings to your property.
Do You Need to Hire a Professional
While building a round post and rail fence is a relatively simple DIY project, hiring a professional may be necessary in some cases. If you have limited experience with construction or lack the necessary tools and equipment, it may be best to leave it to the professionals. Additionally, if you anticipate encountering challenging terrain or obstacles during the building process, seeking professional help can save time and ensure a proper installation.
Ultimately, it’s important to assess your own skills and abilities before deciding whether to tackle this project on your own or hire a professional. No matter which option you choose, building a round post and rail fence can be a rewarding experience that adds value and beauty to your property. So take the time to plan and execute your project carefully, and enjoy the results for years to come.
Frequently Asked Questions
Q1: What is a Round Post and Rail Fence?
A1: A round post and rail fence is a type of wooden fence that consists of vertical posts, usually made from rounded logs or branches, with horizontal rails placed between them. It is a classic and traditional style of fence that can add a rustic charm to any property.
Q2: What materials are needed to build a round post and rail fence?
A2: The main materials needed for building a round post and rail fence include posts, rails, concrete mix, nails or staples, and tools such as a post-hole digger and saw. Optional materials may include paint or stain for finishing touches.
Q3: How tall should a round post and rail fence be?
A3: The height of a round post and rail fence can vary depending on personal preference and property needs. As a general rule, the posts should be at least 2 feet taller than the desired height of the fence to allow for proper installation in the ground.
Q4: Can a round post and rail fence be used for containing livestock?
A4: Yes, a round post and rail fence can be used to contain livestock such as horses or cattle. However, it’s important to make sure the posts are securely set in concrete and that there are no gaps between the rails that animals could potentially escape through.
Conclusion
You now know how to build a round post and rail fence, it’s time to get out there and take on the project yourself. If you have any doubts or hesitations, don’t worry. Most of the materials you need are easy to find in local home improvement stores and online marketplaces. Plus, if you give yourself plenty of time and plan carefully, you’ll be able to successfully construct a beautiful and long-lasting post and rail fence that will enhance your property.
As you dive into the project, remember not just the steps you learned here but also trust your own judgment — thus allowing yourself the creative freedom to make it uniquely yours! So what are you waiting for? Get out there, get some supplies, sketch out your designs, and start building that amazing round post and rail fence today!
About
Outdoor Fixes is a distinguished figure in the world of Diy design, with a decade of expertise creating innovative and sustainable Diy solutions.
His professional focus lies in merging traditional craftsmanship with modern manufacturing techniques,
fostering designs that are both practical and environmentally conscious. As the author of diy,
outdoorfixes delves into the art and science of outdoorfixes-making, inspiring artisans and industry professionals alike.
Education RMIT University
(Melbourne, Australia) Associate Degree in Design (Outdoor Fixes) Focus on sustainable design, industry-driven projects,
and practical craftsmanship. Gained hands-on experience with traditional and digital manufacturing tools, such as CAD and CNC software.
Nottingham Trent University
(United Kingdom) Bachelor’s in outdoorfixes.com and Product Design (Honors) Specialized in product design with a focus on blending creativity with production
techniques. Participated in industry projects, working with companies like John Lewis and Vitsoe to gain real-world insights.
Publications and Impact
In diy, Outdoor Fixes his insights on indoor design processes, materials, and strategies for efficient production.
His writing bridges the gap between artisan knowledge and modern industry needs, making it a must-read for both budding designers and seasoned professionals.