There are few things more frustrating in gardening than reaching for your hose to water the plants or wash the car, only to find the connector is fused solid to the spigot. Whether due to rust, overtightening, or simply the passage of time, a stuck connector can turn a simple chore into a wrestling match.
Removing a garden hose connector is a necessary skill for any homeowner. You might need to replace an old, leaking hose, swap out a nozzle, or disconnect the hose for winter storage to prevent freezing. Ignoring a stuck connector can lead to permanent plumbing damage, so knowing the right technique to remove it safely is crucial.
In this guide on how to remove garden hose connector, we will walk you through exactly how to get that stubborn connector off without calling a plumber.
What are the Benefits?
Taking the time to properly remove and maintain your hose connectors offers several key advantages for your garden and wallet:
- Prevents Plumbing Damage: Forcing a stuck connector can twist the copper pipes behind your wall, leading to catastrophic leaks inside your home. Proper removal saves your plumbing.
- Extends Hose Life: By removing the connector correctly, you preserve the threads on both the hose and the spigot, allowing you to use your equipment for years longer.
- Ensures Proper Water Flow: Old connectors often accumulate mineral buildup that restricts water pressure. Removal allows for cleaning and better performance.
- Stops Leaks: A proper removal and re-installation allows you to replace worn-out washers, stopping those annoying drips that waste water and increase your utility bill.
What Will You Need?
Before you start battling with the hose, gather these tools. Having the right equipment makes the difference between a five-minute job and a broken knuckle.
- Penetrating Oil: (e.g., WD-40, PB Blaster, or Liquid Wrench) to loosen rust.
- Locking Pliers or Pipe Wrench: You ideally need two wrenches—one to hold the spigot and one to turn the connector.
- Wire Brush: To clean off external rust and debris.
- Hair Dryer or Heat Gun: For expanding the metal if it is stubborn.
- Protective Gloves: To protect your hands from slips and sharp metal edges.
- Rag or Cloth: To wipe away excess oil and grime.
- Rubber Mallet (Optional): for gentle tapping.
10 Easy Steps on How to Remove Garden Hose Connector
Removing a connector requires patience and leverage. Follow these detailed steps to ensure you remove the connector without damaging your home’s plumbing system.
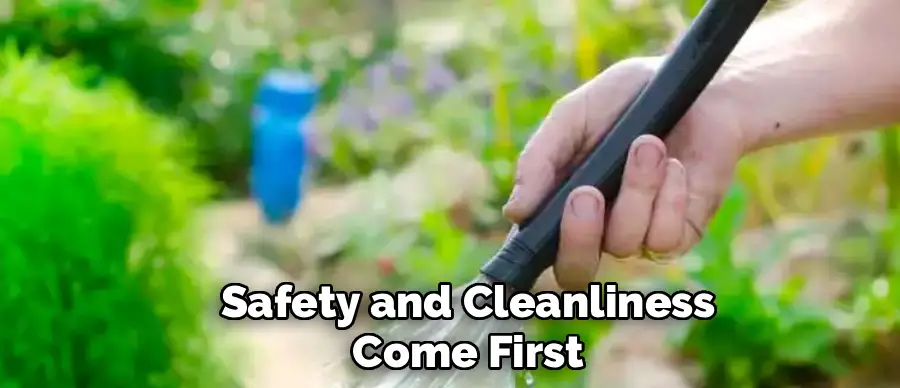
Step 1: Turn Off the Water and Relieve Pressure
Safety and cleanliness come first. Before you even touch a wrench, locate the shut-off valve for your outdoor spigot and turn the water off completely. Once the water supply is cut, open the nozzle on the end of the hose to release any built-up pressure. Trying to unscrew a connector that is under pressure creates unnecessary friction and makes the job significantly harder. Furthermore, if you accidentally break a seal or the hose pops off, you won’t be sprayed in the face with high-pressure water. Ensure the hose is completely drained before proceeding.
Step 2: Clean the Connection Area Thoroughly
Often, the reason a hose won’t budge is not just internal corrosion, but external gunk. Dirt, calcification, and dried mud can act like cement around the threads. Take your wire brush and vigorously scrub the area where the hose connector meets the spigot. You want to expose the metal seam between the two parts. Removing this debris allows your penetrating oil to seep into the threads more effectively. If you don’t have a wire brush, an old toothbrush with stiff bristles and some vinegar can work as a substitute to dissolve mineral buildup.
Step 3: Apply Penetrating Oil Generously
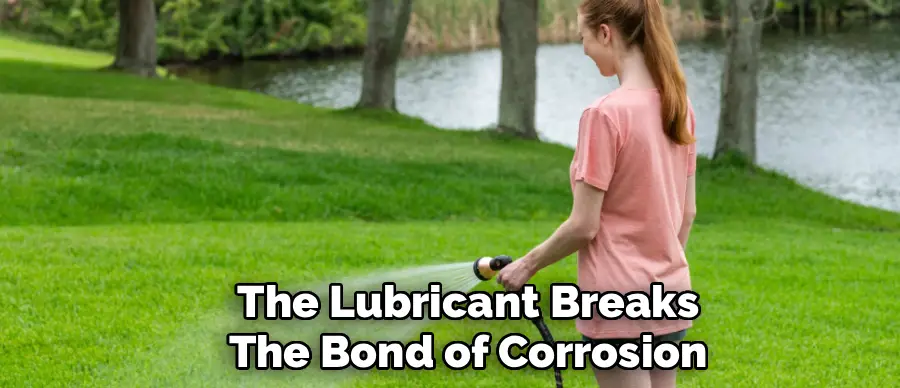
This is the “magic” step that does most of the hard work for you. Spray a liberal amount of penetrating oil (like WD-40 or a specific rust penetrant) directly onto the threads. Aim the nozzle right at the seam where the connector meets the spigot. Don’t be shy with the application; you want the oil to work its way deep into the threads. Once applied, walk away. Let the oil sit for at least 15 to 30 minutes. If the hose looks ancient and heavily rusted, you might even want to let it sit overnight to ensure the lubricant breaks the bond of corrosion.
Step 4: Tap the Connector Gently
After the oil has had time to soak in, you can use percussive force to help break the seal of rust. Take a rubber mallet or the handle of a screwdriver and gently tap around the metal collar of the hose connector. Do not smash it; the goal is not to deform the metal but to send vibrations through it. These vibrations help the penetrating oil sink deeper into the microscopic gaps in the threads and can shatter brittle rust bonds. Tap it from multiple angles—top, bottom, left, and right—to encourage movement on all sides.
Step 5: Secure the Spigot with a Backup Wrench
This is the most critical step for protecting your home’s plumbing. Never just wrench on the hose connector with a single tool. If the connector is seized, turning it with force might twist the entire copper pipe inside your wall, causing a burst pipe and thousands of dollars in water damage. Use a locking plier or pipe wrench to grip the body of the spigot (the faucet part coming out of the wall) firmly. You will hold this wrench steady to stabilize the pipe while you work on the connector.
Step 6: Position Your Turning Wrench
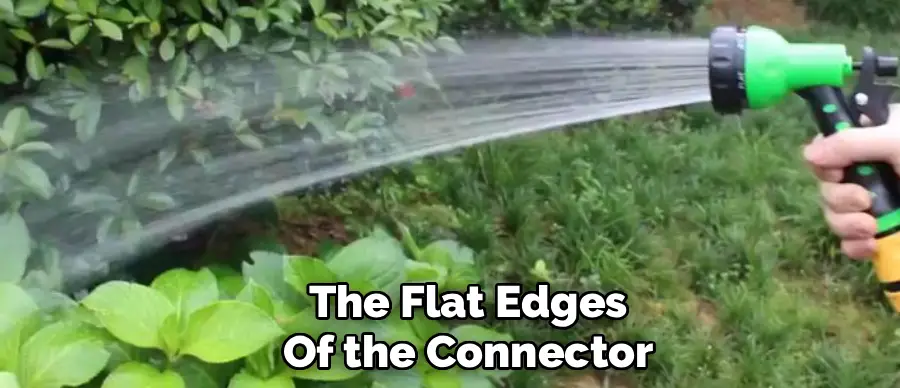
With one hand stabilizing the spigot using the first wrench, take your second wrench (preferably a large pair of channel locks or a pipe wrench) and clamp it onto the hose connector. Ensure the jaws of the wrench are adjusted to fit tightly against the flat edges of the connector. If the connector is round, use locking pliers to get a vice-like grip. Position the wrenches so you have good leverage—ideally, you want to be pushing or pulling in a way that uses your body weight effectively without slipping.
Step 7: Apply Heat (If Necessary)
If you apply force and the connector still feels welded shut, stop. Do not force it. Instead, use thermal expansion to your advantage. Take a hair dryer or a heat gun on a low setting and heat the metal hose connector. Focus the heat only on the connector nut, not the spigot itself. The goal is to make the connector expand slightly, breaking its grip on the inner threads. Heat it for a minute or two, then try turning it with the wrench again while it is still warm. Be careful not to melt any plastic components or burn your hands.
Step 8: The “Break-Loose” Twist
Now it is time to turn. Remember the rule: “Righty-tighty, lefty-loosey.” You want to turn the hose connector to the left (counter-clockwise) while holding the spigot steady. Apply firm, steady pressure. Avoid jerky, violent motions, which are more likely to strip the metal. You are looking for that initial “crack” or slip that indicates the corrosion bond has broken. If it moves even a millimeter, you are winning. If it doesn’t move, apply more penetrating oil, wait, and try again. Rocking the wrench slightly back and forth (tighten a hair, then loosen) can sometimes help work the threads loose.
Step 9: Unscrew and Remove
Once the initial seal is broken, the connector should start turning more freely. Continue to use the wrench until it is loose enough to turn by hand. As you unscrew it, water trapped in the hose might dribble out—this is normal. If it gets stuck again halfway off, spray a little more lubricant on the exposed threads to help it glide the rest of the way. Completely detach the hose from the spigot and set it aside.
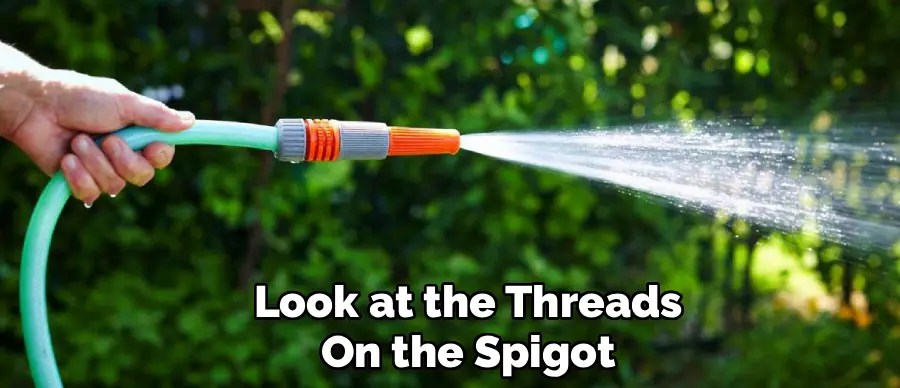
Step 10: Clean and Inspect the Spigot Threads
With the hose finally removed, you aren’t quite done. Look at the threads on the spigot. They are likely covered in rust, old tape, or mineral deposits. Use your wire brush to clean these threads thoroughly. If the threads are damaged or stripped, you may need to file them gently or use a thread-repair tool. Finally, wipe the threads clean with a rag. Applying a small amount of silicone grease or wrapping the threads with fresh plumber’s tape (Teflon tape) now will ensure that the next time you attach a hose, it won’t get stuck like this again.
5 Things You Should Avoid
When dealing with plumbing, a small mistake can lead to a big headache. Here are the top pitfalls to avoid:
- Don’t Use Excessive Force: If you pull too hard on a seized connector without stabilizing the pipe, you risk snapping the water line inside your wall.
- Avoid Using Fire: Never use a blowtorch or open flame to heat the connector. You could melt washers inside the spigot or accidentally start a fire in the siding of your house.
- Don’t Ignore Leaks: If you notice the connector dripping before it gets stuck, address it immediately. Leaks cause mineral buildup (calcification), which acts like glue over time.
- Avoid Leaving Hoses Attached in Winter: In cold climates, leaving a hose attached can cause water to freeze, expand, and fuse the metal connector to the spigot permanently.
- Don’t Mix Metals: If possible, avoid connecting an aluminum hose fitting to a brass spigot. This causes “galvanic corrosion,” where the two metals fuse chemically.
Conclusion
how to remove garden hose connector doesn’t have to be a nightmare scenario. With the right preparation, a bit of penetrating oil, and the proper leverage techniques, you can free your hose without damaging your plumbing.
By following these 10 steps and avoiding common pitfalls like brute force or leaving hoses attached during winter, you ensure your garden watering system remains leak-free and easy to use.
Remember, a little maintenance now prevents a costly plumber visit later.
Happy gardening!
About
Outdoor Fixes is a distinguished figure in the world of Diy design, with a decade of expertise creating innovative and sustainable Diy solutions.
His professional focus lies in merging traditional craftsmanship with modern manufacturing techniques,
fostering designs that are both practical and environmentally conscious. As the author of diy,
outdoorfixes delves into the art and science of outdoorfixes-making, inspiring artisans and industry professionals alike.
Education RMIT University
(Melbourne, Australia) Associate Degree in Design (Outdoor Fixes) Focus on sustainable design, industry-driven projects,
and practical craftsmanship. Gained hands-on experience with traditional and digital manufacturing tools, such as CAD and CNC software.
Nottingham Trent University
(United Kingdom) Bachelor’s in outdoorfixes.com and Product Design (Honors) Specialized in product design with a focus on blending creativity with production
techniques. Participated in industry projects, working with companies like John Lewis and Vitsoe to gain real-world insights.
Publications and Impact
In diy, Outdoor Fixes his insights on indoor design processes, materials, and strategies for efficient production.
His writing bridges the gap between artisan knowledge and modern industry needs, making it a must-read for both budding designers and seasoned professionals.