
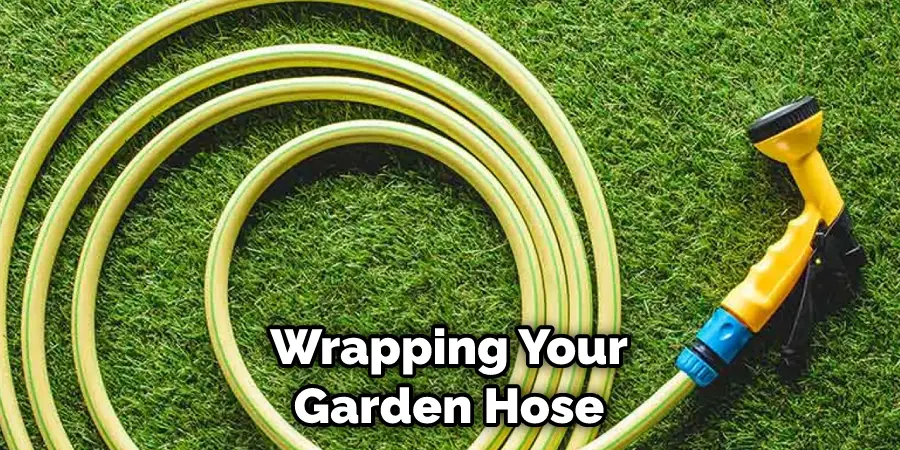
Are you tired of fixing your garden hose with the same patch job over and over again? If you are, then it’s time to bring out the duct tape! Repairing a garden hose with duct tape is a great way to get your hose back into working condition and can be done in no time.

Duct tape – it can do many more things than just repair a broken garden hose! While this versatile adhesive is often used to fix household items, you’d be surprised at how creative and artsy you can get with its use. From adding patterns or shapes onto other objects to brightening up plain flower pots and furniture pieces, the possibilities are limitless when using duct tape for home decor projects.
In this blog post, we’ll show you step-by-step how to repair a garden hose duct tape. Keep reading to learn more.
What Will You Need?
Before beginning, make sure you have the following items:
- A roll of duct tape
- Garden hose
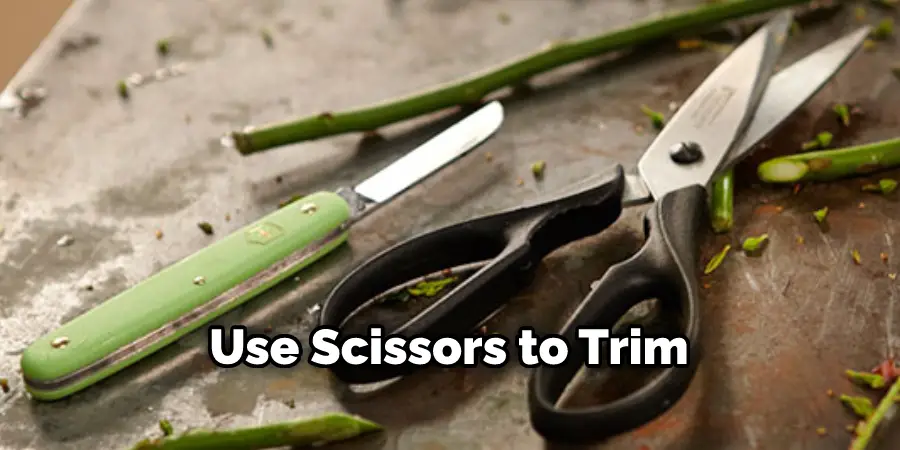
- Scissors
- Clean cloth
Once you have all the items, it’s time to begin.
10 Easy Steps on How to Repair a Garden Hose Duct Tape
Step 1: Cut a Strip of Duct Tape
Take the scissors and measure out how much duct tape you need to cover the affected area. Don’t forget the bigger the strip, the more secure your patch will be! Once you have determined how much duct tape is necessary, carefully cut it off with scissors.
Step 2: Apply the Duct Tape
Place the duct tape strip over your garden hose’s broken area. Make sure that it completely covers up all gaps and holes in order to prevent any water leakage. If needed, overlap each side slightly to ensure a tight seal.
Step 3: Smooth Out Any Wrinkles or Air Bubbles
Once you have applied the duct tape, use your clean cloth or a dull edge of the scissors to smooth out any wrinkles or air bubbles. This will help ensure that your patch job is secure and won’t come off easily. Don’t forget to press down firmly on the tape, so it sticks properly and doesn’t come off easily.
Step 4: Cut Away Any Excess Tape
Using your scissors, trim away any excess tape around the edges of your patch. Make sure not to cut too close to the patch, as this could weaken it. Otherwise, you should be able to get the job done with just a few simple snips.
Step 5: Test for Leaks
Once you are done applying and cutting away any excess tape, turn on the water source and test for leaks. If there are any visible ones, repeat steps 1-4 until you get a tight seal. It will take a few tries to get the patch just right, but with patience and practice, you should be able to repair your garden hose in no time!
Step 6: Clean Up
Once you have tested for leaks and are sure that your patch is secure, turn off the water source and clean up any tape residue. This will prevent any dirt or debris from clogging up your hose. Additionally, it will make your hose look much better and more presentable.
Step 7: Let the Patch Dry
Before using your garden hose again, be sure to let the patch dry for at least 24 hours. This will give the tape enough time to form a strong bond with the hose that won’t easily come off. Use the time to admire your handiwork and how much stronger you made your garden hose!
Step 8: Turn On The Water Source
Once you are sure that your patch has dried completely, turn on the water source and check for leaks. If everything looks good and there are no visible leaks, congratulations! You have successfully repaired a garden hose duct tape!
Step 9: Enjoy Your Garden Hose With Pride!
Now you can enjoy using your newly repaired garden hose with pride. Be sure to share your success story and how you managed to get the job done with other DIY-ers! Remember, when it comes to repairing a garden hose duct tape, practice makes perfect.
Step 10: Store Away Your Duct Tape
Once you are done repairing your garden hose, store away your duct tape in a safe place for future use. You never know when you may need to patch something up around the house! It is always better to be prepared and have the right supplies ready.
Following these ten easy steps, you should have no problem repairing a garden hose duct tape. Just remember to be patient and take your time when performing the repair job. With patience and practice, you can easily fix any garden hose in no time!
5 Additional Tips and Tricks
- If your garden hose is just slightly leaking, you can try taping over the leak with duct tape. Make sure to thoroughly clean and dry the area around the hole before applying a layer of duct tape.
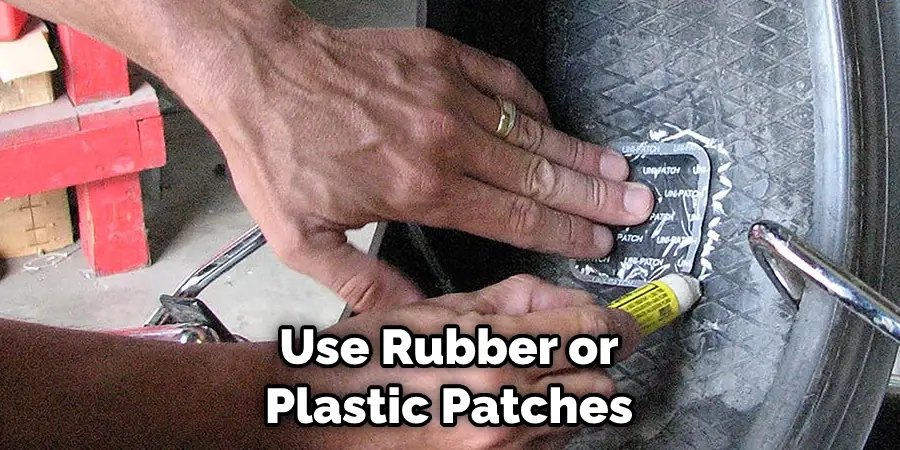
- You can also use rubber or plastic patches for larger holes in your garden hose. Start by cutting a patch that’s large enough to cover the entire hole, then apply it over the damaged section with duct tape.
- For a temporary repair solution, wrap wire mesh tightly around the damaged part of your hose, then secure it with duct tape. This method isn’t as effective as using a patch, but it will help prevent further damage until you replace your hose entirely.
- To ensure you’re getting a good seal when repairing your garden hose with duct tape, wrap it around the hose at least three times and press firmly.
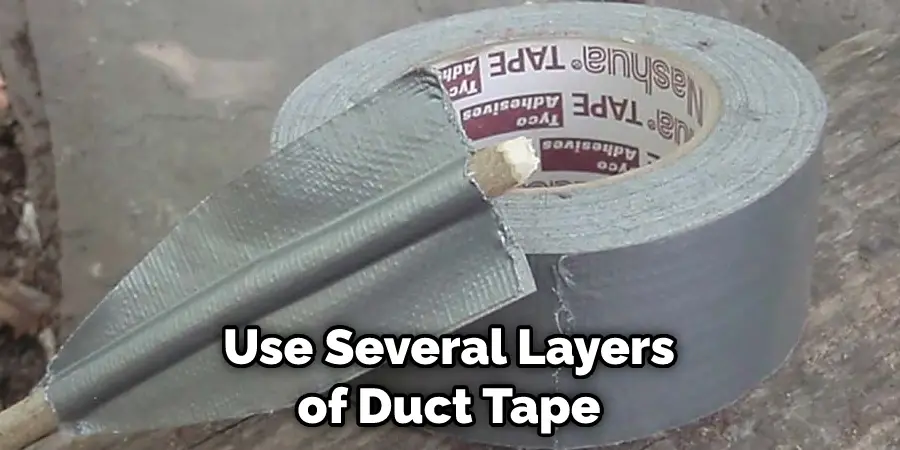
- If you need to repair a split in your garden hose, use several layers of duct tape on either side of the split. This will help keep water from pooling escaping until you can replace the hose entirely. Follow up with a layer of electrical or waterproof tape for extra protection.
Following these tips and tricks should help you effectively repair your garden hose with duct tape and return to tending your garden quickly! Proper maintenance ensures that your garden hose is always in great condition and ready to work whenever you need it.
5 Things You Should Avoid
- Do not use duct tape that is too thick—it will add unnecessary weight and make it difficult to maneuver the hose.
- Do not wrap the tape around your garden hose too tightly, as this can cause it to tear or puncture.
- Do not skip important steps, such as cleaning and drying the area, before applying a patch with duct tape. This will help ensure that your repair is secure and won’t come undone.
- Do not try to use duct tape on more than one type of material—it may cause damage to your garden hose in the long run.
- Avoid leaving any edges exposed when wrapping your garden hose with duct tape—this could lead to water leakage when you turn the tap on again.
- By avoiding these things, you can ensure that your repair job is done correctly and safely! With a few simple tips and tricks, you can repair a garden hose duct tape in no time. Now get out there and start repairing!
Can Duct Tape Survive Water?
Yes, duct tape can absolutely survive water! It is a strong and durable adhesive tape that has been around for several decades. It can hold up against moisture and even heavy-duty cleaning solutions when used correctly. Make sure to use waterproof or electrical tape over the top of your repair job for extra protection against water damage. This will help keep your garden hose from leaking and ensure that it lasts you for many years to come!
It is important to remember that duct tape should not be used as a permanent solution for repairing your garden hose—it is best suited for emergency repairs until you are able to replace the hose entirely.
With this in mind, practice caution when using duct tape on any type of material, especially something like a garden hose. If done correctly, duct tape can be a great tool for temporarily fixing any issues you may have with your garden hose.
Conclusion
Overall, repairing a garden hose with duct tape is an effective solution. Not only is it relatively inexpensive and easy to do, but it also allows you to get back outside watering your plants and yard in no time. The key is to use the right type of high-quality duct tape that will resist water, heat, and other elements. When properly applied, the repair can be expected to last several months before needing replacement.
Additionally, if done correctly, the repair job shouldn’t detract from the aesthetic of your garden hose, making for a clean and seamless finish all around. Lastly, in some cases replacing the hose may be more cost-effective and less time-consuming – take special care to evaluate your situation before deciding!
Hopefully, the article on how to repair a garden hose duct tape has been helpful in your efforts to get back outside and garden.
About
Outdoor Fixes is a distinguished figure in the world of Diy design, with a decade of expertise creating innovative and sustainable Diy solutions.
His professional focus lies in merging traditional craftsmanship with modern manufacturing techniques,
fostering designs that are both practical and environmentally conscious. As the author of diy,
outdoorfixes delves into the art and science of outdoorfixes-making, inspiring artisans and industry professionals alike.
Education RMIT University
(Melbourne, Australia) Associate Degree in Design (Outdoor Fixes) Focus on sustainable design, industry-driven projects,
and practical craftsmanship. Gained hands-on experience with traditional and digital manufacturing tools, such as CAD and CNC software.
Nottingham Trent University
(United Kingdom) Bachelor’s in outdoorfixes.com and Product Design (Honors) Specialized in product design with a focus on blending creativity with production
techniques. Participated in industry projects, working with companies like John Lewis and Vitsoe to gain real-world insights.
Publications and Impact
In diy, Outdoor Fixes his insights on indoor design processes, materials, and strategies for efficient production.
His writing bridges the gap between artisan knowledge and modern industry needs, making it a must-read for both budding designers and seasoned professionals.