Are you tired of dealing with water collecting around your home’s foundation? Downspouts are important in keeping your home’s foundation safe and preventing flooding. But sometimes, the downspouts can be an eyesore. The good news is that you can extend them underground without spending much time or money.

Downspouts are an essential feature around your home, helping you divert rainwater away from areas that don’t need it and protecting both the structure of your property and its foundation. While they fulfill such a practical purpose, downspouts can also be quite beautiful additions to any home! By extending your downspout underground, you can find ways to incorporate them into landscaping or other design features for aesthetically pleasing results.
In this blog post, we will explore how to extend downspouts underground and provide some solid tips on how to make sure it is done correctly!
What Are Downspout Extensions?
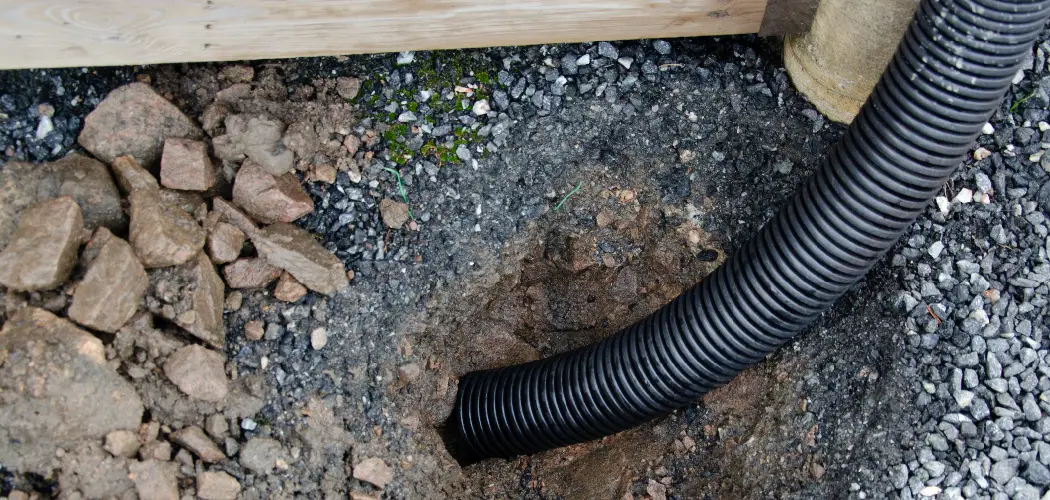
A downspout extension is a conduit that links your roof gutter to the ground. It helps you divert water away from the home’s foundation and collects it in a specific area, preventing flooding and other damage.
Downspout extensions can be installed in two ways: above or below ground. Most of the time, downspout extensions are installed above ground. However, in some cases, it’s necessary to install them underground. This is usually done for aesthetic reasons – for example, if there are unsightly downspouts on the exterior of your home that you want to hide.
What Will You Need?
The first step to extending your downspout underground is gathering all the materials you need for the job. Here’s a list of what you should have on hand:
- A new or used downspout
- PVC pipe and fittings (depending on how deep you want to go)
- Drainage rock
- Garden hose (optional)
- Shovel and post hole digger
- Cement or mortar mix
- Tape measure with a long length of string or twine attached to it
- Level
- Concrete form board (optional)
- Waterproof caulk/sealant (optional)
Once you’ve gathered your materials and equipment, it’s time to start!
10 Easy Steps on How To Extend Downspouts Underground
Step 1. Check the Local Building Codes:
Every area has different codes, so check with your local government to find out how deep and far away from your home’s foundation the downspout should be extended. It is important to stay within the codes, or you risk fines and other penalties. Because codes are always changing, double-checking before beginning any project is important.
Step 2. Measure and Mark the Spot:
Using the tape measure and twine, mark the spot where you want to extend your downspout. Make sure it is at least 10 feet away from your foundation and deep enough to meet local codes. As a general rule, the deeper you go, the better.
Step 3. Dig a Trench:
Using the shovel, begin digging a trench for your PVC pipe to fit in. The deeper you dig, the more secure your downspout will be. We recommend that you dig at least 18 inches deep or more, if necessary, depending on how far away from the house it needs to be. If the soil is too hard, you may want to use a post hole digger for this step.
Step 4. Place Drainage Rock in the Bottom of the Trench:
Once the trench has been dug, add drainage rock into the bottom of it until it is filled up halfway with the rock. This will help keep the pipe secure and promote better water drainage away from your home’s foundation. Additionally, it will also help minimize the chances of flooding in your yard during heavy rain.
Step 5. Attach Downspout to PVC Pipe:
Connect the downspout to one end of the PVC pipe using fittings, then attach the other end of the PVC pipe to the other end of the downspout with more fittings. Make sure all connections are tight! Otherwise, it could lead to water leakage.
Step 6. Place PVC Pipe in Trench:
Carefully place the PVC pipe with connected downspouts into the trench, ensuring it is secured by adding more drainage rocks around it if necessary. You can also use the garden hose to help hold it in place if desired. It will need to be level; use the level to make sure it is even.
Step 7. Test for Leaks:
Using a garden hose as a water source, fill the pipe with water and check for any leaks around the downspout or fittings. If you find any, apply waterproof caulk to seal it up. It will help keep the water away from your foundation.
Step 8. Backfill Trench:
Once everything is sealed, and no leaks are found, begin backfilling the trench with soil and/or gravel until it is filled in completely. Make sure that all joints between pieces of pipe or fittings are snug and free from dirt. Don’t forget to tamp down the soil as you backfill!
Step 9. Level Off Area:
Using a level, ensure that your downspout isn’t tilted in either direction before filling the rest of the area with concrete or mortar mix. Be careful not to get the mix too close to the downspout. Because of how heavy it is, it could cause the downspout to shift or buckle.
Step 10. Add Decorative Features:
If desired, you can add decorative features such as a concrete form board or stones around the downspout to make it look more aesthetically pleasing. There are also various downspout extensions that you can purchase to help control how far away from your home the water runs, which is especially helpful if you are dealing with heavily soiled water.
And there you have it! You’ve just learned how to extend downspouts underground in 10 easy steps. With some patience and careful planning, you should now be well on your way to improving your home’s drainage and keeping its foundation safe from water damage.
5 Additional Tips and Tricks
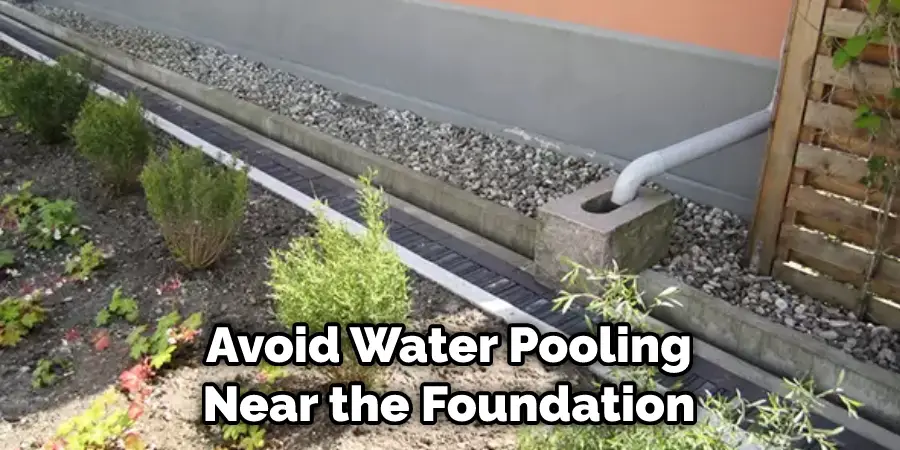
- Make sure the downspout extension is slightly tilted away from your house to help avoid water pooling near the foundation.
- Consider using a flexible downspout extension to allow the downspout to flex and bend around tight corners.
- Install a splash block at the end of the underground extension to help disperse water away from your house and into an area that won’t cause problems for other areas or drainage systems.
- Mark where the underground downspout extensions are located so you can easily find them in case any repairs or maintenance are necessary for the future.
- Make sure when cutting through concrete, you use a masonry saw with a diamond-cutting blade since it will create less dust than other methods such as hammering and chiseling. Always wear proper protective gear when operating any power tools like this one!
Following these tips and tricks will help ensure that your underground downspouts are properly installed, functioning correctly, and don’t pose a threat to your home or landscape. With the right equipment and some elbow grease, you can work your underground downspouts in no time!
5 Things You Should Avoid
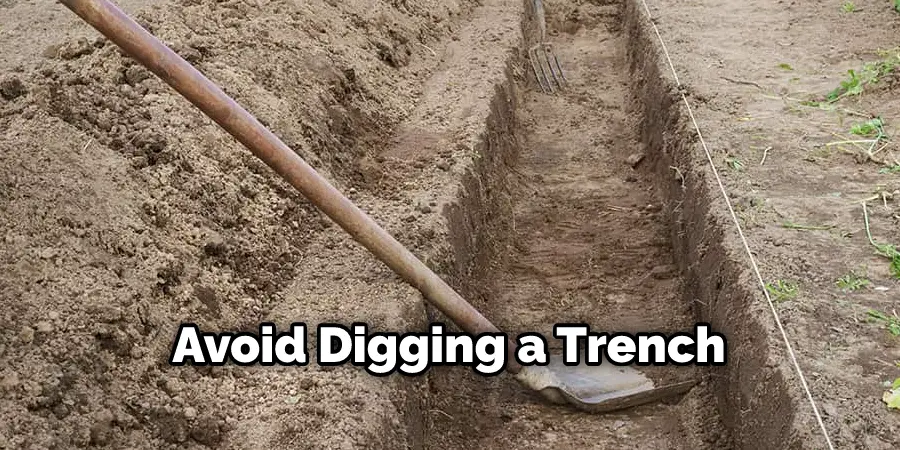
- Avoid digging a trench that’s too shallow. The underground pipe must be buried deep enough to ensure the water will not freeze during winter months.
- Avoid leaving any bends in your piping that are too sharp – this could cause clogs and blockages further down the line.
- Avoid using pipes made from materials that can easily corrode or deteriorate over time, such as plastic PVC piping; instead, opt for galvanized steel or copper piping for a longer lasting solution.
- Avoid cutting corners when it comes to waterproofing your newly installed pipework – ensuring there is no risk of water leakage is essential and should be done properly with sealant before you start using the system again.
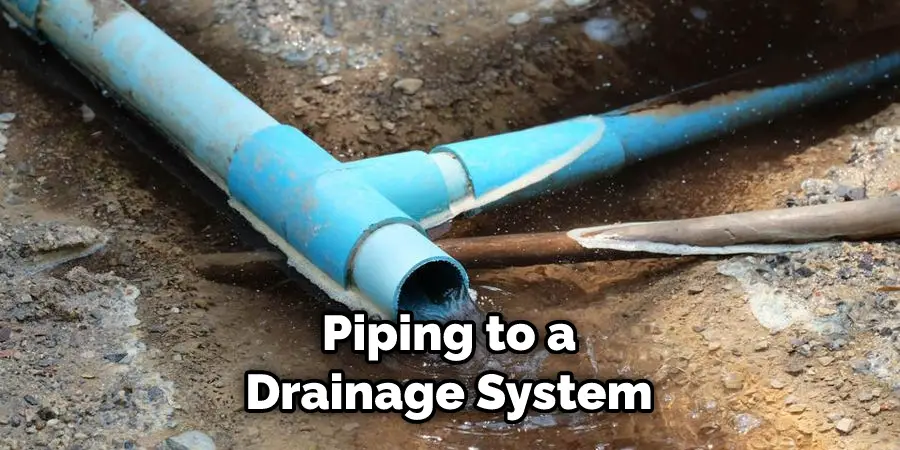
- Lastly, avoid creating a situation where the water cannot leave your property. Make sure to connect the downspout’s underground piping to a drainage system or an approved exit point, such as a rain garden or other sustainable solution.
These are just a few tips on extending downspouts underground properly. If you’re in any doubt, always seek advice from a professional before undertaking this task, as mistakes can be costly! Considering all these points, you should have no problem getting it done correctly!
Conclusion
In conclusion, extending your downspouts underground is a great way to keep your lawn in pristine condition and prevent flooding damage on your property. Before making the transition, do proper research to ensure you have the necessary tools and materials for the job.
If possible, try to plan out where the pipe will go before you begin work so that everything goes smoothly and efficiently. Keep in mind that digging up land can be time-consuming and challenging – if you don’t feel comfortable performing this kind of task yourself, hire a professional to complete it safely and correctly. Doing some work with safety gear like gloves and eyewear is also mandatory while working with PVC pipes and cement mix. Working around plumbing systems can be tricky and advanced knowledge may be required as well.
Hopefully, the article on how to extend downspouts underground has been helpful in understanding the process and how to go about it. Good luck!
About
Outdoor Fixes is a distinguished figure in the world of Diy design, with a decade of expertise creating innovative and sustainable Diy solutions.
His professional focus lies in merging traditional craftsmanship with modern manufacturing techniques,
fostering designs that are both practical and environmentally conscious. As the author of diy,
outdoorfixes delves into the art and science of outdoorfixes-making, inspiring artisans and industry professionals alike.
Education RMIT University
(Melbourne, Australia) Associate Degree in Design (Outdoor Fixes) Focus on sustainable design, industry-driven projects,
and practical craftsmanship. Gained hands-on experience with traditional and digital manufacturing tools, such as CAD and CNC software.
Nottingham Trent University
(United Kingdom) Bachelor’s in outdoorfixes.com and Product Design (Honors) Specialized in product design with a focus on blending creativity with production
techniques. Participated in industry projects, working with companies like John Lewis and Vitsoe to gain real-world insights.
Publications and Impact
In diy, Outdoor Fixes his insights on indoor design processes, materials, and strategies for efficient production.
His writing bridges the gap between artisan knowledge and modern industry needs, making it a must-read for both budding designers and seasoned professionals.