
Monkey grass, also known as Liriope, is a popular landscaping ground cover because it is incredibly tough, resilient, and spreads quickly. While these traits make it a favorite for some, they are the exact reasons it becomes a nightmare for others. If you’ve ever tried to change your garden layout or realized that the monkey grass is aggressively taking over areas where it doesn’t belong, you know the struggle. It has a dense root system and rhizomes that cling stubbornly to the soil, making removal a genuine test of patience.

Getting rid of monkey grass isn’t just about digging; it’s about being thorough. If you leave even a small piece of the root behind, it will likely return next season.
This guide on how to remove monkey grass will walk you through the most effective method for removing this persistent plant manually, ensuring your garden is ready for whatever new vision you have in mind.
What Are the Benefits?
Removing established monkey grass is hard work, so it helps to know why you are doing it. Clearing out invasive or unwanted Liriope offers several immediate advantages for your landscape.
First, you regain control of your garden beds. Monkey grass is aggressive and can easily choke out more delicate flowers or native plants you actually want to grow. By removing it, you open up resources like water and nutrients for other vegetation.
Second, removal improves soil health in the long run. Dense mats of monkey grass roots can create a barrier that prevents water from penetrating deep into the soil. Once removed and the soil is aerated, the drainage and overall structure of your garden bed will improve significantly.
Finally, removing it allows for a fresh aesthetic start. Monkey grass has a very specific, sometimes messy look. Clearing it gives you a blank canvas to plant modern, diverse, or native species that might better suit your home’s curb appeal.
What Will You Need?
Before you start battling the roots, gather the right gear. Having sturdy tools will save your back and make the process much faster.
- Heavy-duty Shovel or Spade: You need a sharp edge to cut through dense root mats.
- Garden Fork: Essential for loosening soil without slicing every single root (which can lead to regrowth).
- Mattock or Pickaxe: For particularly stubborn or old clumps.
- Wheelbarrow or Heavy-duty Tarp: To transport the heavy clumps of grass and dirt.
- Thick Gardening Gloves: To protect your hands from blisters and soil.
- Soil Sifter (Optional): Helpful for ensuring no root fragments remain.
- Mulch: To cover the area immediately after clearing.
10 Easy Steps on How to Remove Monkey Grass
Step 1: Water the Area Thoroughly
Attempting to dig up monkey grass from dry, hard-packed clay is a recipe for frustration and broken tools. The day before you plan to work, water the area deeply. You want the soil to be moist and pliable, but not a muddy swamp. This moisture helps the soil release the dense root balls more easily, reducing the amount of brute force required.
Step 2: Mow or Trim the Foliage
Start by cutting the grass down as short as possible. Use a lawnmower on its lowest setting or a weed trimmer. Removing the top foliage makes it much easier to see the base of the plants and identify exactly where the clumps begin and end. It also reduces the sheer volume of waste you have to haul away later. Bag up these clippings and dispose of them before you start digging.
Step 3: Define Your Perimeter
Using your spade, cut a circle around the first clump you intend to remove. You should dig about 6 to 8 inches away from the base of the plant to ensure you aren’t cutting through the main root mass. Push the spade deep into the ground to sever any lateral rhizomes that might be spreading outward. Creating this “island” makes lifting the plant easier.
Step 4: Loosen the Soil with a Fork
Once you have cut the perimeter, switch to your garden fork. Insert the fork deep under the root ball and rock it back and forth. The goal here is to leverage the clump upward without slicing the roots into tiny pieces. If you slice the roots, those tiny pieces can resprout later. The fork allows dirt to fall away while keeping the root mass intact.
Step 5: Pry and Lift the Clump
With the soil loosened, use your spade or mattock to pry the clump out of the ground. Monkey grass roots grow in dense mats, so you may need to pry from several different angles. Lift the entire root ball out and place it on your tarp or in the wheelbarrow. Shake off as much excess soil as possible to keep the weight down and preserve your topsoil.
Step 6: Sift Through the Soil
This is the most tedious but crucial step. After the main clump is out, get down on your hands and knees (or use a rake) to sift through the loose soil left in the hole. You are looking for white, fleshy rhizomes or stray root fragments. Be meticulous. If you leave these behind, you will be doing this job again in six months.
Step 7: Tackle the Runners
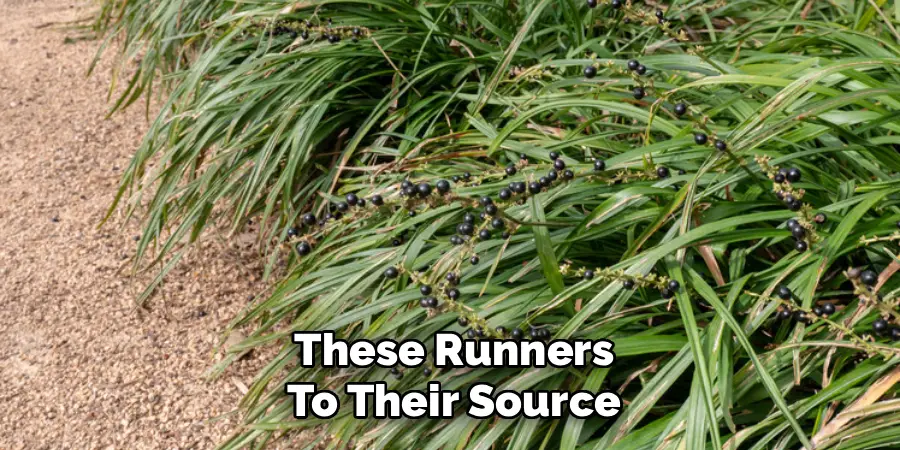
If you are dealing with the spreading variety of monkey grass (Liriope spicata) rather than the clumping kind, you need to hunt for runners. These underground stems travel horizontally. Follow any runners you find to their ends and pull them up gently to avoid snapping them. You may need to dig small trenches to follow these runners to their source.
Step 8: Solarize for Safety (Optional but Recommended)
If you have a large area and time is on your side, consider solarization after digging. Smooth out the soil, water it, and cover the area with a clear plastic sheeting. Bury the edges of the plastic to seal it. Leave this for 4-6 weeks during hot weather. The heat generated will kill any remaining root fragments or seeds that you missed during the manual removal.
Step 9: Monitor for Regrowth
Do not plant expensive new shrubs immediately. Wait a few weeks to see if any green shoots emerge. It is much easier to pull up a few stray survivors now, while the bed is empty,y than to try and pick them out from around new plants later. Treat the area as a “watch zone” for at least a month.
Step 10: Mulch or Replant
Once you are confident the monkey grass is gone, amend your soil with compost or organic matter, as the removal process likely took some topsoil with it. Cover the area with a thick layer of mulch (3-4 inches) to suppress any weakened remnants trying to push through. Now you are ready to plant your new garden design.
5 Things You Should Avoid
- Don’t Till the Soil: Tilling might seem like a good way to break up the ground, but with monkey grass, it is a mistake. Tilling chops the roots into hundreds of tiny pieces, essentially propagating the plant and spreading it everywhere.
- Avoid Composting the Roots: Do not throw monkey grass root balls into your home compost pile. Most home compost bins do not get hot enough to kill the roots, meaning you will just spread the weed back into your garden when you use the compost.
- Don’t Use Vinegar Alone: While vinegar is a popular home remedy for weeds, it usually only kills the top foliage of monkey grass. The roots are too robust and will simply send up new shoots once the leaves die back.
- Avoid Dry Digging: Never try to dig this plant up during a drought or when the soil is bone dry. You will likely snap the roots off underground rather than pulling them out whole, ensuring regrowth.
- Don’t Rush the Process: Trying to clear a huge patch in one afternoon often leads to sloppy work and missed roots. It is better to clear small sections thoroughly than to clear a large area poorly.
Frequently Asked Questions
- Will Chemical Weed Killers Work on Monkey Grass?
Yes, herbicides containing glyphosate can work, but monkey grass is resistant. You often need to cut the foliage first and apply the chemical directly to the fresh cuts. It may take multiple applications over several weeks to fully kill the root system. - How Deep Do Monkey Grass Roots Grow?
Generally, the dense root mat is located in the top 6 to 12 inches of soil. However, established plants may have feeder roots that go slightly deeper. If you dig down about a foot, you will usually capture the entire reproductive system of the plant. - Can I Use a Sod Cutter to Remove It?
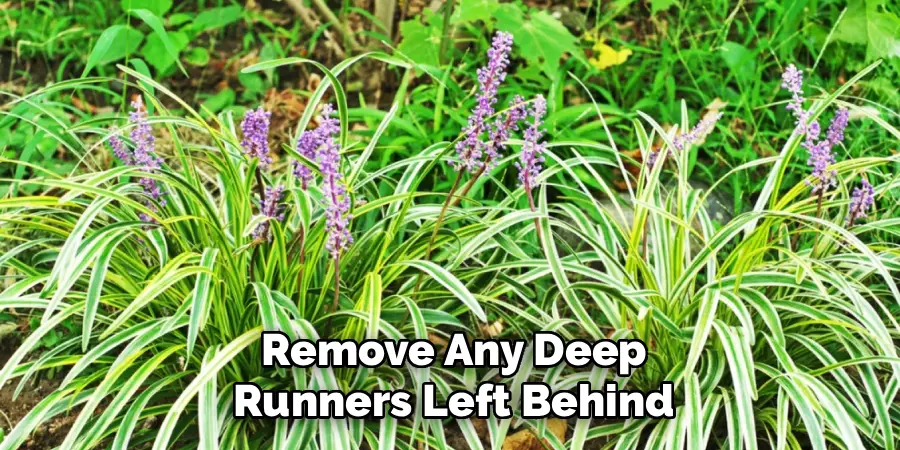
A sod cutter can be effective for large, flat areas of monkey grass. Set the blade to its deepest setting to ensure you get the crown and the majority of the roots. You will still need to follow up by hand to remove any deep runners left behind.
Conclusion
Removing monkey grass is physically demanding work that requires persistence and attention to detail. There is no magic wand that makes it disappear overnight, but manual removal remains the most environmentally friendly and effective long-term solution.
By following the steps outlined above—especially taking care to remove every last rhizome—you can reclaim your garden beds. With the monkey grass gone, you have the freedom to introduce new textures and colors to your landscape, transforming a monotonous ground cover into a thriving, diverse garden.
Hopefully, this guide on how to remove monkey grass has given you the knowledge and confidence to tackle your monkey grass problem head-on.
About
Outdoor Fixes is a distinguished figure in the world of Diy design, with a decade of expertise creating innovative and sustainable Diy solutions.
His professional focus lies in merging traditional craftsmanship with modern manufacturing techniques,
fostering designs that are both practical and environmentally conscious. As the author of diy,
outdoorfixes delves into the art and science of outdoorfixes-making, inspiring artisans and industry professionals alike.
Education RMIT University
(Melbourne, Australia) Associate Degree in Design (Outdoor Fixes) Focus on sustainable design, industry-driven projects,
and practical craftsmanship. Gained hands-on experience with traditional and digital manufacturing tools, such as CAD and CNC software.
Nottingham Trent University
(United Kingdom) Bachelor’s in outdoorfixes.com and Product Design (Honors) Specialized in product design with a focus on blending creativity with production
techniques. Participated in industry projects, working with companies like John Lewis and Vitsoe to gain real-world insights.
Publications and Impact
In diy, Outdoor Fixes his insights on indoor design processes, materials, and strategies for efficient production.
His writing bridges the gap between artisan knowledge and modern industry needs, making it a must-read for both budding designers and seasoned professionals.