
Have you ever faced the headache of removing red chalk drawn on your concrete driveway or patio? Chalk is an incredibly versatile media, providing endless options for imaginative fun activities.
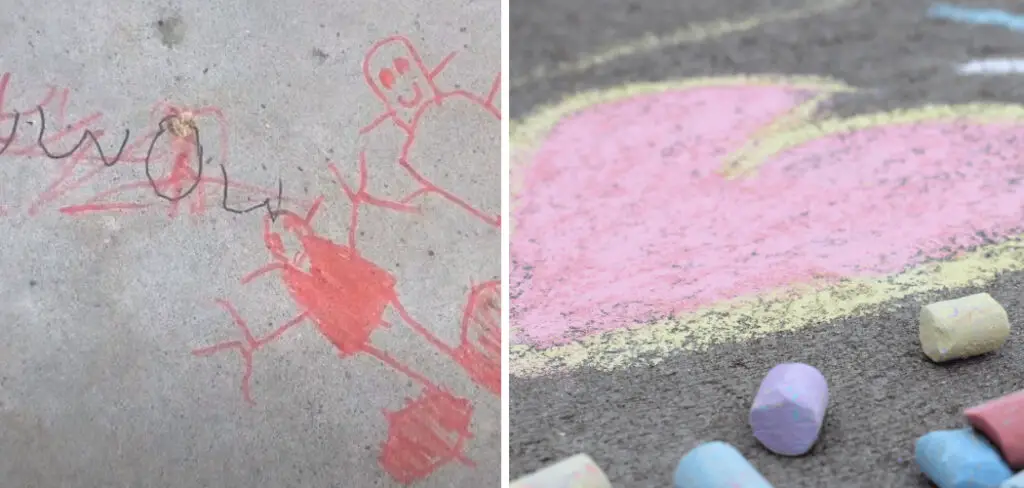
However, when it comes time to clean up these activities above off hard surfaces like concrete driveways and patios, things can get a little tricky. No matter how much scrubbing you do, that stubborn red chalk may not come all the way off! Never fear, though – some smart strategies and proven methods out there will help you remove any trace of the artwork once and for all.
Whether you’re trying to keep your concrete looking as good as new or just trying to get the sidewalk chalk off before it rains again, this guide will walk you through the necessary steps of how to remove red chalk from concrete.
What Will You Need?
The good news is that you don’t need a whole lot of items to quickly and effectively remove red chalk from concrete:
- Water
- A bucket
- A sponge
- An old toothbrush
- Nonabrasive cleaning solution (optional)
Once you’ve gathered these items, it’s time to start the cleanup process.
10 Easy Steps on How to Remove Red Chalk From Concrete
Step 1: Use Warm Water
Start by mixing some warm water into your bucket. If desired, you can also add a small amount of nonabrasive cleaning solution. This will help break down the stubborn residue of the chalk marker and make it much easier to scrub off later on.
Step 2: Soak the Sponge
Grab your sponge and start soaking it in the warm water solution. Ensure that the entire surface of the sponge is saturated and that it’s nice and wet. If you’re using a cleaning solution, ensure the sponge has enough time to soak in it before scrubbing.
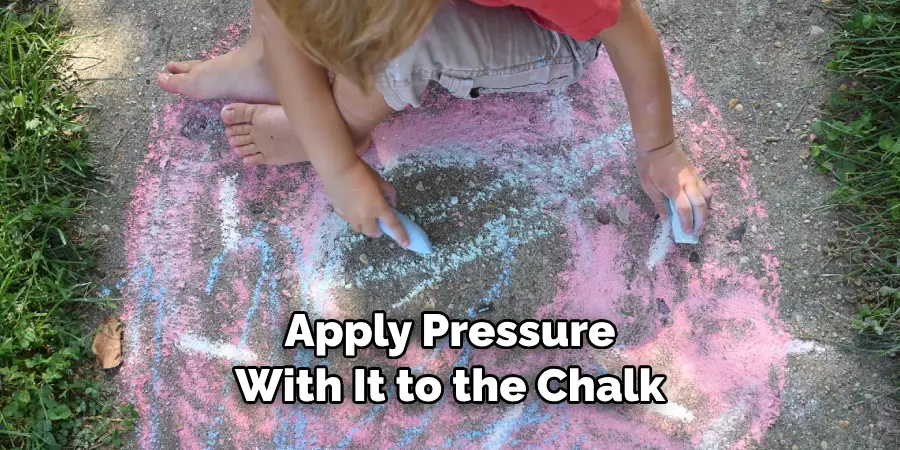
Step 3: Apply the Sponge to the Concrete
Once your sponge is sufficiently soaked, apply pressure with it to the chalk-marked concrete area. Move in a circular motion and gradually increase the pressure as you go. This will help break down more stubborn residue and make it easier to scrub off later.
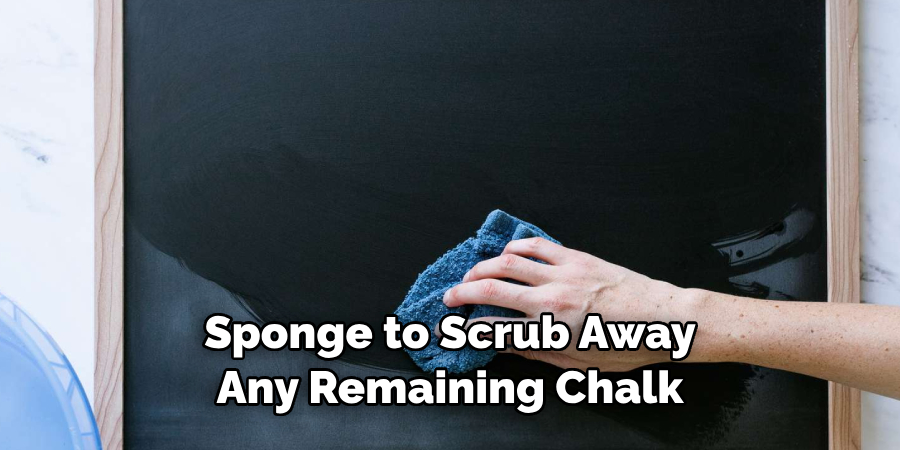
Step 4: Scrub With an Old Toothbrush
Once you’ve given the chalk area some good attention with your sponge, remove your old toothbrush and gently brush away at any remaining pieces of residue.
The bristles can pick up all those little bits left behind that your sponge may have missed. Another great way to give your concrete a deep clean is to use an old toothbrush dipped in some non-abrasive cleaning solution.
Step 5: Rinse & Repeat
Once you’ve given the area a good scrub, rinse off the now-dirty water and repeat steps 1 through 4 until you’re satisfied with the results. You can also use a garden hose to help rinse off any remaining residue. This will make it much easier to start fresh with the next scrubbing cycle.
Step 6: Let the Area Dry
Once you’ve finished scrubbing, rinse the area and let it dry completely before walking on it or applying any sealant. Use a towel to wipe up any excess water, and then let the area sit for at least an hour or two before moving on to the next step. Ensure that the area is arid before proceeding.

Step 7: Seal Off the Area (optional)
If necessary, you can also apply a concrete sealant to protect your concrete from future staining. This step is optional but highly recommended as it will help keep the surface safe from any potential damage in the long run. As always, read the product instructions carefully before applying it.
Step 8: Clean Up Messes Immediately
One of the best ways to ensure that your concrete always looks great is by cleaning up any messes as soon as they happen. Whether it’s chalk, paint, or something else – make sure you’re taking the necessary steps to prevent staining from occurring in the first place. Don’t let it sit for too long, or it might be much more difficult to remove later.
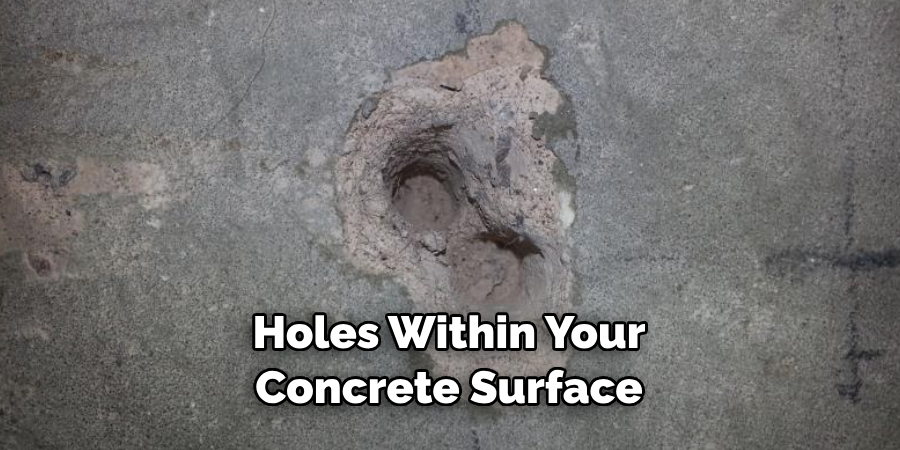
Step 9: Keep an Eye Out for Potential Danger
In addition to cleaning up messes right away, be sure to also keep an eye out for potential dangers such as cracks or holes within your concrete surface. These can be a breeding ground for mold and mildew, which can cause significant damage if left unattended. Additionally, if you notice any areas that seem to buckle or sink, address them immediately.
Step 10: Maintenance & Prevention
Finally, practice regular maintenance and prevention on your concrete surfaces! The best way to do this is by investing in a good quality sealant and applying it as needed. This will help keep your concrete looking new for years and save you the headache of dealing with stubborn stains!
By following these ten easy steps, you can easily remove red chalk from your concrete surfaces. Additionally, regular maintenance and prevention will ensure that your concrete always looks as good as new! So don’t wait – get out there and start cleaning today!
5 Additional Tips and Tricks
- To remove red chalk from concrete, prepare a baking soda and water paste. Apply the paste to the affected area and let it sit for several minutes. Then scrub the area with a brush or sponge until the chalk is removed.
- Use vinegar as an alternative solution by mixing a few tablespoons of white vinegar with two cups of warm water in a spray bottle. Spray the affected area with the vinegar cleaner and let it sit for a few minutes. Use a brush or sponge to scrub away any remaining chalk residue.
- For tougher stains, try using a mixture of ammonia and water in equal parts. Apply the mixture to the stain and leave it for about 10 minutes before scrubbing with a stiff brush to remove the red chalk from concrete surfaces.
- You can also use rubbing alcohol as an effective solution for removing tough stains from concrete surfaces by mixing one part rubbing alcohol with three parts water in a spray bottle and spraying the affected area liberally. Let it sit for up to 15 minutes before scrubbing off the red chalk with a brush or sponge.
- Finally, use a poultice to remove tougher red chalk stains from concrete surfaces. Mix one part white flour with two parts hydrogen peroxide until it forms a thick paste. Spread the paste over the stain and let it sit for several hours before scrubbing off any remaining residue.
With these five tips and tricks, you now know to remove red chalk from concrete. Be sure to use the right solution for the job and take extra caution when using any chemical solutions.
5 Things You Should Avoid
- Avoid using corrosive or abrasive cleaners, which can damage the concrete surface and potentially cause discoloration.
- Do not mix any solutions which could create a caustic combination.
- Avoid harsh chemicals such as bleach or other cleaners containing acids, as these can damage the concrete surface.
- Do not use metal brushes or other abrasive tools when scrubbing away stains from concrete surfaces, as these could cause damage to the surface.
- Finally, avoid applying too much pressure when scrubbing with a brush or sponge, which could cause scratches on the concrete surface.
By following these five tips and tricks, you will know how to safely and effectively remove red chalk from concrete without causing further damage to your surfaces. With patience and diligence, you should be able to restore your concrete surfaces to their original condition.
What Color Chalk Doesn’t Stain Concrete?
Most lighter colors of chalk will not stain concrete, however, the darker, more vibrant colors can leave permanent stains on the surface. To be safe, it is best to avoid using any darker colored chalk when writing or drawing on concrete surfaces. If you end up using dark-colored chalk, take extra steps to remove the chalk as soon as possible to avoid any staining.
Remember that prevention is always better than cure, so try not to use red or other dark colored chalks when working with concrete surfaces, and always clean up afterward! With these tips and tricks in mind, you now know how to safely and effectively remove red chalk from concrete surfaces.
Conclusion
How to remove red chalk from concrete may seem like a daunting task, but with the right supplies and techniques, it’s pretty easy. If you take proper safety precautions and approach the job carefully, you should have a little problem removing the frustrating stain.
Chalk can be stubborn and difficult to remove, but any stain that gets left behind by your efforts can’t hurt the concrete itself – so don’t worry if it doesn’t come out completely! If necessary, professional concrete restoration services can provide even more solutions for removing red chalk from concrete that you may want to consider.
With some elbow grease, patience, and guidance from this blog post, you should have no issue mitigating any damage caused by red chalk on concrete surfaces.
About
Outdoor Fixes is a distinguished figure in the world of Diy design, with a decade of expertise creating innovative and sustainable Diy solutions.
His professional focus lies in merging traditional craftsmanship with modern manufacturing techniques,
fostering designs that are both practical and environmentally conscious. As the author of diy,
outdoorfixes delves into the art and science of outdoorfixes-making, inspiring artisans and industry professionals alike.
Education RMIT University
(Melbourne, Australia) Associate Degree in Design (Outdoor Fixes) Focus on sustainable design, industry-driven projects,
and practical craftsmanship. Gained hands-on experience with traditional and digital manufacturing tools, such as CAD and CNC software.
Nottingham Trent University
(United Kingdom) Bachelor’s in outdoorfixes.com and Product Design (Honors) Specialized in product design with a focus on blending creativity with production
techniques. Participated in industry projects, working with companies like John Lewis and Vitsoe to gain real-world insights.
Publications and Impact
In diy, Outdoor Fixes his insights on indoor design processes, materials, and strategies for efficient production.
His writing bridges the gap between artisan knowledge and modern industry needs, making it a must-read for both budding designers and seasoned professionals.