
There is nothing quite like the excitement of opening your swimming pool for the season, anticipating long afternoons of splashing and relaxation. However, gazing down into the water only to see unsightly ridges and folds across the floor can quickly dampen that enthusiasm. Wrinkles in a vinyl pool liner are not just a cosmetic annoyance; they can be uncomfortable to walk on and, over time, can trap dirt or cause the liner to wear out prematurely.
While they often occur after a new installation or due to groundwater issues, fixing them doesn’t always require professional help. With some patience and the right techniques, you can restore a smooth surface. This guide is designed to empower you with the knowledge of how to remove wrinkles from bottom of pool, turning a bumpy floor back into the pristine foundation your backyard oasis deserves.
As a pool owner, it can be frustrating to see wrinkles forming on the bottom of your pool. Not only is it unappealing, but it can also lead to potential problems down the line. Luckily, removing wrinkles from the bottom of your pool doesn’t always require professional help and can be fixed with some simple techniques.
Causes of Wrinkles in Pool Liners
Wrinkles in pool liners can be caused by a variety of factors, ranging from improper installation to environmental conditions. Over time, shifting soil or water imbalances can lead to the liner stretching or moving out of place. Excessive water levels, poor drainage around the pool, or even temperature changes can all contribute to the development of unsightly wrinkles.
Understanding these common causes not only helps in identifying the root of the problem but also provides a foundation for effectively addressing it.
A smooth and well-maintained pool liner is essential for both the aesthetics and functionality of a swimming pool. When issues such as wrinkles emerge, they can detract from the pool’s appearance and potentially lead to further complications if left unaddressed. Recognizing the signs early and understanding the underlying causes can make all the difference in preserving the quality and longevity of your pool.
Step-by-Step Guide on How to Remove Wrinkles from Bottom of Pool
Step 1: Drain the Pool Significantly but Safely
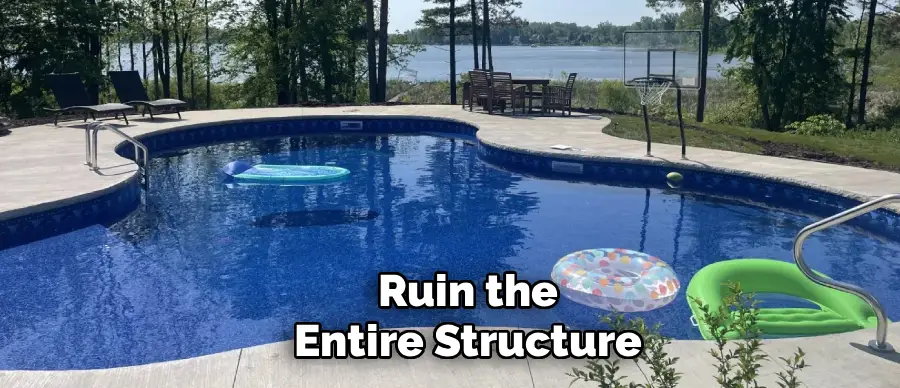
The first and most effective tactic for addressing severe or widespread wrinkles involves reducing the water pressure holding the liner down. You need to drain the pool, but you must do this cautiously. Never drain a vinyl liner pool completely dry, as the liner can shrink, become brittle, and ruin the entire structure.
Aim to leave about 6 to 12 inches of water in the shallow end. This remaining water provides just enough weight to keep the liner generally in place while giving you the freedom to manipulate the material. Keeping some water also protects the liner from direct sun exposure, which can cause rapid shrinkage. Always check your manufacturer’s warranty before draining, as some warranties have specific clauses regarding water levels.
Step 2: Warm Up the Liner
Vinyl is a thermoplastic material, which means its physical properties change with temperature. It becomes stiff and unyielding in cold weather but pliable and stretchy when warm. Therefore, picking a hot, sunny day for your repair work is absolutely critical for success. The sun will heat the liner, softening the material and making it much easier to pull, stretch, and smooth out.
If you cannot wait for summer heat, you can try adding warm water to the pool using a hose connected to a hot water tap, though this is less efficient. Working with a cold liner is nearly impossible and risks tearing the material, so patience for the right weather conditions is a major part of the repair process.
Step 3: Put on Clean, Soft-Soled Shoes
Before you step into the pool to begin the physical work, pay close attention to your footwear. You need to protect the delicate vinyl from punctures, scuffs, or tears. The best option is to wear a clean pair of soft-soled water shoes or rubber-soled sneakers that have never been worn outside on concrete or gravel.
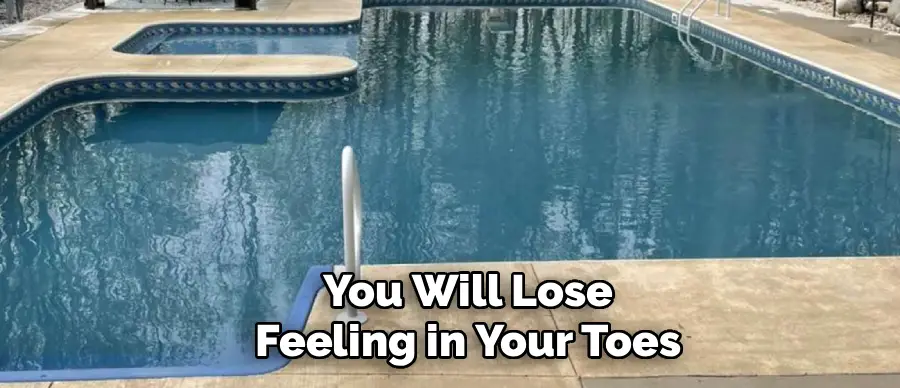
Thoroughly inspect the soles for any tiny pebbles or sharp debris lodged in the treads. Alternatively, you can wear thick, clean socks, which offer excellent grip without any risk of damage. Never go barefoot if the water is very cold, as you will lose feeling in your toes, making it hard to gauge how much pressure you are applying.
Step 4: Use Your Feet to Shift the Wrinkles
Once you are in the pool with the low water level, you can begin the physical process of shifting the liner. The most effective tool you have is your own body weight. Stand near a wrinkle and use your feet to gently push and stretch the vinyl towards the nearest wall. Imagine you are trying to spread a rug flat on a floor.
Apply firm, steady pressure with the sole of your foot, working the excess material slowly outward. Do not kick or stomp, as this can cause damage. Instead, use a sliding motion. If the wrinkle is large, you may need to work it in sections, gradually moving the slack towards the wall where it can be absorbed or tucked away.
Step 5: Employ a Toilet Plunger for Stubborn Areas
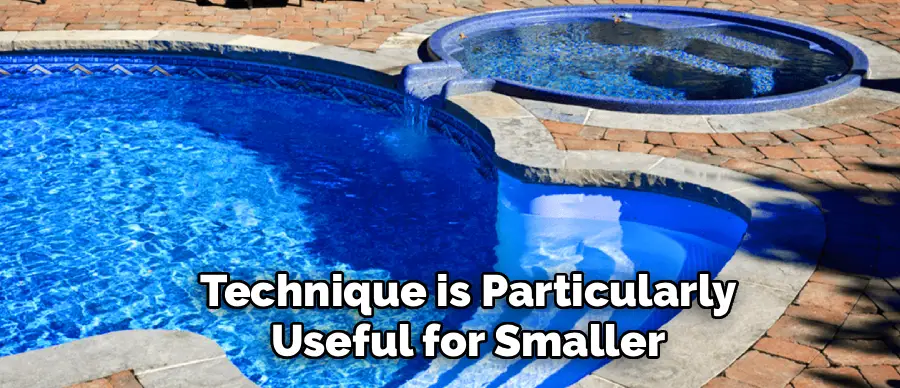
For wrinkles that refuse to move with foot pressure alone, a standard toilet plunger can be a surprisingly effective tool. Ensure the plunger is brand new and clean to avoid introducing bacteria into your pool. Submerge the plunger head into the water and place it directly over the wrinkle or just beside it. Push down to engage the suction, then gently pull up and towards the wall simultaneously.
The suction pulls the liner up slightly from the pool floor, breaking the friction caused by the water weight, while the lateral motion helps drag the vinyl smooth. This technique is particularly useful for smaller, sharper creases that are hard to grip with your feet or hands.
Step 6: Utilize a Pool Brush
If you are dealing with minor ripples rather than deep folds, a soft-bristled pool brush can often do the trick without requiring you to get into the water. Extend your telescoping pole and place the brush head on the wrinkle. Apply downward pressure and sweep the brush firmly towards the edges of the pool.
The friction from the bristles helps to tug the liner flat. This method works best when the pool is full or nearly full, and you are addressing small wrinkles that may have appeared after vigorous swimming. Be careful not to use a brush with stiff, abrasive bristles or metal components that could scratch or tear the vinyl surface during vigorous sweeping.
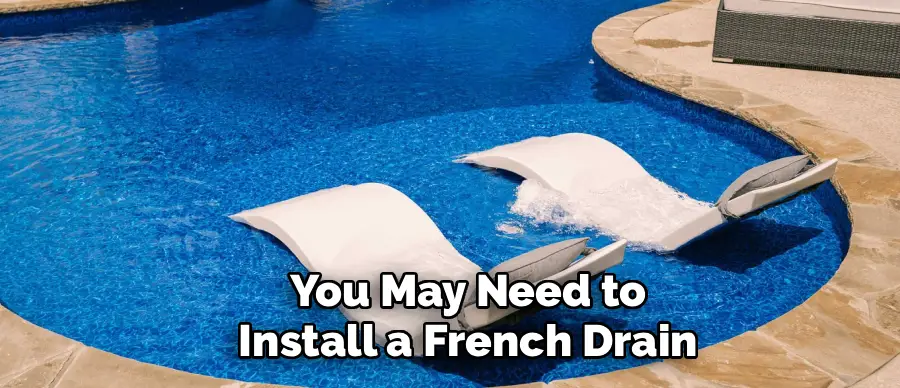
Step 7: Check for Groundwater Issues and Drainage
Sometimes, wrinkles are a symptom of a larger problem occurring beneath the pool. If wrinkles reappear shortly after you remove them, or if the liner feels like it is floating, you likely have groundwater seeping under the liner. This hydrostatic pressure pushes the liner up, creating distinctive “floating” wrinkles.
To fix this, you must address the drainage around your pool area. Look for soggy ground or standing water near the pool’s perimeter. You may need to install a French drain or a sump pump system to divert water away from the pool structure. Without resolving the underlying water accumulation, your efforts to smooth the liner will be temporary and frustratingly repetitive.
Step 8: Refill the Pool Slowly While Monitoring
Once you have smoothed out the wrinkles using your feet, a plunger, or a brush, it is time to start refilling the pool. Do not simply turn the hose on full blast and walk away. This is the most critical phase where your work can be undone. Add water slowly and stay in or near the pool to watch the floor.
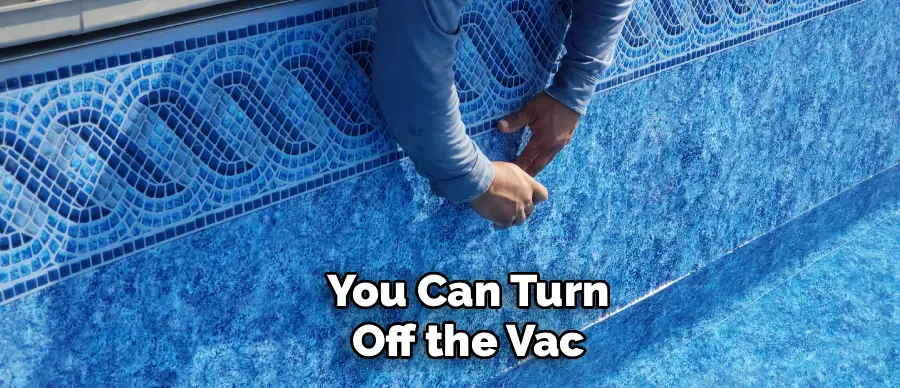
As the water level rises, the increasing weight will lock the liner into its new position. If you see a wrinkle starting to form or return, stop the water immediately and smooth it out again while the pressure is still manageable. You may need to use a shop vac between the liner and the wall (liner vacuum method) to suck out air and keep the liner taut as the water rises.
Step 9: Use a Shop Vac for Air Pockets
If the wrinkles are caused by air trapped behind the liner rather than excess material, a shop vacuum is the professional solution. You will need to lower the water level significantly for this. Insert the hose of a wet/dry vacuum behind the liner through the skimmer opening or by carefully peeling back a section of the coping. Seal the opening around the hose with duct tape to create an airtight seal.
Turn on the vacuum. You will see the liner instantly suck tight against the pool walls and floor, pulling out wrinkles like shrink wrap. Keep the vacuum running while the pool refills with water. Once the water level is high enough to hold the liner in place (usually about 6 inches up the shallow end wall), you can turn off the vac and remove the hose.
Step 10: Smooth the Liner as Water Rises
This final step is about vigilance during the refilling process. Even with the vacuum running or after manual smoothing, the liner can shift as thousands of gallons of water are added. Walk around the pool perimeter and gently pull up on the liner wall to remove any vertical wrinkles forming on the sides. Continue to use your pool brush to sweep the floor from the center outwards.
This continuous maintenance ensures that the tension remains even across the entire surface. Once the water level reaches its normal operating height, the immense weight will permanently hold the liner in its smooth, wrinkle-free state, completing your restoration project.
Liner Replacement Options
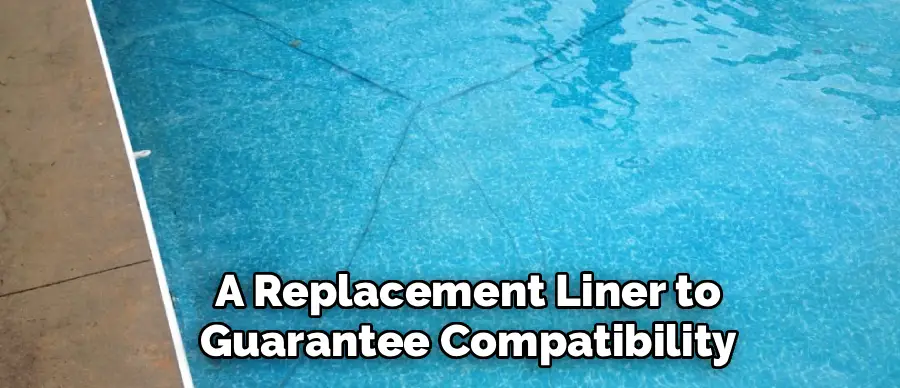
When it comes to liner replacement options, several factors must be considered to ensure the best fit for your pool. Liners come in a variety of materials, including vinyl, which is the most common due to its durability and affordability. Vinyl liners are available in various thicknesses and patterns, allowing for customization to match your aesthetic preferences.
You can also choose between overlap liners, which drape over the pool’s walls, and beaded liners, which snap into a track for a more polished look. For those looking for long-term solutions, thicker liners or textured options can provide added resilience and comfort. It’s essential to measure your pool accurately and consult your manufacturer’s guidelines when selecting a replacement liner to guarantee compatibility and longevity.
Proper Pool Care is Essential
Proper pool care is essential to maintaining the longevity of your liner and ensuring a safe, enjoyable swimming environment. Regularly test and balance the pool’s water chemistry, paying close attention to pH, chlorine, and alkalinity levels to prevent damage to the liner and avoid algae buildup.
Skim the surface daily to remove debris and vacuum the pool floor weekly to keep it clean and free of dirt. Additionally, consider using a pool cover when the pool is not in use to protect it from harsh elements and reduce evaporation. By staying proactive with maintenance, you can extend the life of your liner and enjoy a pristine pool season after season.
Frequently Asked Questions
Can I Remove Wrinkles Without Draining the Pool?
Yes, it is possible to remove minor wrinkles without draining the pool, although it is more physically demanding. The weight of the water makes it difficult to shift the liner. You can try using a clean toilet plunger to pull and shift the vinyl, or put on soft-soled shoes and try to push the wrinkles toward the walls with your feet. However, for large or numerous wrinkles, lowering the water level is significantly more effective.
What Causes Wrinkles in a Pool Liner?
Wrinkles are usually caused by one of three things: incorrect installation, water chemistry issues, or groundwater. If the liner was installed on a cold day, it may not have stretched enough. High chlorine levels or low pH can cause the vinyl to absorb water and expand, leading to puckering. Finally, groundwater rising beneath the pool can push the liner up, creating long, floating wrinkles.
Is It Safe to Use a Plunger on a Vinyl Liner?
Using a plunger is generally safe and is a common industry trick, but you must be careful. Ensure the plunger is clean and has a soft rubber cup. Do not use extreme force when pulling up, as you don’t want to stretch the vinyl into a bubble or tear it. The goal is to gently break the suction of the liner against the ground so you can slide it flat.
Will Wrinkles Go Away on Their Own?
Unfortunately, wrinkles in a pool liner almost never go away on their own. The immense weight of the water—thousands of pounds—holds them firmly in place. Over time, wrinkles can actually become worse as dirt and debris collect in the folds, causing them to harden. Addressing them as soon as you notice them is the best way to ensure a smooth pool floor.
When Should I Consider Replacing the Liner Instead?
If your liner is old (typically over 10-15 years), brittle, or faded, attempting to remove wrinkles might cause it to crack or tear. Old vinyl loses its elasticity. If you try to stretch an old liner and it feels stiff or makes a cracking sound, stop immediately. In these cases, the wrinkles are likely due to age-related material failure, and replacing the liner is the only viable long-term solution.
Conclusion
Restoring the smooth, inviting surface of your pool floor is a project that pays dividends in both aesthetics and longevity. While the process requires physical effort and careful attention to water levels, it is a manageable task that can save you the significant cost of professional intervention.
By understanding the causes of liner shifts—whether it be temperature, groundwater, or installation issues—and applying the correct techniques like heating the vinyl and using simple tools like a plunger or shop vac, you can achieve professional-looking results. Remember, proper pool maintenance is crucial to the longevity and beauty of your backyard oasis. So, take the time to tend to your pool and enjoy a worry-free swim season!
About
Outdoor Fixes is a distinguished figure in the world of Diy design, with a decade of expertise creating innovative and sustainable Diy solutions.
His professional focus lies in merging traditional craftsmanship with modern manufacturing techniques,
fostering designs that are both practical and environmentally conscious. As the author of diy,
outdoorfixes delves into the art and science of outdoorfixes-making, inspiring artisans and industry professionals alike.
Education RMIT University
(Melbourne, Australia) Associate Degree in Design (Outdoor Fixes) Focus on sustainable design, industry-driven projects,
and practical craftsmanship. Gained hands-on experience with traditional and digital manufacturing tools, such as CAD and CNC software.
Nottingham Trent University
(United Kingdom) Bachelor’s in outdoorfixes.com and Product Design (Honors) Specialized in product design with a focus on blending creativity with production
techniques. Participated in industry projects, working with companies like John Lewis and Vitsoe to gain real-world insights.
Publications and Impact
In diy, Outdoor Fixes his insights on indoor design processes, materials, and strategies for efficient production.
His writing bridges the gap between artisan knowledge and modern industry needs, making it a must-read for both budding designers and seasoned professionals.