
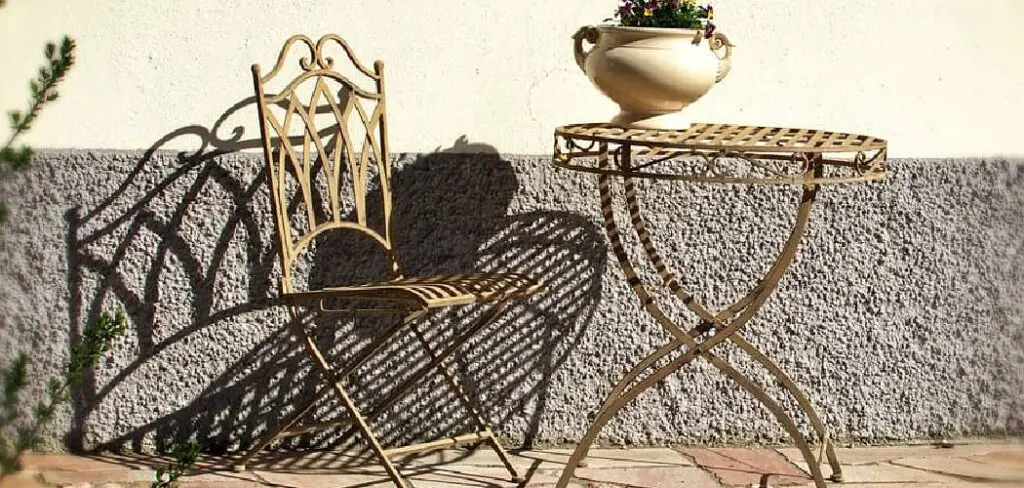
Repainting cast aluminum patio furniture is an excellent way to restore its appearance and extend its lifespan. Over time, exposure to the elements can cause the original finish to fade, chip, or become dull. Fortunately, with a few tools and some effort, you can give your patio furniture a refreshed and vibrant look. This guide will walk you through the steps of how to repaint cast aluminum patio furniture, ensuring a durable and attractive finish.
Why Repaint Cast Aluminum Furniture?
Repainting cast aluminum furniture offers several benefits beyond simply improving its visual appeal. Over time, exposure to sun, rain, and other environmental elements can lead to surface corrosion or damage to the protective coatings, leaving the furniture vulnerable to further deterioration.
A fresh coat of paint not only restores its aesthetic charm but also acts as a shield against rust and wear, ensuring the furniture remains functional and attractive for years to come. Additionally, repainting allows you to update the color to match changing styles or personal preferences, giving your outdoor space a customized and polished look.
Tools and Materials Needed
To repaint outdoor furniture effectively, you will need the following tools and materials:
- Sandpaper or Wire Brush: For removing old paint, rust, or debris from the surface.
- Clean Cloths: To wipe down the furniture and ensure a smooth, dust-free surface.
- Primer: Essential for creating a base layer that helps the paint adhere properly.
- Outdoor Paint: Choose a weather-resistant paint suitable for metal, wood, or plastic, depending on your furniture.
- Paintbrushes or Spray Paint Equipment: Depending on your preference, these tools will help you apply the paint evenly.
- Drop Cloth or Tarp: To protect the surrounding area from paint splatters.
- Painter’s Tape: To mask off any areas you don’t want painted.
- Protective Gear: Gloves and a mask to protect your hands and lungs during sanding and painting.
Having these items ready will ensure the repainting process is smooth and efficient, leaving your outdoor furniture looking refreshed and revitalized.
10 Methods How to Repaint Cast Aluminum Patio Furniture
1. Inspect the Furniture Thoroughly Before Beginning
Before jumping into repainting, start by inspecting your cast aluminum patio furniture in detail. Look for peeling paint, oxidized or chalky surfaces, corrosion (though rare with aluminum), or any cracks in welds or joints. Cast aluminum is prized for being rust-resistant and lightweight, but its finish can fade over time, especially after years of exposure to sun, rain, and temperature swings.
Identifying damaged areas early allows you to prepare the right tools and materials, ensuring the paint job addresses not just aesthetic issues but also any underlying wear that might affect structural longevity.
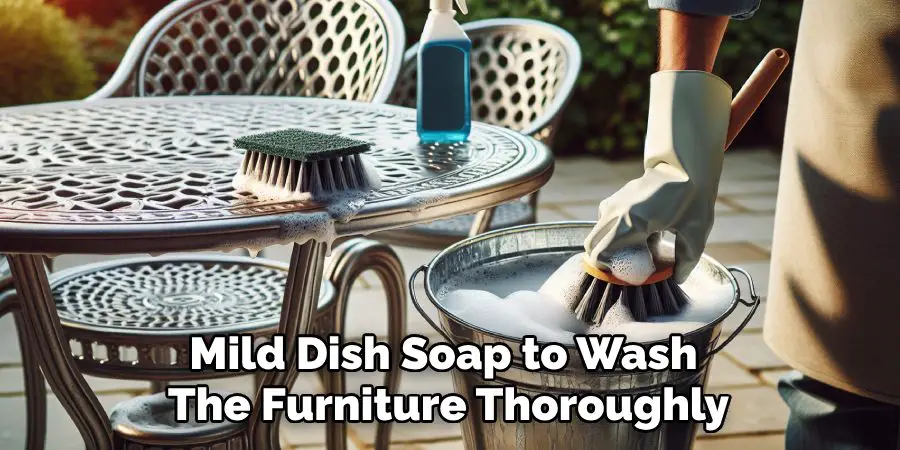
2. Clean the Surface with Soap and Water to Remove Debris
Before any sanding or priming, the surface must be free of dust, dirt, pollen, and especially oils. Use warm water mixed with mild dish soap to wash the furniture thoroughly. A sponge or soft-bristled brush helps reach into detailed cast designs.
This cleaning step prevents sanding grit or grime from getting ground into the surface and ensures better adhesion when you apply new paint. Rinse well with a garden hose and allow the furniture to dry completely before moving to the next step. Clean surfaces mean stronger bonds between paint layers and longer-lasting results.
3. Remove Old, Loose Paint and Oxidation with Wire Brushing or Scraping
Once the furniture is clean and dry, examine areas with flaking or bubbling paint. These should be scraped away using a putty knife or wire brush. For chalky aluminum oxidation—a white, powdery film that forms from weathering—a wire brush or scouring pad is also effective. This helps strip down to a stable surface without gouging or deforming the cast details. Be thorough in this stage; any loose or unstable paint left behind can lead to peeling down the road. Focus on getting the surface as clean and smooth as possible before sanding.
4. Sand All Surfaces to Improve Paint Adhesion
After scraping, it’s time to sand the furniture. Use medium-grit sandpaper (about 120 to 150 grit) to scuff the entire surface. For flat areas, a sanding block or orbital sander works well. For intricate patterns and curves, hand sanding with flexible sanding sponges or emery cloths will ensure even contact. Sanding serves two purposes: it removes lingering paint and oxidation, and it lightly etches the surface so primer and paint can adhere better. Don’t skip the sanding—it’s the foundation of a durable, professional-looking paint job.
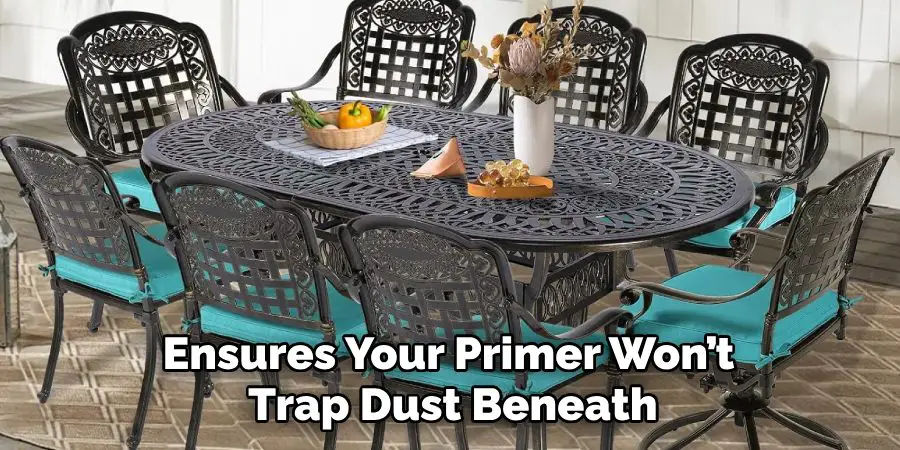
5. Wipe Down the Furniture with a Tack Cloth or Damp Rag
Once you’re done sanding, wipe the furniture down to remove all sanding dust. A tack cloth—a sticky, resin-coated cheesecloth used in woodworking—is excellent for catching fine particles. Alternatively, a damp microfiber cloth works too, though it must be allowed to dry thoroughly afterward. Avoid using compressed air or blowers, which can drive dust deeper into crevices. A clean surface at this stage ensures your primer won’t trap dust beneath, leading to imperfections or peeling later.
6. Apply a Primer Specifically Designed for Metal Surfaces
Priming is essential for aluminum, even though it’s corrosion-resistant. Use a spray primer designed for bare metal or aluminum—look for rust-inhibiting formulas even if aluminum won’t rust, as they typically adhere better. Apply the primer in light, even coats, keeping the spray can about 10–12 inches away from the surface.
Multiple thin layers are better than one heavy coat to avoid drips or pooling. Make sure the primer reaches into crevices and ornate patterns. Let each coat dry as instructed—usually 1 to 2 hours. Primer creates a smooth base for your topcoat and helps it last through weather exposure.
7. Choose a Durable Outdoor Paint Suited for Metal
Selecting the right paint is critical for durability and finish. Use an enamel spray paint or acrylic-based paint designed specifically for outdoor metal surfaces. Brands like Rust-Oleum or Krylon offer outdoor furniture paints that resist fading, moisture, and UV damage. Stick to spray paint for cast aluminum since it applies evenly and can reach intricate details without brush marks. Apply paint in several light coats, letting each layer dry for 10–20 minutes before adding the next. Avoid heavy coats, which can lead to drips or uneven texture. Patience and layering ensure a clean, durable finish.
8. Apply a Clear Topcoat for Extra Protection (Optional but Recommended)
For an even longer-lasting finish, consider sealing the painted furniture with a clear topcoat. Choose a UV-resistant clear enamel or acrylic sealer designed for outdoor use. This extra layer helps protect the paint from sun damage, moisture, and scratches—particularly if your patio furniture is in an exposed area. Apply it the same way as paint, using thin, even coats and allowing each one to dry before applying the next. A clear topcoat also enhances the paint’s sheen—matte, satin, or gloss—depending on the look you’re aiming for.
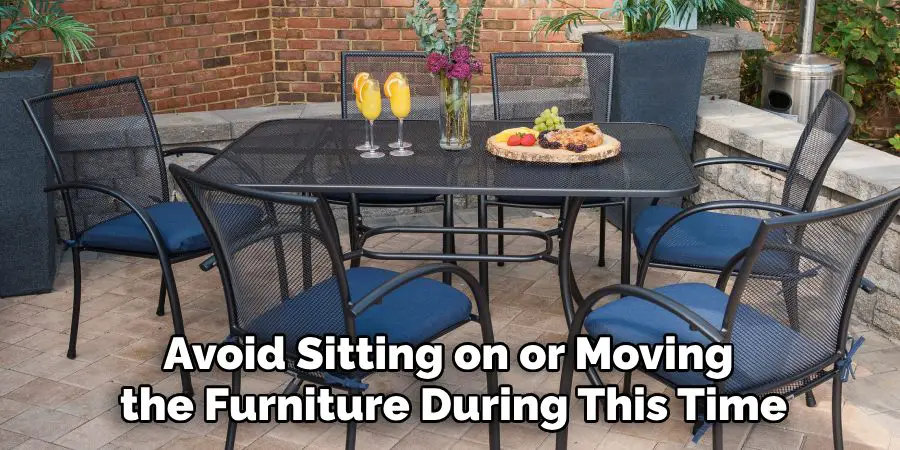
9. Allow the Paint to Cure Fully Before Use
Even if the paint feels dry to the touch, it hasn’t fully cured. Allow the furniture to sit undisturbed for at least 24 to 48 hours—longer if the weather is humid or cool. Avoid sitting on or moving the furniture during this time to prevent scuffs or impressions in the soft paint. Full curing ensures that the paint bonds securely to the aluminum and forms a tough, long-lasting finish. Once cured, the paint will be much more resistant to scratches, UV damage, and the wear of outdoor use.
10. Maintain the New Finish with Gentle Cleaning and Seasonal Touch-Ups
Once your cast aluminum furniture has been repainted, keeping it clean and protected will help the finish last for years. Wash the surface regularly with mild soap and water, and avoid harsh scrubbing tools or abrasive cleaners that can scratch the paint. During seasonal transitions or after harsh weather, inspect the furniture for chips or worn spots. If needed, lightly sand the area and reapply touch-up paint followed by sealer. Storing the furniture under covers or moving it to a covered patio during heavy rain seasons will further preserve the finish and reduce maintenance needs.
Maintenance and Upkeep
Proper maintenance and regular upkeep are essential to extend the life of your outdoor furniture. Begin by cleaning the furniture at least once a month to prevent dirt and grime buildup. Use a soft cloth or sponge, along with a mild cleaning solution, to gently remove debris without damaging the surface. For wood furniture, consider applying a protective oil or sealant annually to safeguard against moisture and UV damage.
Inspect screws, bolts, and joints frequently, tightening them as needed to ensure stability. For cushions or fabric surfaces, follow the manufacturer’s cleaning instructions, and store them indoors or in weatherproof containers during extreme weather to avoid mold or fading. Investing a little time and care into maintenance will keep your furniture looking great and functioning well for years to come.
Conclusion
Repainting cast aluminum patio furniture is a satisfying DIY project that not only revives the look of your outdoor space but also adds years of life to your investment. By following these ten detailed methods—from preparation and cleaning to painting and long-term care—you’ll ensure a smooth, professional-looking finish that withstands the elements. Thanks for reading, and we hope this has given you some inspiration on how to repaint cast aluminum patio furniture!
About
Outdoor Fixes is a distinguished figure in the world of Diy design, with a decade of expertise creating innovative and sustainable Diy solutions.
His professional focus lies in merging traditional craftsmanship with modern manufacturing techniques,
fostering designs that are both practical and environmentally conscious. As the author of diy,
outdoorfixes delves into the art and science of outdoorfixes-making, inspiring artisans and industry professionals alike.
Education RMIT University
(Melbourne, Australia) Associate Degree in Design (Outdoor Fixes) Focus on sustainable design, industry-driven projects,
and practical craftsmanship. Gained hands-on experience with traditional and digital manufacturing tools, such as CAD and CNC software.
Nottingham Trent University
(United Kingdom) Bachelor’s in outdoorfixes.com and Product Design (Honors) Specialized in product design with a focus on blending creativity with production
techniques. Participated in industry projects, working with companies like John Lewis and Vitsoe to gain real-world insights.
Publications and Impact
In diy, Outdoor Fixes his insights on indoor design processes, materials, and strategies for efficient production.
His writing bridges the gap between artisan knowledge and modern industry needs, making it a must-read for both budding designers and seasoned professionals.