
A lush, vibrant lawn depends on more than sunlight and fertilizer—it requires a well-maintained irrigation system. Homeowners are often surprised by how much a single faulty sprinkler head can impact the health and appearance of their landscape. When a sprinkler head breaks, the result can be soggy patches, dried-out grass, and unnecessary water waste that drives up your bills.
The good news is, learning how to replace a broken sprinkler head is straightforward, budget-friendly, and can be accomplished with just a handful of basic tools. In this comprehensive guide, you’ll discover easy-to-follow steps, tips for choosing the right parts, maintenance advice, and how to avoid common pitfalls, all tailored to help you keep your irrigation system in top condition.
Understanding Sprinkler Heads and Their Issues
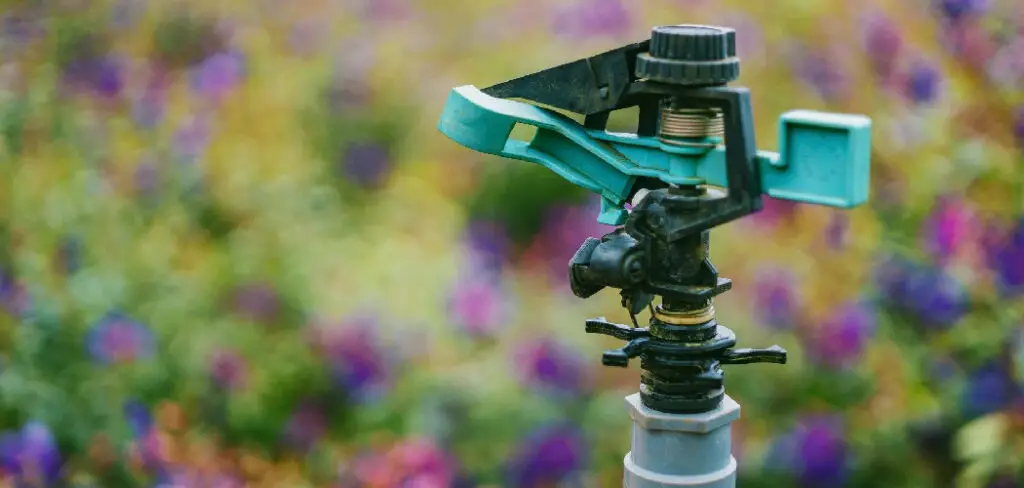
Before you tackle the repair, it helps to understand what makes up a typical sprinkler head and the problems that commonly arise. Sprinkler heads are the endpoint of your irrigation system, responsible for evenly distributing water across your lawn or garden. There are several types available, each with its unique strengths:
- Pop-up heads retract when not in use and are ideal for grassy areas.
- Rotary heads provide a rotating stream, suitable for larger lawns.
- Fixed spray heads deliver a consistent fan of water, perfect for smaller or odd-shaped beds.
Each type is designed with its own spray pattern and distance coverage, so understanding what’s installed helps ensure compatibility when replacing a broken head.
Signs of a Broken Sprinkler Head
Damage isn’t always obvious at first glance. Some indicators include a sprinkler head that fails to pop up, resulting in dry spots nearby. Others may dribble or gush water even when the system is off, leading to pooling or erosion. A telltale fan or stream that’s uneven or shoots off in odd directions often signals a cracked or clogged head. By regularly monitoring your system when it’s running, you’re more likely to spot problems before they cause major lawn damage.
Preparing to Replace a Sprinkler Head
An organized approach makes the replacement process much smoother. Begin by gathering the right information and materials before you dig.
Tools and Materials Needed
You’ll need a few basics: a compatible replacement sprinkler head, a small shovel, a roll of Teflon tape, and an adjustable wrench. It’s a good idea to check your system’s brand and model, or bring the old head with you to the store to ensure a proper match. Look for durable materials that resist clogging and are designed for your specific type of lawn or garden.
Identifying the Correct Head Type

Not all sprinkler heads are created equal. Examine your old head for model numbers or manufacturer branding. Note the type (pop-up, rotary, fixed), spray pattern, and flow rate. Using mismatched heads can cause coverage gaps or create over-watered spots, so be sure to select a replacement intended for your system and lawn area.
Turning Off the Water Supply
This step is vital for both safety and system protection. Always shut off the main irrigation water supply before you begin working. This prevents accidental geysers, reduces mess, and protects the rest of your system from pressure changes that could introduce debris or air gaps.
How to Replace a Broken Sprinkler Head: Steps to Follow
Replacing a broken sprinkler head involves a sequence of clear, manageable actions to ensure a secure fit and effective operation.
Locating and Accessing the Damaged Sprinkler Head
Run the sprinkler system briefly to identify which head is malfunctioning—look for areas with abnormal water flow, pooling, or no spray at all. Once located, carefully clear away any grass, soil, or mulch from around the head to expose its base. Try to keep the turf in one piece so it can be easily replaced after the repair.
Removing the Old Sprinkler Head
Using a small shovel or trowel, dig a shallow trench in a circle about six inches around the sprinkler head. Gently lift the sod and expose the riser (the vertical pipe that connects the head to the irrigation line). Grasp the head and turn it counterclockwise to unscrew it from the riser, keeping the threads and piping as clean as possible. Watch for dirt falling into the open riser—if any gets inside, carefully remove it to prevent clogs. If the head is stuck, use your adjustable wrench, but avoid using excessive force that could damage the riser.
Installing the New Sprinkler Head
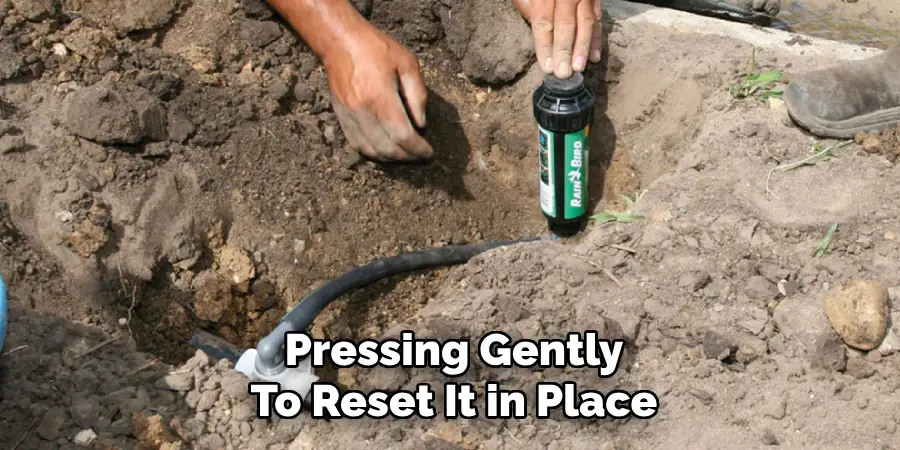
Take the replacement head and wrap the threads with Teflon tape to ensure a leak-proof seal. Thread the new head onto the riser by hand, turning clockwise until it’s snug. Finish tightening gently with a wrench if necessary, but avoid over-tightening, which can crack plastic components or damage the system. Adjust the nozzle so it’s aligned with the targeted watering pattern—most heads allow you to rotate the top for fine-tuning. Refill the hole with soil and replace the turf, pressing gently to reset it in place.
Testing the System After Replacement
A successful installation requires careful inspection and adjustment.
Checking for Proper Functionality
Turn your irrigation system back on and observe the replaced head. Ensure it pops up smoothly (for pop-up models), sprays evenly across the intended area, and is free from stray jets or leaks around the base. Watch the watering pattern to confirm it matches the surrounding heads. If you see a small bubble at the base, the connection may need another gentle turn to tighten.
Addressing Any Issues
If you notice leaks between the head and the riser, turn off the water and reinstall the head, adding more Teflon tape as needed. Odd spray patterns may mean the nozzle is not facing the right direction—twist the top gently for adjustment. Persistent issues like low pressure or uneven flow could indicate deeper blockages, requiring inspection of the line or filter. Take care to solve these problems promptly to avoid wasting water or stressing your lawn.
Tips for Maintaining Sprinkler Heads
A bit of routine attention can extend the life of both your sprinkler heads and your irrigation system.
Routine Inspections
Plan to check your sprinkler system every few weeks during the watering season. Look for sunken, tilted, or non-popping heads, and brush off any grass clippings or debris from the nozzles. If you notice uneven coverage or pooling, address it immediately—early fixes are always easier.
Seasonal Maintenance
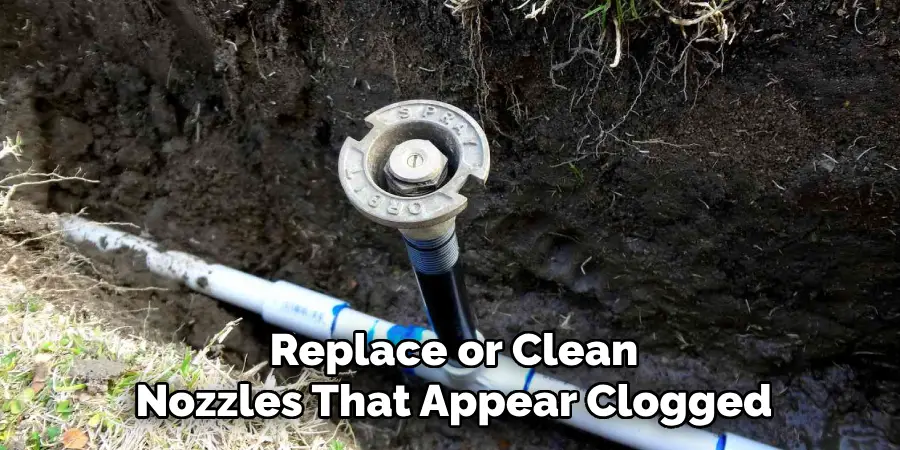
Before winter, especially in colder climates, blow out your sprinkler lines with compressed air or hire a pro for winterization to prevent freeze damage. In spring, check that all heads are clear and functioning, and replace or clean nozzles that appear clogged. This seasonal attention helps prevent long-term wear and unexpected breakdowns when you need your system the most.
Common Mistakes to Avoid When Replacing Sprinkler Heads
DIY replacement is accessible, but some errors can create problems down the line. One frequent mistake is choosing a replacement head that does not match the existing design or flow specifications, leading to uneven watering lines. Over-tightening the new head can strip threads or crack plastic components, producing leaks. Forgetting to flush the system or allowing debris into the open riser risks clogging the new head before it’s even used. Always double-check the compatibility and fit, and go through the adjustment steps after starting the system.
When to Call a Professional
Though most homeowners can learn how to replace a broken sprinkler head with guidance like this, there are situations when expert help is the best solution. Call a professional if you encounter:
- extensive leaks or broken underground pipes,
- sprinkler heads that refuse to function even after replacement,
- unclear system design or multiple problems following DIY repairs.
Lawn care specialists have tools for line tracing, pressure testing, and more complex repairs that can save time and money if the issue extends beyond a single head.
Benefits of Replacing a Broken Sprinkler Head
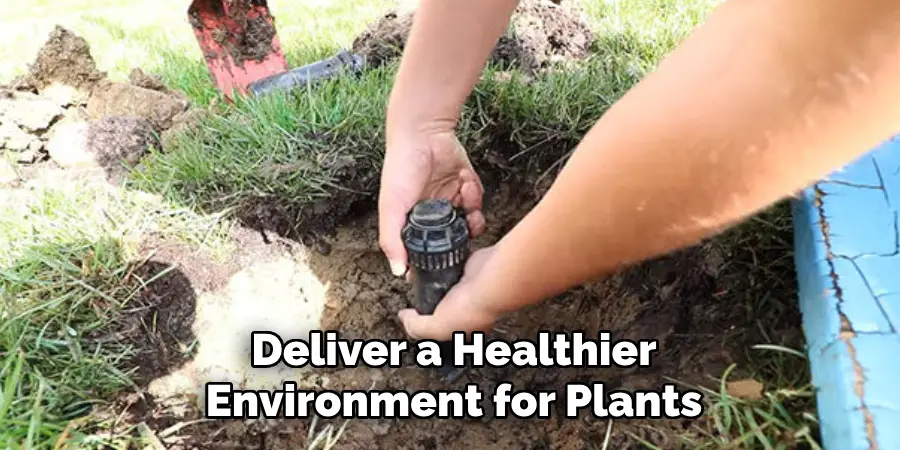
Promptly swapping out broken sprinkler heads protects your investment in landscaping. Your lawn stays evenly hydrated, reducing the risk of brown patches or muddy spots. Up-to-date sprinkler heads also use water more efficiently, cutting down on waste and utility bills. You’ll also spend less time and money making larger repairs later on, as a well-maintained system is less likely to suffer cascading failures. Ultimately, your property will retain stronger curb appeal and deliver a healthier environment for plants, pets, and people alike.
Conclusion
Learning how to replace a broken sprinkler head is a practical, cost-effective skill that empowers homeowners to keep their lawns thriving and water bills manageable. By understanding your system, gathering the right tools, and following step-by-step installation and testing procedures, you can quickly restore your sprinkler to optimal performance. Combine this repair with regular maintenance and prompt attention to emerging issues, and you’ll enjoy a lush, even lawn all year long. When in doubt, don’t hesitate to consult a professional and keep your irrigation system running at its best. Take charge of your yard’s health and aesthetics by mastering the simple but vital task of sprinkler head replacement.
About
Outdoor Fixes is a distinguished figure in the world of Diy design, with a decade of expertise creating innovative and sustainable Diy solutions.
His professional focus lies in merging traditional craftsmanship with modern manufacturing techniques,
fostering designs that are both practical and environmentally conscious. As the author of diy,
outdoorfixes delves into the art and science of outdoorfixes-making, inspiring artisans and industry professionals alike.
Education RMIT University
(Melbourne, Australia) Associate Degree in Design (Outdoor Fixes) Focus on sustainable design, industry-driven projects,
and practical craftsmanship. Gained hands-on experience with traditional and digital manufacturing tools, such as CAD and CNC software.
Nottingham Trent University
(United Kingdom) Bachelor’s in outdoorfixes.com and Product Design (Honors) Specialized in product design with a focus on blending creativity with production
techniques. Participated in industry projects, working with companies like John Lewis and Vitsoe to gain real-world insights.
Publications and Impact
In diy, Outdoor Fixes his insights on indoor design processes, materials, and strategies for efficient production.
His writing bridges the gap between artisan knowledge and modern industry needs, making it a must-read for both budding designers and seasoned professionals.