This is an important question for anyone who wants to keep their lawn looking great. Adding a new sprinkler head can increase the coverage of your sprinkler system, ensuring that all parts of your lawn get even water distribution.

It can also help reduce water waste since you won’t be over-watering any areas of your lawn. By knowing the steps to add a sprinkler head properly, you can ensure that your lawn care is both efficient and effective.
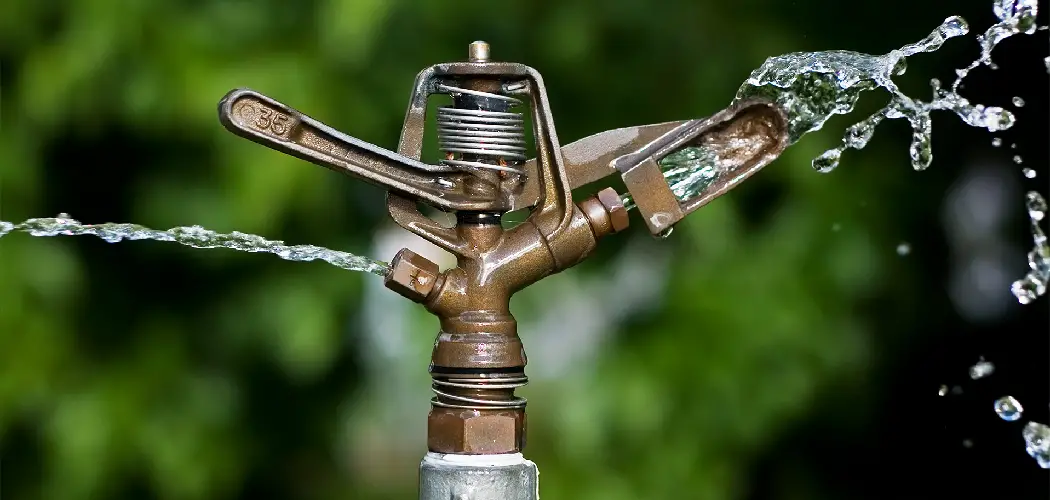
Adding sprinkler heads to an existing system is a great way to upgrade the irrigation of your lawn or garden. With the added sprinkler head, you can provide more even coverage and more efficient water delivery for healthier plants and grass.
Additionally, adding new sprinkler heads can give you more control so you can water specific areas that need it most. With the right installation techniques, adding a sprinkler head to your existing system can be done quickly and easily. In this blog post, You will learn in detail how to add sprinkler head to existing system.
Step by Step Processes for How to Add Sprinkler Head to Existing System
Step 1: Inspect the Existing Sprinkler System
Before you begin to add a sprinkler head, you will need to inspect your existing sprinkler system. Look for any loose or broken components and make sure that each sprinkler is functioning properly. After you have inspected the system, turn off the water supply by finding the main shut-off valve. This is usually located near the water meter or well pump.
Step 2: Find a Location for the Sprinkler Head
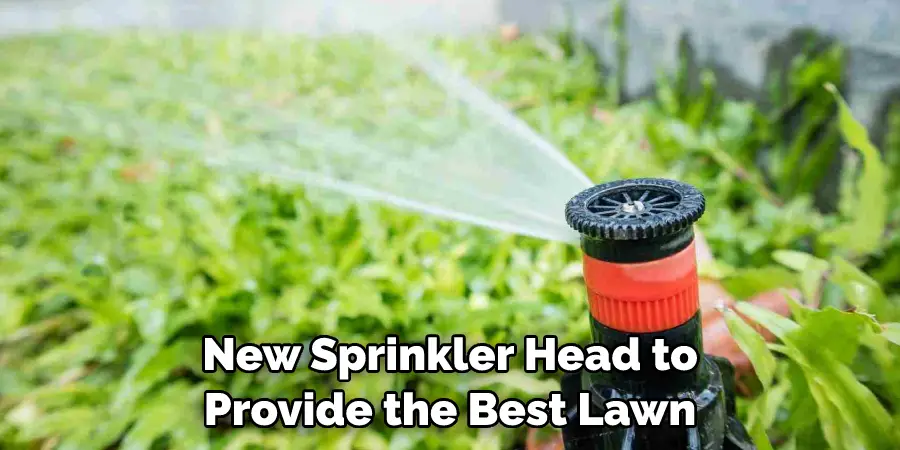
Choose a location for your new sprinkler head to provide the best lawn and garden coverage. Make sure it is positioned in an area with enough space to accommodate the head without interfering with other sprinkler heads or garden beds.
Step 3: Dig a Hole for the Sprinkler Head
Using a shovel, dig a hole at least 8 inches deep and wide enough to accommodate the sprinkler head. Make sure you leave some room around the circumference of the hole so that you can easily install the head later. Insert the sprinkler head into the hole and secure it in place by placing some dirt around the base. Make sure that it is firmly secured and level with no gaps.
Step 4: Connect the Riser Pipe to the Sprinkler Head
Use a wrench to connect the riser pipe to the top of the sprinkler head. Make sure the connection is secure and tight. Place a cover over the top of the sprinkler head to protect it from any debris or dirt that can enter it. Connect the riser pipe to the existing system by turning off the water supply, loosening the clamps on both pipes, and connecting them together. Secure each connection with a wrench.
Step 5: Backfill Around Sprinkler Head
Using dirt from the hole you dug earlier, backfill around the sprinkler head so that it is firmly secured in the ground. Ensure there are no gaps and it is level with the ground. Once you have backfilled around the sprinkler head, turn on the water supply to test if it is functioning properly. If everything works as expected, your new sprinkler head should be ready.
Safety Tips for How to Add Sprinkler Head to Existing System
- Make sure to turn off the water supply before you begin working on your sprinkler system. This will help prevent any possible flooding or water damage that could occur while making your changes.
- Inspect the existing system for any signs of wear or damage before continuing with your installation process. If you notice any issues, fix them before proceeding.
- Wear protective gear when working with your sprinkler systems, such as safety glasses and gloves. This will help protect you from any possible injuries that could occur while dealing with the necessary tools or materials.
- Familiarize yourself with the type of pipes and fittings used in your system to make sure that you have the correct connectors and components for your installation.
- Make sure to use the appropriate tools when installing your new sprinkler head, such as Wrenches, Pliers, and Hacksaws.
- Install the new sprinkler head in a location that is not blocked by any objects or plants and ensure adequate water flow reaches the head.
- Monitor the pressure of your system after installation and check for any leaks or other issues that may arise.
- Finally, make sure to familiarize yourself with all local codes and regulations regarding sprinkler systems before you begin work on your new installation. This will help ensure that your system is properly installed and meets all safety standards.

By following these safety tips, you are sure to have a successful installation of your sprinkler head on an existing system. With proper care and maintenance, you can ensure that your sprinkler system will run smoothly for years.
How Do You Prevent the New Sprinkler Head From Disrupting the Flow of Existing Irrigation?
When adding a new sprinkler head to an existing system, it is important to avoid disrupting the flow of water from the other heads. This can be accomplished by properly sizing and spacing the new head in relation to the others. First, you should choose a head with the appropriate capacity for your system.
If you have 1/2” piping, you should use a 1/2” head. When installing the new sprinkler head, you should place it at least four times the distance from the other as recommended for pop-up heads on an independent system. For example, if the recommended spacing for a pop-up system is 8 feet between heads, you should place the new head at least 32 feet from the other heads.
Once the head is installed, you can adjust the pressure and flow rate to optimize performance without affecting existing sprinklers. To make sure that your system is not over-pressurized, use a pressure gauge or other testing device before adjusting any of the settings.
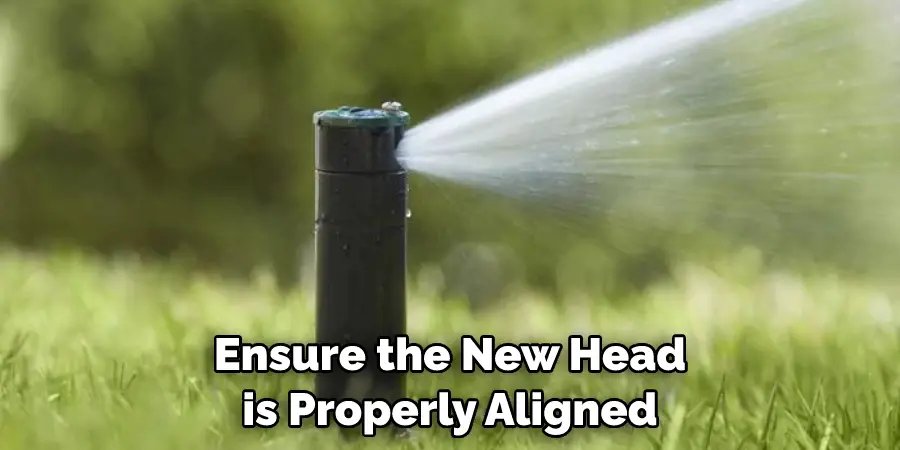
This will ensure that the pressure is appropriate for all of your sprinklers. Finally, check to ensure the new head is properly aligned with the other heads and delivers water evenly across its coverage area. Adjusting the spray pattern on a rotary head can also help keep from disrupting existing irrigation flow.
What Types of Maintenance Should You Perform on the Added Sprinkler Head in Order to Ensure It Works Properly?
Once you’ve added the new sprinkler head to your existing system, it is important to maintain and properly care for it to ensure it works as efficiently as possible. Here are a few maintenance tips:
- Check for Leaks: Make sure that all of the connections are tight and there are no visible leaks. If there are any leaks, take the time to repair them as soon as possible.
- Clean Nozzles: Over time, nozzles can get clogged with dirt and debris, preventing water from coming out at full pressure. Take the time to clean these nozzles for maximum efficiency periodically.
- Adjust Spray Patterns: Make sure to adjust the spray patterns of the sprinkler head periodically to ensure they evenly distribute water throughout your yard.
- Test Coverage: Regularly check that all lawn and garden areas are being watered properly by testing coverage at various times throughout the day.
By following these maintenance tips, you can ensure that your added sprinkler head is working properly and efficiently to keep your lawn and garden looking its best.
How Can You Tell if the New Sprinkler Head is Working Properly?
Once you have installed the new sprinkler head and turned the water back on, testing that it is working properly is important. It’s easy to do this by following these steps:
- Make sure all other sprinklers in your system are off, and no water is running through them.
- Turn on the water to the new sprinkler head and ensure it receives adequate water pressure.
- Once the water is running through your new sprinkler head, wait until you can see that it is fully operational by watching for either of water or the oscillation pattern in the case of rotary heads.
- If the water is not coming out of the sprinkler head, you may need to check that it is properly attached or if there are any blockages in the line.
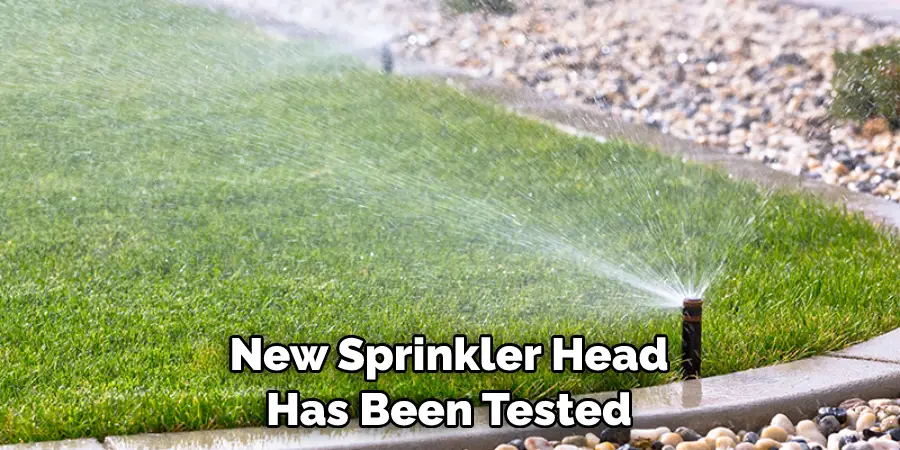
- Once your new sprinkler head has been tested and is working properly, you can turn on all of the other sprinklers in your system and adjust them as needed to ensure proper coverage.
Now that your new sprinkler head is installed and working properly, you can enjoy the benefits of a well-maintained irrigation system for years to come.
Conclusion
In conclusion, adding a sprinkler head to an existing system is not difficult. It requires a few steps, such as turning off the main water valve, cutting the PVC pipe where you will insert the new sprinkler head, installing the elbow and riser pieces for the new sprinkler head, and threading it into place using sealant or Teflon tape.
Once the new sprinkler head is in place, turn on the main water valve and test the sprinkler head to ensure it is working properly. I hope this article has been beneficial in learning how to add sprinkler head to existing system. Make Sure the precautionary measures are followed chronologically.
About
Outdoor Fixes is a distinguished figure in the world of Diy design, with a decade of expertise creating innovative and sustainable Diy solutions.
His professional focus lies in merging traditional craftsmanship with modern manufacturing techniques,
fostering designs that are both practical and environmentally conscious. As the author of diy,
outdoorfixes delves into the art and science of outdoorfixes-making, inspiring artisans and industry professionals alike.
Education RMIT University
(Melbourne, Australia) Associate Degree in Design (Outdoor Fixes) Focus on sustainable design, industry-driven projects,
and practical craftsmanship. Gained hands-on experience with traditional and digital manufacturing tools, such as CAD and CNC software.
Nottingham Trent University
(United Kingdom) Bachelor’s in outdoorfixes.com and Product Design (Honors) Specialized in product design with a focus on blending creativity with production
techniques. Participated in industry projects, working with companies like John Lewis and Vitsoe to gain real-world insights.
Publications and Impact
In diy, Outdoor Fixes his insights on indoor design processes, materials, and strategies for efficient production.
His writing bridges the gap between artisan knowledge and modern industry needs, making it a must-read for both budding designers and seasoned professionals.