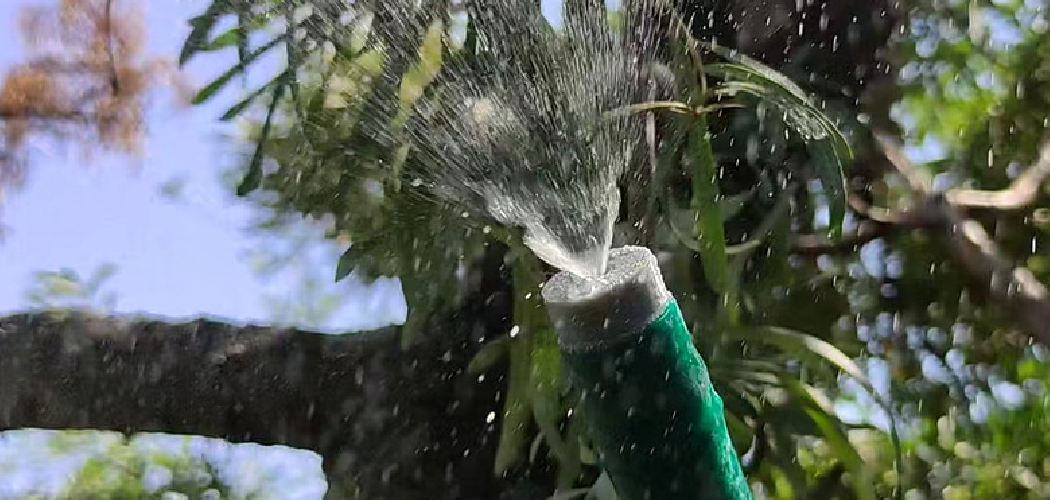
Sustainable gardening practices have been gaining popularity in recent years, and one such practice is drip irrigation through soaker hoses. Soaker hoses are a type of irrigation system that waters plants at the root level, saving water and preventing soil erosion. Setting up soaker hoses is an easy and efficient way to maintain a healthy garden.

In this blog post, we will discuss everything you need to know about how to set up soaker hoses in your garden. We will provide you with an in-depth guide on installing, using, and maintaining these hoses to ensure that your vegetable patch and flower beds are adequately irrigated.
Can You Set up Soaker Hose?
Do you want to conserve water while maintaining a lush garden? The answer lies in setting up a soaker hose. It’s a simple and cost-effective solution to watering your plants. Unlike sprinklers, soaker hoses deliver water directly to the soil, right where the roots need it.
This means less water wasted from evaporation or runoff. Plus, setting up a soaker hose is a breeze. You just need a little planning and a few tools. With its innovative design, a soaker hose can make a big difference in the health and longevity of your garden.
Why Should You Set up Soaker Hose?
Water conservation is a big concern these days, and if you’re looking for an effective way to water your plants without wasting any precious H2O, a soaker hose system might be just what you need. Soaker hoses deliver water slowly and directly to plant roots, minimizing waste due to evaporation and runoff.
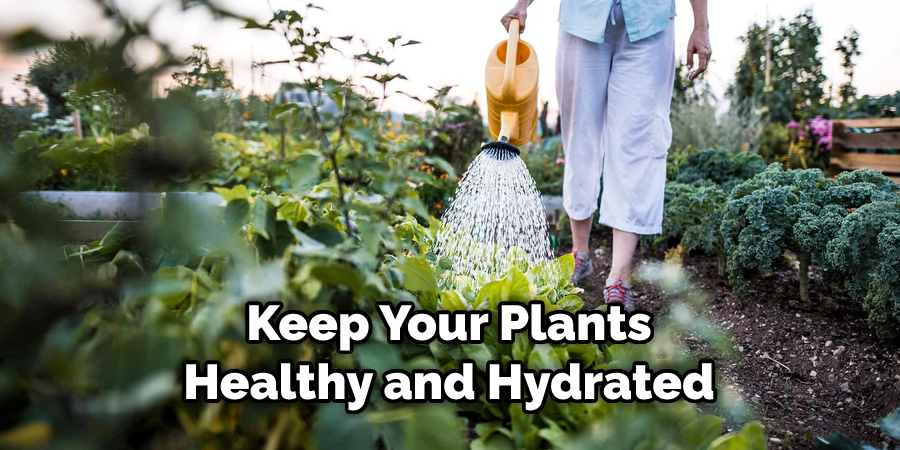
They’re easy to install and use and can save you time and money compared to traditional watering methods. Plus, they can help prevent soil erosion, reduce weed growth, and keep your plants healthy and hydrated all season long. So if you want to be a responsible gardener and do your part for the environment, consider setting up a soaker hose and see the benefits for yourself.
How to Set up Soaker Hose – in 7 Easy Steps
Step 1. Choosing the Right Soaker Hose
Before setting up soaker hoses, you must select the right hose for your garden. Soaker hoses come in various lengths, diameters, and thicknesses, so you must choose the right one for your specific garden space. If your garden is small, you should go for a shorter hose, but if it is big, you will need a longer hose.
Also, consider the pressure of your water source, as some soaker hoses require high pressure. Furthermore, be sure to buy a soaker hose that is made of durable material, such as recycled rubber, to ensure that it lasts long.
Step 2. Installing Soaker Hoses
The next step is installing the hose. Begin by laying the hose down in the garden beds. Ensure the hose is straight and not twisted, which can cause uneven watering. After laying the hose down, attach it to the water source using a connector that is easy to install. Keep in mind that soaker hoses have male and female ends, so be sure to connect them accordingly.
Step 3. Adjusting The Water Pressure
After setting up the soaker hose, you should adjust the water pressure. Most soaker hoses work best with a pressure of 10-25 psi. Thick, long hoses require more pressure than short, thin hoses. Start with the lowest pressure and gradually increase it until you achieve the right pressure for your soaker hose. High pressure or water pressure that’s too low can cause the hose to burst or uneven watering.
Step 4. Soaker Hose Maintenance
To ensure that the soaker hose lasts long, you should maintain the hose by cleaning and storing it carefully. Clean the hose after every use to prevent clogging and unwanted accumulation that can cause mold or bacteria. Also, store the hose in a dry and shady spot to prevent it from cracking or rotting.
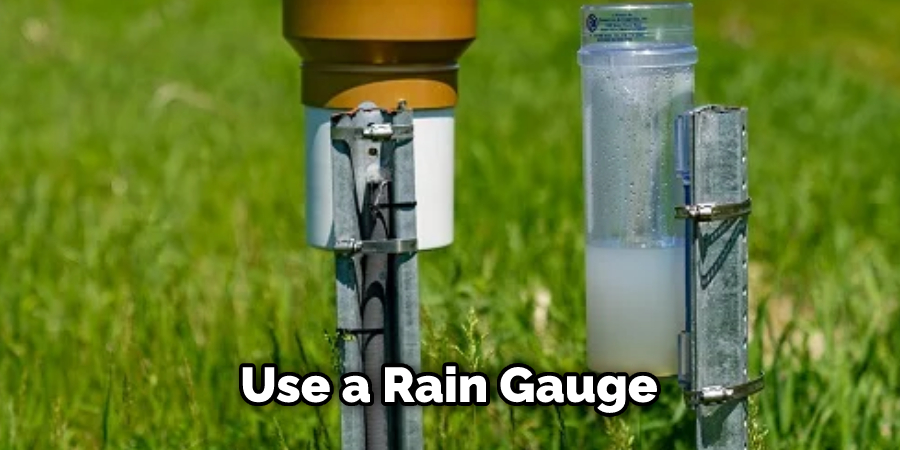
Step 5. Additional Tips
To ensure optimal performance of your soaker hose, ensure you weed garden beds before laying the hose; preferably, use a rain gauge to measure water flow and water early in the morning when temperatures are low, and sun intensity is minimum.
Step 6. Connecting Multiple Soaker Hoses
You may have to use multiple soaker hoses if you need to water a large garden space. The best way to do this is by connecting the first hose to the water source and then connecting additional hoses to the first one. To ensure even watering in all areas, space the additional hoses evenly.
Step 7. Covering The Soaker Hose
Finally, cover the soaker hose with mulch or soil to keep it in place and protect it from sunlight. This will also prevent water evaporation and improve the hose’s efficiency. Additionally, covering the hose prevents accidental damage caused by walking on or mowing over it.
That’s it! You’ve now learned how to set up soaker hoses in just seven easy steps. Be sure to follow the instructions carefully and use the right materials for a successful installation.
5 Considerations Things When You Need to Set Up Soaker Hose
1. The Length of Your Garden Hose
The first thing you need to consider when setting up a soaker hose is the length of your garden hose. You’ll need to make sure that the soaker hose is long enough to reach all the plants in your garden. Additionally, you’ll want to make sure that the soaker hose is not too long, as this can lead to water waste.
2. The Diameter of Your Soaker Hose
Another thing to consider when setting up a soaker hose is the diameter of the hose. Most soaker hoses have a diameter of ½ inch or 5/8 inch. However, some hoses have a larger diameter, which can lead to increased water flow and higher water pressure.
3. The Material of Your Soaker Hose
The material of your soaker hose is also an important consideration. Most soaker hoses are made from rubber or vinyl. However, there are also hoses made from other materials, such as polyethylene or polyurethane. Each material type has its advantages and disadvantages, so you’ll need to choose the one that best suits your needs.
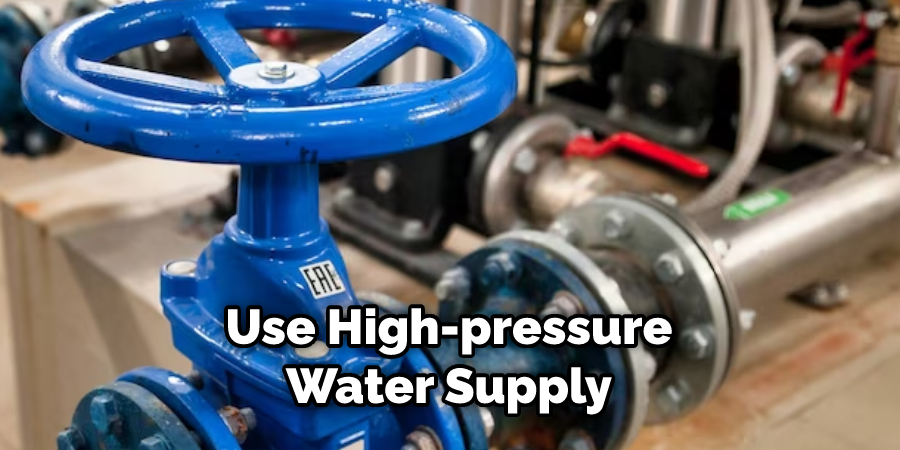
4. The Pressure of Your Water Supply
Another thing to consider when setting up a soaker hose is the pressure of your water supply. If you have a high-pressure water supply, you’ll need to use a regulator in order to reduce the pressure before attaching the soaker hose. Otherwise, the high pressure could damage the hose or cause it to leak.
5. The Climate in Your Area
Finally, you’ll need to consider the climate in your area when setting up a soaker hose. If you live in an area with hot summers and cold winters, you’ll need to make sure that the soaker hose is rated for both hot and cold weather. Additionally, if you live in an area with high winds, you’ll need to make sure that the soaker hose is securely attached to avoid it being blown away by strong gusts of wind.
Benefits of Setting up Soaker Hose
Setting up a soaker hose in your garden is a smart move that has numerous benefits. For starters, this type of irrigation system delivers water directly to the roots of your plants, reducing water waste and minimizing the risk of fungal diseases caused by watering leaves. Additionally, soaker hoses are highly efficient in evenly distributing water throughout your garden, ensuring that every plant gets the right amount of water it needs.
Moreover, installing a soaker hose is easy and cost-effective, and it can save you time and money in the long run by reducing your water bill and promoting healthy plant growth. So, if you want to keep your garden green and healthy while conserving water, consider installing a soaker hose system today.

Some Common Mistakes People Make When Trying to Set up Soaker Hose
Setting up a soaker hose seems simple enough at first glance, but many people make common mistakes that can affect its effectiveness. One of the most common mistakes is placing the hose too far away from the plants’ roots. Soaker hoses work by delivering water directly to the roots, so if it’s too far away, the water may not reach the plants at all.
Another mistake is leaving the hose running for too long or too frequently. This can lead to overwatering and potentially drowning the plants. Finally, failing to ensure the hose is properly buried or covered can result in damage or tripping hazards. By being aware of these common mistakes, you can set up your soaker hose effectively and ensure your plants get the proper hydration they need.
Conclusion
Setting up soaker hoses in your garden is an efficient and easy way to maintain a healthy garden. With this guide, you now have everything you need to choose the right hose, install it, adjust water pressure, and maintain it properly.
With a bit of planning and effort, your garden will thrive, and you will significantly reduce your water usage while maintaining a lush landscape. Happy Gardening! Thanks for reading our post about how to set up soaker hose.
About
Outdoor Fixes is a distinguished figure in the world of Diy design, with a decade of expertise creating innovative and sustainable Diy solutions.
His professional focus lies in merging traditional craftsmanship with modern manufacturing techniques,
fostering designs that are both practical and environmentally conscious. As the author of diy,
outdoorfixes delves into the art and science of outdoorfixes-making, inspiring artisans and industry professionals alike.
Education RMIT University
(Melbourne, Australia) Associate Degree in Design (Outdoor Fixes) Focus on sustainable design, industry-driven projects,
and practical craftsmanship. Gained hands-on experience with traditional and digital manufacturing tools, such as CAD and CNC software.
Nottingham Trent University
(United Kingdom) Bachelor’s in outdoorfixes.com and Product Design (Honors) Specialized in product design with a focus on blending creativity with production
techniques. Participated in industry projects, working with companies like John Lewis and Vitsoe to gain real-world insights.
Publications and Impact
In diy, Outdoor Fixes his insights on indoor design processes, materials, and strategies for efficient production.
His writing bridges the gap between artisan knowledge and modern industry needs, making it a must-read for both budding designers and seasoned professionals.