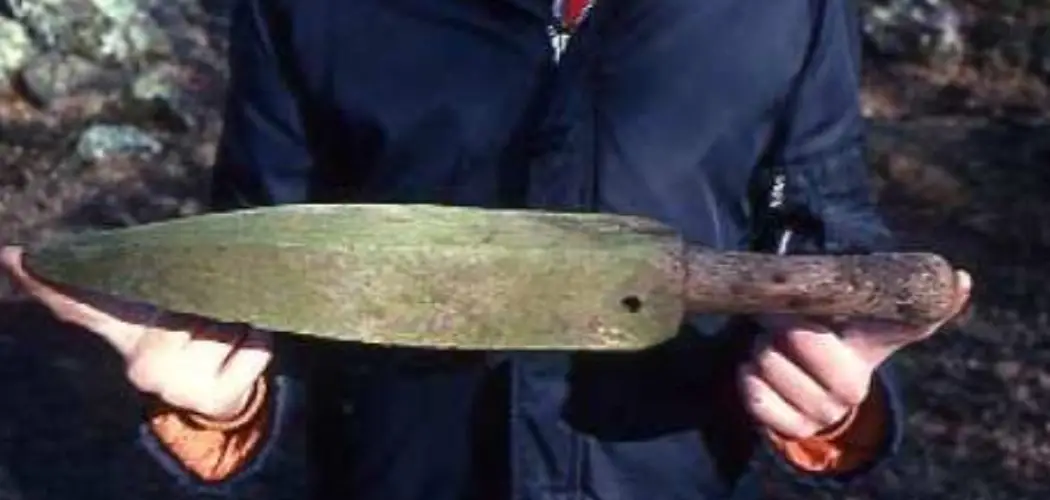
The scythe is more than just an old-fashioned tool; it is a symbol of quiet, efficient work, connecting the user to the land in a way no machine can. When properly maintained, a scythe moves with a graceful, almost silent slicing motion, felling grass and weeds with minimal effort. However, a dull scythe turns this poetic dance into a frustrating, back-breaking chore.
Many new users mistake the tool for being ineffective, when the real problem is simply a blunt edge. The art of creating and maintaining a razor-sharp blade is the most important skill in scything. This guide is designed to demystify the process, breaking down the two essential parts of the sharpening process: peening and honing. We will walk you through exactly how to sharpen scythe blades, ensuring your tool remains a joy to use for years to come.

Tools Needed for Peening:
- Peening Hammer
- Anvil or Metal Surface
- Peening Jig (optional)
- Whetstone or Honing Stone
When it comes to peening, the most important tool you will need is a peening hammer. This special hammer has a round, flat face on one end and a narrow, tapered face on the other. The round face is used for striking and shaping the blade while the tapered end is for smoothing out any rough spots.
An anvil or metal surface is also necessary to support the blade while peening. If you do not have access to an anvil, a thick piece of metal such as a railroad track can be used as a substitute.
Step-by-Step Guide on How to Sharpen Scythe
Step 1: Gather Your Sharpening Tools
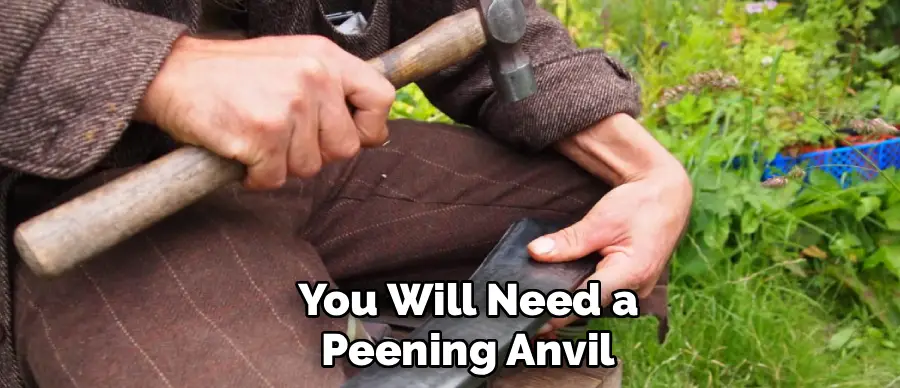
Before you begin, it is crucial to have the right equipment on hand. Scythe sharpening is a two-part process requiring distinct sets of tools. The first is peening, which involves cold-forging the blade’s edge to make it thinner. For this, you will need a peening anvil (a small, specialized anvil that fits into a log) and a peening hammer with both a flat and a cross-peen face.
The second part is honing, which is the field-sharpening you do while mowing. For this, you will need a whetstone, often a long, canoe-shaped stone, and a holder filled with water to keep the stone wet and handy. Having both peening and honing tools ready is the first step to mastering this traditional skill.
Step 2: Peening the Blade
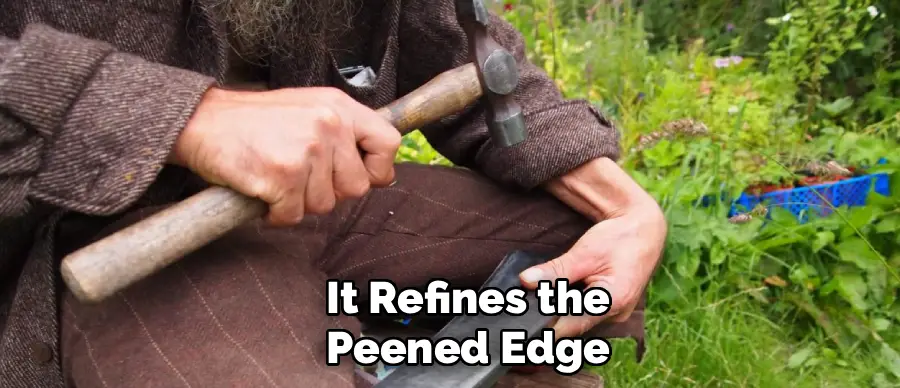
Peening is the foundational sharpening done periodically, not every time you mow. It is the process of using a hammer and anvil to draw out and thin the metal along the cutting edge. First, secure your peening anvil firmly in a sturdy log or stump. Remove the scythe blade from its snath (the wooden handle).
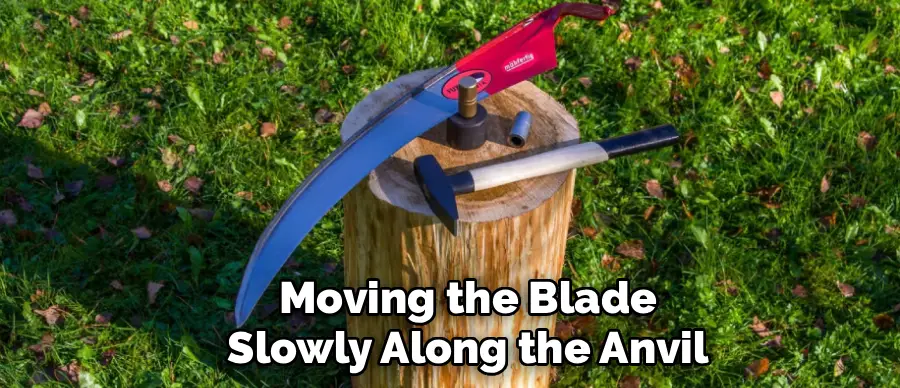
Place the very edge of the blade on the flat part of the anvil. Using the flat face of the hammer, tap gently along the edge to flatten any dings. Then, switch to the cross-peen face of the hammer. Starting from the beard (the part of the blade closest to the handle), make a series of overlapping hammer strikes, moving the blade slowly along the anvil. This thins and spreads the metal, creating a new, ultra-thin edge that can be honed to razor sharpness.
Step 3: Inspect the Edge and Refine the Peening
The goal of peening is to create a uniformly thin edge without making it wavy or cracked. After your first pass with the hammer, hold the blade up to the light and look at the edge. You are aiming for a consistent bevel that is about 1/8th of an inch wide. Run your thumbnail gently along the back of the edge; you should be able to feel a slight, even burr.
If you see thick spots, go back and carefully tap those areas again to thin them out. If you create a wavy “bacon edge,” it means your hammer blows were too hard or uneven. This can be corrected by using the flat face of the hammer to gently tap the waves flat again. Patience and light, consistent taps are key to a good result.
Step 4: Secure the Blade for Field Honing
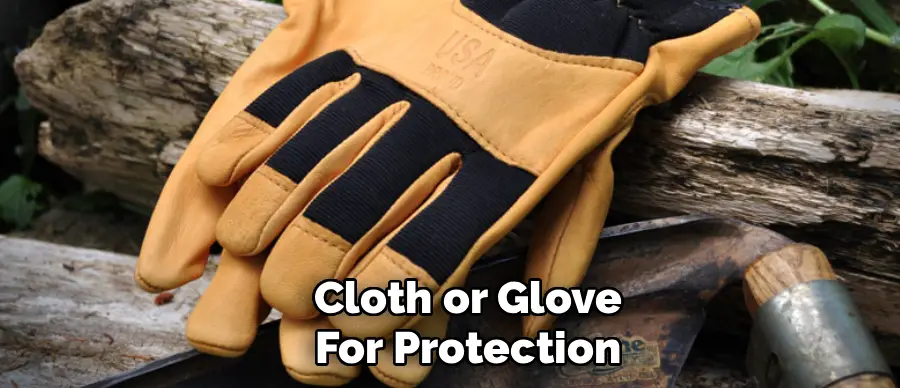
Once your blade is peened, re-attach it to the snath. Now you are ready for honing, which is the sharpening you will do frequently while you work—as often as every five minutes. To begin, stand the scythe upright with the point of the blade on the ground and the snath tucked under your arm for stability. Grip the spine of the blade with your non-dominant hand, using a cloth or glove for protection. Your fingers should be curled around the back, away from the sharp edge. This firm grip ensures the blade does not wobble as you work the stone against it, which is a crucial safety and performance element of learning how to sharpen scythe.
Step 5: Honing the Edge with a Whetstone
Take your whetstone, which should be wet from its holder, and place it against the blade. The sharpening motion is a sweeping, slicing movement, as if you are trying to shave a thin layer off the stone. Start your stroke from the beard of the blade and sweep outward toward the tip. Apply light pressure and maintain a shallow angle between the stone and the blade. You should hear a satisfying “shing” sound. Hone one side of the blade with a few passes, then flip the stone over and hone the other side. This creates a fine, sharp burr. The goal is not to remove a lot of metal, but to align the microscopic teeth of the thinned, peened edge.
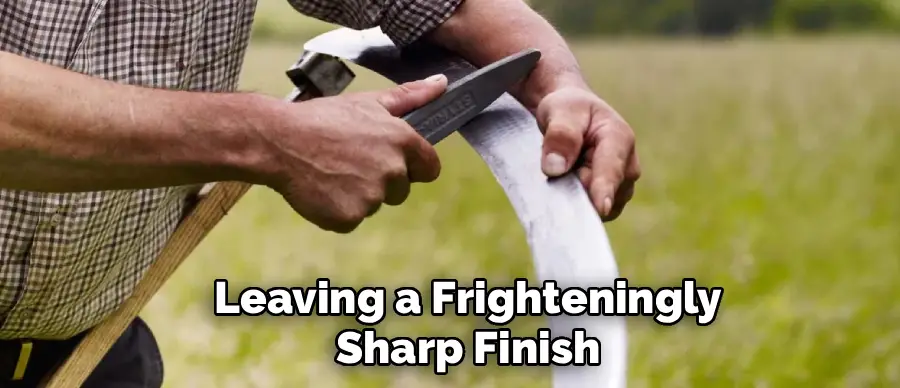
Step 6: Deburring for a Razor-Sharp Finish
The final step of honing is to remove the fine wire burr created by the whetstone. After you have made your passes on both sides of the blade, you can remove this burr in a couple of ways. One method is to make a few very light, alternating passes with the whetstone at a slightly steeper angle. An even more common and traditional method is to use the leather of your work boot or a piece of scrap leather.
With the scythe held securely, gently strop the blade’s edge against the leather, moving from the spine to the edge. This action polishes and aligns the very tip of the edge, removing the burr and leaving a frighteningly sharp finish. Test the sharpness carefully by slicing a piece of grass held in your hand (away from your fingers).
Step 7: Practice Regular Honing and Blade Care
A scythe blade is not something you sharpen once and forget. Effective scything depends on constant maintenance in the field. As you mow, you will feel the blade start to drag rather than slice. This is your cue to stop and re-hone. This process should only take about 30 seconds. By touching up the edge every five minutes, you maintain peak performance and put less wear on the peened edge, meaning you will have to peen less often. At the end of your work session, always wipe the blade clean and dry, and give it a light coat of oil to prevent rust before storing it in a safe place.
Common Sharpening Mistakes
- Using the Wrong Angle – Sharpening at an incorrect angle can damage the blade and reduce its effectiveness. Always follow the recommended angle for your specific tool.
- Applying Too Much Pressure – Excessive force while sharpening can wear down the blade unevenly or even lead to chipping. Use consistent, gentle pressure instead.
- Skipping Regular Maintenance – Neglecting to touch up the blade as needed causes dullness to build up, making the sharpening process longer and more challenging.
- Using the Wrong Tools – Utilizing inappropriate or low-quality sharpening stones or files can result in an uneven edge or damaged blade. Invest in proper tools for best results.
- Neglecting to Clean the Blade – Failing to clean the blade before sharpening can trap debris, resulting in scratches or loss of sharpness. Wipe the blade clean prior to every sharpening session.
Frequently Asked Questions
What Is the Difference Between Peening and Honing?
Peening and honing are the two essential parts of sharpening a scythe.
- Peening: This is a cold-forging process done periodically (e.g., after 8-12 hours of mowing). You use a hammer and anvil to thin the metal at the cutting edge. It reshapes the blade.
- Honing: This is the field sharpening you do with a whetstone while you are working. It refines the peened edge and is done as often as every 5 minutes. It aligns the edge.
How Often Do I Need to Peen My Scythe Blade?
This depends on how much you use it and what you are cutting. For light work mowing lawns, you might only need to peen once or twice a season. If you are cutting tough, woody weeds or working in rocky soil, you might need to peen after every 8 hours of use. You will know it is time to peen when the blade no longer gets sharp with simple honing, or if you have sustained minor nicks and dings.
Can I Sharpen a Scythe with a Grinder?
Using a power grinder is strongly discouraged for high-quality scythe blades. The heat generated by a grinder can ruin the temper of the steel, making it soft and unable to hold an edge. Traditional scythe blades are designed to be thinned and hardened through the work of peening. A grinder removes metal, whereas peening displaces and hardens it, leading to a much more durable and effective edge.
What Kind of Whetstone Should I Use?
The traditional whetstone for a scythe is a long, oval-shaped stone, sometimes called a “canoe” stone. They come in coarse and fine grits. You should start with a coarse stone to establish the initial edge after peening, then switch to a fine stone for regular field honing. Always use your stone wet, as this helps it cut faster and prevents the stone’s pores from clogging with metal particles.
Is a Scythe Dangerous to Sharpen?
Any sharpening process involves risk, but it is safe if you follow proper procedures. When honing, always grip the blade by its spine with your fingers curled safely away from the edge. Keep the scythe stable and move the stone, not the blade. When peening, use light, controlled hammer taps. The biggest danger often comes from a dull blade, which requires more force to use and is more likely to glance off vegetation unpredictably.
Conclusion
Mastering the rhythm of sharpening is just as important as mastering the swing of the scythe itself. The twin skills of peening and honing transform the tool from a simple piece of metal into a highly effective cutting instrument. Peening provides the foundation, creating a thin and workable edge, while frequent honing maintains its razor-like quality in the field.
Do not be intimidated by the process; with a little practice, the sounds and feel of the hammer on the anvil and the stone on the steel will become a deeply satisfying part of your gardening ritual. Now that you have a clear roadmap for how to sharpen scythe, you can ensure your tool is always ready to perform at its best, making your work easier, safer, and far more enjoyable.
About
Outdoor Fixes is a distinguished figure in the world of Diy design, with a decade of expertise creating innovative and sustainable Diy solutions.
His professional focus lies in merging traditional craftsmanship with modern manufacturing techniques,
fostering designs that are both practical and environmentally conscious. As the author of diy,
outdoorfixes delves into the art and science of outdoorfixes-making, inspiring artisans and industry professionals alike.
Education RMIT University
(Melbourne, Australia) Associate Degree in Design (Outdoor Fixes) Focus on sustainable design, industry-driven projects,
and practical craftsmanship. Gained hands-on experience with traditional and digital manufacturing tools, such as CAD and CNC software.
Nottingham Trent University
(United Kingdom) Bachelor’s in outdoorfixes.com and Product Design (Honors) Specialized in product design with a focus on blending creativity with production
techniques. Participated in industry projects, working with companies like John Lewis and Vitsoe to gain real-world insights.
Publications and Impact
In diy, Outdoor Fixes his insights on indoor design processes, materials, and strategies for efficient production.
His writing bridges the gap between artisan knowledge and modern industry needs, making it a must-read for both budding designers and seasoned professionals.