A well-maintained garden tiller is a powerful ally in preparing your soil for planting. Its ability to break up compacted earth, mix in compost, and create a perfect seedbed saves hours of back-breaking labor. However, the effectiveness of your tiller depends entirely on the condition of its blades, also known as tines. Over time, these blades become dull from churning through soil, rocks, and roots, making your work harder and less efficient.
Learning how to sharpen your tiller blades is a fundamental skill for any serious gardener. Sharp tines cut through the soil cleanly, requiring less engine power and reducing fuel consumption.
This not only makes the tilling process faster and smoother but also extends the life of your machine. Regular sharpening is a straightforward maintenance task that pays significant dividends in performance and longevity. In this guide on how to sharpen tiller blades, we will cover the necessary steps and techniques to keep your tiller blades in top condition for optimal gardening results.
Understanding Tiller Blades
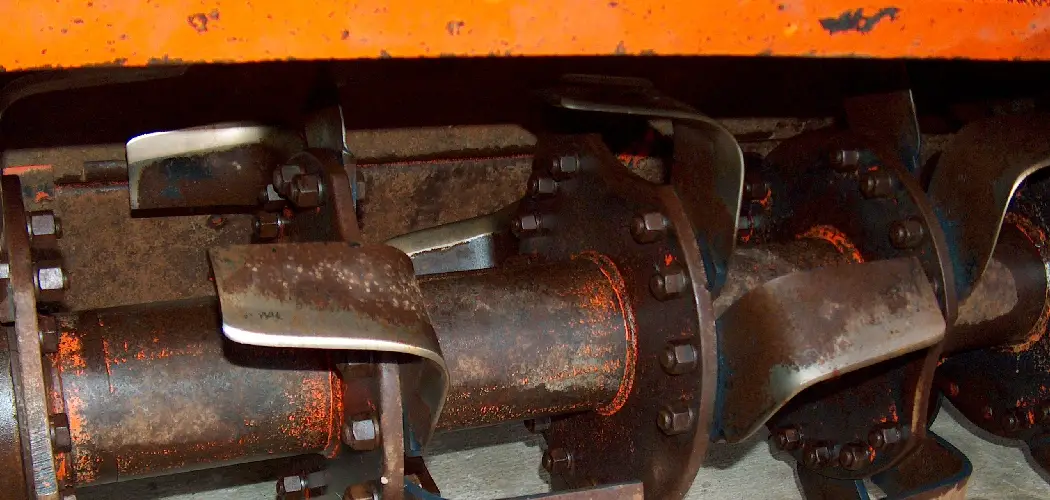
Tiller blades are the workhorses of your machine, designed to withstand immense force as they dig into and cultivate the ground. They are typically made from high-carbon steel or a boron steel alloy, materials chosen for their exceptional hardness, durability, and resistance to abrasion and impact. The specific shape and design of the tines vary depending on the type of tiller.
For example, “bolo” tines are curved and are excellent for general-purpose digging and cultivating in established gardens. In contrast, “slasher” or “pick” tines are more aggressive, with a pointed shape ideal for breaking up hard, untilled ground or sod for the first time.
The cutting edge of these blades is beveled at a specific angle, usually between 20 and 30 degrees, to slice through soil efficiently rather than just pushing it aside. This design allows the tiller to move forward with less resistance while effectively aerating and mixing the soil strata. Understanding the material and design of your specific tines helps you appreciate the importance of maintaining that precise cutting edge for optimal garden preparation. Without a sharp, properly angled edge, the tines will drag and bounce off compacted soil instead of penetrating it, putting unnecessary strain on the tiller’s engine and transmission system.

Assessment and Preparation
Before you begin sharpening, a thorough assessment of the blades and proper preparation of your workspace are essential for both safety and effectiveness. Start by placing your tiller on a flat, stable surface like a garage floor or concrete patio. Disconnect the spark plug wire from the spark plug to eliminate any possibility of the engine accidentally starting while you are working on the tines. This is the single most important safety step and should never be skipped.
With the tiller secured, carefully examine each blade. Clean off any caked-on dirt, clay, or tangled roots using a stiff-bristled brush, a putty knife, or a pressure washer. This cleaning process allows you to get a clear view of the cutting edge. Inspect the blades for signs of wear and damage. Look for nicks, chips, and significant gouges caused by hitting rocks or other hard debris. Check to see if the cutting edges are severely rounded or flattened. Also, inspect the overall structure of the tines for any bends, cracks, or signs of metal fatigue.

If a blade is severely bent, cracked, or has large chunks of metal missing, it should be replaced rather than sharpened. Attempting to sharpen a structurally compromised blade is unsafe and will not yield good results. Gather all the necessary tools for the job: safety goggles, heavy-duty gloves, a wrench or socket set to remove the tines, a vise or sturdy clamps to hold them securely, and your chosen sharpening tool—either a bench grinder, an angle grinder with a grinding disc, or a large metal file.
6 Simple Step-by-step Guidelines on How to Sharpen Tiller Blades
Step 1: Safely Remove the Tiller Blades
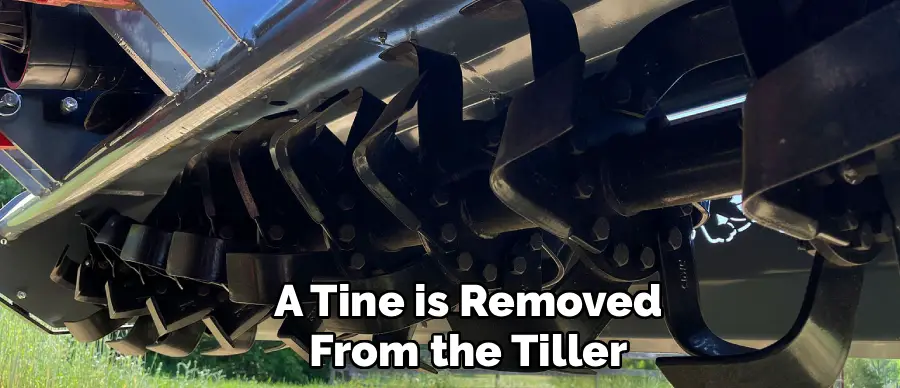
The first practical step in the sharpening process is to safely and methodically remove the tines from the tiller shaft. This is crucial because it is nearly impossible to achieve a consistent, effective sharpening angle while the blades are still attached to the machine. Working on the attached blades is also extremely hazardous.
To begin, consult your tiller’s owner’s manual for specific instructions on tine removal, as the exact mechanism can vary between models and manufacturers. Generally, the tines are secured to the axle with a combination of bolts, pins, and clips. Laying the tiller on its side can often provide better access to these fasteners, but be mindful of potential fuel or oil leaks; it’s best to run the fuel tank dry beforehand if possible.
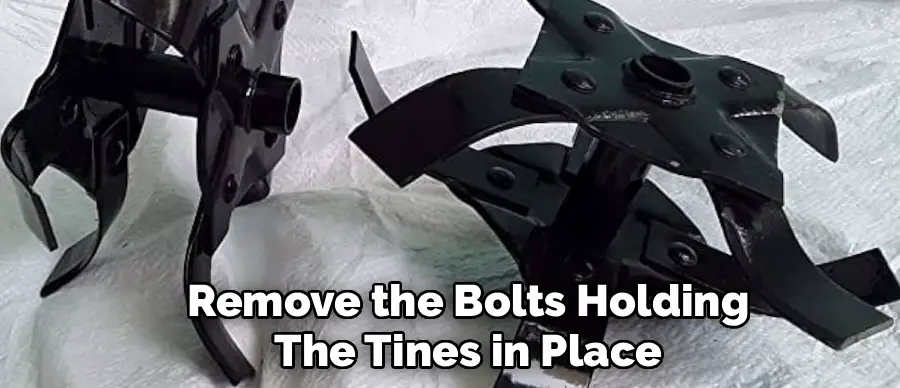
Using the appropriate size wrench or socket from your set, carefully loosen and remove the bolts holding the tines in place. Most tillers use a retaining pin, often a cotter pin or a specialized clip, that passes through the axle and the tine assembly. You will need to remove this pin to slide the tines off the shaft.
Pay close attention to the order and orientation of the tines as you remove them. They are often arranged in a specific pattern of left-hand and right-hand blades to ensure the tiller digs evenly and propels itself forward correctly. Taking a quick photo with your phone or making a simple sketch of the assembly before you take it apart can be an invaluable reference later. Place all bolts, nuts, pins, and clips into a magnetic tray or a small container to prevent them from getting lost during the process.
Step 2: Secure the Blade for Sharpening
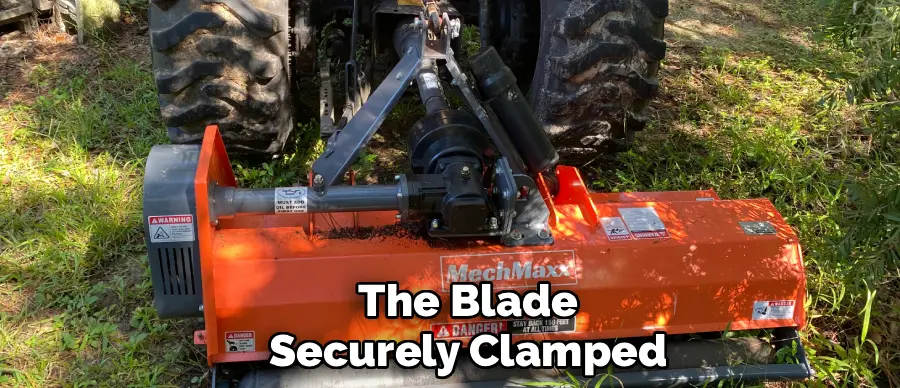
Once a tine is removed from the tiller, it must be held immovably firm to ensure a safe and precise sharpening process. Attempting to sharpen a loose blade is incredibly dangerous, as the force of the grinder can easily catch the metal and throw it with violent force, posing a severe risk of injury.
The most effective tool for this job is a heavy-duty bench vise. Mount the vise securely to a sturdy workbench. Open the jaws of the vise and clamp the tiller blade tightly, ensuring that the cutting edge you intend to sharpen is exposed and easily accessible. You want to position the blade so that you can move your sharpening tool along the entire length of the beveled edge in a smooth, controlled motion.
If you do not have access to a bench vise, a pair of strong C-clamps or F-clamps can serve as a viable alternative. Place the tiller blade on the edge of a solid, stable workbench or a thick piece of plywood set on sawhorses. Use at least two clamps to lock the blade down, one on each side of the area you will be sharpening.
Test the setup by trying to wiggle the blade; there should be absolutely no movement. Regardless of your clamping method, the goal is to create a rigid, stationary workpiece. This stability not only protects you but also allows you to maintain a consistent angle throughout the sharpening process, which is the key to creating a truly effective cutting edge that will perform well in the soil.
Step 3: Choose Your Sharpening Tool
With the blade securely clamped, your next decision is selecting the right tool for the job. You have three primary options, each with its own advantages: a bench grinder, an angle grinder, or a hand file. For those who own one, a bench grinder is often the fastest and most efficient choice. It offers a stable grinding surface and allows you to use both hands to guide the tiller blade, providing excellent control over the sharpening angle.
To use it, you will present the beveled edge of the tine to the spinning grinding wheel, moving it smoothly across the surface to remove metal evenly and restore the sharp edge. This method is ideal for blades that are significantly dull or have minor nicks to grind out.
An angle grinder fitted with a grinding disc or a flap disc is another powerful and popular option. This handheld tool offers more portability and can be easier to maneuver, especially for awkwardly shaped tines. When using an angle grinder, you will bring the tool to the stationary blade, which can feel more intuitive for some users. The key is to maintain a steady hand and a consistent angle as you pass the spinning disc along the blade’s edge.
A flap disc, which has overlapping abrasive flaps, can provide a smoother finish than a solid grinding wheel. The third option, a large, coarse metal hand file, is the most traditional and labor-intensive method but offers the greatest control. It removes metal much more slowly, which significantly reduces the risk of overheating the blade or removing too much material. This makes it an excellent choice for beginners or for those who only need to touch up a slightly dull edge.
Step 4: The Sharpening Process
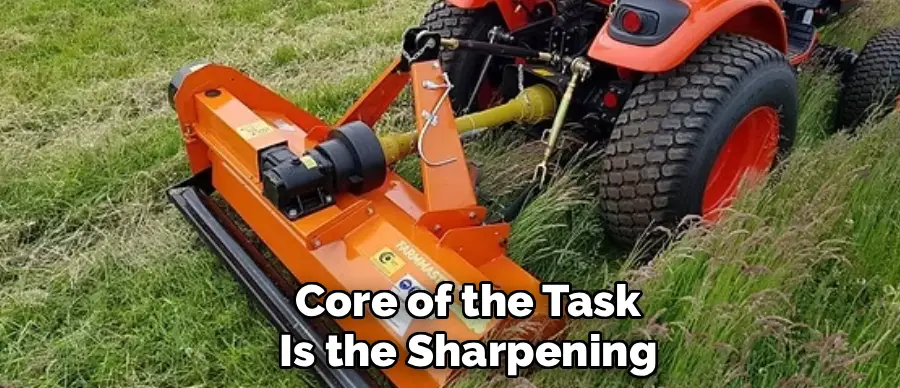
The core of the task is the sharpening itself, a process that requires patience and a focus on consistency. Regardless of your chosen tool, the fundamental goal is the same: to remove metal from the beveled cutting edge to restore its factory angle, which is typically between 20 and 30 degrees. Do not sharpen the flat, back side of the blade; only work on the existing beveled edge. If using a bench or angle grinder, wear your safety goggles and gloves. Turn the grinder on and allow it to reach full speed. Gently bring the blade’s beveled edge into contact with the grinding wheel or disc, matching the existing angle as closely as possible.
Use smooth, steady, and continuous strokes along the entire length of the cutting edge. Do not hold the blade in one spot for too long, as this can overheat the metal, causing it to turn blue or black. This discoloration, known as “burning the temper,” permanently softens the steel, making it unable to hold a sharp edge for long. To prevent this, use light pressure and keep the blade moving.
It is better to make multiple light passes than one heavy, aggressive one. Periodically dip the blade into a bucket of cool water to dissipate heat. If using a hand file, apply pressure only on the forward stroke, lifting the file off the blade on the return stroke. Continue this process until a clean, sharp, and uniform edge is formed along the entire length of the tine.
Step 5: Check for Burrs and Balance
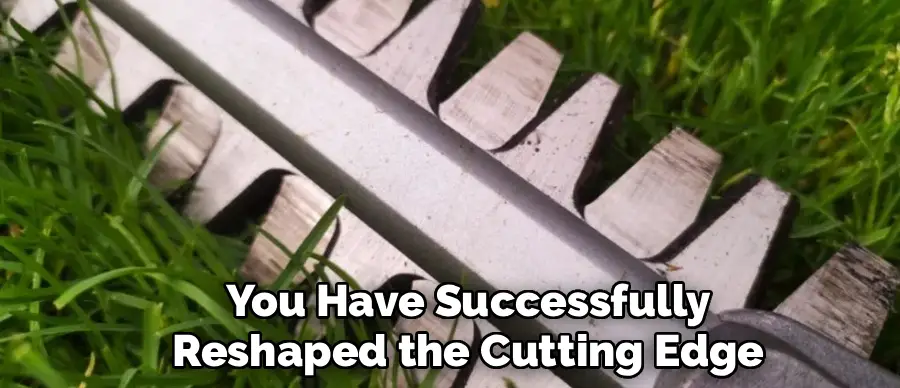
After you have successfully reshaped the cutting edge on a tine, the sharpening process will have created a “burr,” which is a thin, rough ridge of metal along the backside of the sharpened edge. This burr needs to be removed to create a truly clean and effective cutting surface. Leaving the burr on will cause the edge to dull very quickly as it folds over during the first use.
To remove it, take your hand file and make a few light, flat passes along the back of the sharpened edge. You are not trying to create a new bevel on this side; you are simply knocking off the rough burr. You should be able to feel the difference with a gloved finger—the edge will feel much cleaner and sharper.
Once all the tines have been sharpened and deburred, a final check for balance is a good practice, though not always strictly necessary for slower-rotating tillers. An imbalanced tine assembly can cause excessive vibration during operation, which can lead to premature wear on the tiller’s bearings and bushings. To perform a simple balance check, reassemble the tines on a section of pipe or a screwdriver that fits loosely through the bolt holes.
If one side consistently drops down, it indicates that it is heavier. You can correct this by carefully grinding a small amount of additional metal from the heavier blade, away from the cutting edge, until the assembly sits relatively level. This step ensures smoother operation and contributes to the overall longevity of your tiller.
Step 6: Reassemble and Lubricate
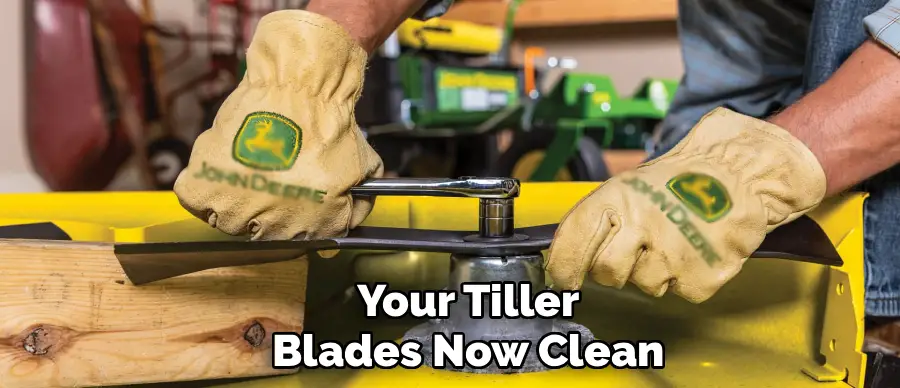
With your tiller blades now clean, sharp, and balanced, the final step is to carefully reassemble them onto the tiller’s axle. This is where the photo or sketch you made earlier becomes invaluable. Reinstall the tines in the exact same order and orientation as they were before disassembly. Left-hand and right-hand blades are designed to work together in a specific sequence to properly cultivate the soil and help propel the machine. Installing them incorrectly can result in poor tilling performance, excessive vibration, or the tiller pulling strongly to one side. Slide the tines back onto the axle, aligning the bolt holes.
Insert the bolts and retaining pins, ensuring everything is properly seated. Tighten the bolts securely with your wrench or socket set according to the manufacturer’s torque specifications, if provided. If you are reusing cotter pins, it is a good practice to replace them with new ones, as they can weaken with repeated bending.
Once the tines are firmly reattached, apply a light coat of multi-purpose grease or a spray-on lubricant to the axle and fasteners. This will help prevent rust and corrosion, making future removal for sharpening much easier. Finally, reattach the spark plug wire, and your tiller is now ready to take on your garden with renewed efficiency and power.
Following these steps on how to sharpen tiller blades will not only improve the performance of your machine but also ensure its longevity. It is important to regularly maintain and sharpen your tiller blades to keep them functioning at their best. Neglecting this task can result in poor tilling results, as well as potential damage to your garden or yard.
Testing and Maintenance
After reassembling your tiller, it’s time to test your work. Find a patch of soil in your garden and start the tiller. You should immediately notice a significant difference in performance. The machine should dig into the ground with much less effort and bouncing. The engine should run more smoothly, without the straining sound it might have made with dull tines. Observe the tilled soil; it should be finely cultivated and well-aerated.
This initial test confirms that the blades are sharp and properly installed.
Going forward, regular maintenance is key to keeping your tiller in top condition. After each use, take a few minutes to clean the tines, removing any packed soil and plant debris. A quick inspection after cleaning will help you spot new dings or dulling, allowing you to perform a quick touch-up with a hand file before the next big job, which is much easier than a full sharpening session.
Common Mistakes to Avoid
One of the most frequent errors is sharpening the wrong side of the blade; always sharpen the beveled edge, not the flat back. Another common mistake is applying too much pressure with a grinder, which overheats the metal and ruins its temper.
You must also avoid creating an inconsistent or incorrect angle, as this will make the tiller less effective. Forgetting to disconnect the spark plug is a critical safety oversight that should never happen. Finally, failing to clean the blades before sharpening can hide damage and lead to a poor-quality edge.
Safety Considerations
Prioritizing safety is non-negotiable when sharpening tiller blades. Always begin by disconnecting the spark plug wire to prevent any chance of an accidental engine start. Wear appropriate personal protective equipment (PPE), including impact-resistant safety goggles to protect your eyes from metal filings and sparks, and heavy-duty leather or cut-resistant gloves to protect your hands from the sharp edges and the heat generated during grinding.
Ensure your workspace is well-ventilated, especially when using a grinder, to avoid inhaling metal dust. Secure the tiller on a flat, stable surface before starting any work, and always clamp the individual blades securely in a vise before attempting to sharpen them.
Conclusion
Mastering the skill of sharpening your tiller blades is a valuable investment of your time that enhances your gardening efficiency and protects your equipment. A tiller with sharp tines transforms the difficult task of soil preparation into a quicker, more satisfying experience. It allows the machine to work as intended, cutting cleanly through the earth, reducing strain on the engine, and saving you fuel and effort.
By following the detailed steps on how to sharpen tiller blades for assessment, removal, sharpening, and reassembly, you can confidently maintain your tiller’s peak performance. This regular maintenance not only ensures a beautifully prepared seedbed season after season but also significantly extends the working life of your trusted gardening tool, making it one of the most rewarding DIY tasks you can undertake.
About
Outdoor Fixes is a distinguished figure in the world of Diy design, with a decade of expertise creating innovative and sustainable Diy solutions.
His professional focus lies in merging traditional craftsmanship with modern manufacturing techniques,
fostering designs that are both practical and environmentally conscious. As the author of diy,
outdoorfixes delves into the art and science of outdoorfixes-making, inspiring artisans and industry professionals alike.
Education RMIT University
(Melbourne, Australia) Associate Degree in Design (Outdoor Fixes) Focus on sustainable design, industry-driven projects,
and practical craftsmanship. Gained hands-on experience with traditional and digital manufacturing tools, such as CAD and CNC software.
Nottingham Trent University
(United Kingdom) Bachelor’s in outdoorfixes.com and Product Design (Honors) Specialized in product design with a focus on blending creativity with production
techniques. Participated in industry projects, working with companies like John Lewis and Vitsoe to gain real-world insights.
Publications and Impact
In diy, Outdoor Fixes his insights on indoor design processes, materials, and strategies for efficient production.
His writing bridges the gap between artisan knowledge and modern industry needs, making it a must-read for both budding designers and seasoned professionals.