Do you have a concrete surface that needs repair after months or years of wear and tear? Damage to your concrete caused by pressure washing is commonplace, but fortunately, it can be quickly and easily fixed.
In this blog post, we’ll take a look at the steps you need to take how to fix damaged concrete from pressure washer, so that your driveway, patio, or other surfaces will become like new again.
We’ll cover important variables in pressure washing safely while giving tips on how to make sure you don’t damage the surface worse than it already may be! Read on for everything you need to know about fixing damage from a power washer.
Can You Ruin Concrete with a Pressure Washer?
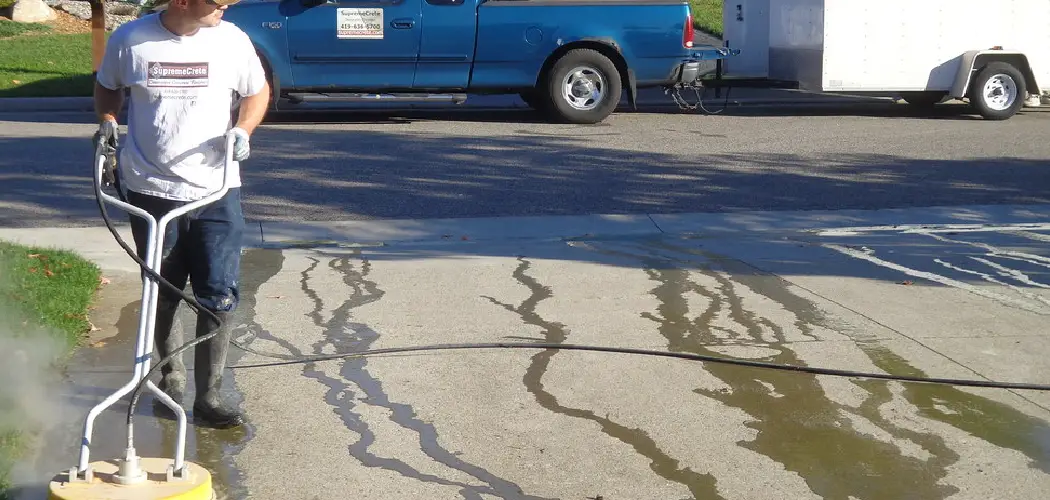
Yes, it is possible to damage concrete with a pressure washer. Pressure washing concrete can cause the surface of the concrete to become pitted and etched. It can also strip away layers of paint, sealers, and other finishes that have been applied to the surface. Another potential issue is that pressure washing can cause water to penetrate into the pores of the concrete leading to spalling over time.
In order to avoid damaging your concrete with a pressure washer, it’s important that you take care when selecting a cleaning solution and setting the appropriate pressure level for your particular type of concrete. Additionally, you should always make sure that you are using an attachment or nozzle designed specifically for use on hard surfaces like concrete in order to avoid any unnecessary wear and tear during the cleaning process.
If you do find that your concrete has become damaged due to pressure washing, there are a few different options for repairing it. Sealing or resurfacing the concrete can help to close up any open pores, while patching and filling in areas of damage can also be an effective solution. In more extreme cases, you may need to completely remove and replace the damaged concrete.
No matter which method of repair you choose, it’s important to always follow the manufacturer’s instructions in order to avoid further damage or creating a situation where other types of repairs are necessary. Taking the time to properly care for your concrete can help extend its lifespan and keep it looking great for years to come.
10 Methods on How to Fix Damaged Concrete from Pressure Washer
1. Inspect the Damage
The first step in repairing damaged concrete is to inspect the damage and determine the extent of the repairs that will be needed. If the damage is minor, such as small cracks or chips, then repairs can be made using a concrete patching compound. However, if the damage is more significant, such as large cracks or holes, then more extensive repairs will be necessary.
2. Clean the Area
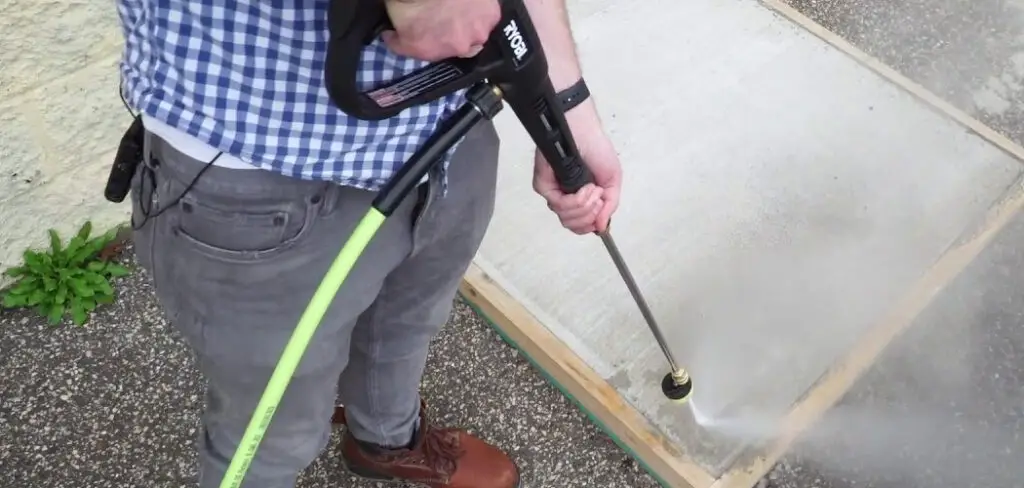
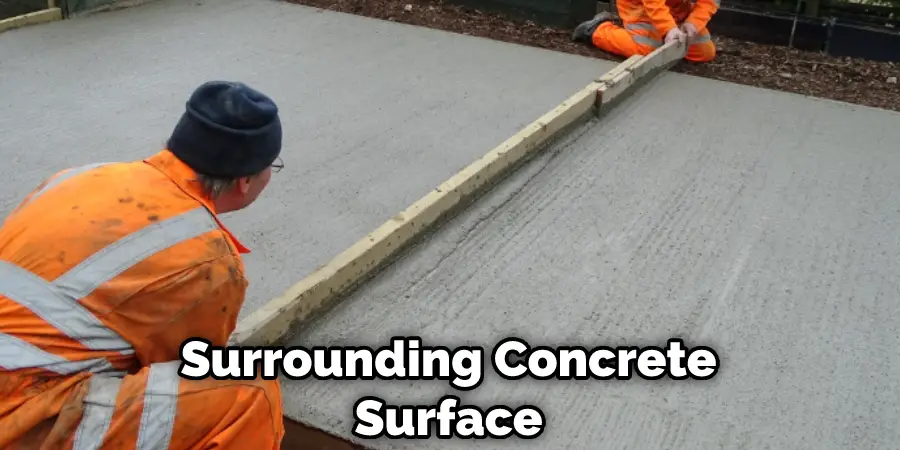
Once you have determined the extent of the damage, you will need to clean the area around the damaged concrete. This will ensure that the repair material will adhere properly to the concrete surface. You can clean the area using a power washer or a garden hose with a nozzle attachment.
If you are using a power washer, be careful not to spray too close to the concrete, as it can cause further damage. Once the area is clean, allow it to dry completely before proceeding.
3. Remove Loose Concrete
If there is any loose concrete around the damaged area, it will need to be removed before repairs can be made. Use a chisel and hammer to remove any loose pieces of concrete. Be sure to wear safety goggles to protect your eyes from flying debris.
If a large area needs to be chiseled out, it may be necessary to rent a jackhammer or air hammer. However, caution should be used when using these power tools as they can cause additional damage to the surrounding concrete. Once all loose pieces of concrete have been removed, it is time to move on to the repair process.
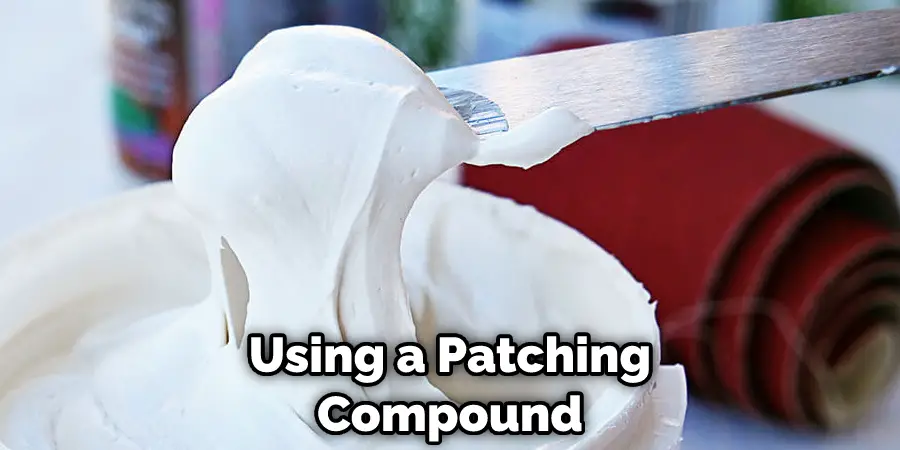
4. Prepare the Repair Material
If you are using a concrete patching compound, mix it according to the manufacturer’s instructions. If you are using mortar, mix it with water until it reaches a consistency that is similar to peanut butter.
If the repair is deep, use a bonding agent to strengthen the bond between the old concrete and the new material. Try to keep the new material level with the existing surface. While the material is still wet, use a trowel to create an even and smooth surface.
5. Apply the Repair Material
Use a trowel to apply the repair material to the damaged area. If you are using a patching compound, simply smooth it over the surface of the hole or crack. If you are using mortar, press it into place and then use the trowel to smooth it out.
A thin coating is all that is needed. If there are large voids in the concrete, you may need to apply multiple coats of repair material. Let the repair material dry according to the manufacturer’s instructions.
6. Allow Time for curing
Concrete patching compounds typically require 24 hours to cure, while mortar typically requires 48 hours to cure. Once the repair material has cured, it will be hard and durable. If the temperature is below 50°F (10°C), the curing time may need to be extended.
In this case, the repair material should be covered with plastic or insulated blankets to keep it warm and speed up the curing process. Avoid walking on repaired areas for at least 24 hours and keep pets away for at least 48 hours. Once the concrete is cured, it will be ready for use and should not be affected by the pressure washer in the future.
7. Apply Sealant (optional)
If desired, you can apply a sealant over the repaired area in order to protect it from weathering and staining. Concrete sealers are available in both water-based and solvent-based formulations. Water-based sealers are more breathable, but solvent-based sealers provide better protection.
For maximum protection, you can apply two coats of sealant. Be sure to allow the sealer to dry completely before exposing it to water or traffic. If you have an outdoor patio or walkway, consider applying a sealant to the entire surface to help protect it from future damage.
8. Touch Up Paint (optional)
If desired, you can touch up paint around the repaired area in order to match it with the surrounding concrete surface. Concrete paint is available in a variety of colors at most hardware stores.
After you’ve applied the paint, wait 24 hours before walking on it. While many concrete paints are designed to be waterproof and withstand harsh weather, you should still consider applying a coat of sealer for extra protection.
Make sure you use an acrylic sealer designed for outdoor/exterior concrete surfaces. Apply the sealer in even strokes and wait at least 8 hours before walking on it. This will provide your repaired concrete with a long-lasting, weatherproof finish.
9. Clean the Area
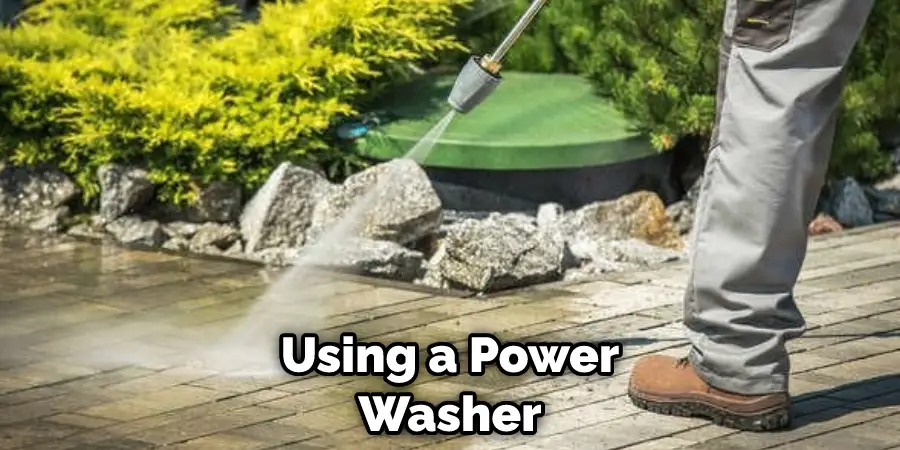
After the repairs have been completed and the sealant has had time to dry, use a power washer or garden hose with a nozzle attachment to remove any dirt or debris from the area. If necessary, you can use a scrub brush or wire brush to scrub away any tough dirt spots.
Once the area is clean and dry, it should look like new again! However, be sure to follow the cleaning instructions that came with your pressure washer as some surfaces may require special care.
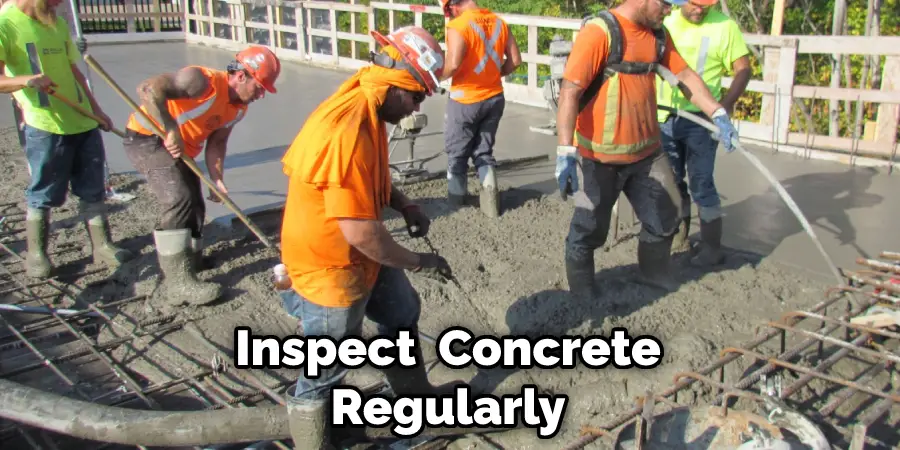
10. Inspect for Further Damage
Finally, inspect the area again once all of the repairs have been completed to make sure that all damage has been addressed. If there are still areas of unevenness or a failure in the repair, take additional measures such as filling with filler or using more patching material to ensure that your concrete is restored to its original form.
Be sure to inspect your concrete regularly in the future to prevent any further damage due to pressure washing.
By following these steps, you will be able to successfully fix damaged concrete from pressure washer damage and restore it back to its original beauty. With a little care and attention, you can keep it looking like new for years to come. Don’t forget to inspect your concrete regularly and address any damage that occurs quickly, so you can make sure your concrete stays in its best condition.
Conclusion
Most pressure-washing damage to concrete is superficial and can be easily fixed with the right tools and techniques. By following the tips in this article, you should be able to repair any damage caused by a pressure washer without having to replace the entire concrete surface.
If you have any other questions about fixing damaged concrete from a pressure washer, or if you want to learn more about how to fix damaged concrete from pressure washer, be sure to check out our other blog posts. Thanks for reading!
You can check it out to Find Cool Rocks in Your Backyard
About
Outdoor Fixes is a distinguished figure in the world of Diy design, with a decade of expertise creating innovative and sustainable Diy solutions.
His professional focus lies in merging traditional craftsmanship with modern manufacturing techniques,
fostering designs that are both practical and environmentally conscious. As the author of diy,
outdoorfixes delves into the art and science of outdoorfixes-making, inspiring artisans and industry professionals alike.
Education RMIT University
(Melbourne, Australia) Associate Degree in Design (Outdoor Fixes) Focus on sustainable design, industry-driven projects,
and practical craftsmanship. Gained hands-on experience with traditional and digital manufacturing tools, such as CAD and CNC software.
Nottingham Trent University
(United Kingdom) Bachelor’s in outdoorfixes.com and Product Design (Honors) Specialized in product design with a focus on blending creativity with production
techniques. Participated in industry projects, working with companies like John Lewis and Vitsoe to gain real-world insights.
Publications and Impact
In diy, Outdoor Fixes his insights on indoor design processes, materials, and strategies for efficient production.
His writing bridges the gap between artisan knowledge and modern industry needs, making it a must-read for both budding designers and seasoned professionals.