Saltwater pools are celebrated for their silky water and lower maintenance, but a common misconception is that they are “chlorine-free” and never need to be shocked. The truth is, your salt-chlorine generator creates chlorine from salt to sanitize the water, but sometimes it needs a helping hand. After a heavy rainstorm, a big pool party, or during a heatwave, the chlorine demand can exceed what your system can produce.

This can lead to cloudy water, algae growth, and an unpleasant smell. This is where shocking comes in. This guide will provide clear, beginner-friendly instructions on how to Shock a Saltwater Pool
systems to restore clarity and keep your water safe and sparkling.
Shocking your saltwater pool might sound complicated, but it’s actually a straightforward process that can make a huge difference in the quality of your water. By adding the right amount of shock, you can eliminate contaminants, restore chlorine levels, and prevent issues like cloudy water or algae outbreaks. Before you get started, it’s important to understand the materials you’ll need, how to properly measure shock amounts, and the best time to perform this essential pool maintenance step.
Why is shocking your saltwater pool so important?
Over time, organic contaminants such as oils, sweat, and debris accumulate in your pool and can overwhelm the normal sanitizing capabilities of the chlorine generated by your saltwater system. This can lead to issues like cloudy water, unpleasant odors, or even algae growth. Shocking your pool helps to break down these contaminants and restore water clarity and sanitation. Additionally, it ensures your pool remains safe and enjoyable for swimming by maintaining proper chemical balance and preventing the buildup of harmful bacteria or algae.
Materials Needed
To properly shock your saltwater pool, you will need the following materials:
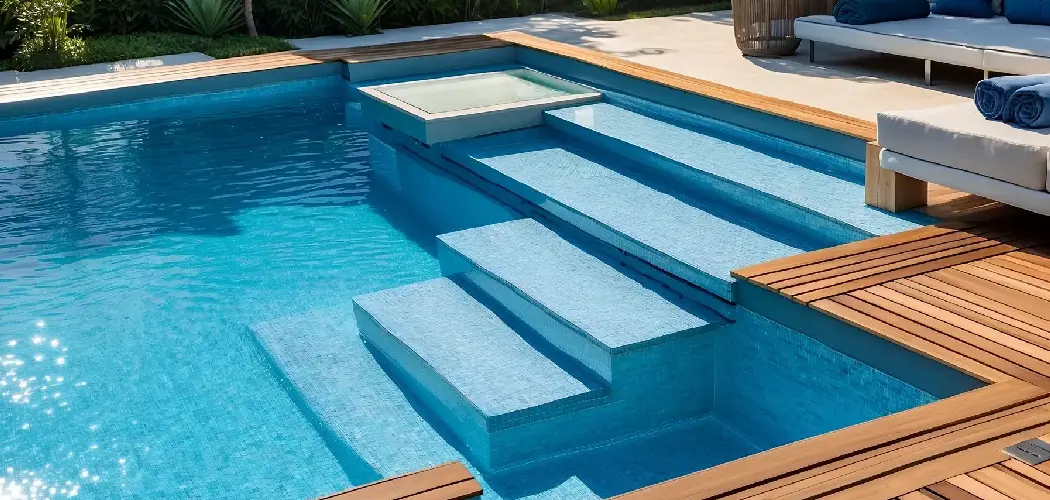
- Pool shock (calcium hypochlorite or sodium dichloro-s-triazinetrione)
- Measuring cup or scale
- Protective gear (gloves and goggles)
- Bucket for diluting shock if needed
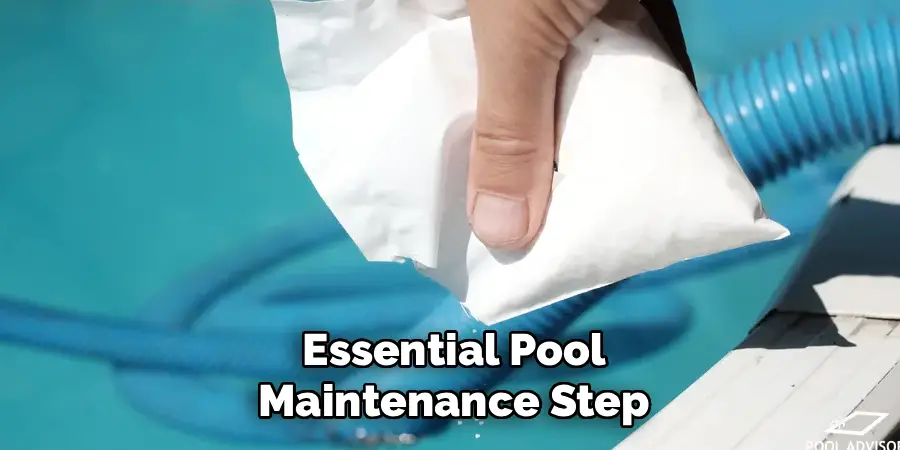
- Water testing kit
- Brush or vacuum for cleaning the pool
It’s important to have all of these materials on hand before starting the shocking process. This will ensure that you can safely and effectively complete the task without any interruptions.
Key Maintenance Tips for Your Saltwater Pool
- Regular Testing: Use a water testing kit weekly to maintain proper chemical balance, including pH, chlorine, and salinity levels.
- Clean the Pool: Brush and vacuum your pool regularly to remove debris and prevent algae growth.
- Inspect Equipment: Check the salt chlorinator and filter system frequently for any signs of wear or damage, and clean them as needed.
- Monitor Salt Levels: Maintain the recommended salinity range specified by your pool manufacturer to ensure optimal performance.
- Shock as Needed: Periodically shock your pool to eliminate contaminants and maintain water clarity.
Consistently following these maintenance tips will help keep your saltwater pool clean, safe, and enjoyable.
Step-by-Step Guide on How to Shock a Saltwater Pool
Step 1: Gather Your Safety Gear and Supplies
Before you begin, safety must be your top priority. Pool shock, even for saltwater systems, is a powerful chemical that requires careful handling. You will need chemical-resistant gloves to protect your hands from burns and irritation, as well as safety goggles or glasses to shield your eyes from accidental splashes. It is also wise to wear old clothing that you do not mind getting bleached. In terms of supplies, you will need a clean five-gallon bucket for pre-dissolving the shock, a wooden or plastic stir stick, your water testing kit, and, of course, the pool shock itself. Always work in a well-ventilated outdoor area.
Step 2: Test and Balance Your Pool Water Chemistry

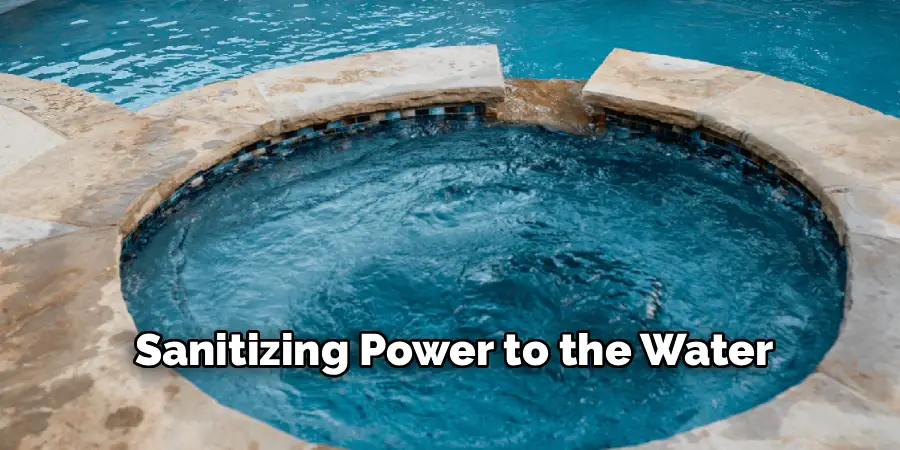
Shocking is most effective when your pool’s water chemistry is properly balanced, particularly the pH and alkalinity levels. Use a reliable water testing kit to measure these levels. Your pool’s pH should be between 7.4 and 7.6. If it is too high, the shock will be less effective; if it is too low, the water can become acidic and damage your equipment. Adjust the pH and alkalinity as needed using the appropriate chemicals, and allow the water to circulate for a few hours before proceeding. This step ensures you get the most sanitizing power out of the shock treatment you are about to add.
Step 3: Choose the Right Shock
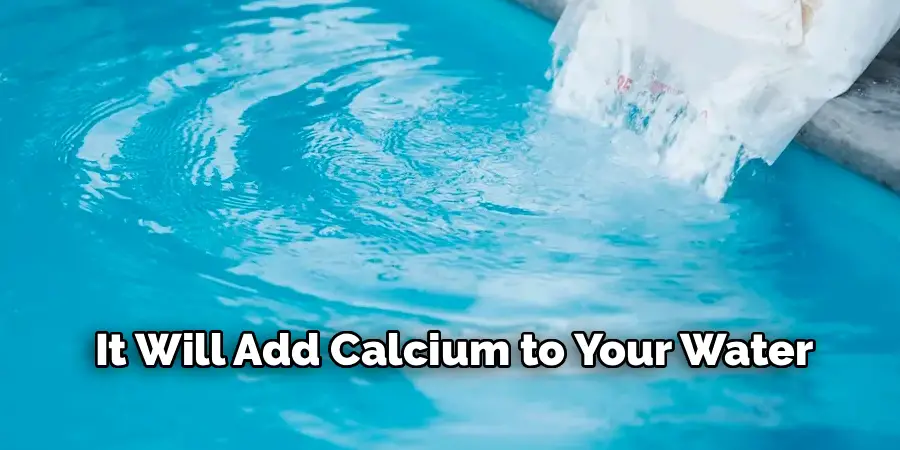
Not all pool shocks are created equal, and choosing the correct one is vital for a saltwater pool. The best choice is typically a non-chlorine shock, such as potassium monopersulfate. This type of shock oxidizes contaminants without adding extra chlorine, which helps prevent your chlorine levels from getting too high and allows you to swim sooner. Another excellent option is liquid chlorine (sodium hypochlorite) or granular cal-hypo shock. However, if you use cal-hypo, be aware that it will add calcium to your pool, which could cause issues if your water is already hard. Always read the product label to ensure it is compatible with saltwater systems.
Step 4: Calculate the Correct Amount of Shock
Read the manufacturer’s instructions on your pool shock packaging carefully to determine the correct dosage for your pool’s volume. The amount needed will depend on the size of your pool and the reason you are shocking it. A routine maintenance shock requires less product than shocking to clear up a significant algae bloom or cloudy water. Using too little shock will be ineffective, while using too much can be wasteful and may require a longer waiting period before the pool is safe for swimming. Accurately calculating the dose is a critical part of the process.
Step 5: Pre-Dissolve Granular Shock
Never add granular shock directly to your saltwater pool. The granules can sink to the bottom and bleach or damage your pool liner or surface. Instead, you must pre-dissolve the shock in a bucket of water. Fill a clean five-gallon bucket about three-quarters full with warm water from the pool. While wearing your safety gear, slowly add the measured amount of granular shock to the bucket of water—never the other way around. Adding water to chemicals can cause a dangerous splash-back reaction. Use your stir stick to gently mix the solution until the granules are completely dissolved.
Step 6: Turn On Your Pool Pump and Filter
Before adding the shock solution to the water, ensure your pool pump and filter system are running. This is essential for circulating the shock evenly throughout the entire pool, ensuring that every drop of water gets treated. If the shock is not distributed properly, you will end up with pockets of highly concentrated chemicals and other areas that receive no sanitizing benefit. Plan to run your pump for at least six to eight hours after you have added the shock to allow for complete and thorough circulation. This continuous filtration will also help clear away the contaminants that the shock neutralizes.
Step 7: Add the Shock Solution to the Pool
With the pump running, it is time to add the dissolved shock solution. Walk around the perimeter of your pool and slowly pour the liquid mixture into the water. It is best to pour it into the deeper end or over the return jets to help it disperse more quickly. This method helps prevent any potential damage to the pool’s surface and ensures rapid distribution throughout the water. If you are using a liquid chlorine shock, you can pour it directly from the bottle into the pool, following the same technique of walking around the edge and pouring slowly.
Step 8: Use Your Salt-Chlorine Generator’s
Many modern salt-chlorine generators come with a “Super Chlorinate,” “Boost,” or “Shock” mode. This function tells the system to produce chlorine at its maximum capacity for a set period, typically 24 hours. While this feature is excellent for routine maintenance and giving your pool a small boost after heavy use, it is often not powerful enough on its own to resolve a serious issue like an algae outbreak. Therefore, it is best used in conjunction with a separate chemical shock treatment. Engaging this mode after shocking adds an extra layer of sanitizing power to the water.
Step 9: Wait and Retest the Water
The shock needs time to do its job, which is oxidizing contaminants and killing bacteria. You must wait until the free chlorine level has returned to a safe range, typically between 1 and 3 parts per million (ppm), before anyone gets back in the water. This can take anywhere from 8 to 24 hours, depending on the type and amount of shock used and the amount of sunlight your pool receives. After the waiting period, retest your water to confirm that the chlorine, pH, and other chemical levels are all back within their ideal ranges.
Step 10: Clean the Filter to Finish the Job
After a successful shock treatment, your pool filter will have captured a large amount of dead algae and other neutralized organic matter. To ensure your system continues to run efficiently, you should clean your filter 24 to 48 hours after shocking the pool. For a cartridge filter, this means removing the cartridge and rinsing it thoroughly with a hose. For a sand or D.E. filter, you will need to perform a backwash. This final step removes the dead contaminants from the system completely, leaving you with crystal-clear and healthy pool water.
Maintaining Proper Chemical Levels
Now that you have cleaned and maintained your filter, it is important to also maintain proper chemical levels in your pool. This includes regularly testing the water and adjusting the chemicals as needed.
The most important levels to monitor are pH, chlorine, alkalinity, and calcium hardness. The ideal range for pH is between 7.2-7.6, while chlorine should be kept at a level of 1-3 parts per million (ppm). Alkalinity should be maintained between 80-120 ppm and calcium hardness between 200-400 ppm.

To test these levels, you can use either test strips or a liquid testing kit specifically designed for pools. It is recommended to test the water at least once a week, or more frequently during periods of heavy pool usage or extreme weather conditions.
If any of these levels are outside of the ideal range, you can adjust them accordingly. For example, if pH is too high, you can add muriatic acid to lower it, and if it’s too low, you can add soda ash to raise it. To increase chlorine levels, you can use either liquid chlorine or granular shock treatments.
Benefits of Regular Shocking
Regularly shocking your pool comes with numerous benefits that extend beyond just maintaining clear water. First and foremost, it effectively eliminates harmful bacteria, algae, and other microorganisms that may thrive in your pool, ensuring the water remains safe for swimming. Shocking also helps to break down organic contaminants such as sweat, sunscreen, and debris introduced by swimmers, preventing unpleasant odors and cloudy water. Additionally, it restores the effectiveness of your pool’s chlorine, particularly after heavy usage or exposure to extreme weather, stabilizing the water’s chemical balance. By incorporating regular shocking into your pool maintenance routine, you prolong the lifespan of your filtration system and reduce the need for extensive clean-up, keeping your pool sparkling and inviting all season long.
Frequently Asked Questions
Can I Use Regular Pool Shock in a Saltwater Pool?
Yes, you can. The most common and effective shock for saltwater pools is granular calcium hypochlorite (cal-hypo), which is a standard pool shock. However, it will add calcium to your water, so be mindful of your pool’s calcium hardness level. Another great option is liquid chlorine (sodium hypochlorite). Non-chlorine shock (potassium monopersulfate) is also excellent for routine oxidation without raising chlorine levels.
How Often Should I Shock My Saltwater Pool?
For routine maintenance, it is a good idea to shock your saltwater pool every one to two weeks, especially during the peak swimming season when usage is high. You should also shock the pool after specific events that increase contaminant load, such as:
- A large pool party
- A heavy rainstorm
- Refilling the pool with fresh water
- An algae bloom or very cloudy water
What Is the “Super Chlorinate” Button on My Salt Cell?
The “Super Chlorinate” or “Boost” function on your salt-chlorine generator cranks up chlorine production to 100% for a 24-hour cycle. It is a convenient way to give your pool a mild shock after a day of heavy use. However, it is typically not strong enough to eliminate a significant problem like an algae outbreak. For serious issues, a manual chemical shock is necessary.
Why Is My Saltwater Pool Cloudy After Shocking?
Cloudiness after shocking is common and usually temporary. It is often the result of the shock reacting with and oxidizing the dead algae, bacteria, and other contaminants in the water. It can also be caused by a high pH or alkalinity level. Run your filter continuously for 24 hours to clear the dead particles. If the cloudiness persists, test your water chemistry again.
How Long After Shocking a Saltwater Pool Can I Swim?
The waiting time depends on the type of shock you used. If you used a non-chlorine shock, you can often swim in as little as 15-30 minutes. If you used a chlorine-based shock like cal-hypo or liquid chlorine, you must wait until the free chlorine level has dropped back down to a safe range of 1-3 ppm. This typically takes 8 to 24 hours.
Conclusion
Keeping your saltwater pool clean and clear is simple with a regular shocking routine. While your salt-chlorine generator handles the day-to-day sanitation, a periodic shock treatment is essential for eliminating stubborn contaminants and maintaining pristine water quality. The process is straightforward: test and balance your water, choose the right shock, add it safely at dusk, and let your filter do the work. By understanding the proper technique, you can ensure your pool remains a safe, healthy, and inviting oasis all season long. Now that you know how to shock saltwater pool systems, you are fully equipped to tackle this crucial maintenance task with confidence.
Regular maintenance not only keeps your pool water clear but also extends the lifespan of your pool system. Cleaning the skimmer basket, checking filter pressure, and brushing pool surfaces weekly can prevent debris buildup and circulation issues. Additionally, monitoring salt levels and water chemistry ensures optimal system performance, making your pool a worry-free retreat. By staying consistent and proactive, you protect your investment and enjoy sparkling water all year round.
About
Outdoor Fixes is a distinguished figure in the world of Diy design, with a decade of expertise creating innovative and sustainable Diy solutions.
His professional focus lies in merging traditional craftsmanship with modern manufacturing techniques,
fostering designs that are both practical and environmentally conscious. As the author of diy,
outdoorfixes delves into the art and science of outdoorfixes-making, inspiring artisans and industry professionals alike.
Education RMIT University
(Melbourne, Australia) Associate Degree in Design (Outdoor Fixes) Focus on sustainable design, industry-driven projects,
and practical craftsmanship. Gained hands-on experience with traditional and digital manufacturing tools, such as CAD and CNC software.
Nottingham Trent University
(United Kingdom) Bachelor’s in outdoorfixes.com and Product Design (Honors) Specialized in product design with a focus on blending creativity with production
techniques. Participated in industry projects, working with companies like John Lewis and Vitsoe to gain real-world insights.
Publications and Impact
In diy, Outdoor Fixes his insights on indoor design processes, materials, and strategies for efficient production.
His writing bridges the gap between artisan knowledge and modern industry needs, making it a must-read for both budding designers and seasoned professionals.