Splitting orchids is a crucial practice for both propagation and the health of the plants. By learning how to split orchids, you can multiply your collection and prevent your plants from becoming overcrowded, leading to reduced blooming and plant vitality.

Orchids should be divided when they show signs of overcrowding or when their blooms diminish, typically once every few years, depending on the species. The process of splitting orchids involves careful preparation and several key steps. Initially, you must gather the appropriate tools and create a clean workspace. Then, you’ll assess and prepare the orchid, divide the clumps, trim and inspect the roots, and finally pot the divisions in suitable containers. This guide will walk you through each step, ensuring you know exactly how to split orchids successfully and encourage healthy new growth.
Understanding Orchid Division
What is the Orchid Division?
Orchid division is the process of splitting a mature orchid plant into several smaller sections, each capable of growing independently. This propagation method is particularly beneficial as it not only helps multiply your orchid collection but also rejuvenates the parent plant, promoting healthier growth and more prolific blooming.
Dividing orchids prevents overcrowding, which can lead to nutrient competition and reduced air circulation, creating a healthier environment for new growth. Types of orchids that benefit most from division include sympodial orchids, such as Cattleyas, Dendrobiums, and Oncidiums, which naturally grow in clumps or have multiple growth points.
When to Split Orchids
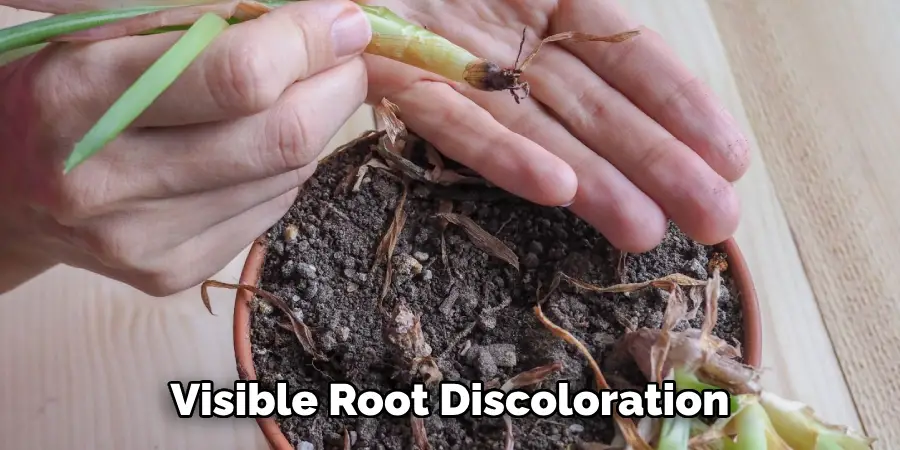
Knowing when to split orchids is crucial for the success of the division. Common signs indicating the need to divide orchids include overcrowded pots, visible root discoloration, or a decline in the number and quality of blooms. Observing these indicators ensures that you divide the plant when it truly needs it.
The division timing varies by species; generally, it’s best to undertake this task after the orchid has finished blooming and is entering its growth phase. For most orchids, dividing during the spring or early summer ensures that the plant has ample time to recover and establish new growth before its next blooming cycle.
Preparation and Tools
Gathering Materials
Before you begin splitting orchids, gathering all the necessary materials is essential to ensure a smooth process. You will need a sharp knife or shears, which should be sterilized to prevent the spread of disease.
Additionally, sterilizing supplies, new pots or containers, and an appropriate orchid potting medium must be prepared. Using clean, sharp tools is vital to avoiding damage to the plant and minimizing the risk of infections.
Preparing Workspace
Create a clean and organized workspace to handle the plants and tools safely. Set up an area with ample light and good ventilation, ensuring enough room to work without risking contamination. A neat and well-lit workspace helps identify issues like pests or diseases early on, ensuring that the division process is carried out precisely and carefully.
How to Split Orchids: Steps to Split Orchids
1. Assessing the Orchid
To successfully split an orchid, thoroughly inspect the plant for viable divisions. Look for healthy pseudobulbs, new growth, and vibrant foliage; these indicators suggest the plant is ready for division. It’s also essential to assess the root system, ensuring it’s robust enough to support new growth.
The best time of year to divide an orchid is usually during its growth phase, which commonly occurs after the plant has finished blooming—typically in the spring or early summer. Dividing during this period allows the divisions ample time to establish themselves before the next blooming cycle.
2. Preparing for Division
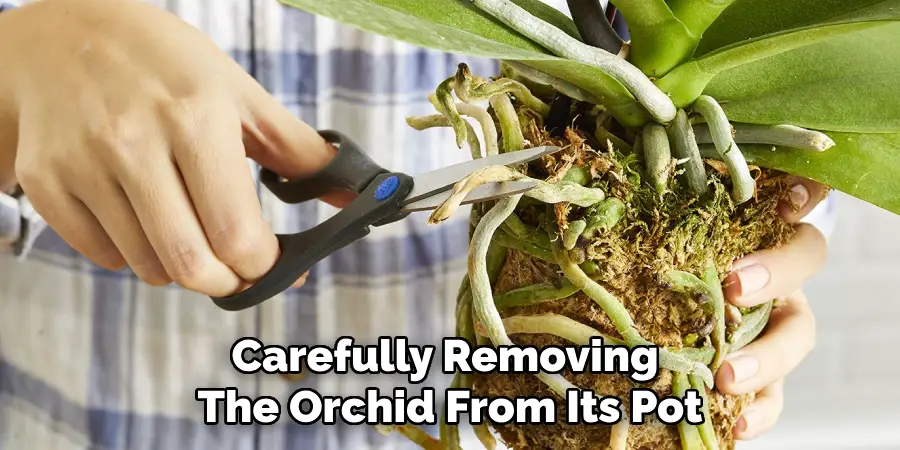
Begin the division process by carefully removing the orchid from its pot or mounting. Gently work to loosen the plant from its container, taking care not to damage the roots. Once removed, gently shake off or wash away the old potting media to fully expose the roots. This step is critical for clearly seeing where to make the cuts, as it allows you to identify healthy roots and any potential problems like pests or rot. An exposed root system is easier to handle and makes the division process more precise and straightforward.
3. Dividing Orchid Clumps
Utilize sharp, sterilized tools such as a knife or garden shears to divide the orchid clumps into smaller sections. Begin by identifying natural separation points between the pseudobulbs or other growth structures. Carefully cut through the connecting tissue, making clean, precise cuts to minimize damage. Each section or division should have a few healthy roots and at least one viable growth point to ensure it can be established independently. Handle the divisions carefully to avoid unnecessary stress, and prioritize sections with strong growth prospects to enhance the likelihood of successful propagation.
4. Trimming and Root Inspection
Once the orchid has been divided, inspect the roots of each section closely. Trim any damaged or excess roots to encourage new growth and make the plant easier to pot. It’s also vital to check for pests or diseases. If any issues are found, treat the divisions accordingly before planting them. Ensuring the health of each division at this stage sets the foundation for successful growth and helps prevent future problems.
Potting Divisions
Choosing Containers
Selecting the appropriate container for your orchid divisions is a crucial step in ensuring their long-term health and growth. Choose pots slightly larger than the plant’s root ball to provide ample space for root expansion without risking water-logging.
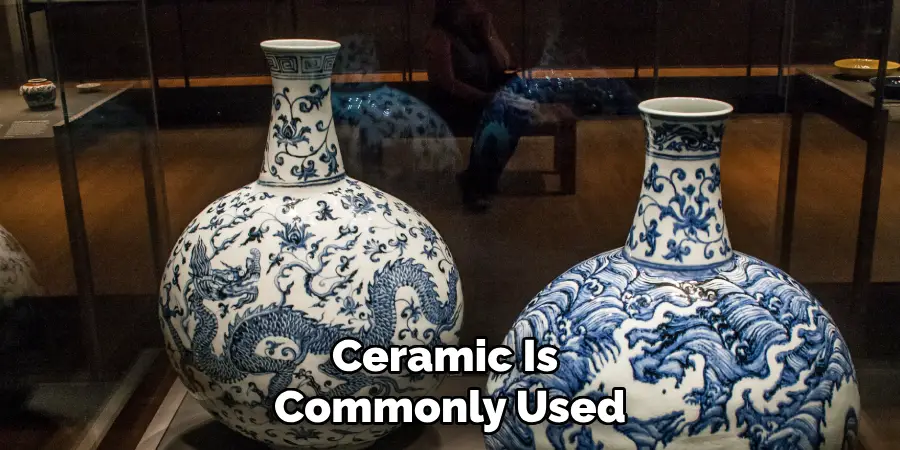
Most importantly, ensure that each container has adequate drainage holes to allow excess water to escape, preventing root rot. Containers made from materials like plastic, terra cotta, or ceramic are commonly used, but the specific choice depends on your aesthetic preferences and the growing environment.
Potting Medium and Planting Depth
Using the right potting medium is essential for the well-being of your orchid divisions. Opt for a mix specifically designed for orchids, such as a combination of bark, sphagnum moss, and perlite. This mixture offers excellent drainage and aeration, which are vital for healthy root development. When planting the divisions, ensure they are positioned at the same depth they grew in their previous container. This consistency prevents unnecessary stress on the plant and helps it acclimate more quickly to its new environment. Firmly but gently pack the medium around the roots, ensuring stability without compacting the material too tightly.
Aftercare and Maintenance
Watering and Humidity Control
Once the orchid divisions are potted, it’s essential to establish a proper watering routine to promote root establishment. Utilize a combination of misting and soaking to ensure the roots receive adequate moisture without becoming waterlogged. Misting the foliage lightly every morning helps maintain necessary humidity levels while soaking the pot thoroughly once a week ensures the roots remain hydrated. Proper drainage is crucial to prevent root rot.
Maintaining an optimal humidity level of 50-70% is vital for the health of orchid divisions. Use a humidity tray or a room humidifier to achieve this. A consistent humidity environment encourages robust growth and helps prevent issues like leaf drop or root desiccation. Regularly monitor humidity levels with a hygrometer to ensure they remain within the appropriate range.
Light and Temperature Requirements
Newly divided orchids thrive best in bright, indirect light. Position the orchids near a window where they can receive sufficient sunlight without exposure to intense, direct rays. The presence of indirect light facilitates photosynthesis, promoting healthy foliage and root growth. Ensure the orchids receive at least 12 hours of light daily to simulate their natural growing conditions.

Protecting the newly divided orchids from extreme temperatures is crucial. Avoid placing them in drafts, near air conditioning vents, or in direct sunlight, as these conditions can stress the plants. Maintain a stable temperature range between 65-75°F (18-24°C) during the day and a slight drop at night to promote healthy growth and flowering. Adjusting the light and temperature conditions as needed ensures the orchids establish well and flourish in their new environment.
Monitoring and Troubleshooting
Monitoring Growth
Regularly inspecting orchid divisions is key to ensuring their healthy development. Look for signs of stress, dehydration, or pests by observing the leaves, roots, and overall plant vigor. Adjust care routines based on the plant’s responses, such as increasing humidity, modifying light exposure, or changing watering schedules. Consistent monitoring helps in detecting potential issues early, allowing for timely interventions.
Common Issues and Solutions
Addressing common problems during orchid division, such as root rot or transplant shock, is crucial for successful propagation. Trim the affected roots and repot if rot is detected using the fresh, well-draining medium. For transplant shock, try reducing light intensity and maintaining high humidity to help the plant recover. Consult resources or experts if specific issues arise to ensure the orchid divisions receive proper care.
Conclusion
Successfully mastering how to split orchids requires understanding and applying a few key steps and considerations. Begin with a healthy parent plant, carefully cut through connecting tissues to make clean divisions, and ensure each new section has viable growth points and roots. Proper handling, trimming, and inspection follow, addressing root issues before selecting appropriate containers and potting mediums. Aftercare plays a crucial role, with correct watering, humidity control, light exposure, and temperature management being essential for thriving divisions.
Practicing these propagation techniques not only expands your orchid collection but also enhances your gardening skills. Cultivating patience and maintaining consistent care routines are vital for the divisions to establish well and flourish. Embrace the process, and over time, you will enjoy the satisfaction of seeing your orchid divisions grow into robust, independent plants, adding beauty and diversity to your horticultural collection.
About
Outdoor Fixes is a distinguished figure in the world of Diy design, with a decade of expertise creating innovative and sustainable Diy solutions.
His professional focus lies in merging traditional craftsmanship with modern manufacturing techniques,
fostering designs that are both practical and environmentally conscious. As the author of diy,
outdoorfixes delves into the art and science of outdoorfixes-making, inspiring artisans and industry professionals alike.
Education RMIT University
(Melbourne, Australia) Associate Degree in Design (Outdoor Fixes) Focus on sustainable design, industry-driven projects,
and practical craftsmanship. Gained hands-on experience with traditional and digital manufacturing tools, such as CAD and CNC software.
Nottingham Trent University
(United Kingdom) Bachelor’s in outdoorfixes.com and Product Design (Honors) Specialized in product design with a focus on blending creativity with production
techniques. Participated in industry projects, working with companies like John Lewis and Vitsoe to gain real-world insights.
Publications and Impact
In diy, Outdoor Fixes his insights on indoor design processes, materials, and strategies for efficient production.
His writing bridges the gap between artisan knowledge and modern industry needs, making it a must-read for both budding designers and seasoned professionals.