Keeping a swimming pool sparkling clean often feels like a balancing act. You monitor chlorine levels, adjust pH, and scrub the tile line, yet sometimes the water still looks dull, or algae blooms seem to appear out of nowhere. If you are fighting a losing battle against green water despite perfect chlorine readings, the culprit might be invisible to the naked eye. Phosphates are a silent contributor to many pool headaches, acting as a superfood for algae and making sanitation difficult.
While phosphates themselves are not harmful to swimmers, they create an environment where algae can thrive, even in the presence of sanitizers. Unfortunately, standard test kits rarely include a test for these compounds. To truly get a handle on your water quality, you need to know how to test for phosphates in pool water accurately. This guide will walk you through everything you need to know about testing, interpreting results, and taking action to restore your pool’s clarity.
What Are Phosphates and Why Do They Matter?
Defining Phosphates in a Pool Context
Phosphates are chemical compounds containing phosphorus, a naturally occurring element that is essential for plant growth. In the context of a swimming pool, however, they are a nuisance. Think of phosphates as an all-you-can-eat buffet for algae. When phosphate levels are high, algae have an abundant food source that allows them to reproduce rapidly. This forces your chlorine to work overtime trying to kill the algae, depleting your sanitizer levels faster than normal and leaving you with cloudy, uninviting water.
It is important to understand that phosphates do not consume chlorine directly. Instead, the algae they feed do. By removing the food source, you starve the algae, allowing your chlorine to remain effective and last longer. Keeping phosphate levels low is a proactive strategy for maintaining a low-maintenance, crystal-clear pool.
Common Sources of Phosphates
You might be wondering how these compounds get into your pool in the first place. The truth is, they come from almost everywhere. Environmental factors are the biggest contributors. Decaying leaves, twigs, grass clippings, and bugs that fall into the water all release phosphates as they break down. Even windblown soil and dust carry them.
Human contaminants are another major source. Many cosmetic products, such as lotions, soaps, and hair care products, contain phosphates. Furthermore, some pool chemicals themselves, particularly certain stain and scale inhibitors used to protect metal equipment, are phosphate-based. Surprisingly, even your fill water—whether from a municipal tap or a well—can contain significant levels of phosphates added by water treatment plants to prevent pipe corrosion. Because sources are so abundant, regular testing is the only way to stay ahead of the accumulation.
Choosing the Right Phosphate Test Kit
Types of Test Kits Available
Since standard 4-in-1 or 5-in-1 pool test kits do not measure phosphates, you will need to purchase a specialty kit. There are three main types available on the market, each with its own method of reading results.
The most common and affordable option is the test strip. These work similarly to standard pH strips; you dip the strip in a water sample and compare the color change to a chart on the bottle.
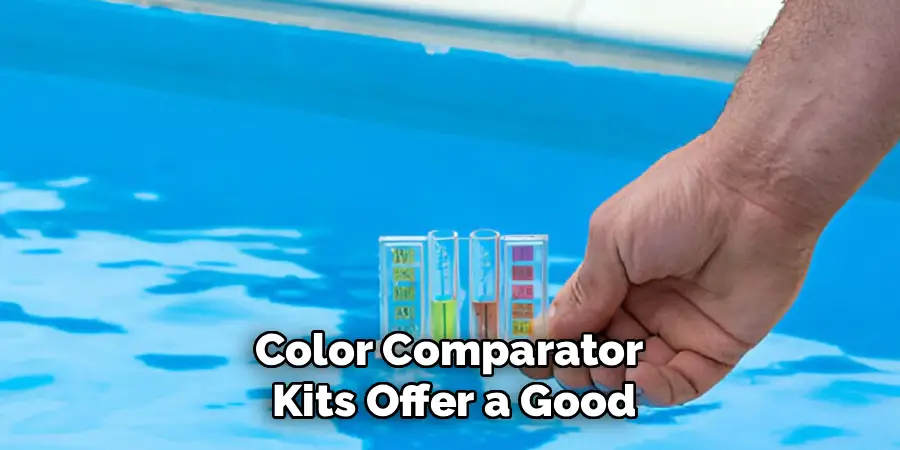
The second option is a color comparator kit. This involves filling a vial with pool water, adding a powder or liquid reagent, mixing it, and then matching the color of the water to a gradient scale. These tend to be slightly more accurate than strips because the reaction is contained and easier to read against a white background.
Finally, for those who want precise numbers, there are digital photometers. These handheld devices read the color change electronically and display a specific number on a screen. While more expensive, they eliminate the guesswork of color matching.
Accuracy vs. Cost
For the average residential pool owner, the trade-off usually comes down to accuracy versus cost. Test strips are inexpensive and quick, making them great for a general “yes or no” check. However, they can be difficult to read precisely, often giving you a range (e.g., 300-500 ppb) rather than a specific number.
Color comparator kits offer a good middle ground. They are affordable enough for regular use but provide a more distinct reading than strips. If you are struggling with a persistent algae bloom and need to calculate the exact dosage of phosphate remover required, a comparator kit is usually sufficient. Digital readers are the gold standard for accuracy, but may be overkill unless you manage multiple pools or love high-tech gadgets. Ultimately, any dedicated phosphate kit is better than guessing.
Preparing for an Accurate Test
When to Test for Phosphates
You do not need to test for phosphates as frequently as you test for chlorine or pH. A good rule of thumb is to test once a month during the swimming season. However, there are specific times when testing is crucial. Always test before opening your pool for the season, as organic debris has likely accumulated over the winter.
Additionally, if you notice your water looks hazy, if you are consuming chlorine much faster than usual, or if you see algae returning shortly after shocking the pool, it is time to test. These are classic signs that high phosphate levels are compromising your sanitation efforts.
Collecting a Proper Water Sample
The quality of your test result depends entirely on the quality of your water sample. Do not simply dip the vial in the water’s surface. The surface water contains oils, debris, and contaminants that can skew the results.

Instead, roll up your sleeve and reach into the pool about elbow-deep (roughly 12 to 18 inches below the surface). Ideally, take the sample from a central location, away from the return jets or skimmer intake, to ensure you are getting water that is well-circulated but not freshly filtered or chemically treated. Rinse your collection vial with pool water first, dump it out, and then collect your final sample.
A Step-by-Step Guide on How to Test for Phosphates in Pool
Testing for phosphates is a straightforward chemical process, but it requires patience and precision. While instructions may vary slightly depending on the brand of kit you purchase, the general chemistry remains consistent. Follow these steps for a successful test.
Step 1: Read the Kit Instructions
Before you open any reagents, take a moment to read the specific instructions included with your kit. Some kits require a specific wait time of 60 seconds, while others might need five minutes. Some use tablet reagents, while others use powders or liquids. Assuming you know the process can lead to inaccurate results, so always double-check the manufacturer’s guidelines.
Step 2: Prepare the Water Sample Vial
Take your clean testing vial—usually a tall, thin tube provided in the kit—and fill it with the pool water sample you collected earlier. Most vials have a “fill line” marked on the side. It is critical to fill the water exactly to this line. If you have too much water, the chemical concentration will be too weak; too little water, and it will be too strong. Use a plastic dropper or simply flick the tube gently to adjust the water level until the bottom of the meniscus rests perfectly on the line.
Step 3: Add the Reagent
Open your reagent packet or bottle. If using a powder pillow, carefully tear the corner and pour the entire contents into the vial. If using drops, hold the bottle completely vertical to ensure uniform drop size and squeeze in the required number of drops. This reagent typically contains chemicals that react specifically with orthophosphates, turning the water blue or yellow depending on the concentration.
Step 4: Mix and Wait
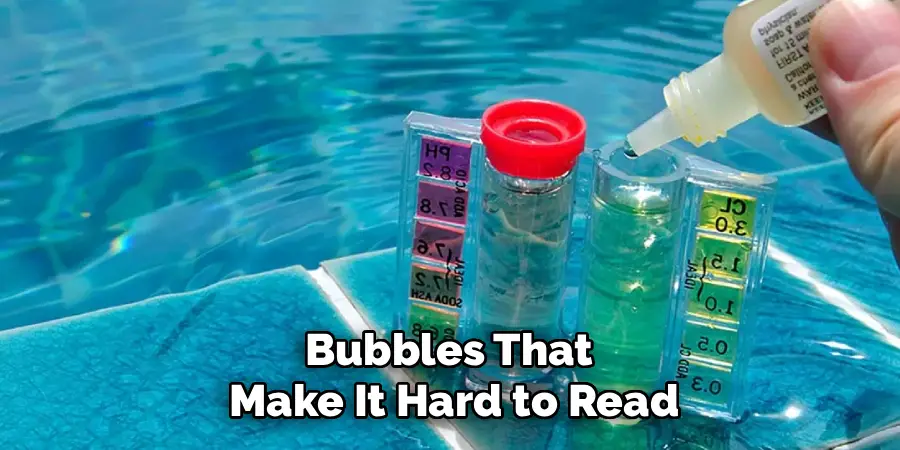
Cap the vial securely. Gently invert the tube back and forth to mix the reagent with the water. Avoid shaking it vigorously, as this can create air bubbles that make it hard to read the color later. Continue inverting until the powder is fully dissolved or the liquid is evenly mixed.
Once mixed, set the vial down on a flat surface and start a timer. This reaction time is not a suggestion; it is a requirement. The chemical reaction needs time to develop fully. Reading the result too early will show a lower phosphate level than actually exists, leading you to undertreat the problem.
Step 5: Read the Results
When the timer goes off, hold the vial against a white background. Most kits come with a white card or a comparator block for this purpose. If you are using a color-matching kit, look through the clear plastic of the vial (not down from the top unless instructed) and compare the shade of the water to the color scale.
If the color is very dark, indicating levels higher than the chart measures, you may need to perform a dilution test. This involves mixing half pool water and half distilled water, running the test again, and doubling the result. Record your reading immediately, as the color can continue to darken if left sitting too long.
Interpreting Your Phosphate Test Results
Understanding Phosphate Levels (PPB)
Phosphate levels are measured in parts per billion (ppb). This is a much smaller unit than the parts per million (ppm) used for chlorine, which highlights just how potent phosphates can be.
Ideally, you want your phosphate levels to be near zero, but realistically, anything below 100-125 ppb is considered acceptable and unlikely to cause issues.
- 0 – 100 ppb: Ideal range. No action needed.
- 100 – 300 ppb: Moderate level. Monitor closely; you may see increased chlorine demand.
- 300 – 1000 ppb: High level. Algae growth is likely if chlorine drops even slightly. Treatment is recommended.
- Above 1000 ppb: Critical level. Algae blooms will be aggressive and resistant to shock. Immediate treatment is necessary.
What to Do When Levels Are High
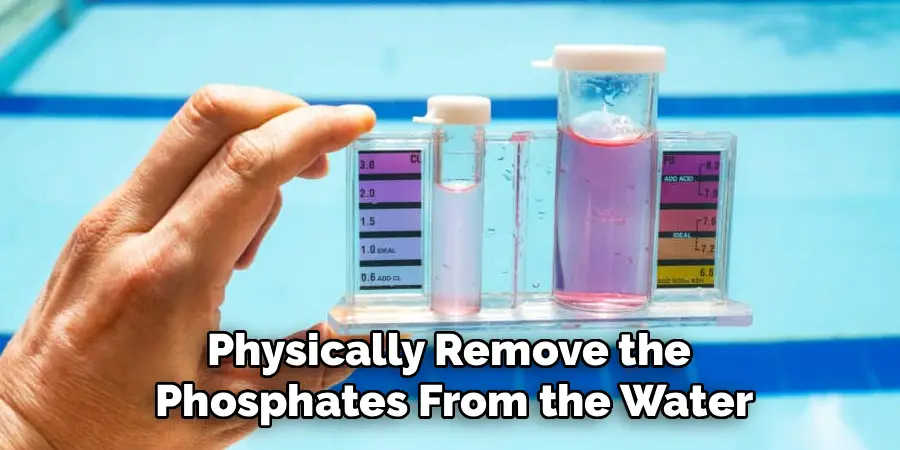
If your test reveals levels above 300 ppb, ignoring it is not an option. While shocking the pool might kill the current algae, the high phosphate levels act as fertilizer for the next batch of spores that enter the water. You need to physically remove the phosphates from the water using a specialized chemical treatment.
How to Lower High Phosphate Levels
Choosing a Phosphate Remover
To combat high levels, you need a product called a phosphate remover. The active ingredient in most commercial removers is lanthanum chloride (or similar lanthanum compounds). This heavy metal binds to the dissolved phosphates in the water, turning them into a solid precipitate. Essentially, it turns invisible liquid phosphates into solid dust that your filter can catch.
Products vary in concentration. Some are “maintenance” doses meant for weekly use, while others are “extra strength” for knocking down levels in the thousands. Choose a product based on the severity of your test results.
Applying Phosphate Remover Correctly
Using phosphate remover is easy, but it requires follow-up. Calculate the correct dose based on your pool volume and phosphate reading. Pour the product into the skimmer or spread it around the perimeter of the pool while the pump is running.
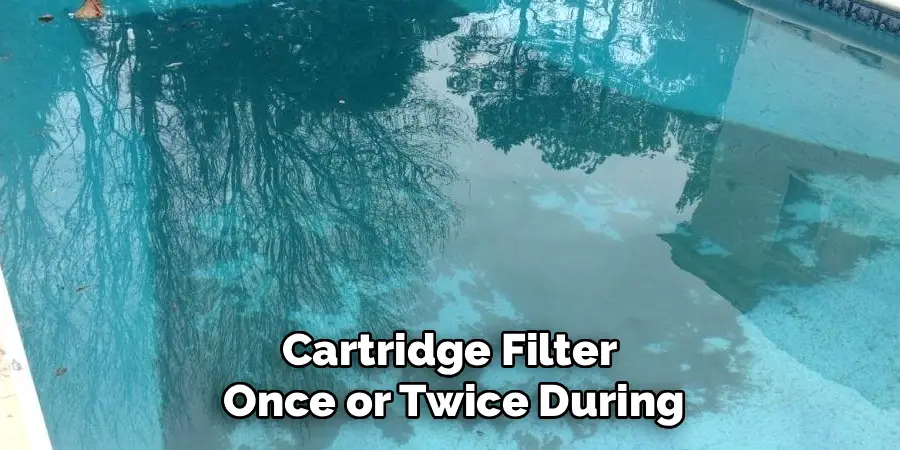
As the product works, your pool water will likely turn cloudy. This is a good sign—it means the phosphates are precipitating out of the solution. Keep your filter running continuously for 24 to 48 hours. Watch your filter pressure gauge closely. Because the remover creates solid particles, your filter will clog up faster than normal. You will likely need to backwash or clean your cartridge filter once or twice during the treatment process to clear out the trapped phosphates.
Common Mistakes to Avoid When Testing
Using an Expired Test Kit
Chemical reagents have a shelf life. Heat, moisture, and sunlight degrade them over time. If you are using a test kit that has been sitting in a hot shed for three years, the reagents may no longer react properly, giving you a false “zero” reading even when phosphates are high. Always check the expiration date on the bottle and store your test kits indoors in a cool, dry place.
Testing Immediately After Shocking
Testing immediately after adding a large dose of chlorine or algaecide is a recipe for inaccuracy. High levels of oxidizer can bleach out the color reagents in the phosphate test, making the result appear lighter than it actually is. If you have recently shocked the pool, wait until chlorine levels drop below 5 ppm before performing a phosphate test to ensure you get a true reading.
Conclusion
Managing a pool is about more than just clear water; it is about healthy, balanced chemistry. By understanding how to test for phosphates in pool water, you gain control over one of the most persistent underlying causes of algae and cloudiness. While regular chlorine and pH checks are the daily bread of pool care, the monthly phosphate test is the secret weapon that keeps surprises at bay.
With a reliable test kit and a proactive approach, you can keep phosphate levels low, ensuring your sanitizer works efficiently and your water stays inviting. Don’t wait for the water to turn green to investigate—add phosphate testing to your routine today and enjoy a cleaner, hassle-free swimming season.
About
Outdoor Fixes is a distinguished figure in the world of Diy design, with a decade of expertise creating innovative and sustainable Diy solutions.
His professional focus lies in merging traditional craftsmanship with modern manufacturing techniques,
fostering designs that are both practical and environmentally conscious. As the author of diy,
outdoorfixes delves into the art and science of outdoorfixes-making, inspiring artisans and industry professionals alike.
Education RMIT University
(Melbourne, Australia) Associate Degree in Design (Outdoor Fixes) Focus on sustainable design, industry-driven projects,
and practical craftsmanship. Gained hands-on experience with traditional and digital manufacturing tools, such as CAD and CNC software.
Nottingham Trent University
(United Kingdom) Bachelor’s in outdoorfixes.com and Product Design (Honors) Specialized in product design with a focus on blending creativity with production
techniques. Participated in industry projects, working with companies like John Lewis and Vitsoe to gain real-world insights.
Publications and Impact
In diy, Outdoor Fixes his insights on indoor design processes, materials, and strategies for efficient production.
His writing bridges the gap between artisan knowledge and modern industry needs, making it a must-read for both budding designers and seasoned professionals.